Você está no 3DFinder
Buscamos em Thingiverse, MakerWorld e Printables ao mesmo tempo para te dar o melhor de cada uma.
Descrição
This slot machine is designed as a mini model and actually works. Because the reels spin independently, this ensures that you always get a different combination. The print is divided into 27 parts and 13 beds. Some explanation is also included. Below, you will find the instructions on how to assemble it.
Manual:
1. We will slide all the components onto the hexagon: first the Slot Drivers, then the Spring, and finally the Lever. If the Lever is too loose, you can glue it to the hexagon with super glue.
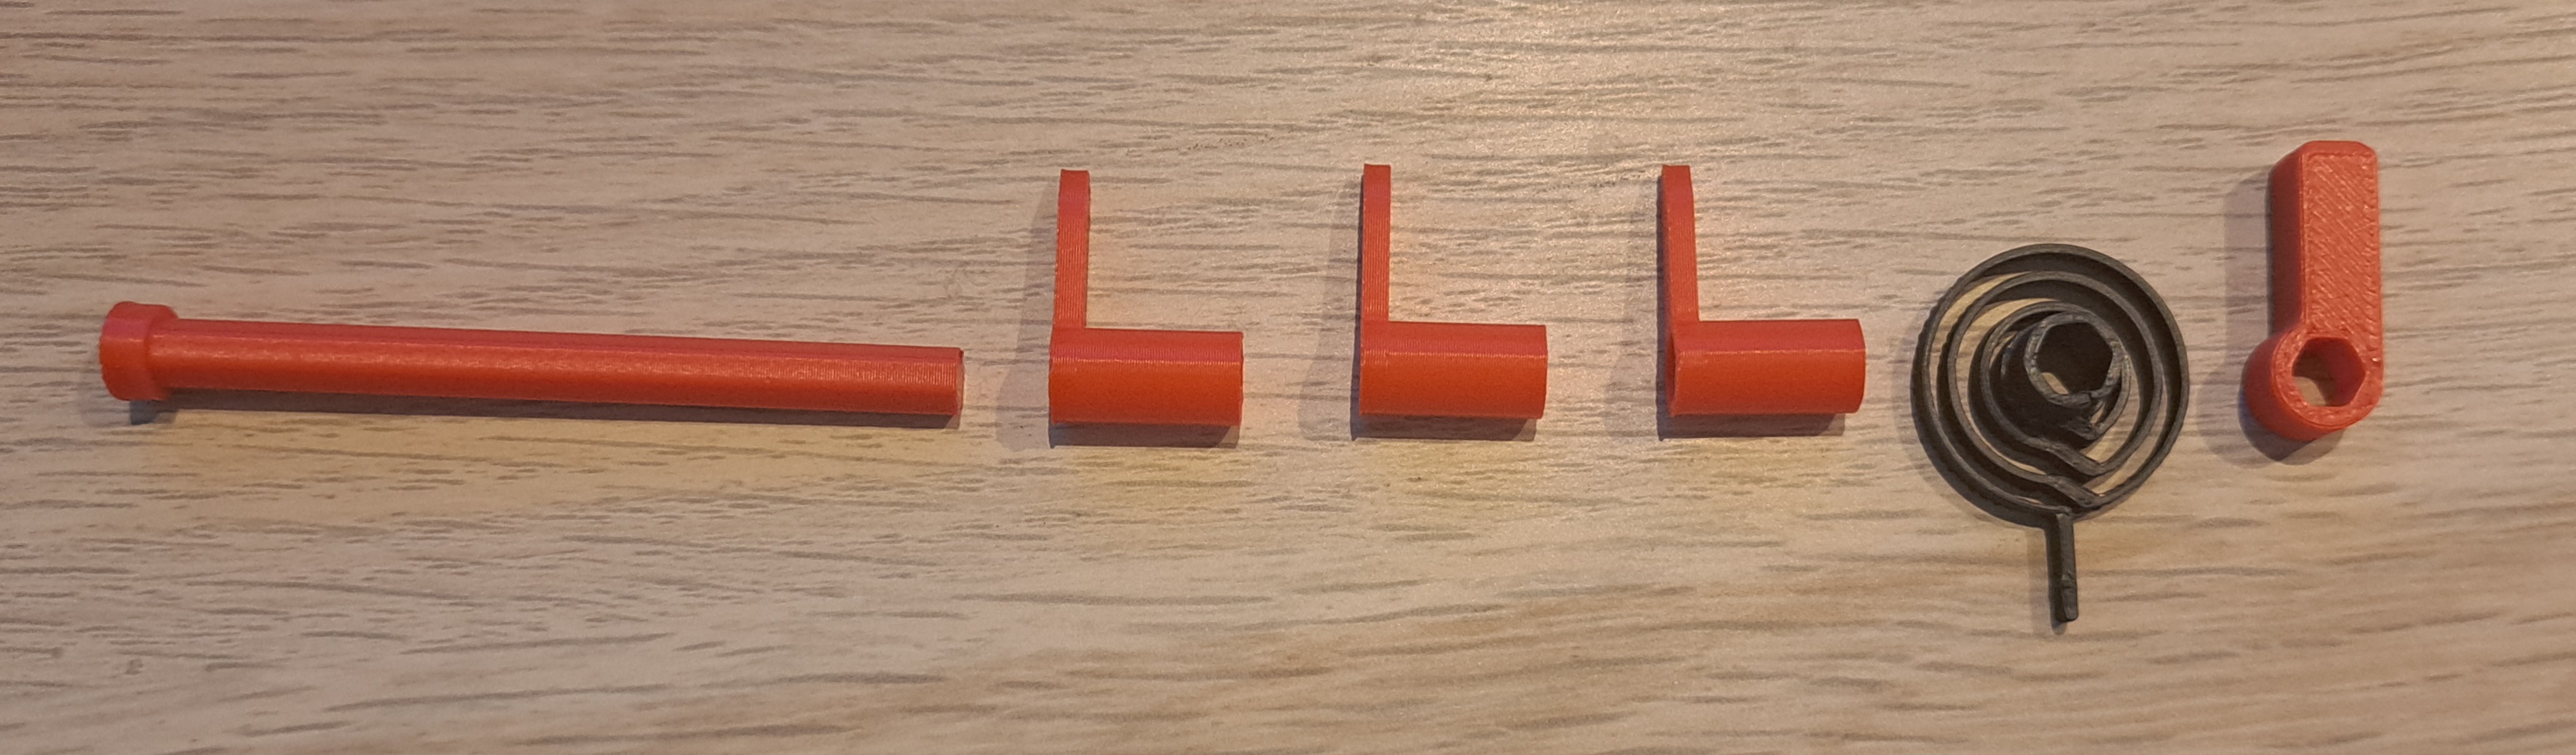
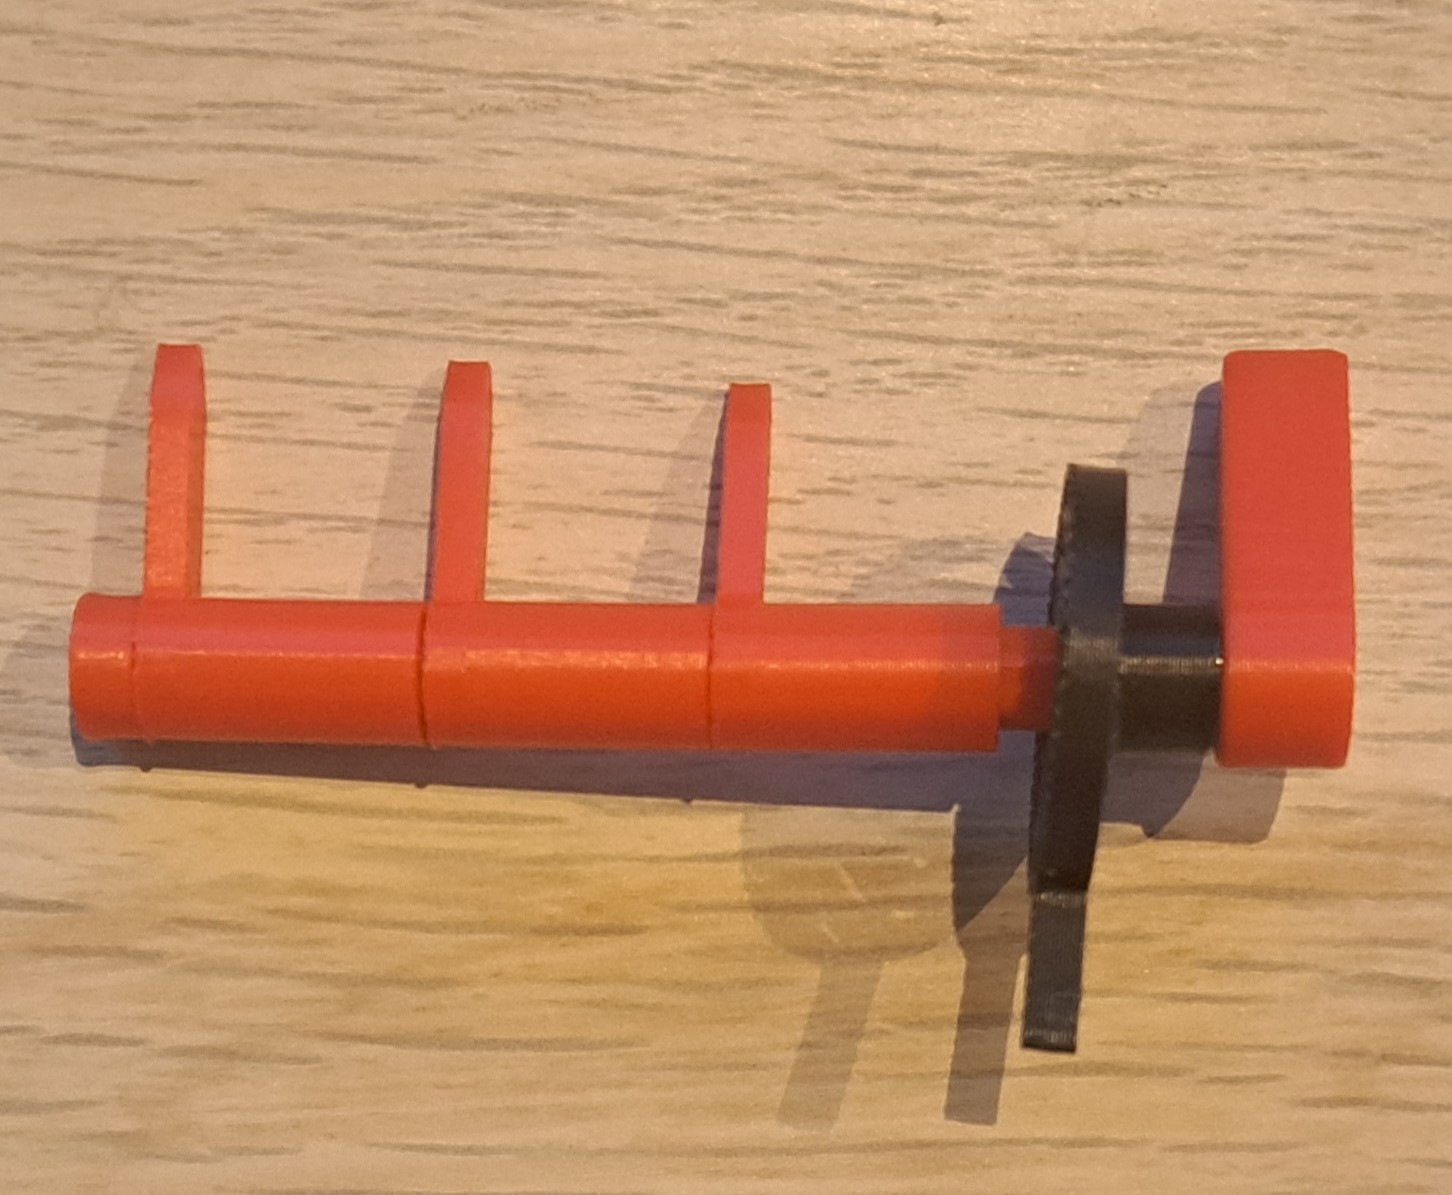
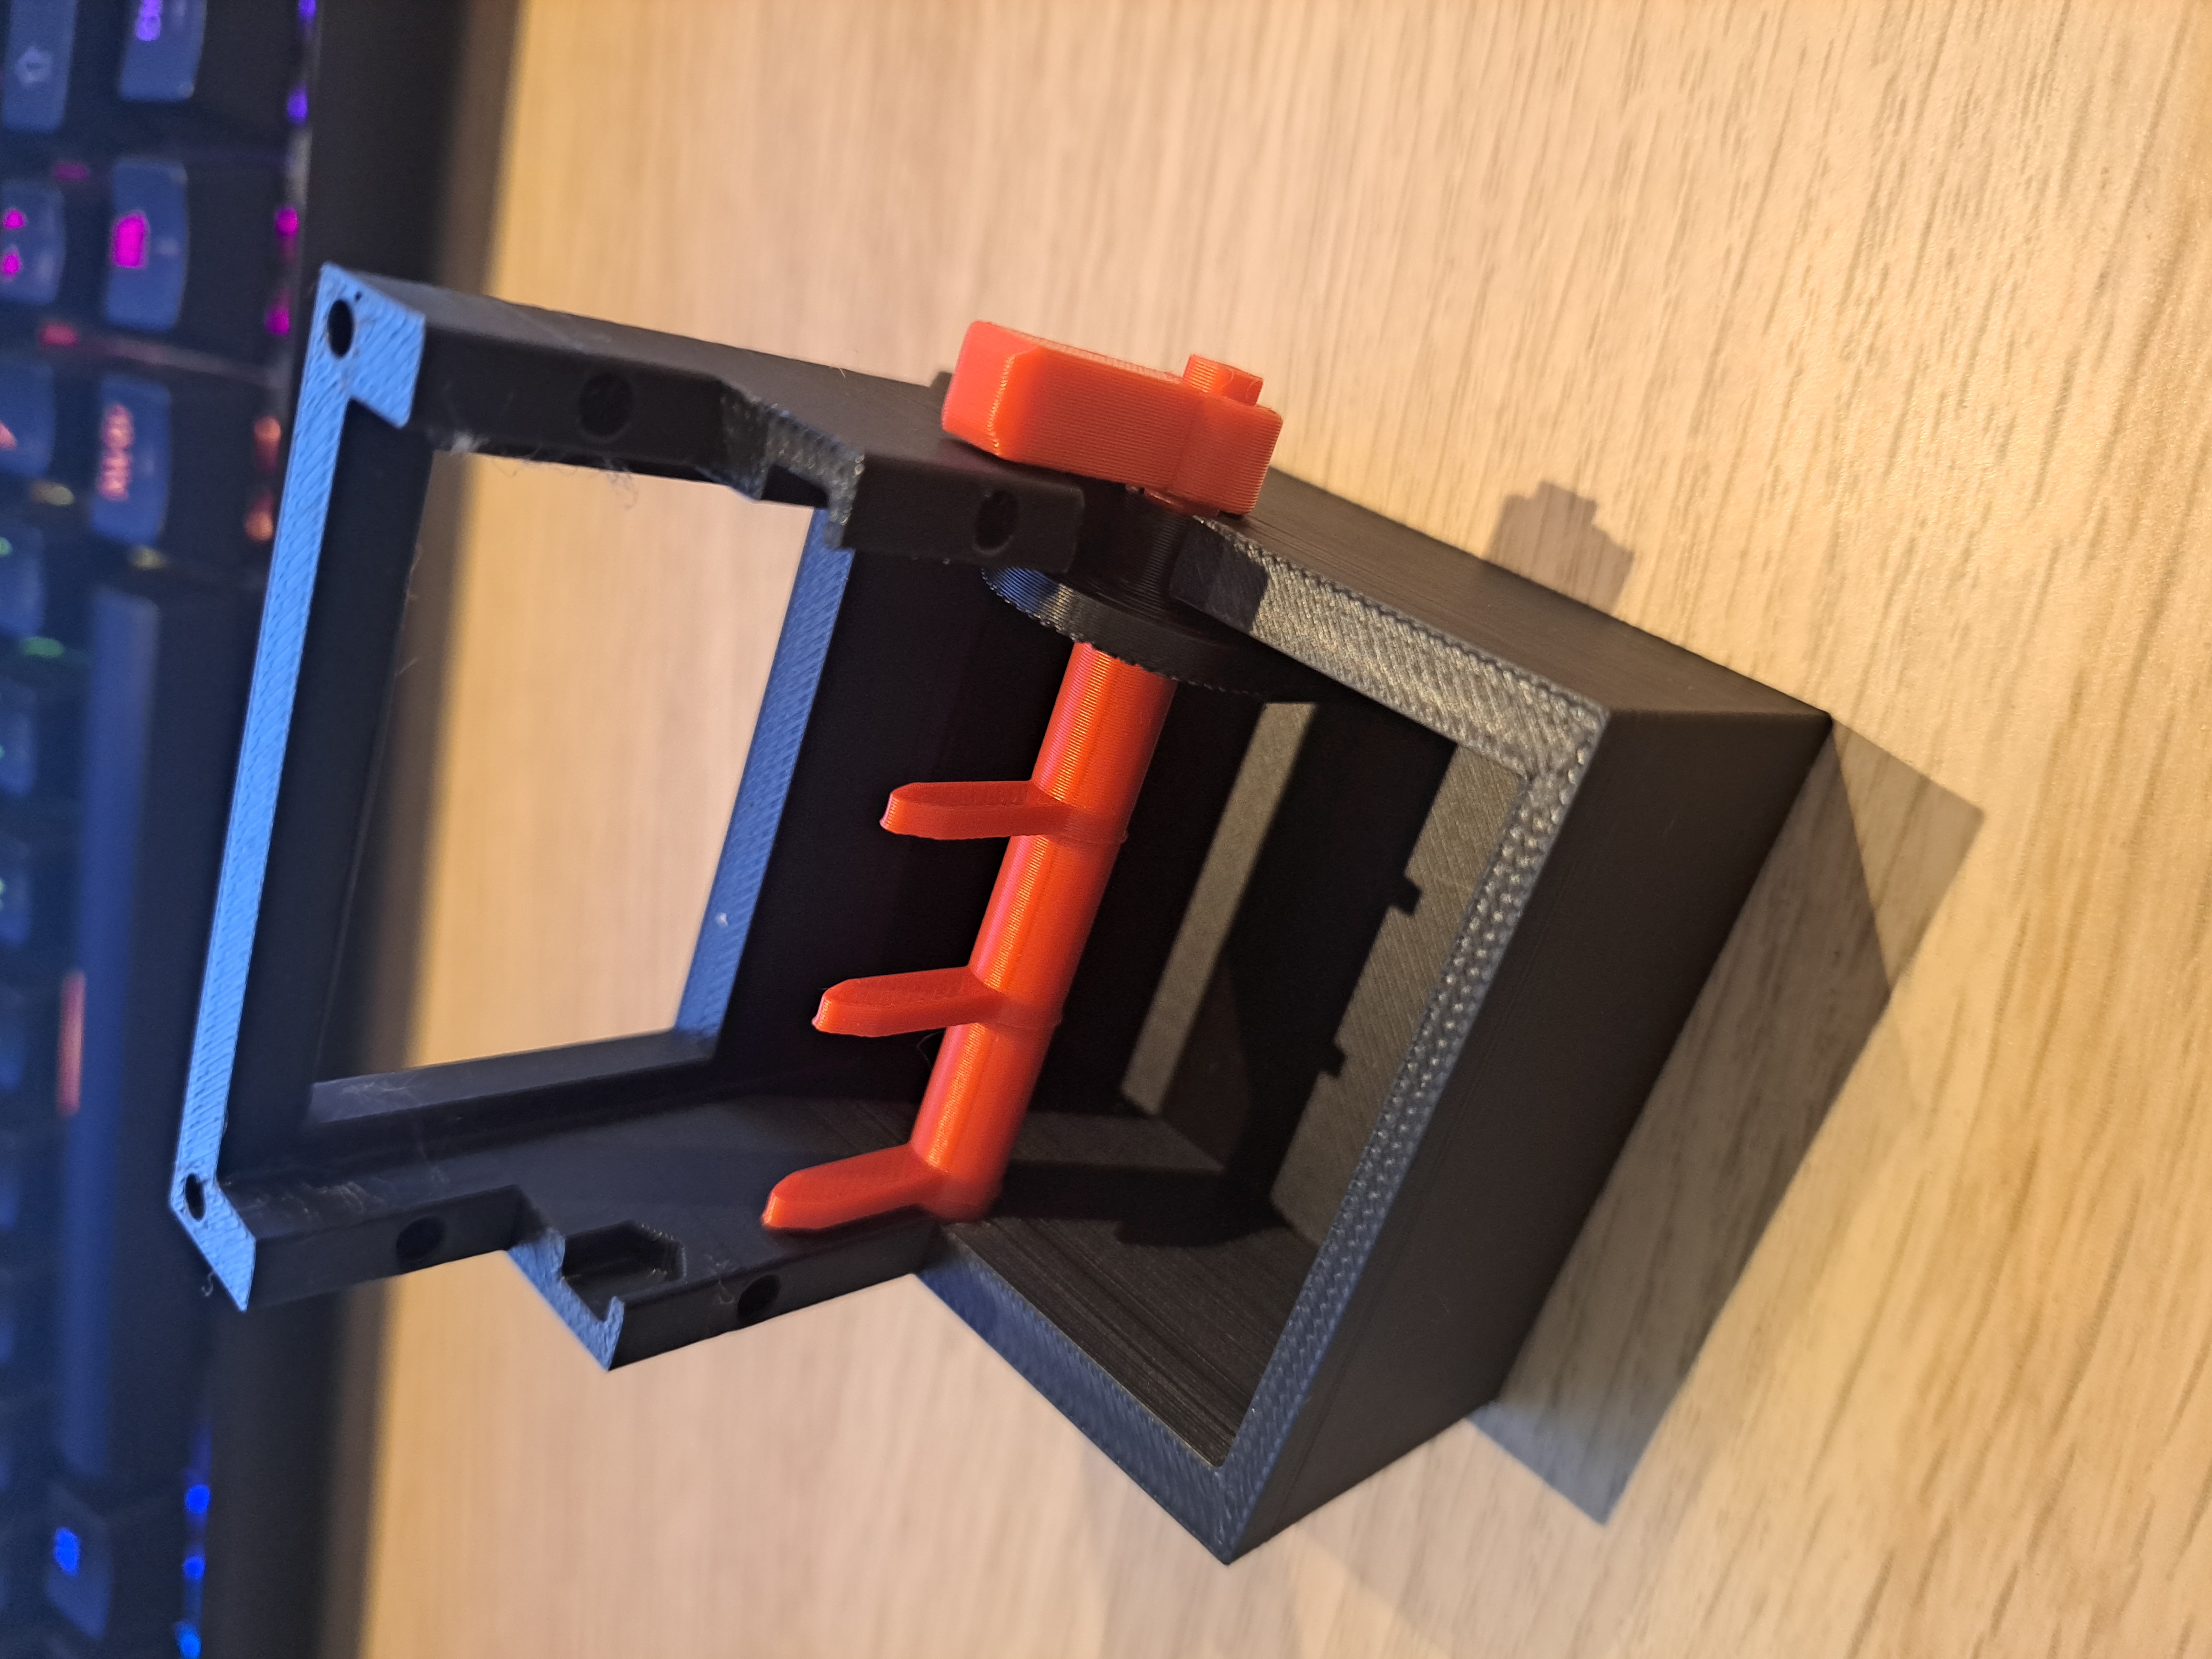
2. Now we will place the complete hexagon into Body 1. If you have used glue, make sure it is completely dry. The bottom of the front side should fit between the two pieces.
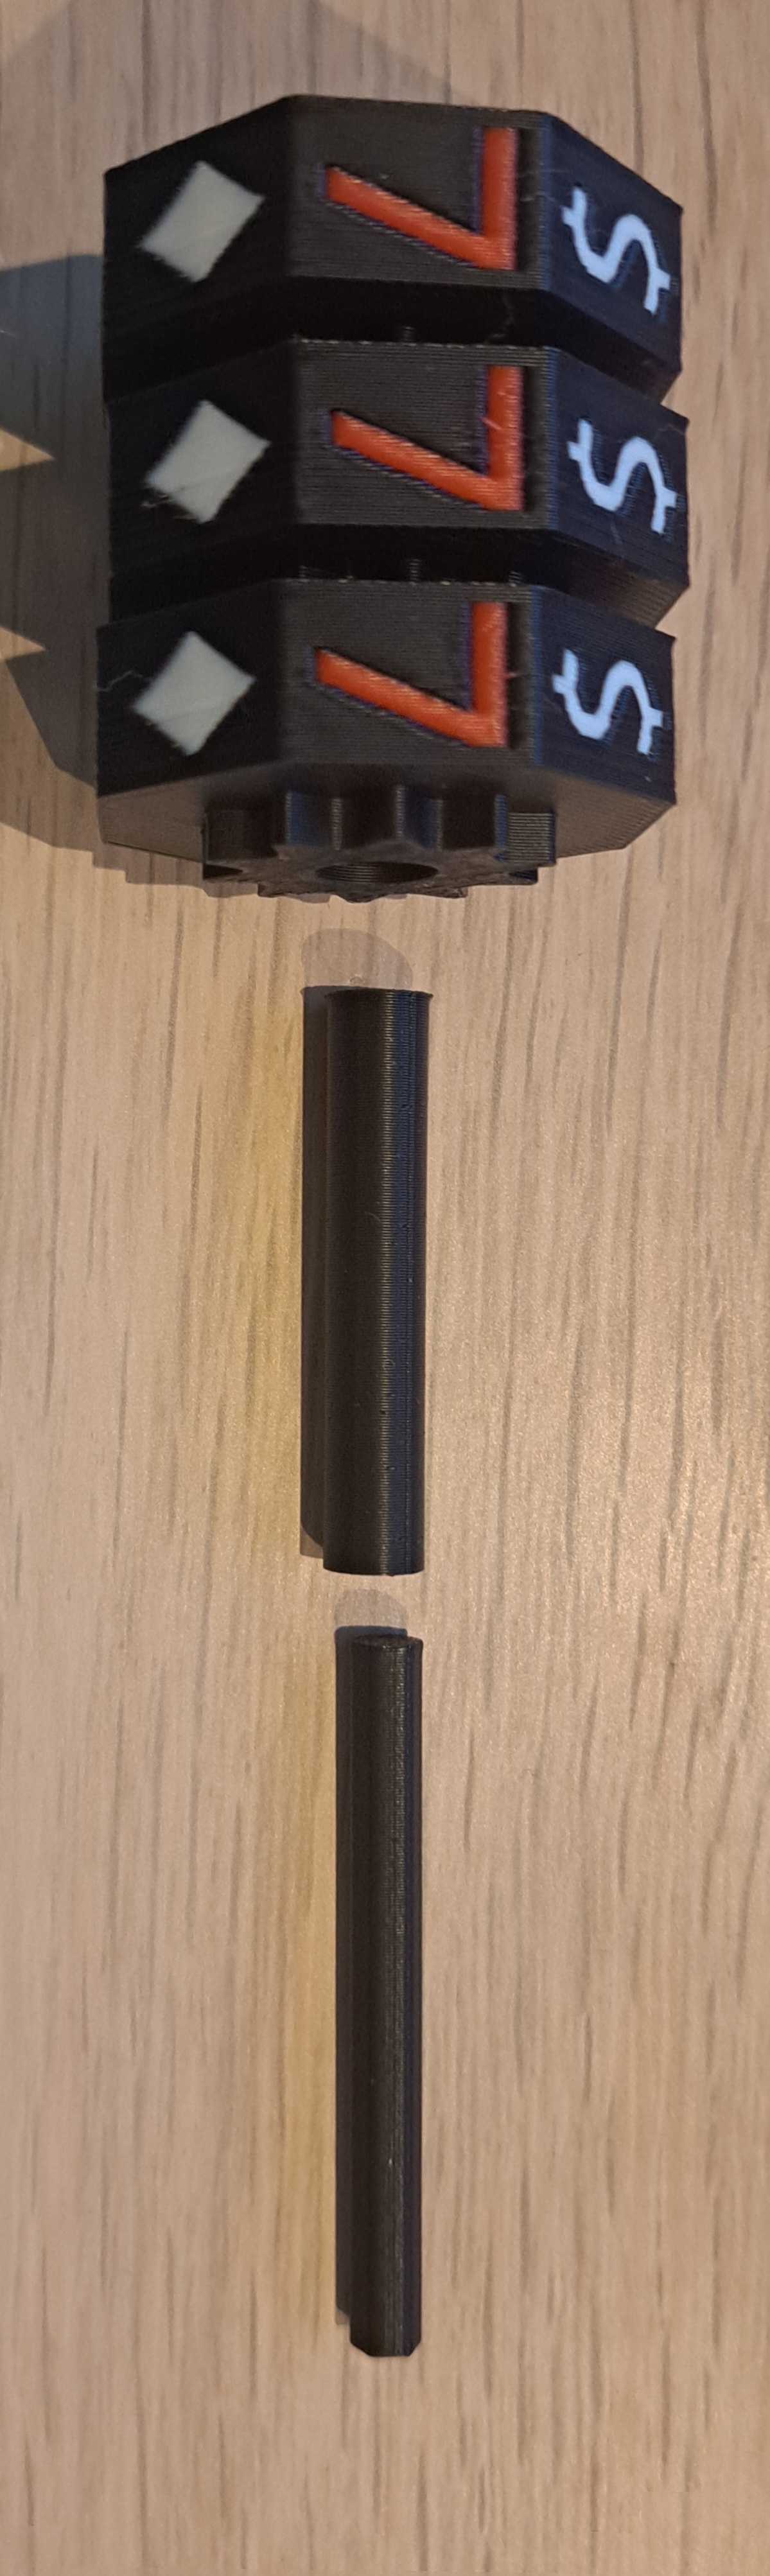
3. We take the 3 Slots, 6 Side for Slot, and the Intermediate Bus Slot. Then, we slide the Intermediate Bus Slot over the 6 Side for Slot. After that, we insert this assembly into the Slots.
Attention: No glue should be used for this step.
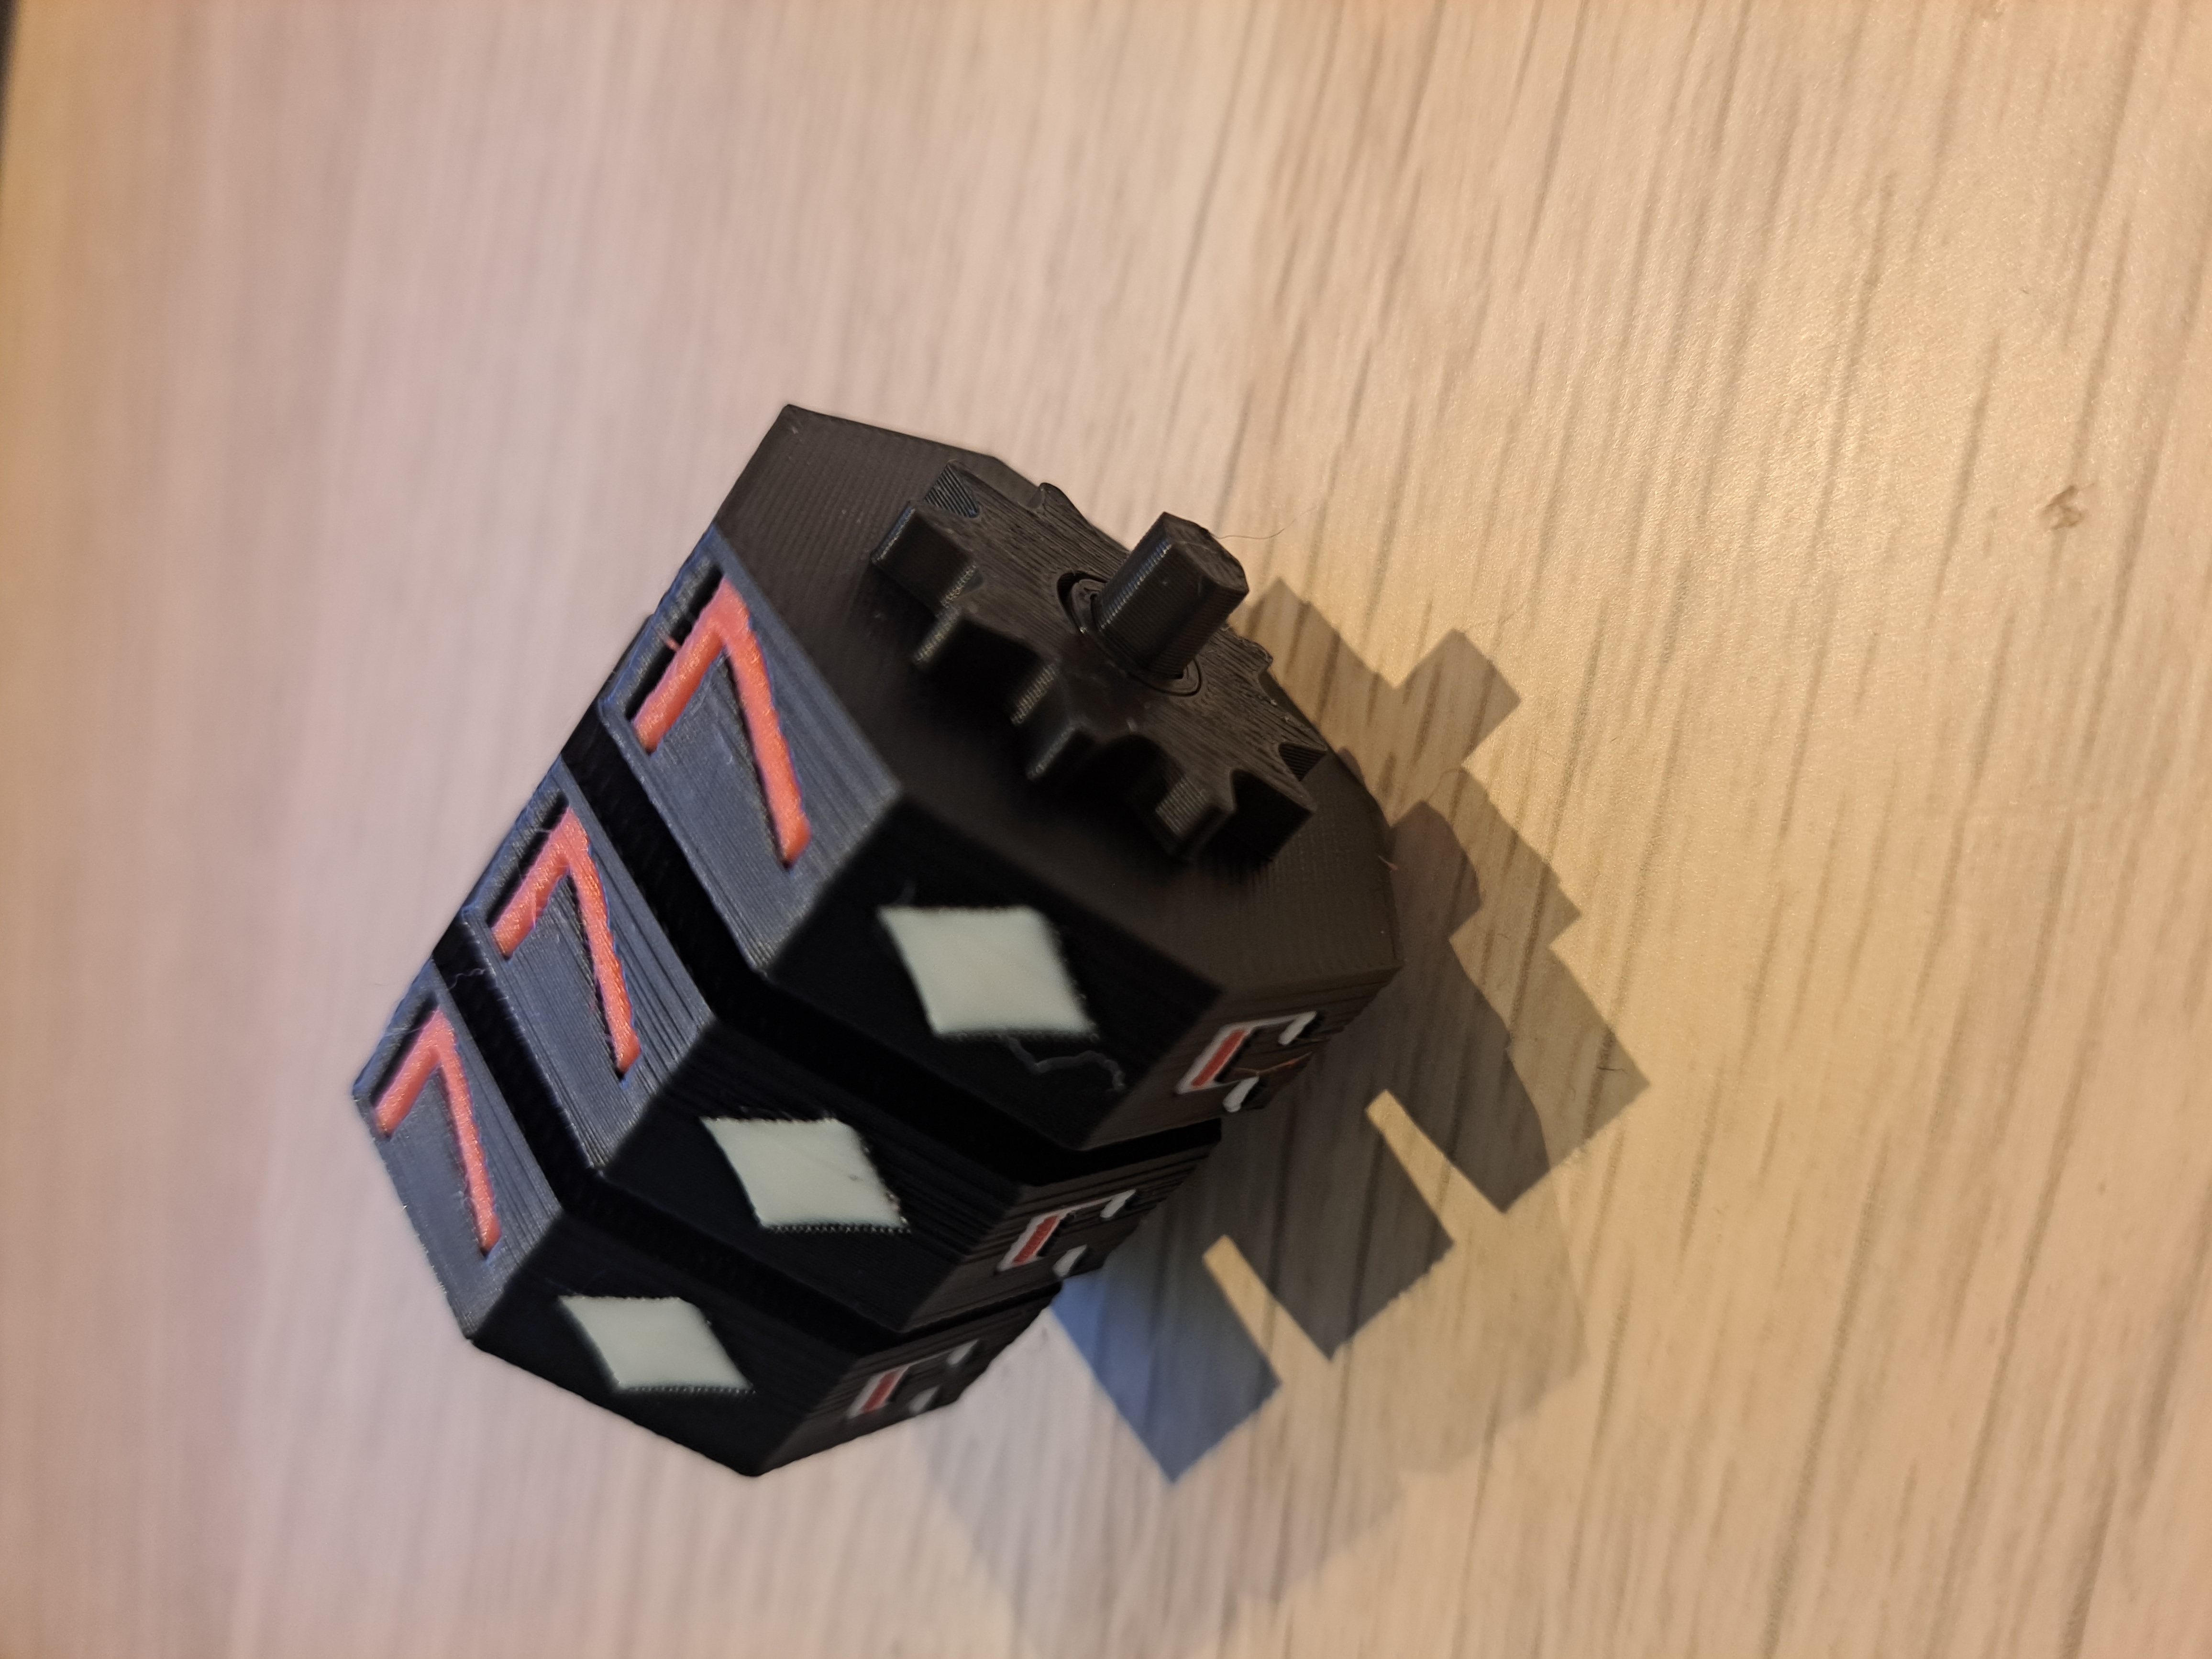
4. Before the Slots are ready, we need to place them into Body 1. You do this by directing one of the corners of the 6 Side for Slot downward. See the picture.
Attention: No glue should be used for this step.
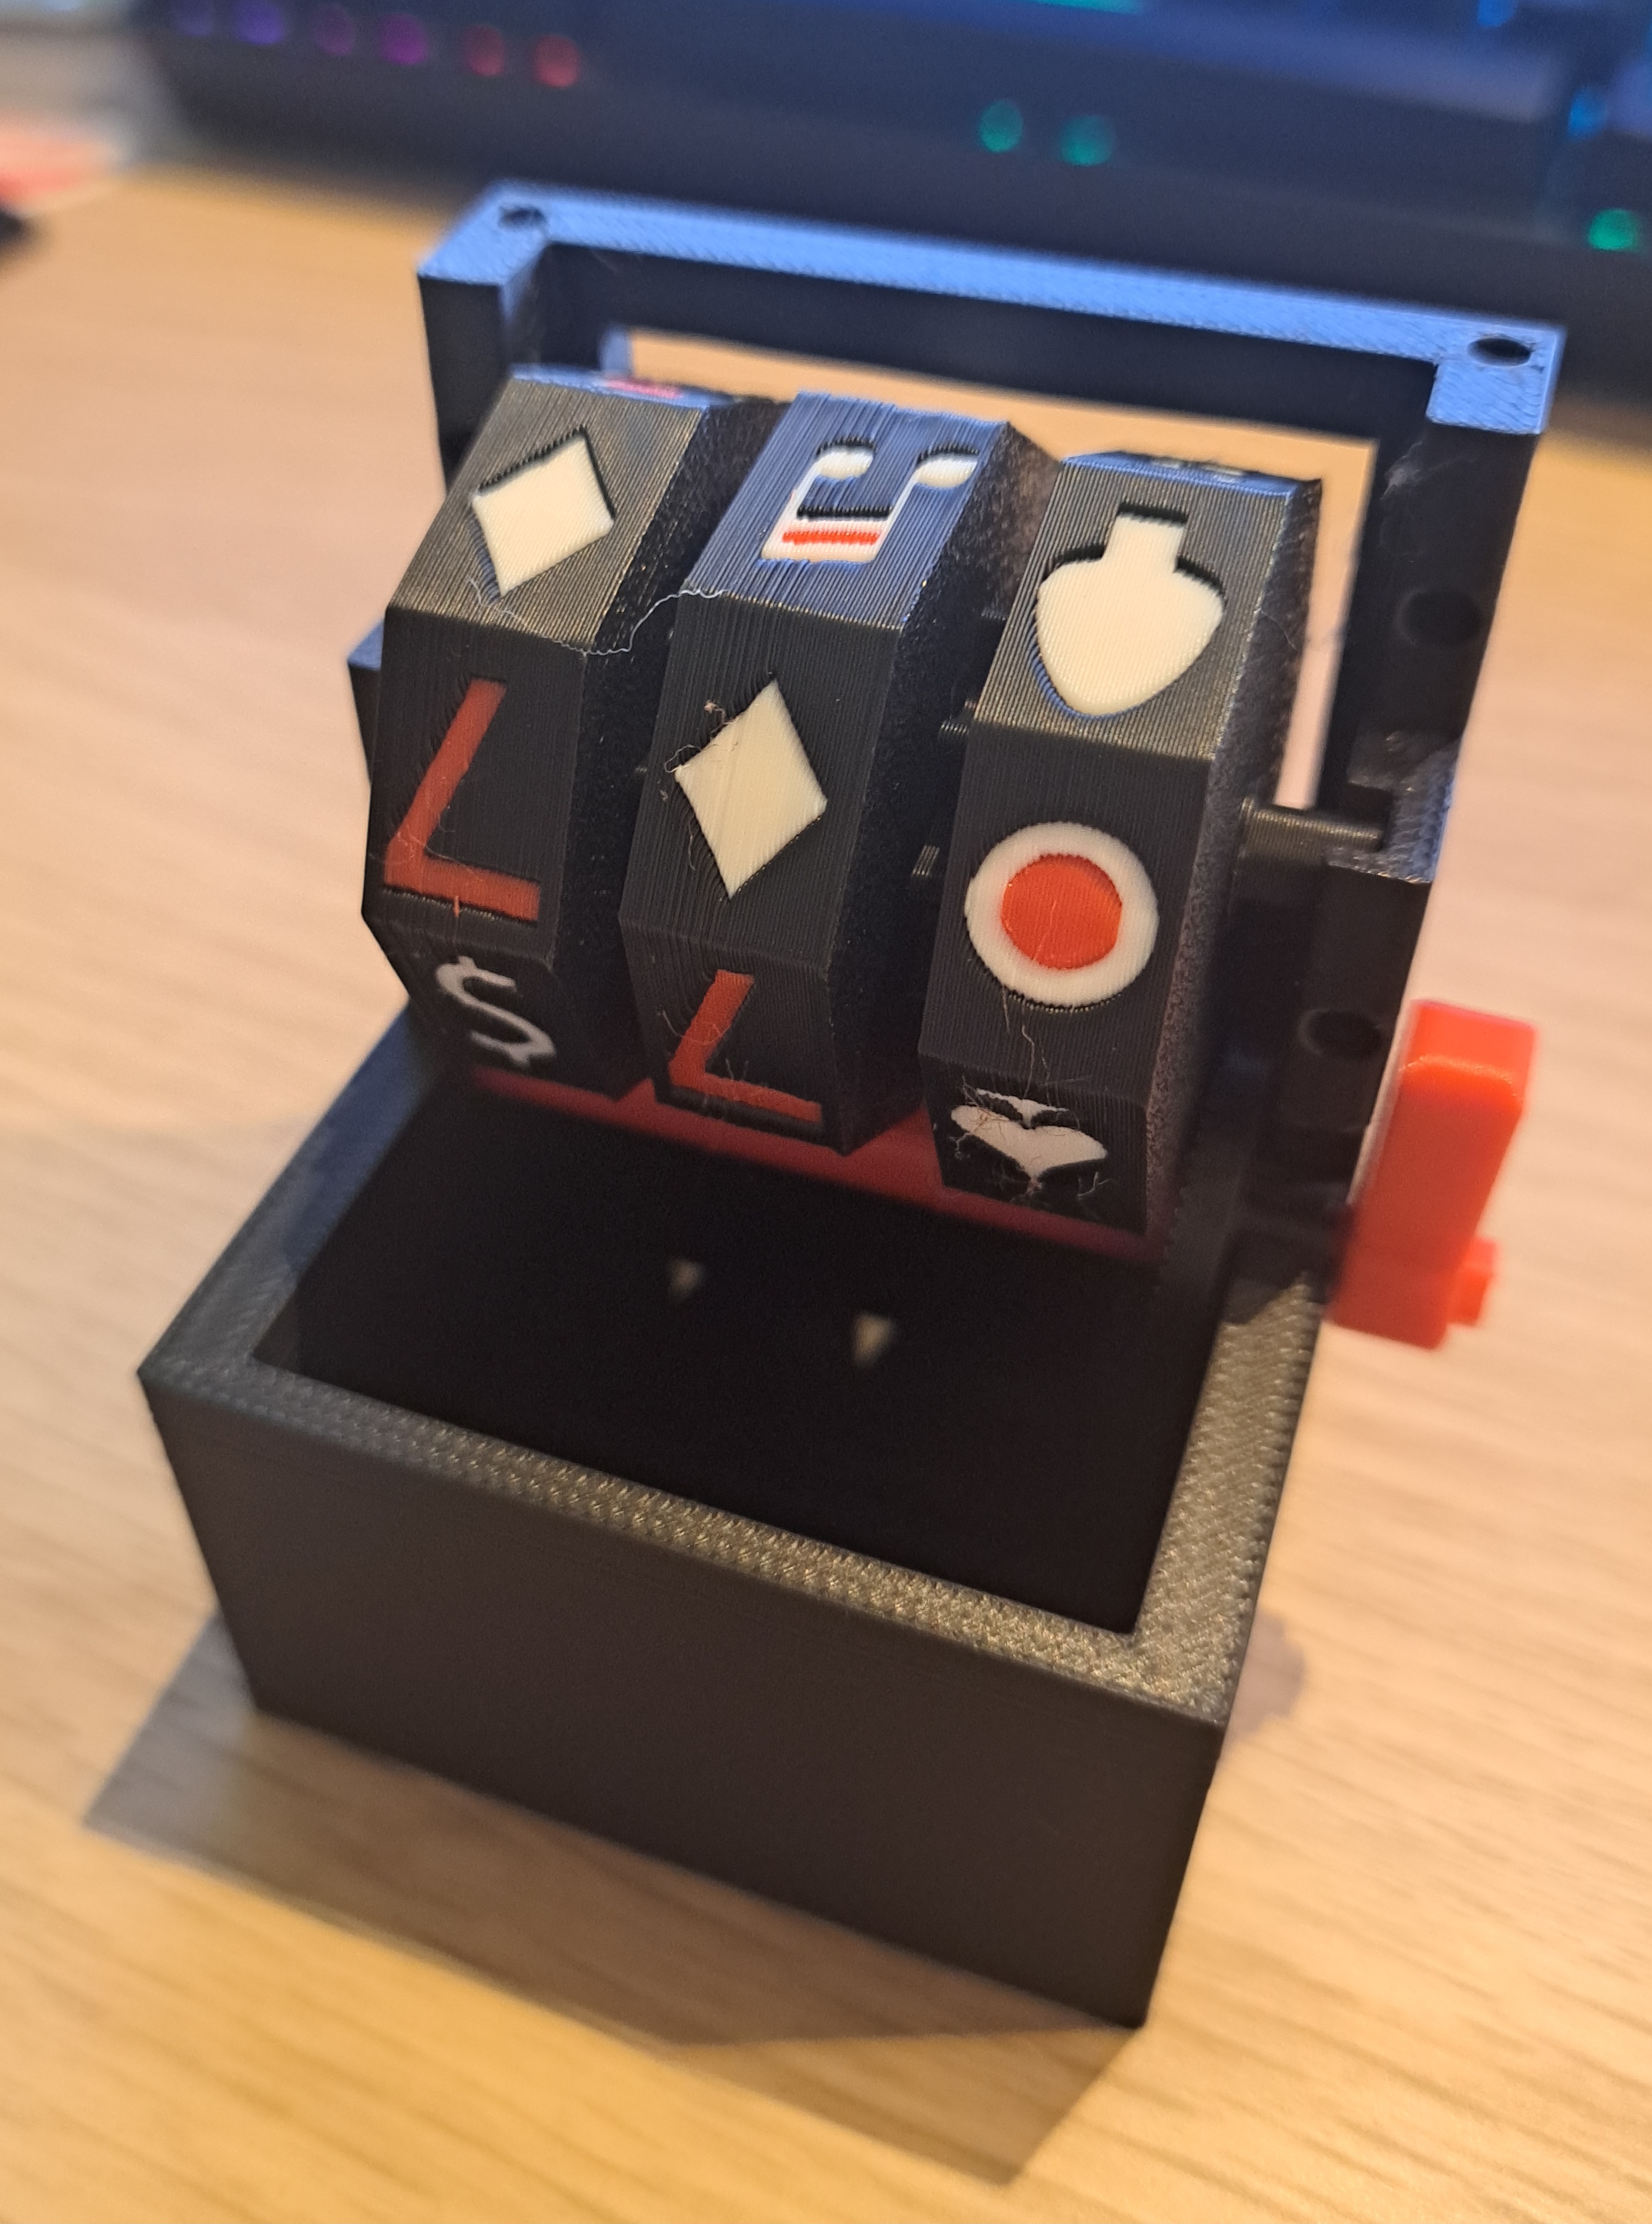
5. If we want to securely attach Body 2 to Body 1, this can be done using Mounting Pins. You need four of them.
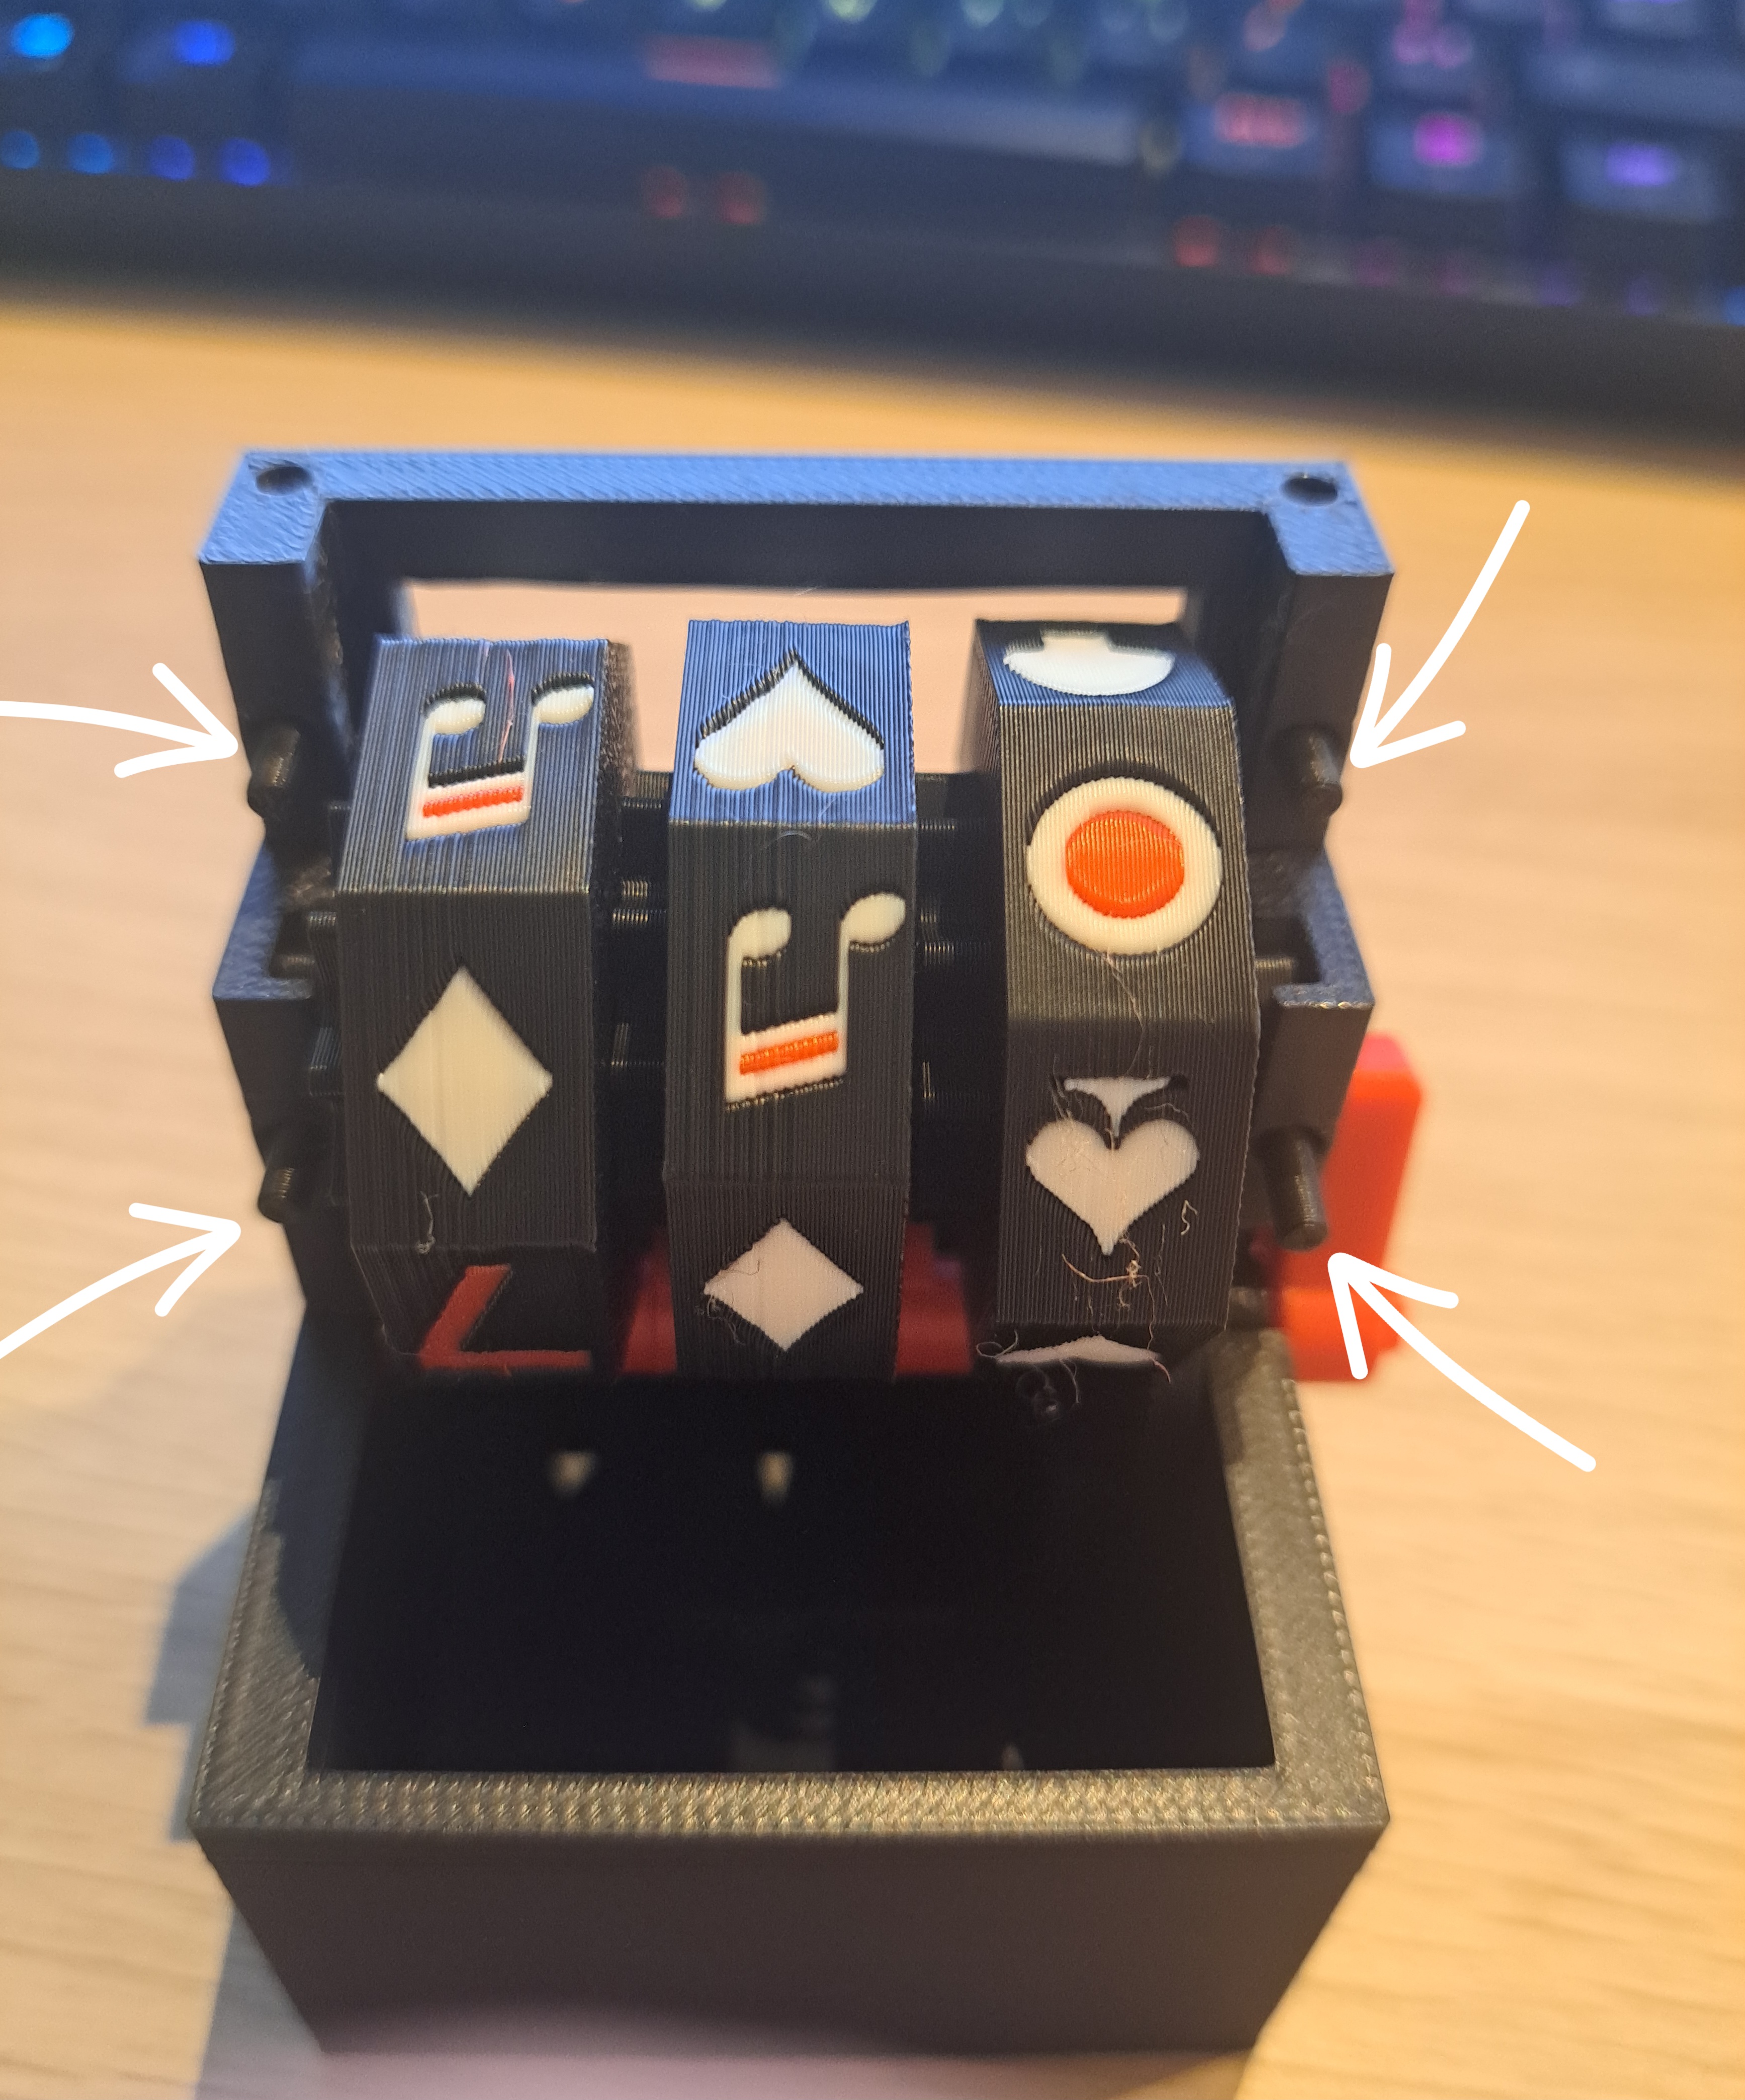
6. Now we will connect Body 1 and Body 2. We do this by sliding them from back to front.
Attention: It may get stuck near the Lever; if that happens, just push through.
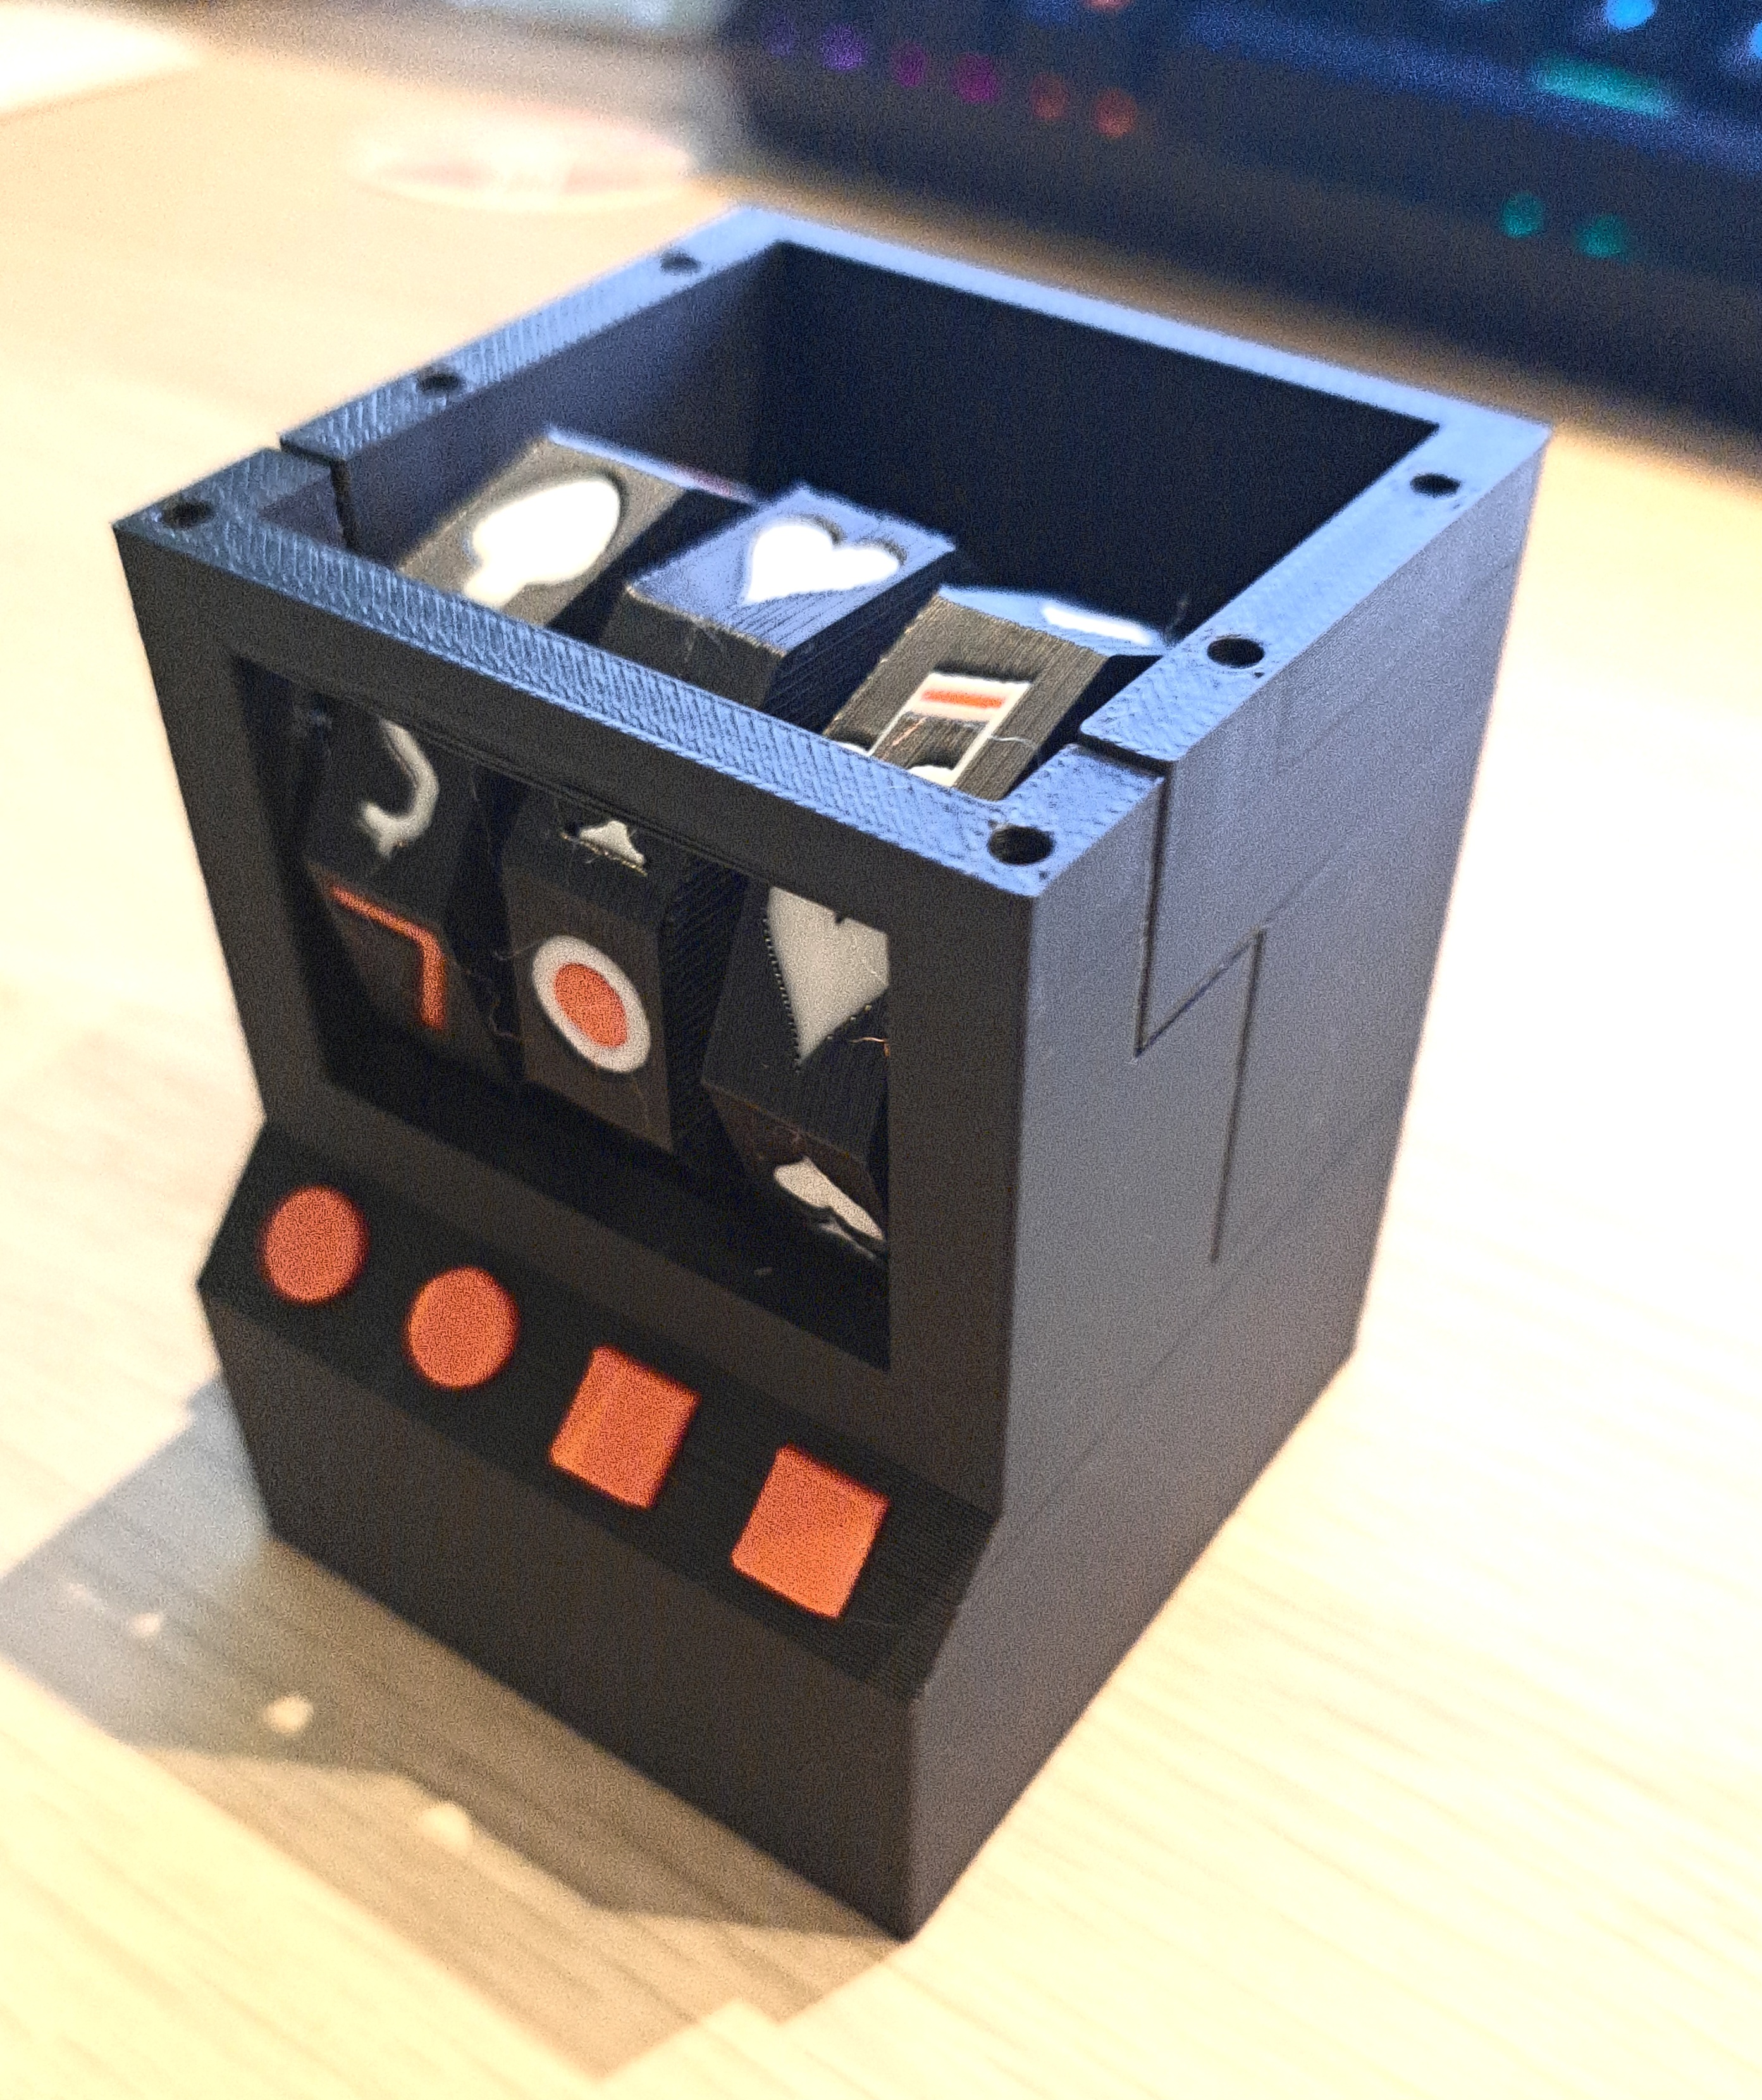
7. To securely attach the Roof to Body 1 and Body 2, we use six Mounting Pins.
Glue can also be applied here. See picture.
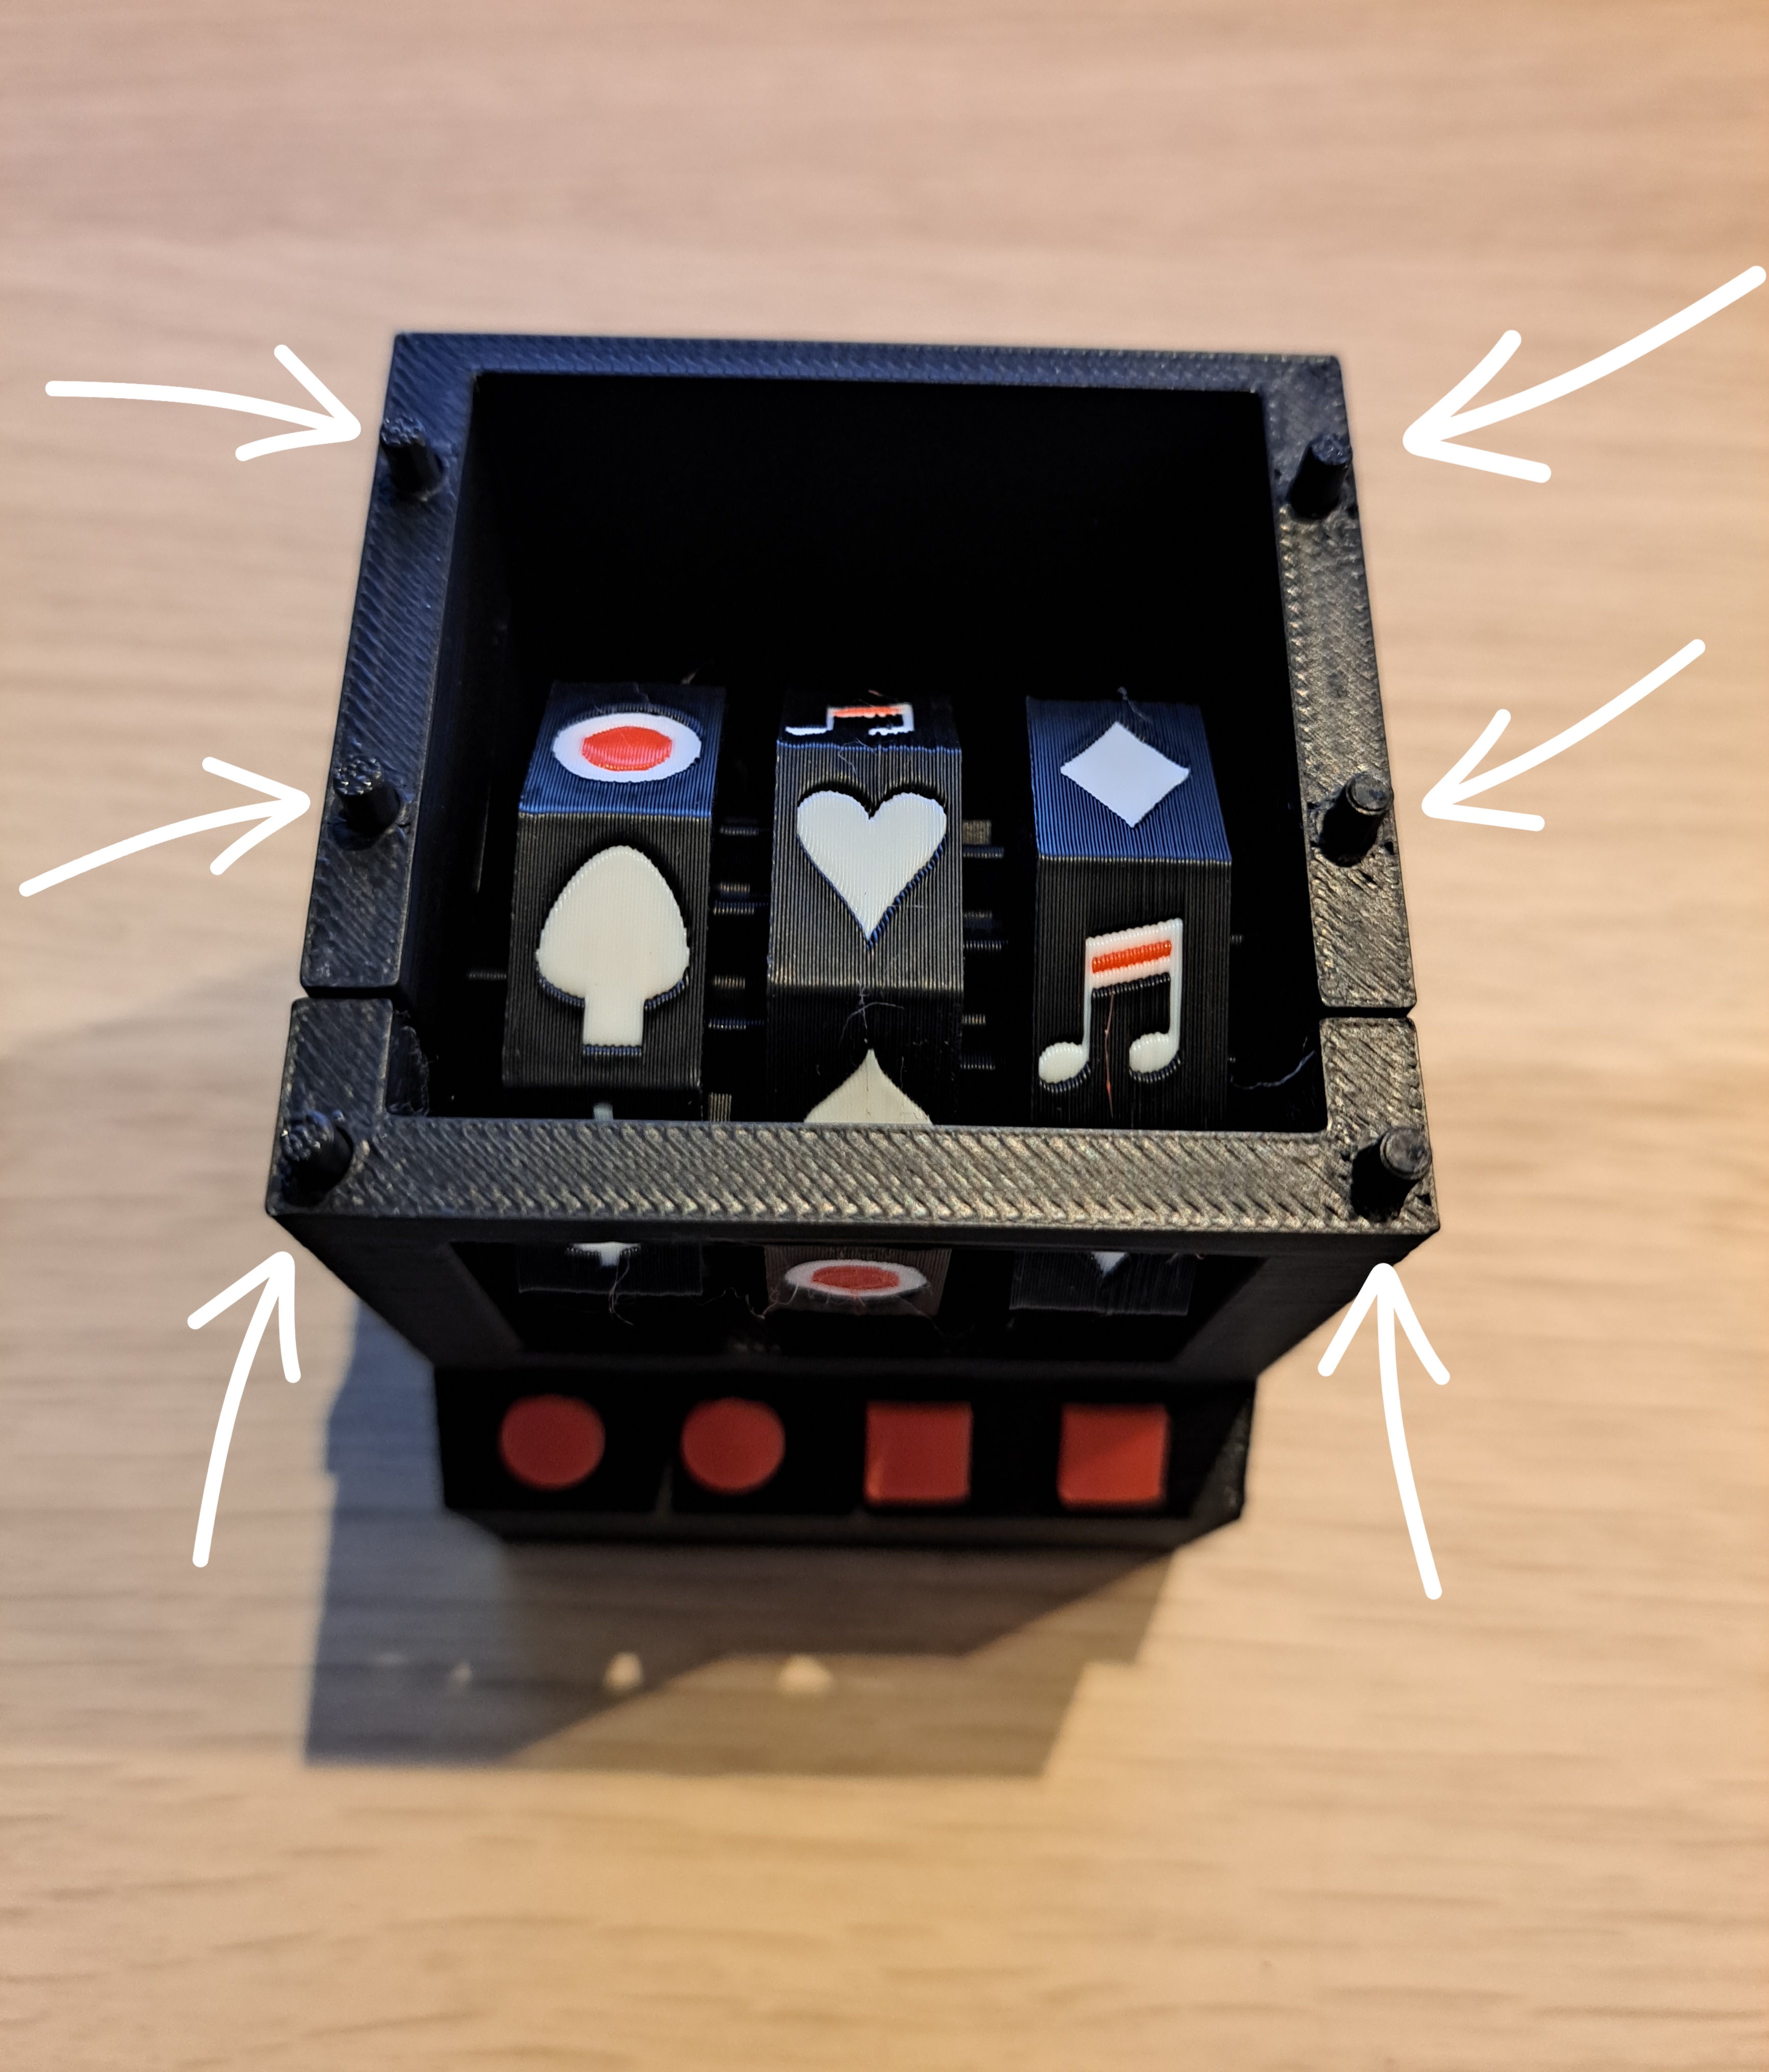
8. To secure the Advertising on Roof, you need two Paws for Advertising. You can easily place them into the Roof.
You may attach them to the Roof with glue.
Attention: The top pins can break easily.
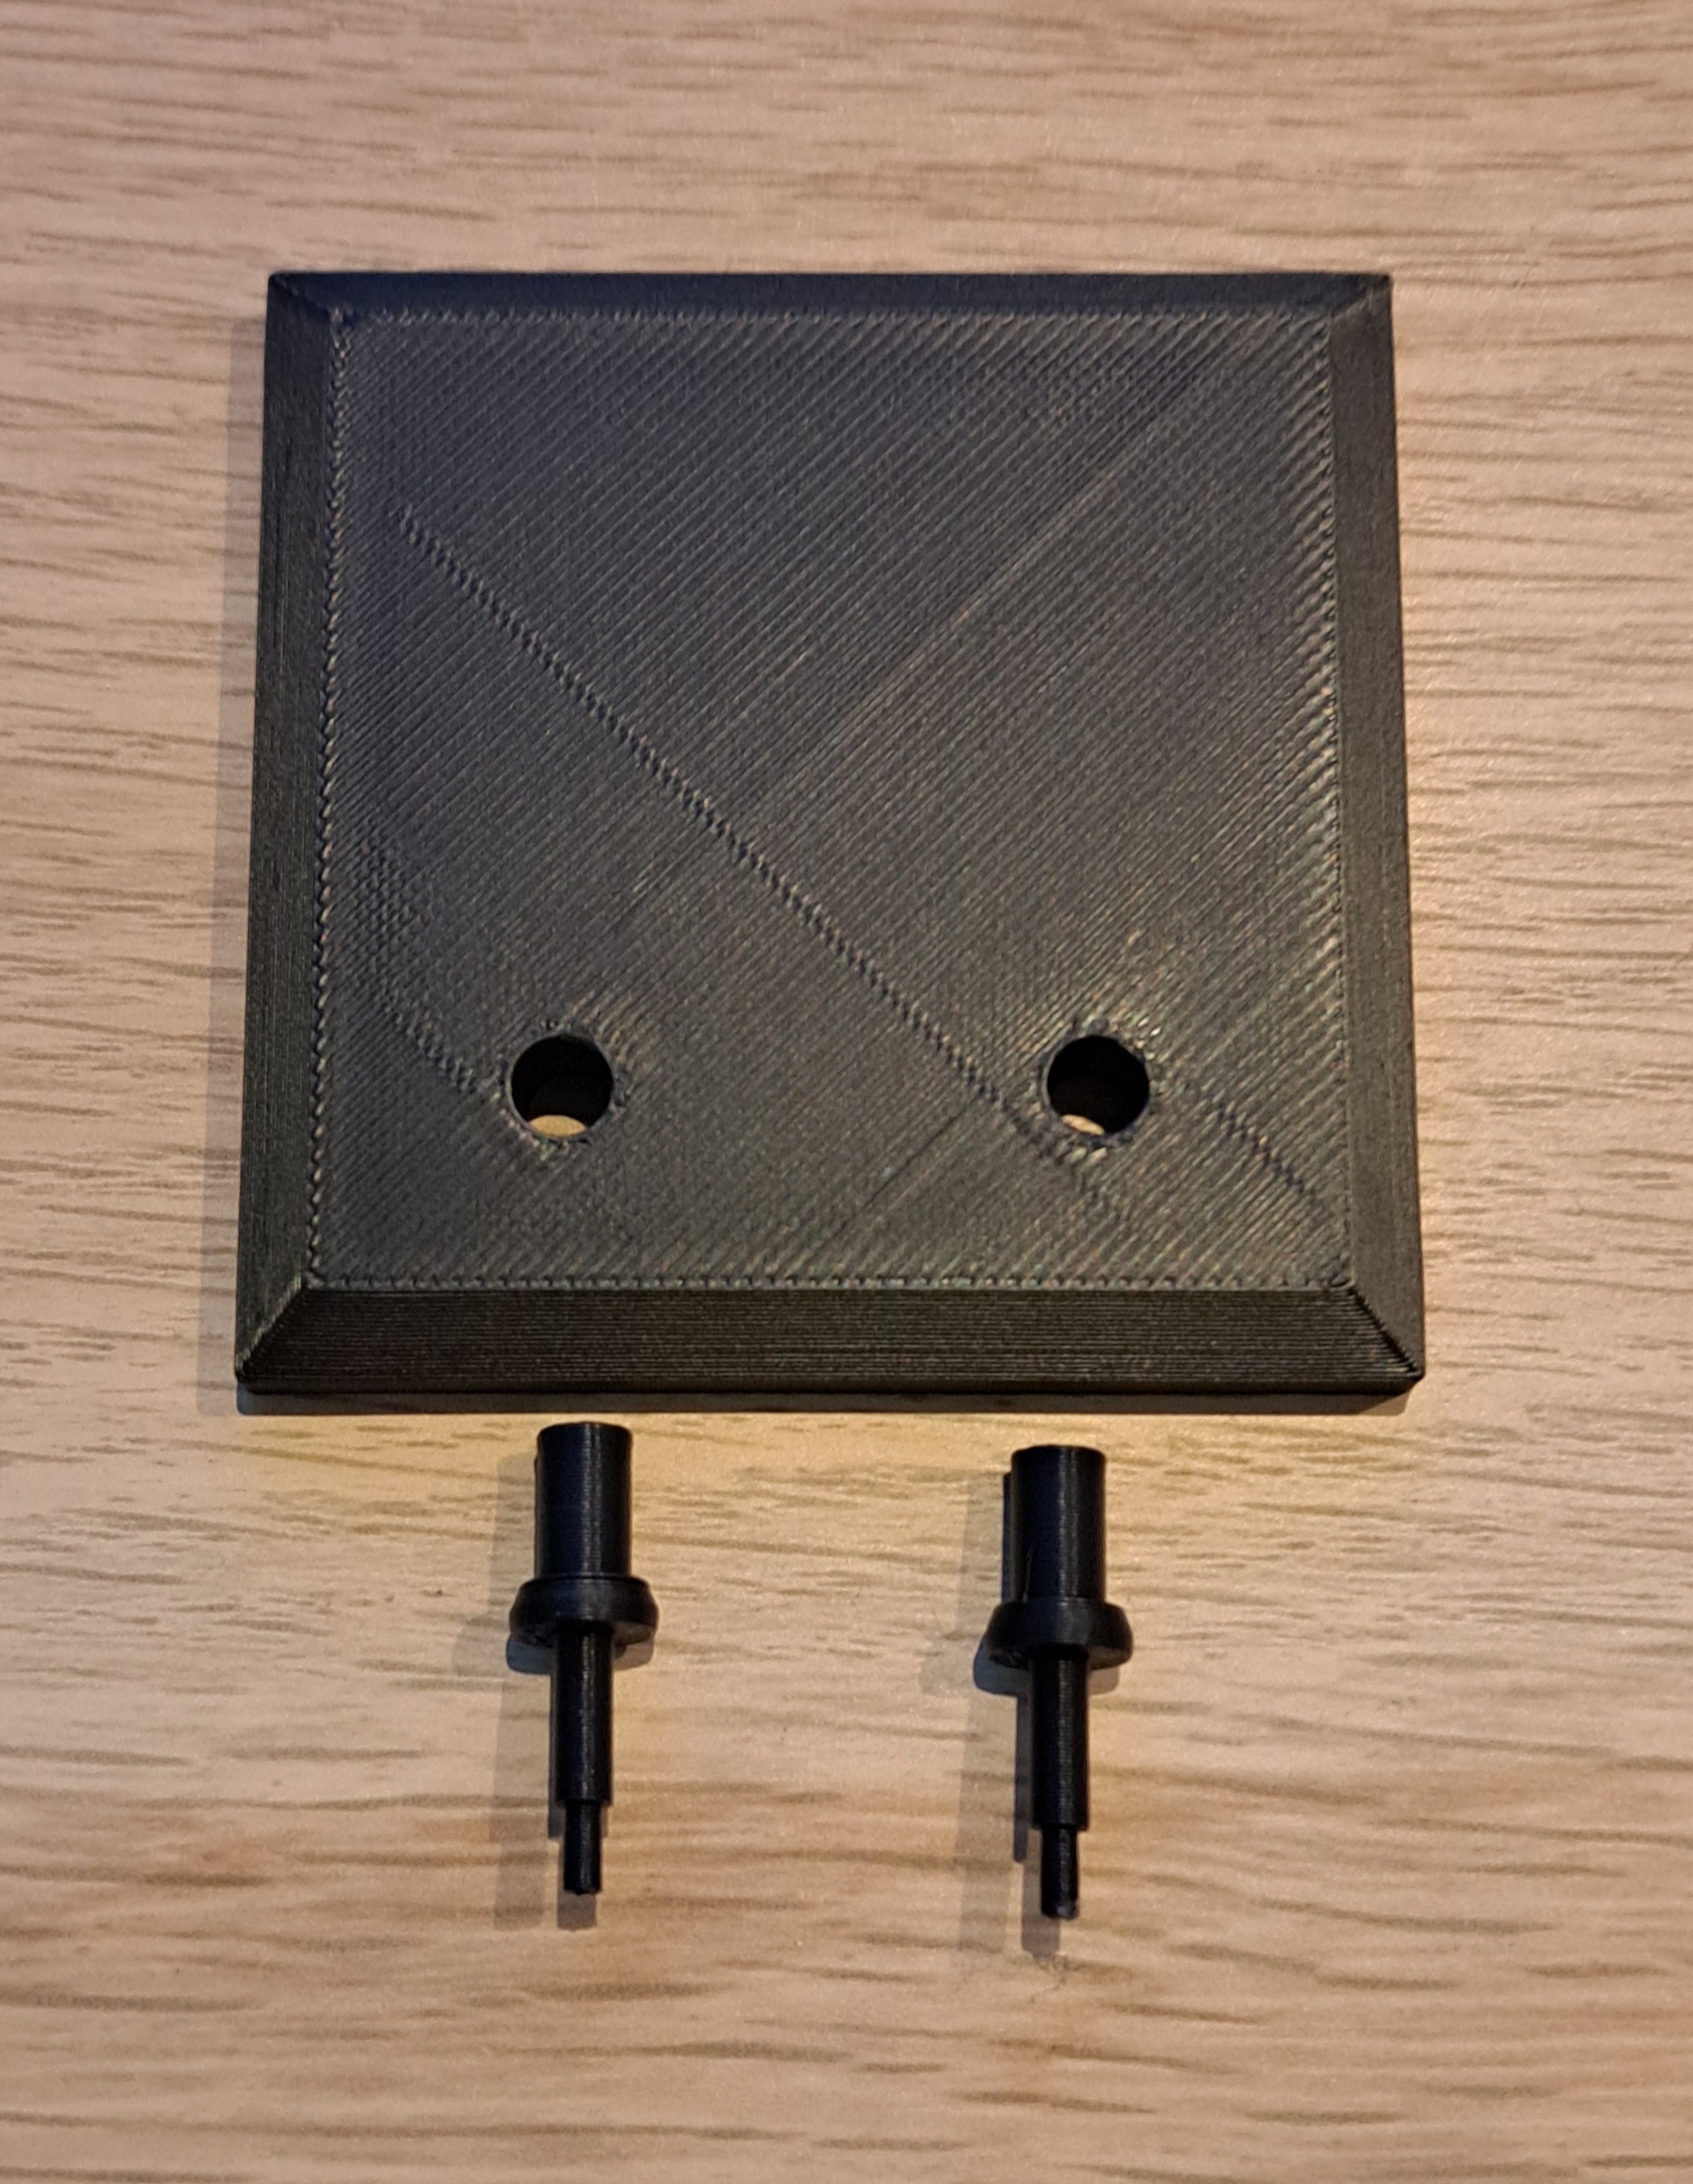
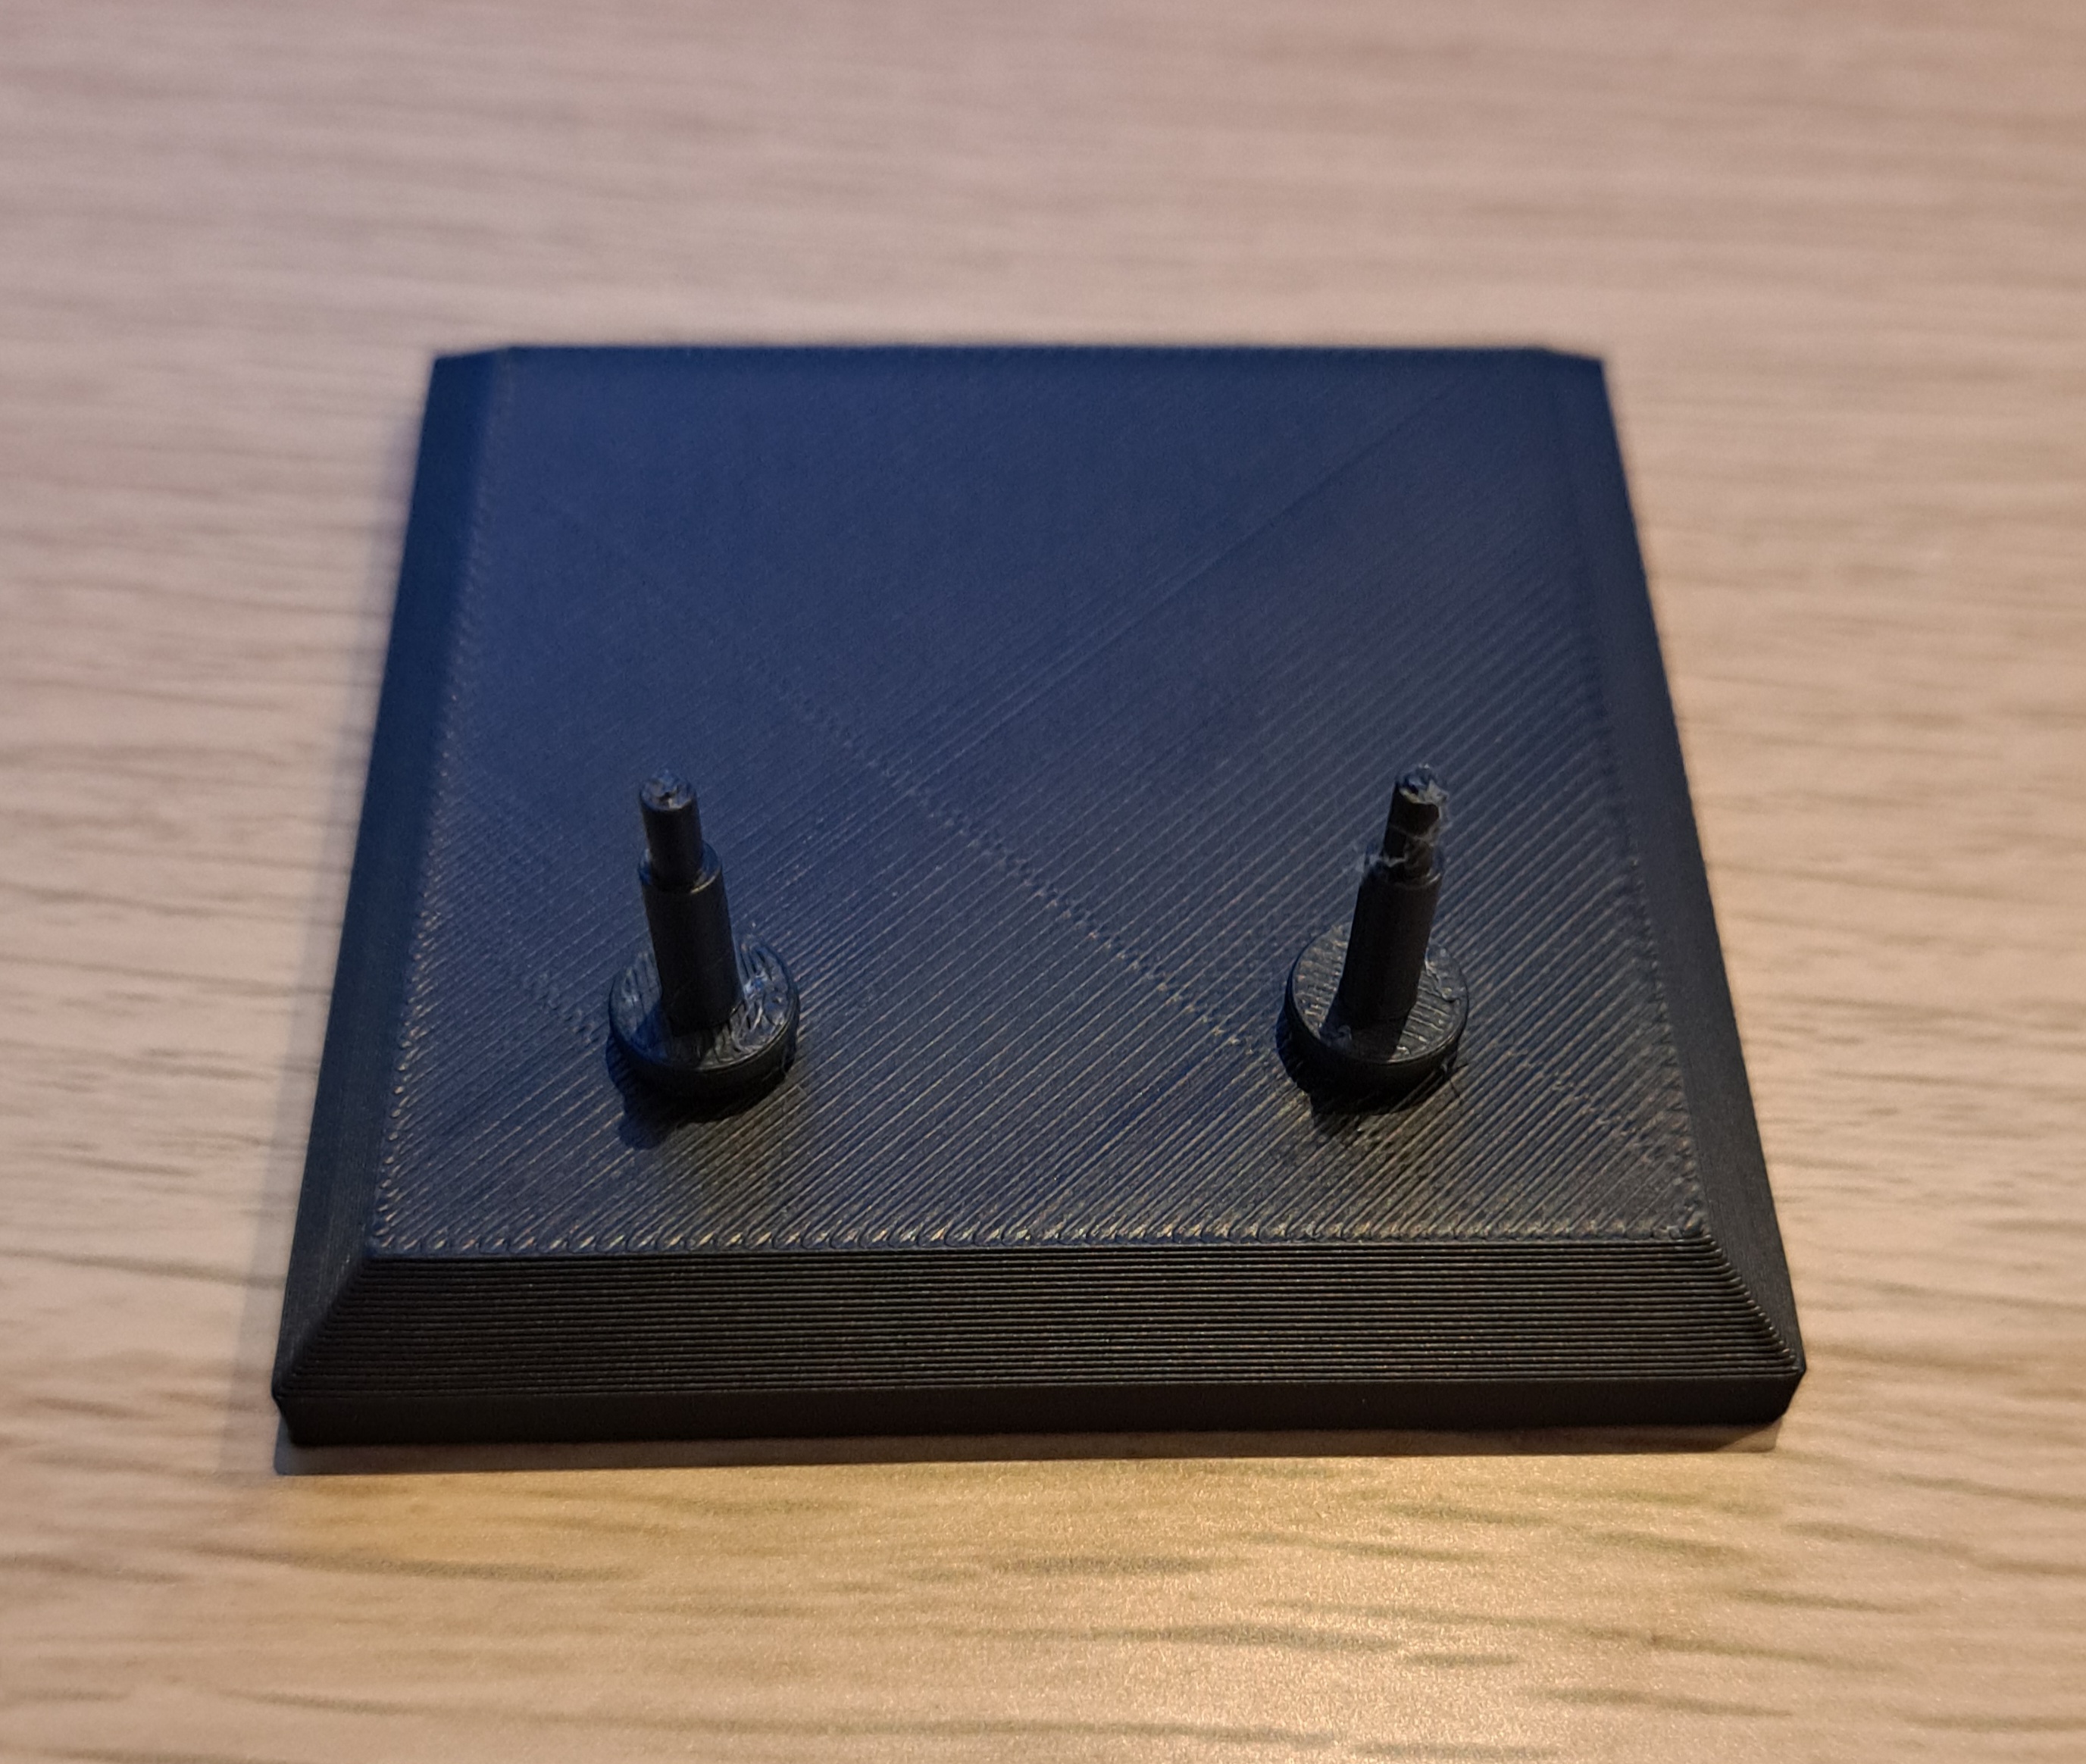
9. To reinforce the structure, we need to place the Roof on top. In Step 7, you inserted the Mounting Pins.
You may apply glue to the Mounting Pins again.
Press the Roof firmly to ensure it is securely attached!
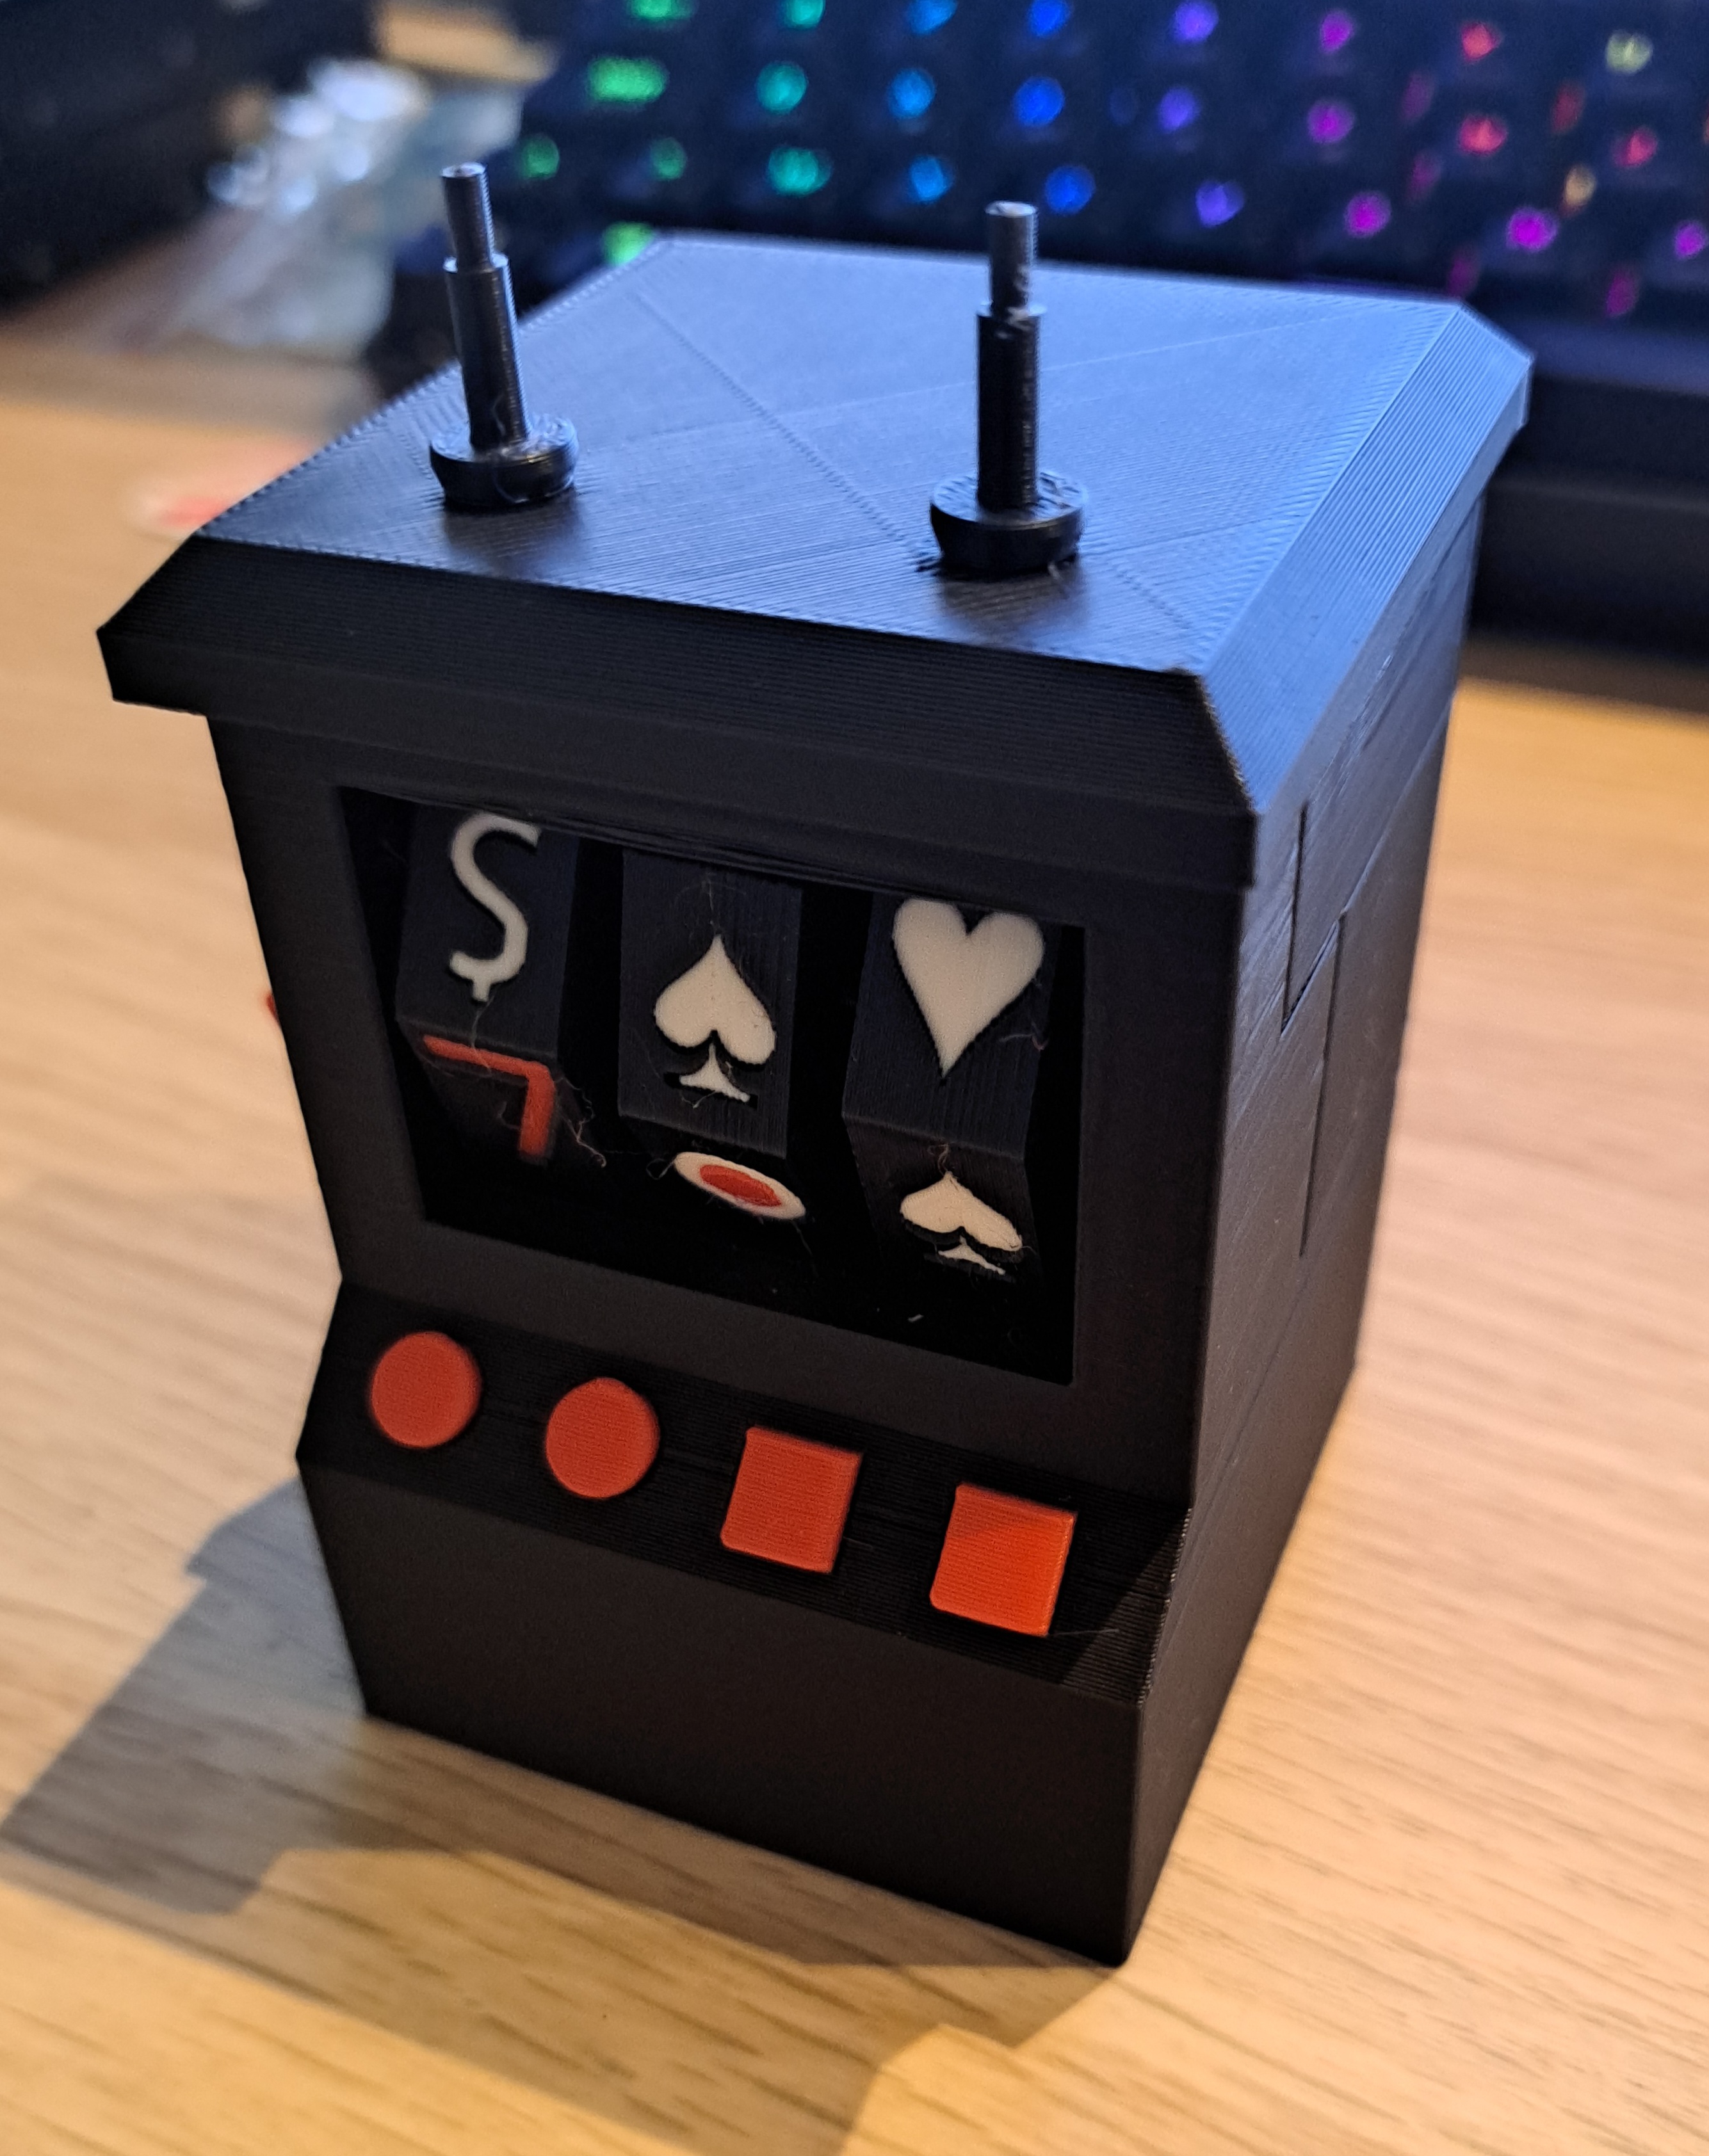
10. As the final step, we need to add the Advertising on Roof. We do this by carefully sliding it onto the pins of the Paws for Advertising.
You may also apply some glue in between.
Attention: The pins of the Paws for Advertising are fragile and can break easily.
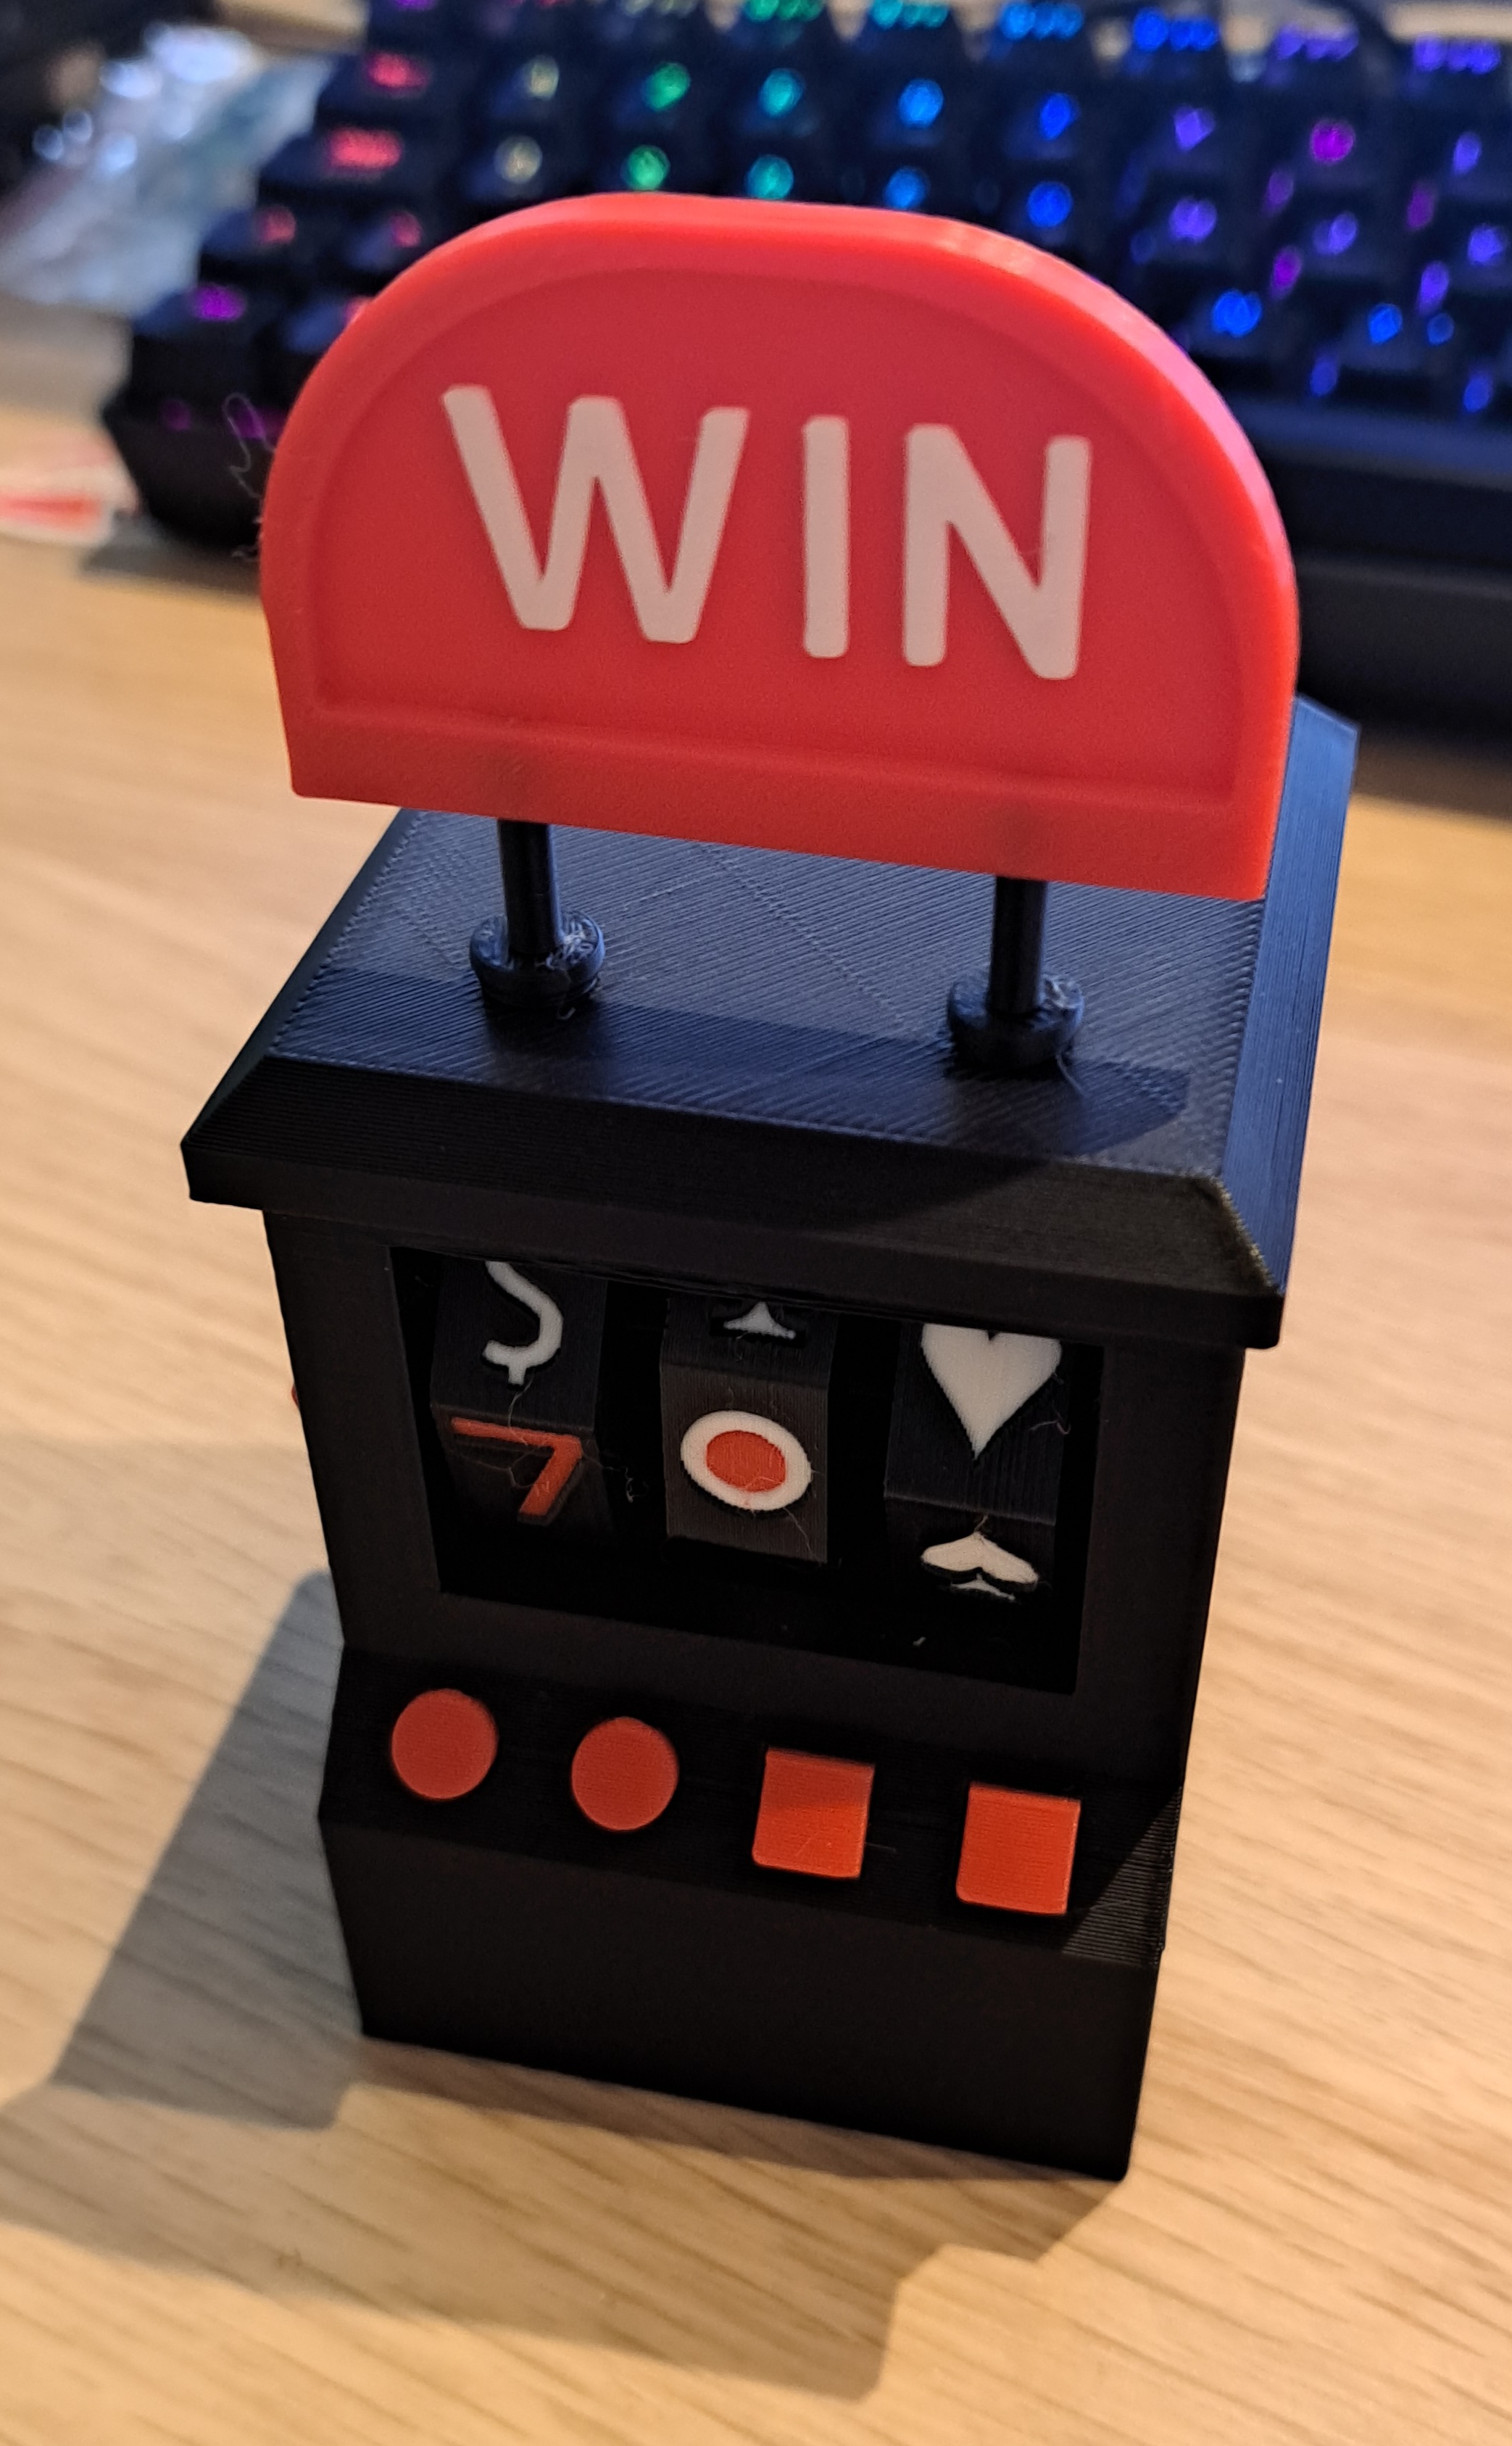
If you have completed all ten steps correctly, it should now be finished.
Can you move the slots? Does the lever work properly?
Yes? Then you've done a great job and achieved a fantastic final result!
Don’t forget to rate it.
Gostou deste modelo? Crie uma conta grátis para salvar seus favoritos e voltar a eles depois.
Criar conta