Você está no 3DFinder
Buscamos em Thingiverse, MakerWorld e Printables ao mesmo tempo para te dar o melhor de cada uma.
Descrição
What you need :
- Buttons, stick and controller like this one [https://www.amazon.fr/dp/B01HJKLAV6?ref_=ppx_hzsearch_conn_dt_b_fed_asin_title_1](https://www.amazon.fr/dp/B01HJKLAV6?ref_=ppx_hzsearch_conn_dt_b_fed_asin_title_1)
- M3 brass inserts [https://www.amazon.fr/dp/B0BZVGQ91H?ref_=ppx_hzsearch_conn_dt_b_fed_asin_title_2](https://www.amazon.fr/dp/B0BZVGQ91H?ref_=ppx_hzsearch_conn_dt_b_fed_asin_title_2)
- M3 screws [https://www.amazon.fr/dp/B09BJFM8W4?ref_=ppx_hzsearch_conn_dt_b_fed_asin_title_3](https://www.amazon.fr/dp/B09BJFM8W4?ref_=ppx_hzsearch_conn_dt_b_fed_asin_title_3)
Description :
This model is 250 x 150 x 47 mm so it fits my Bambu P1S print bed.
I was inspired by the design of the 8BitDo Arcade Stick.
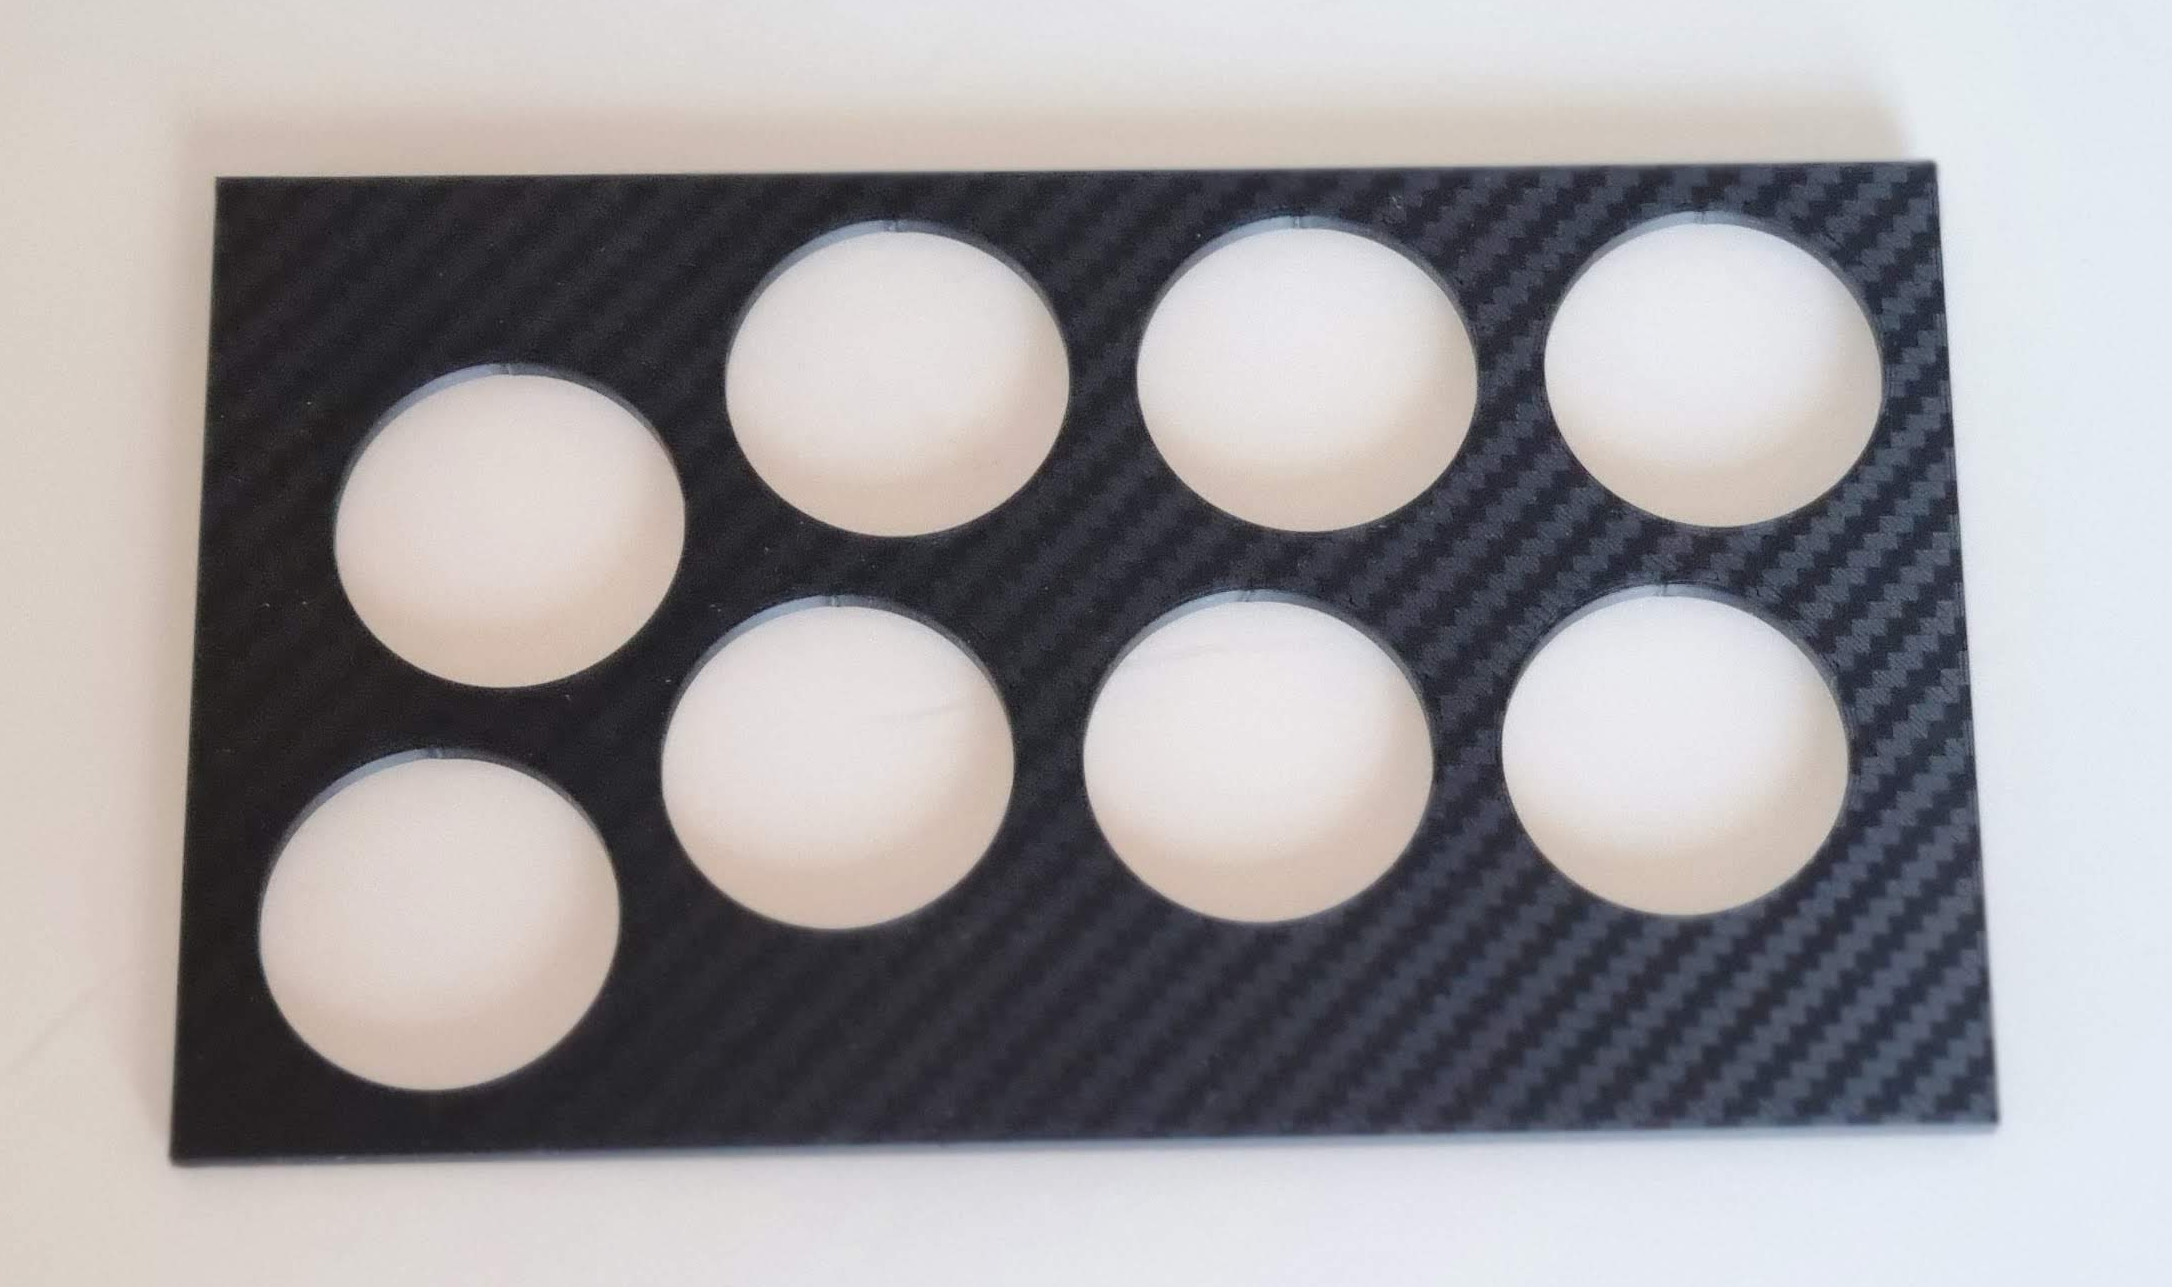
I used the Textured PEI Plate for the top and bottom parts and the 3D Effect Carbon Fiber Plate for the buttons base.
If you don't want to make a multicolor model there is a file for that (Arcade-stick_top-full)
Printing :
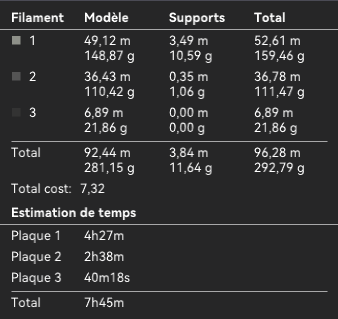
I used basic print settings with a 0.4mm nozzle and 0.2mm layer height with supports and brim activated.
It is a little less than 300g and around 8hours of printing
Assembly :
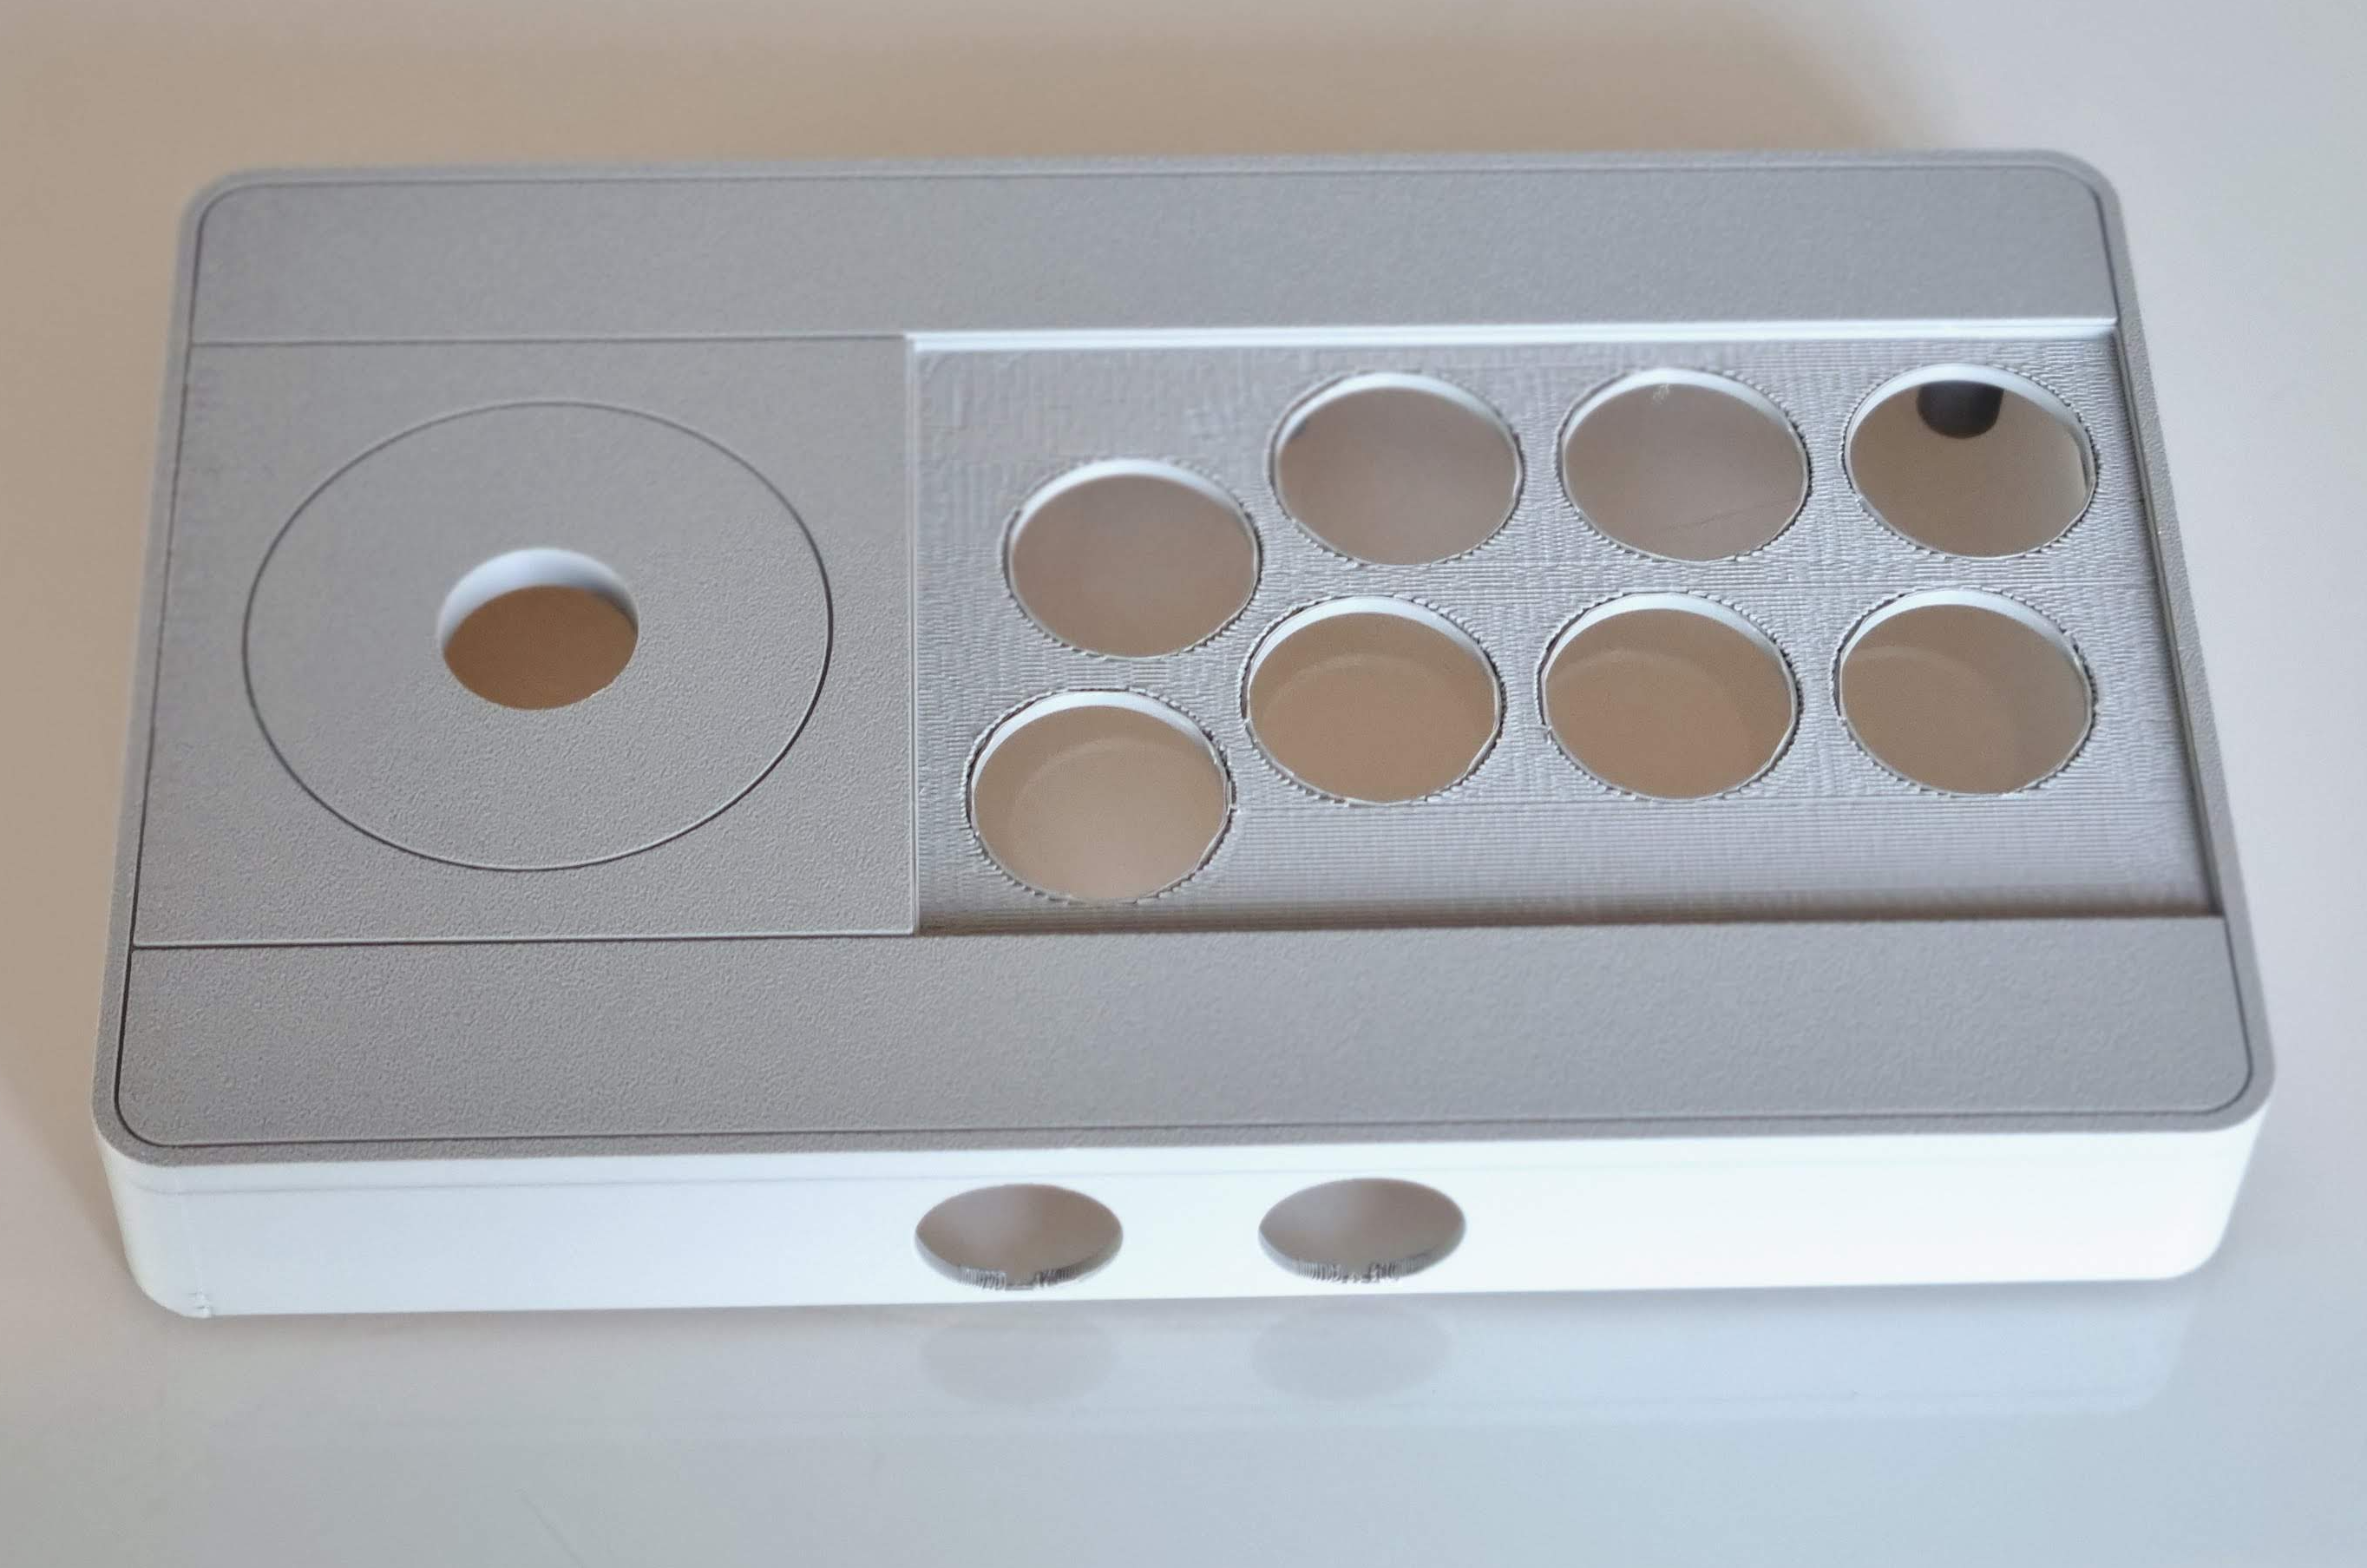
- Print the top part and remove the supports.
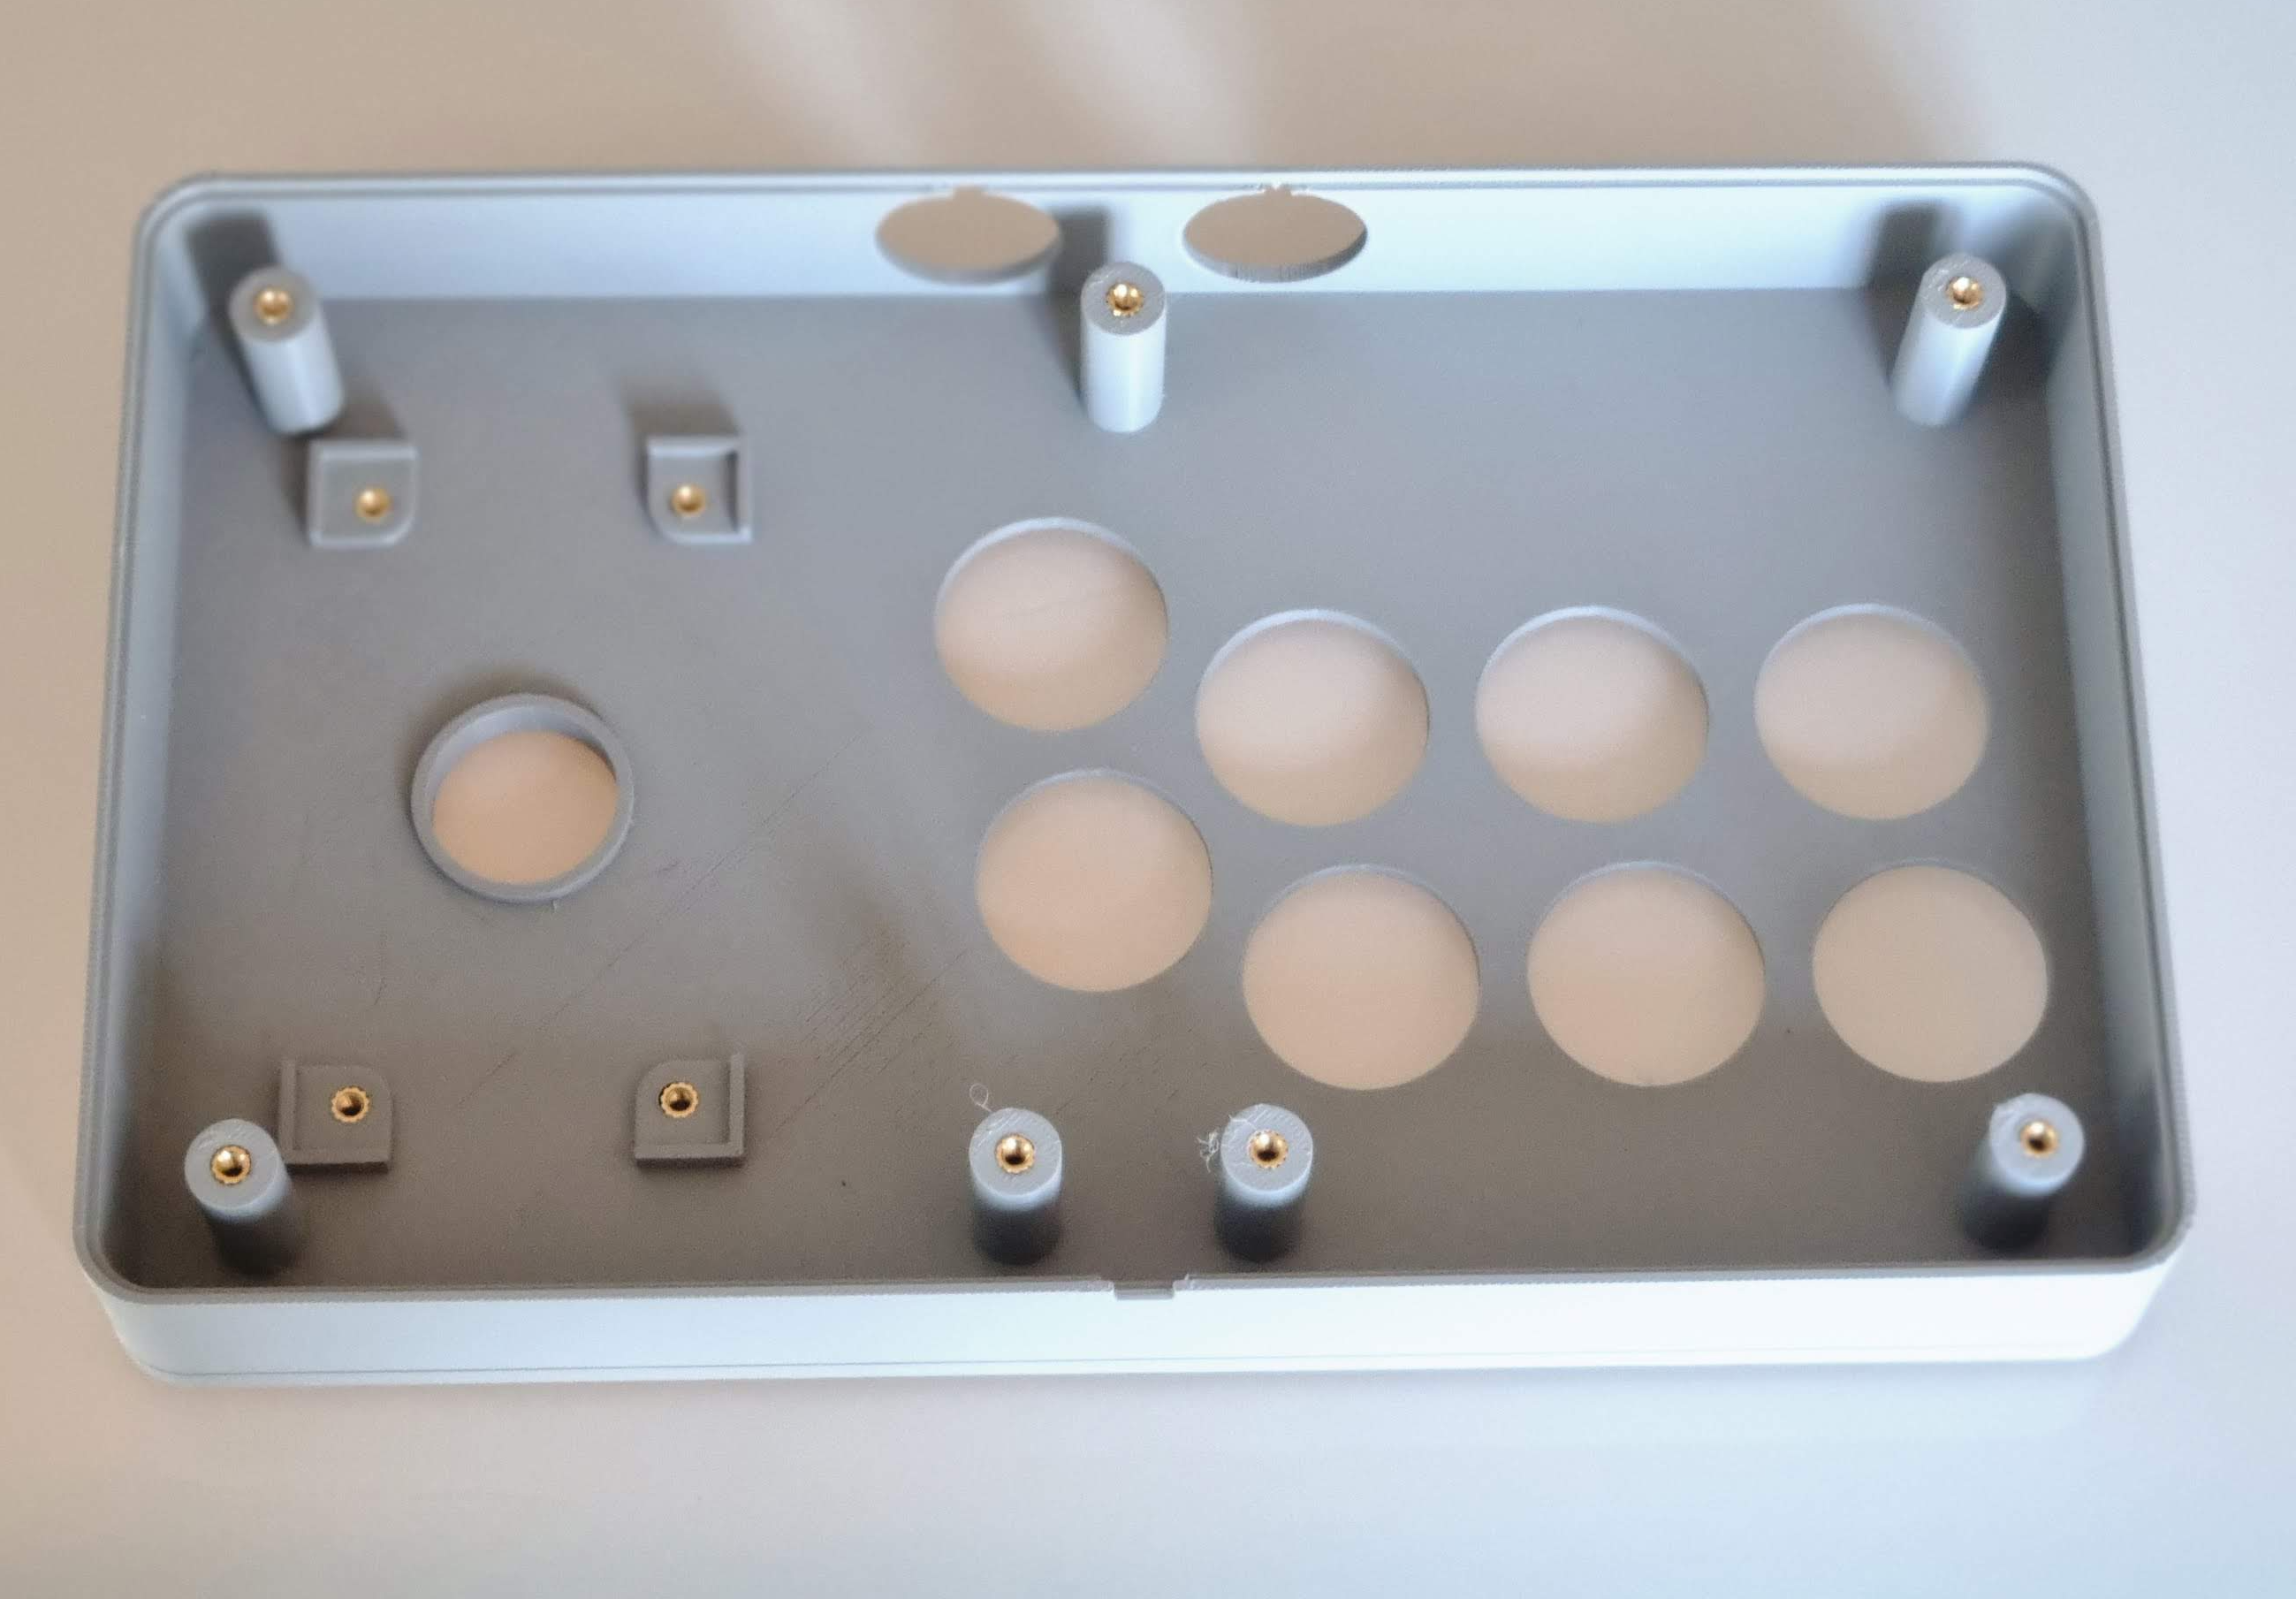
- With a soldering iron, place the inserts. There are 4 for holding the stick and 7 more to close the box.
- Print the buttons base.
- Snap it into the top part, it should be enough but you can glue it if you want.
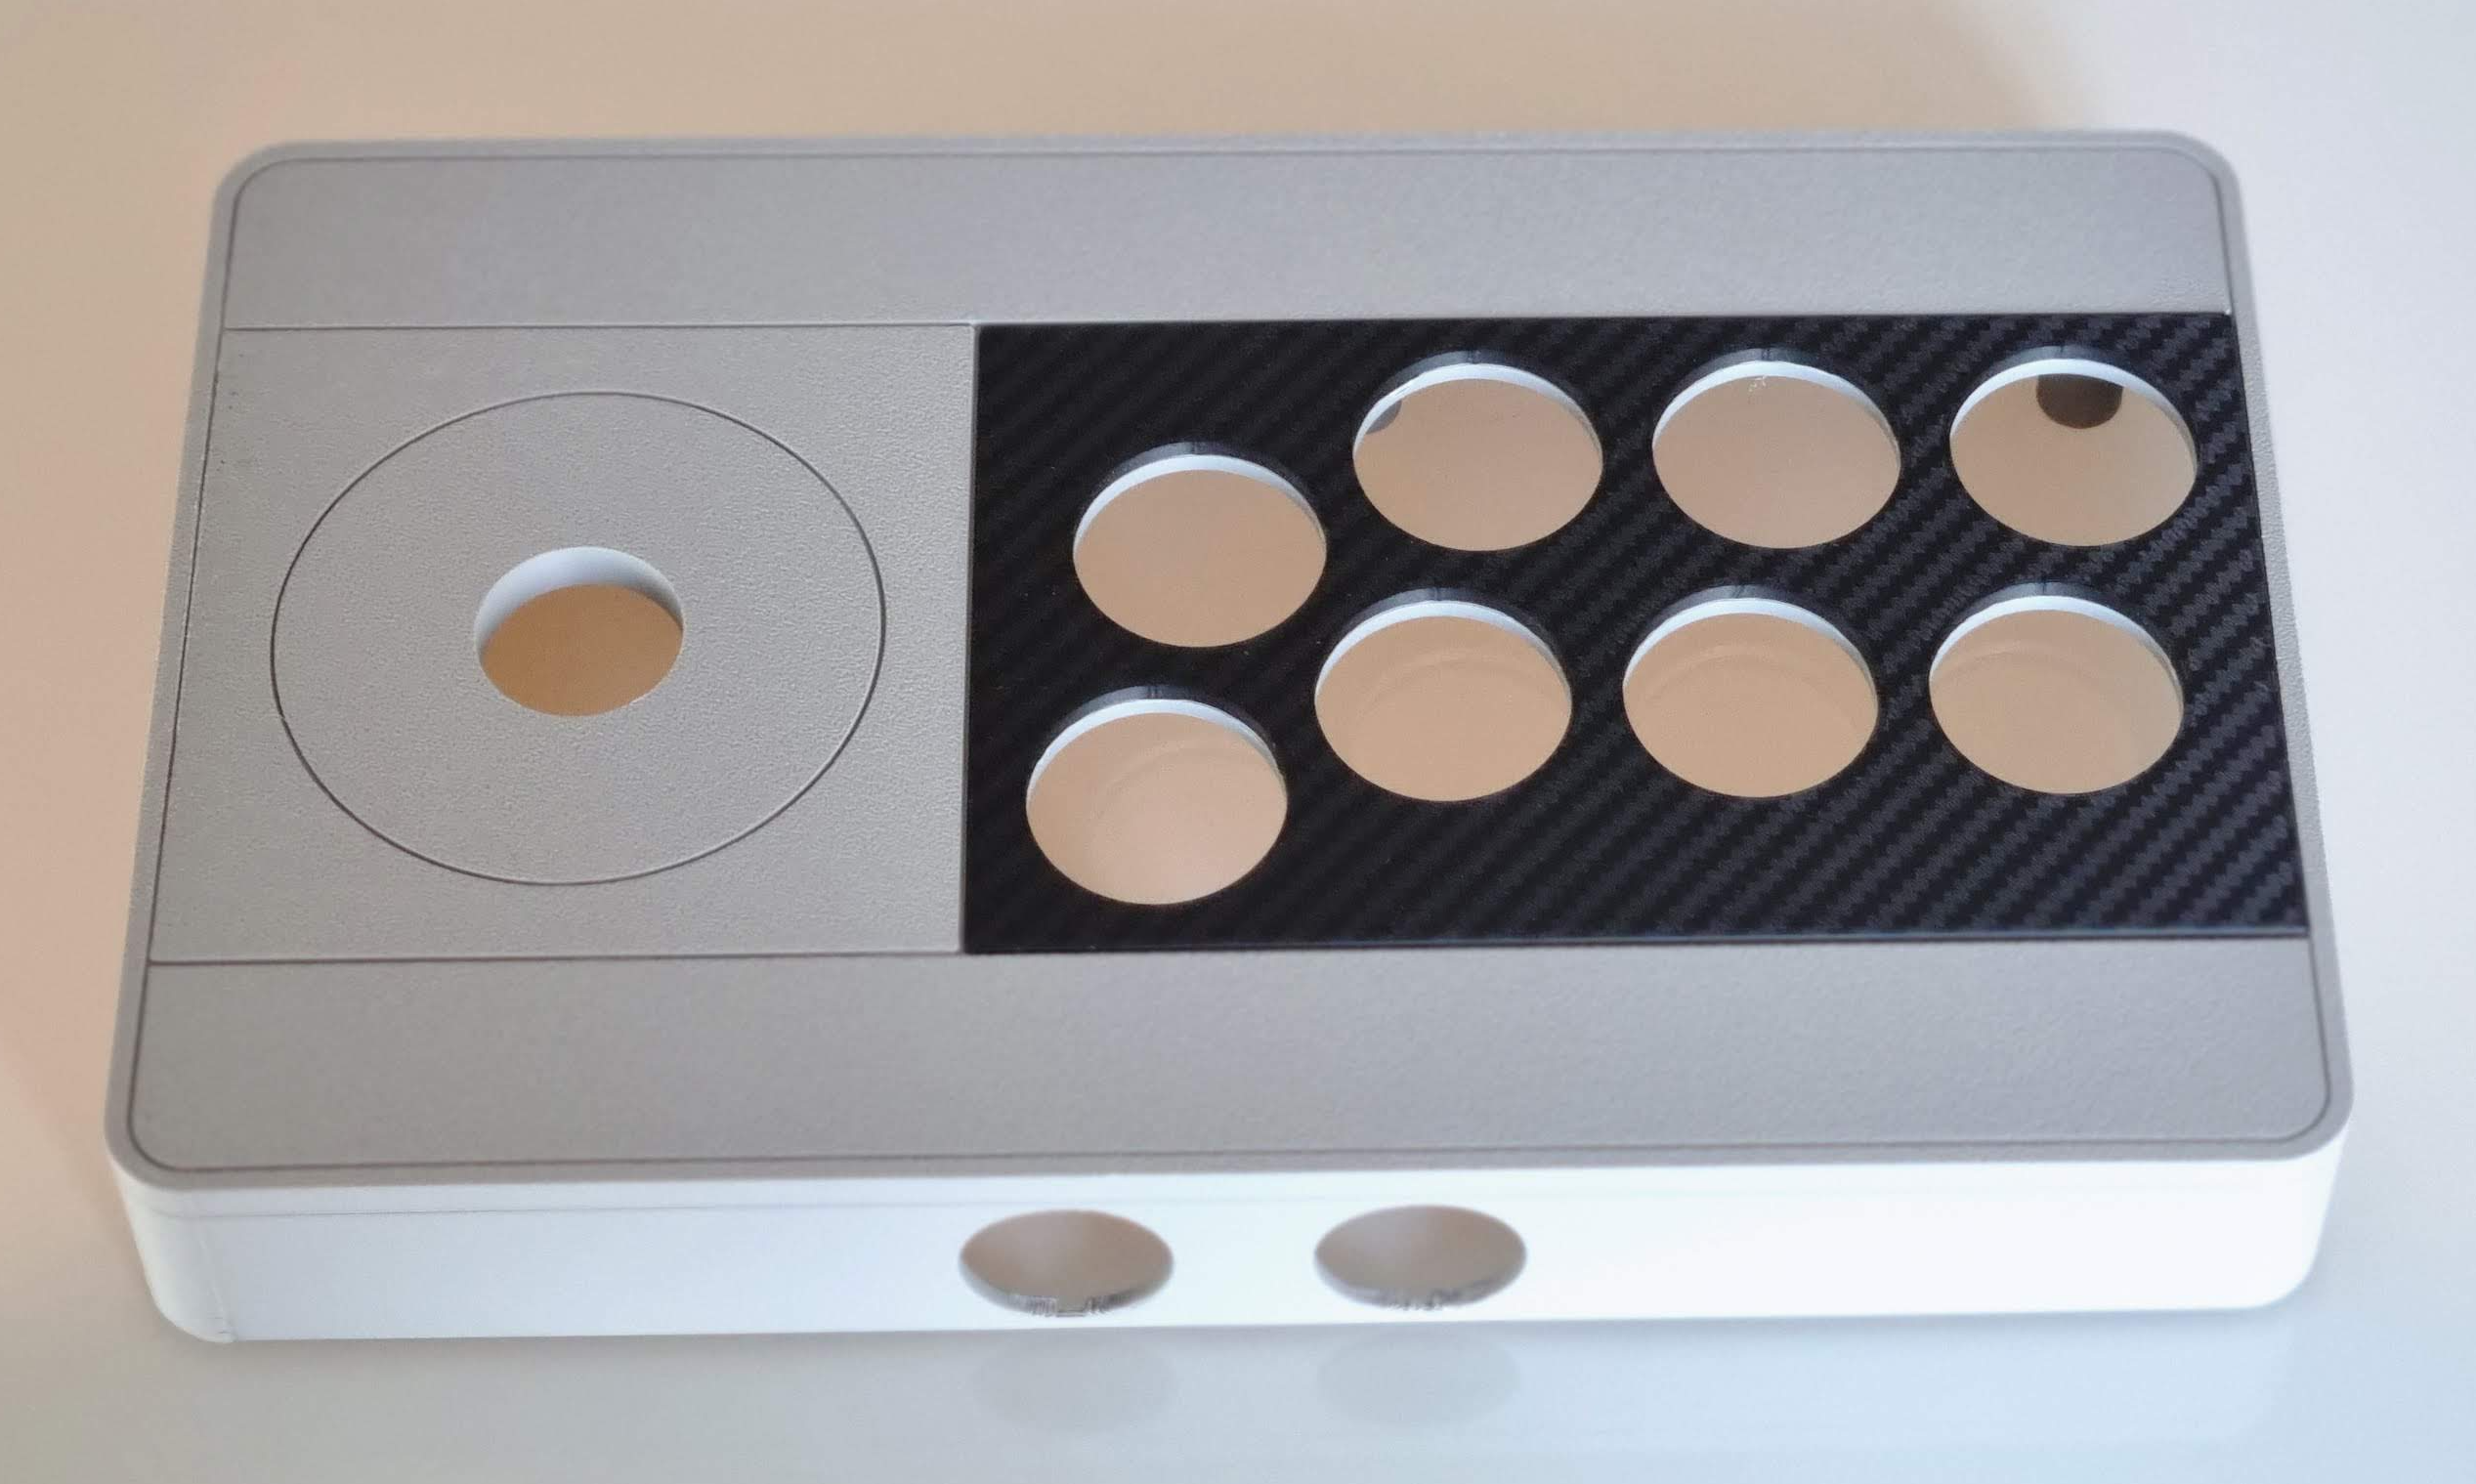
- Screw the stick in place.
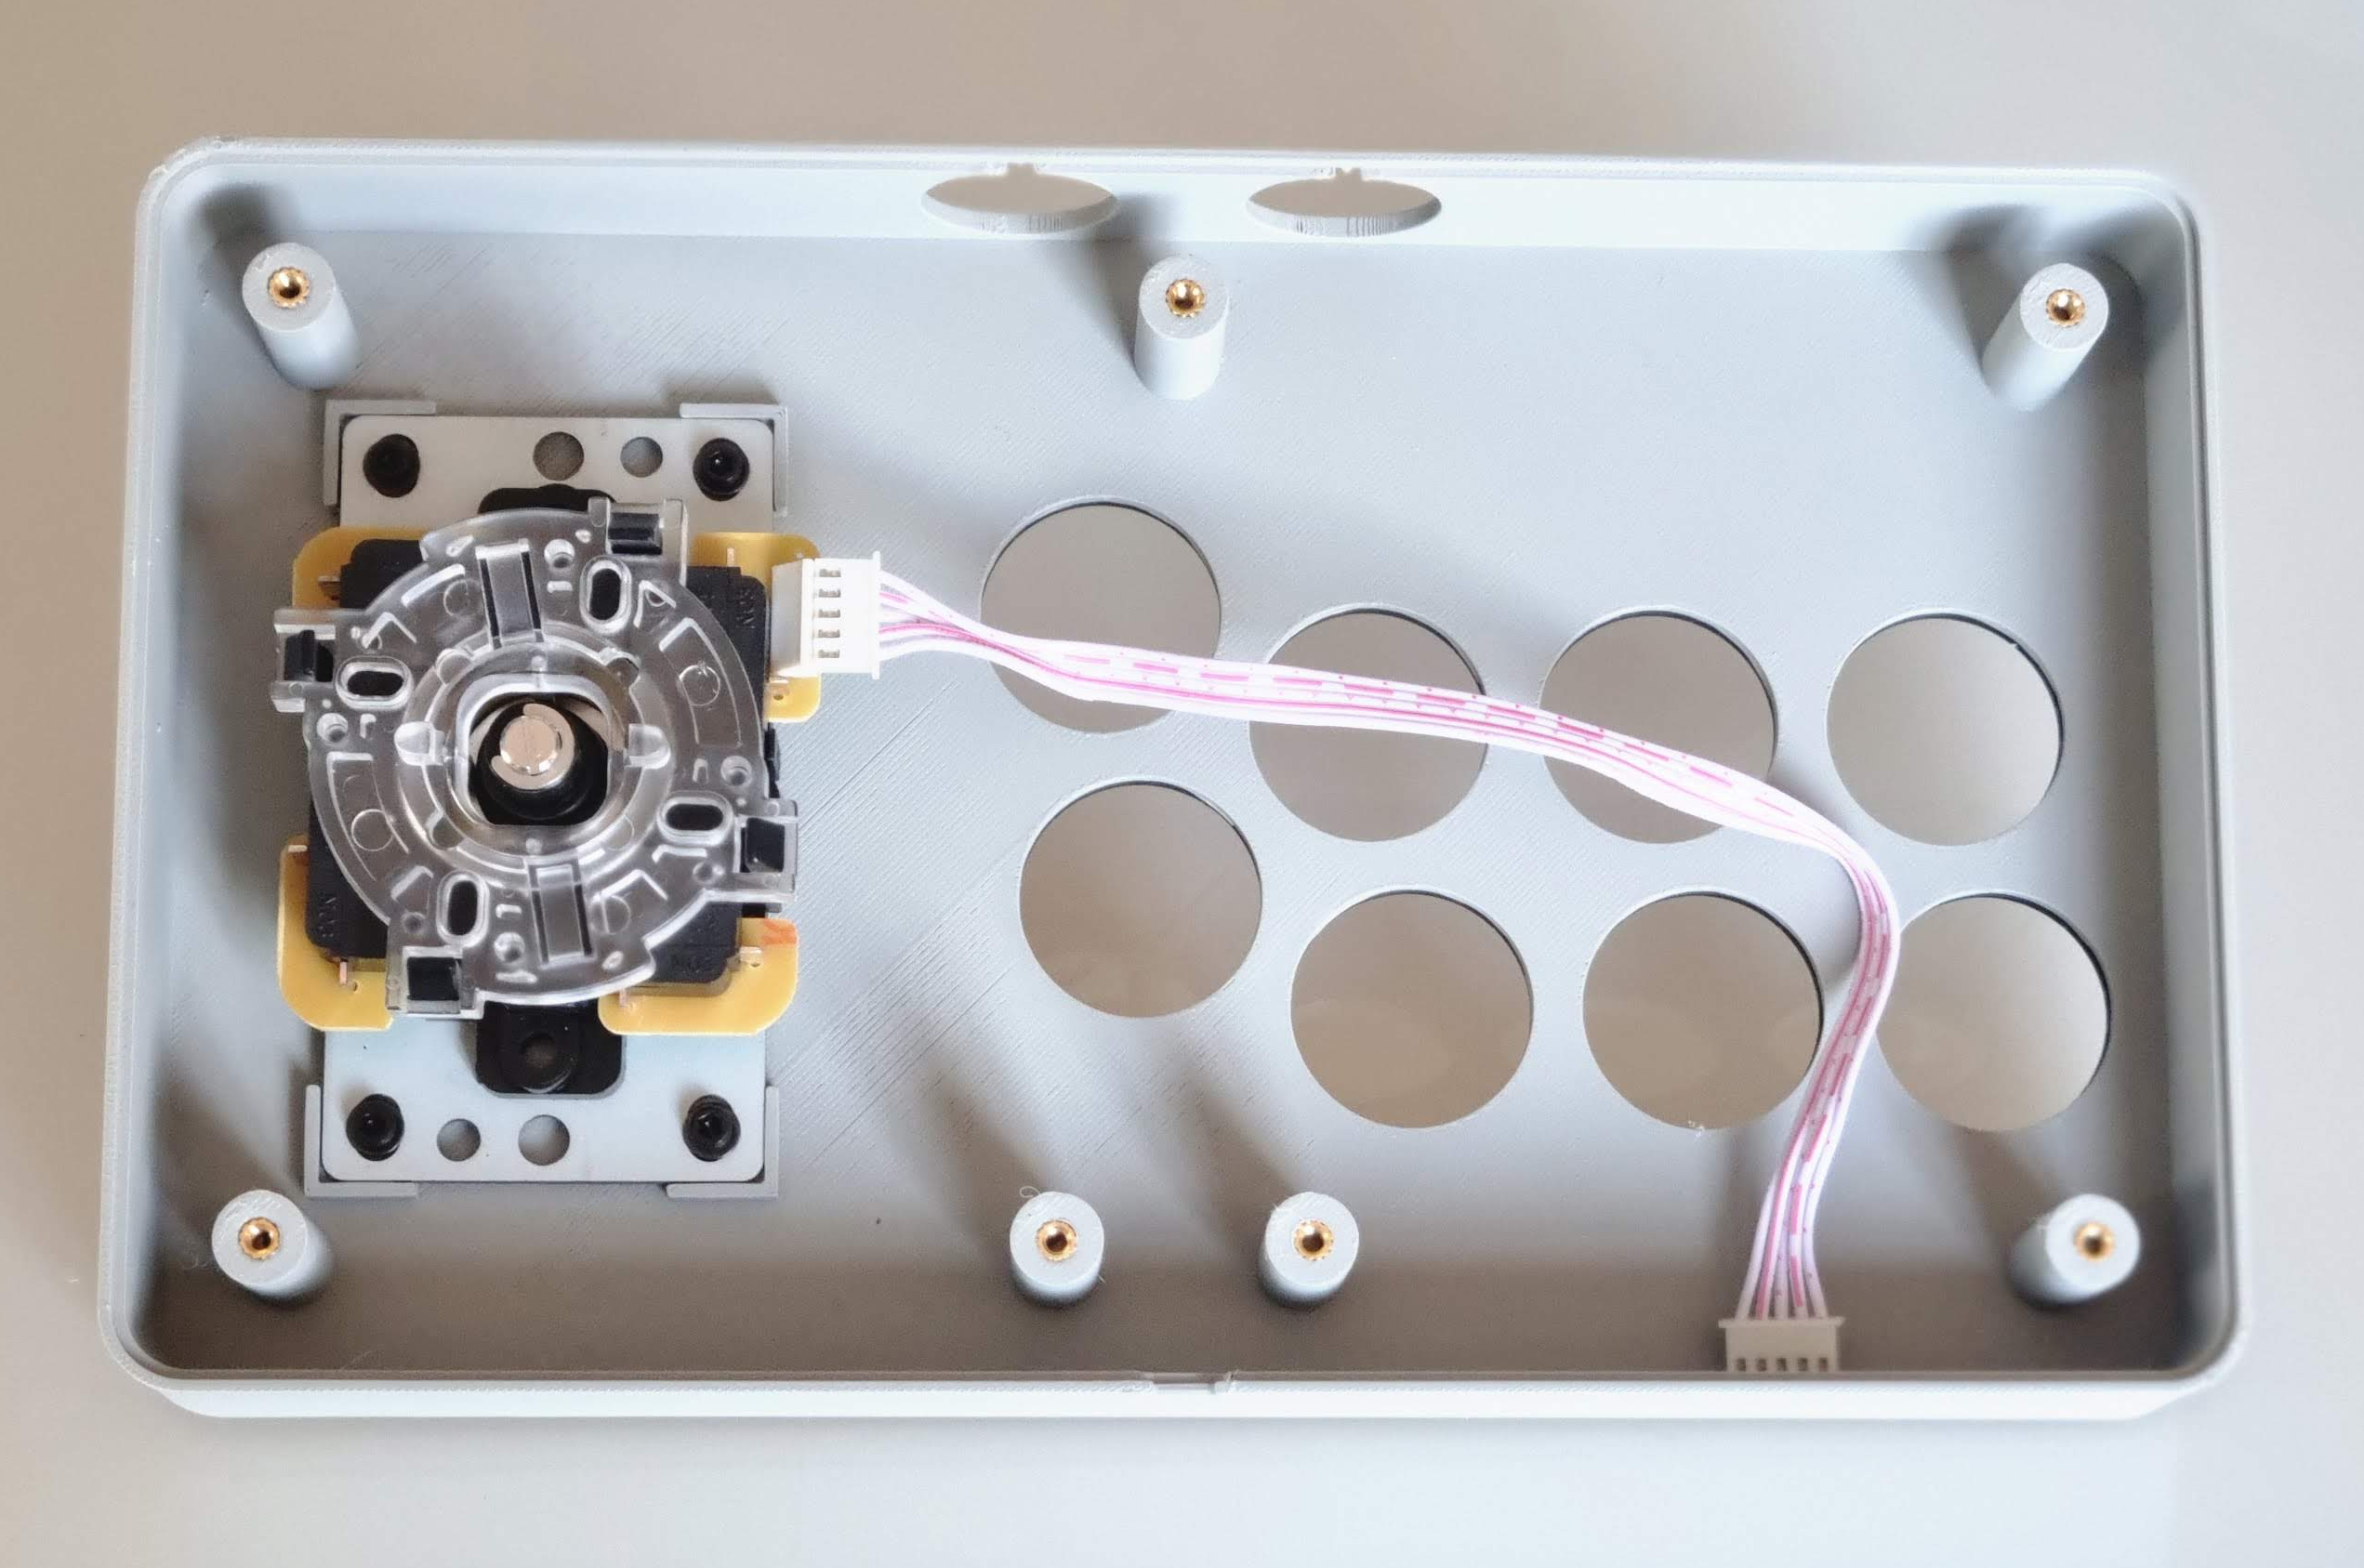
- Insert the buttons.
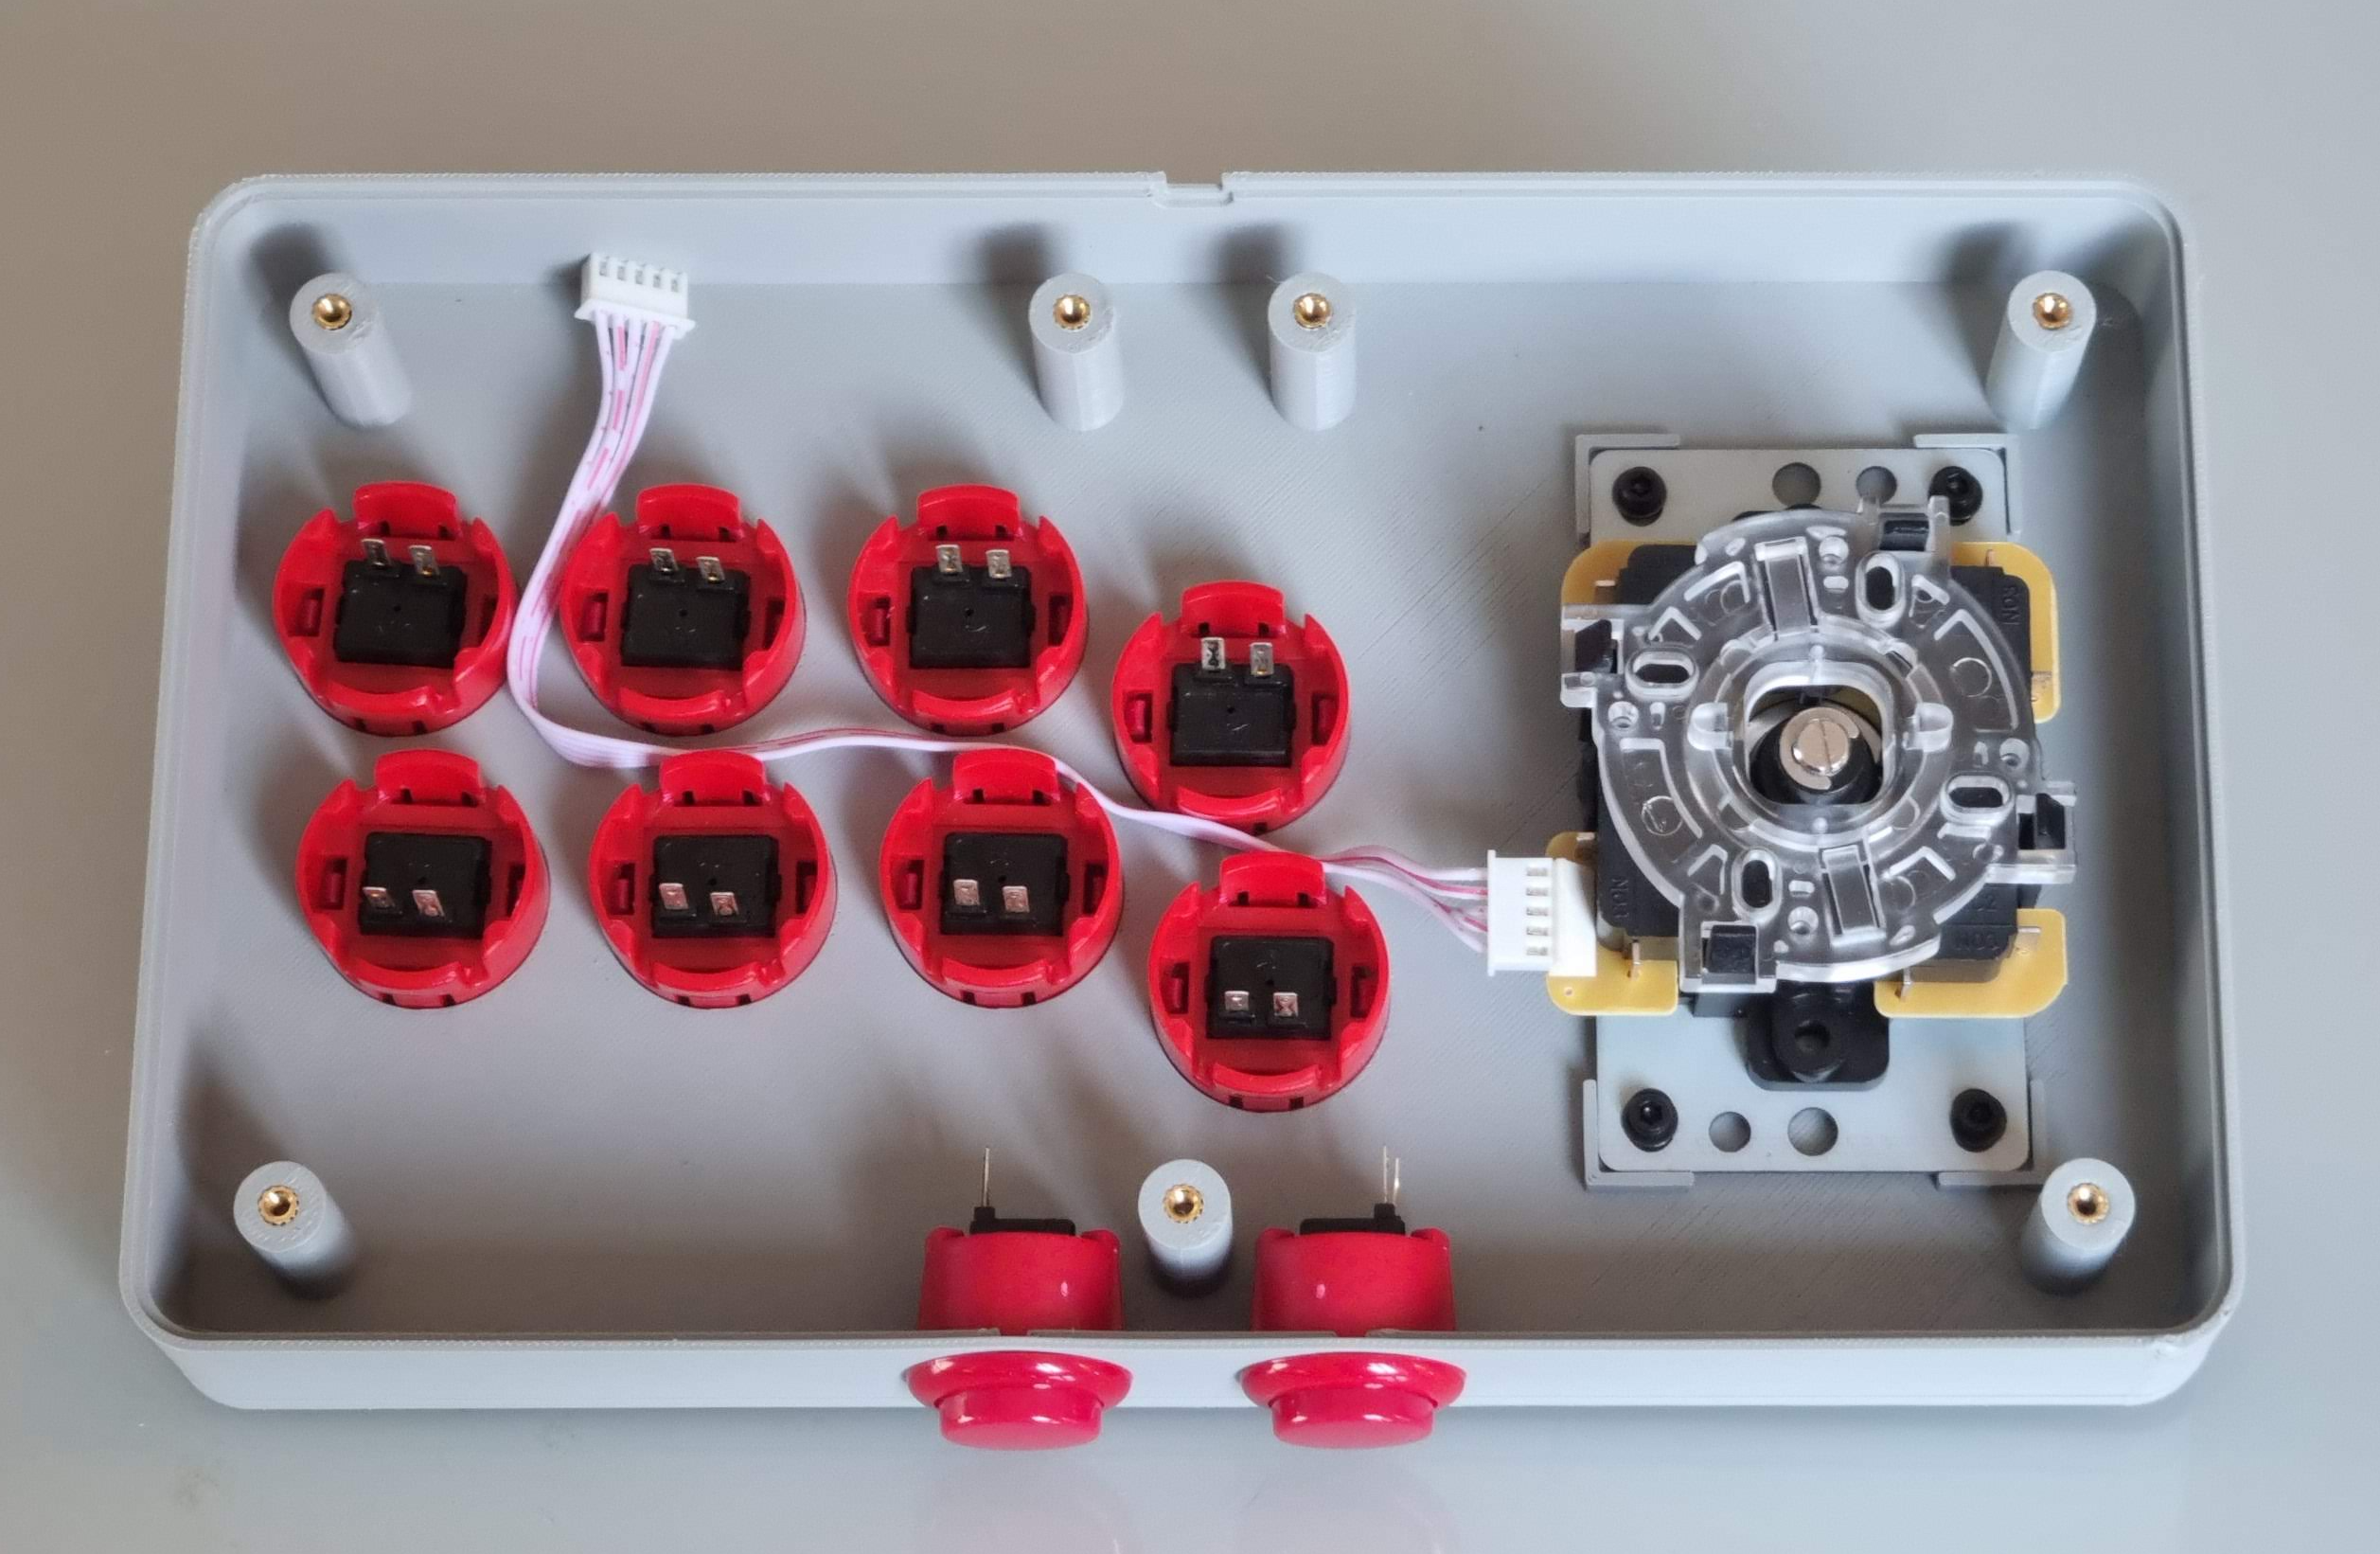
- Connect everything to the controller board.
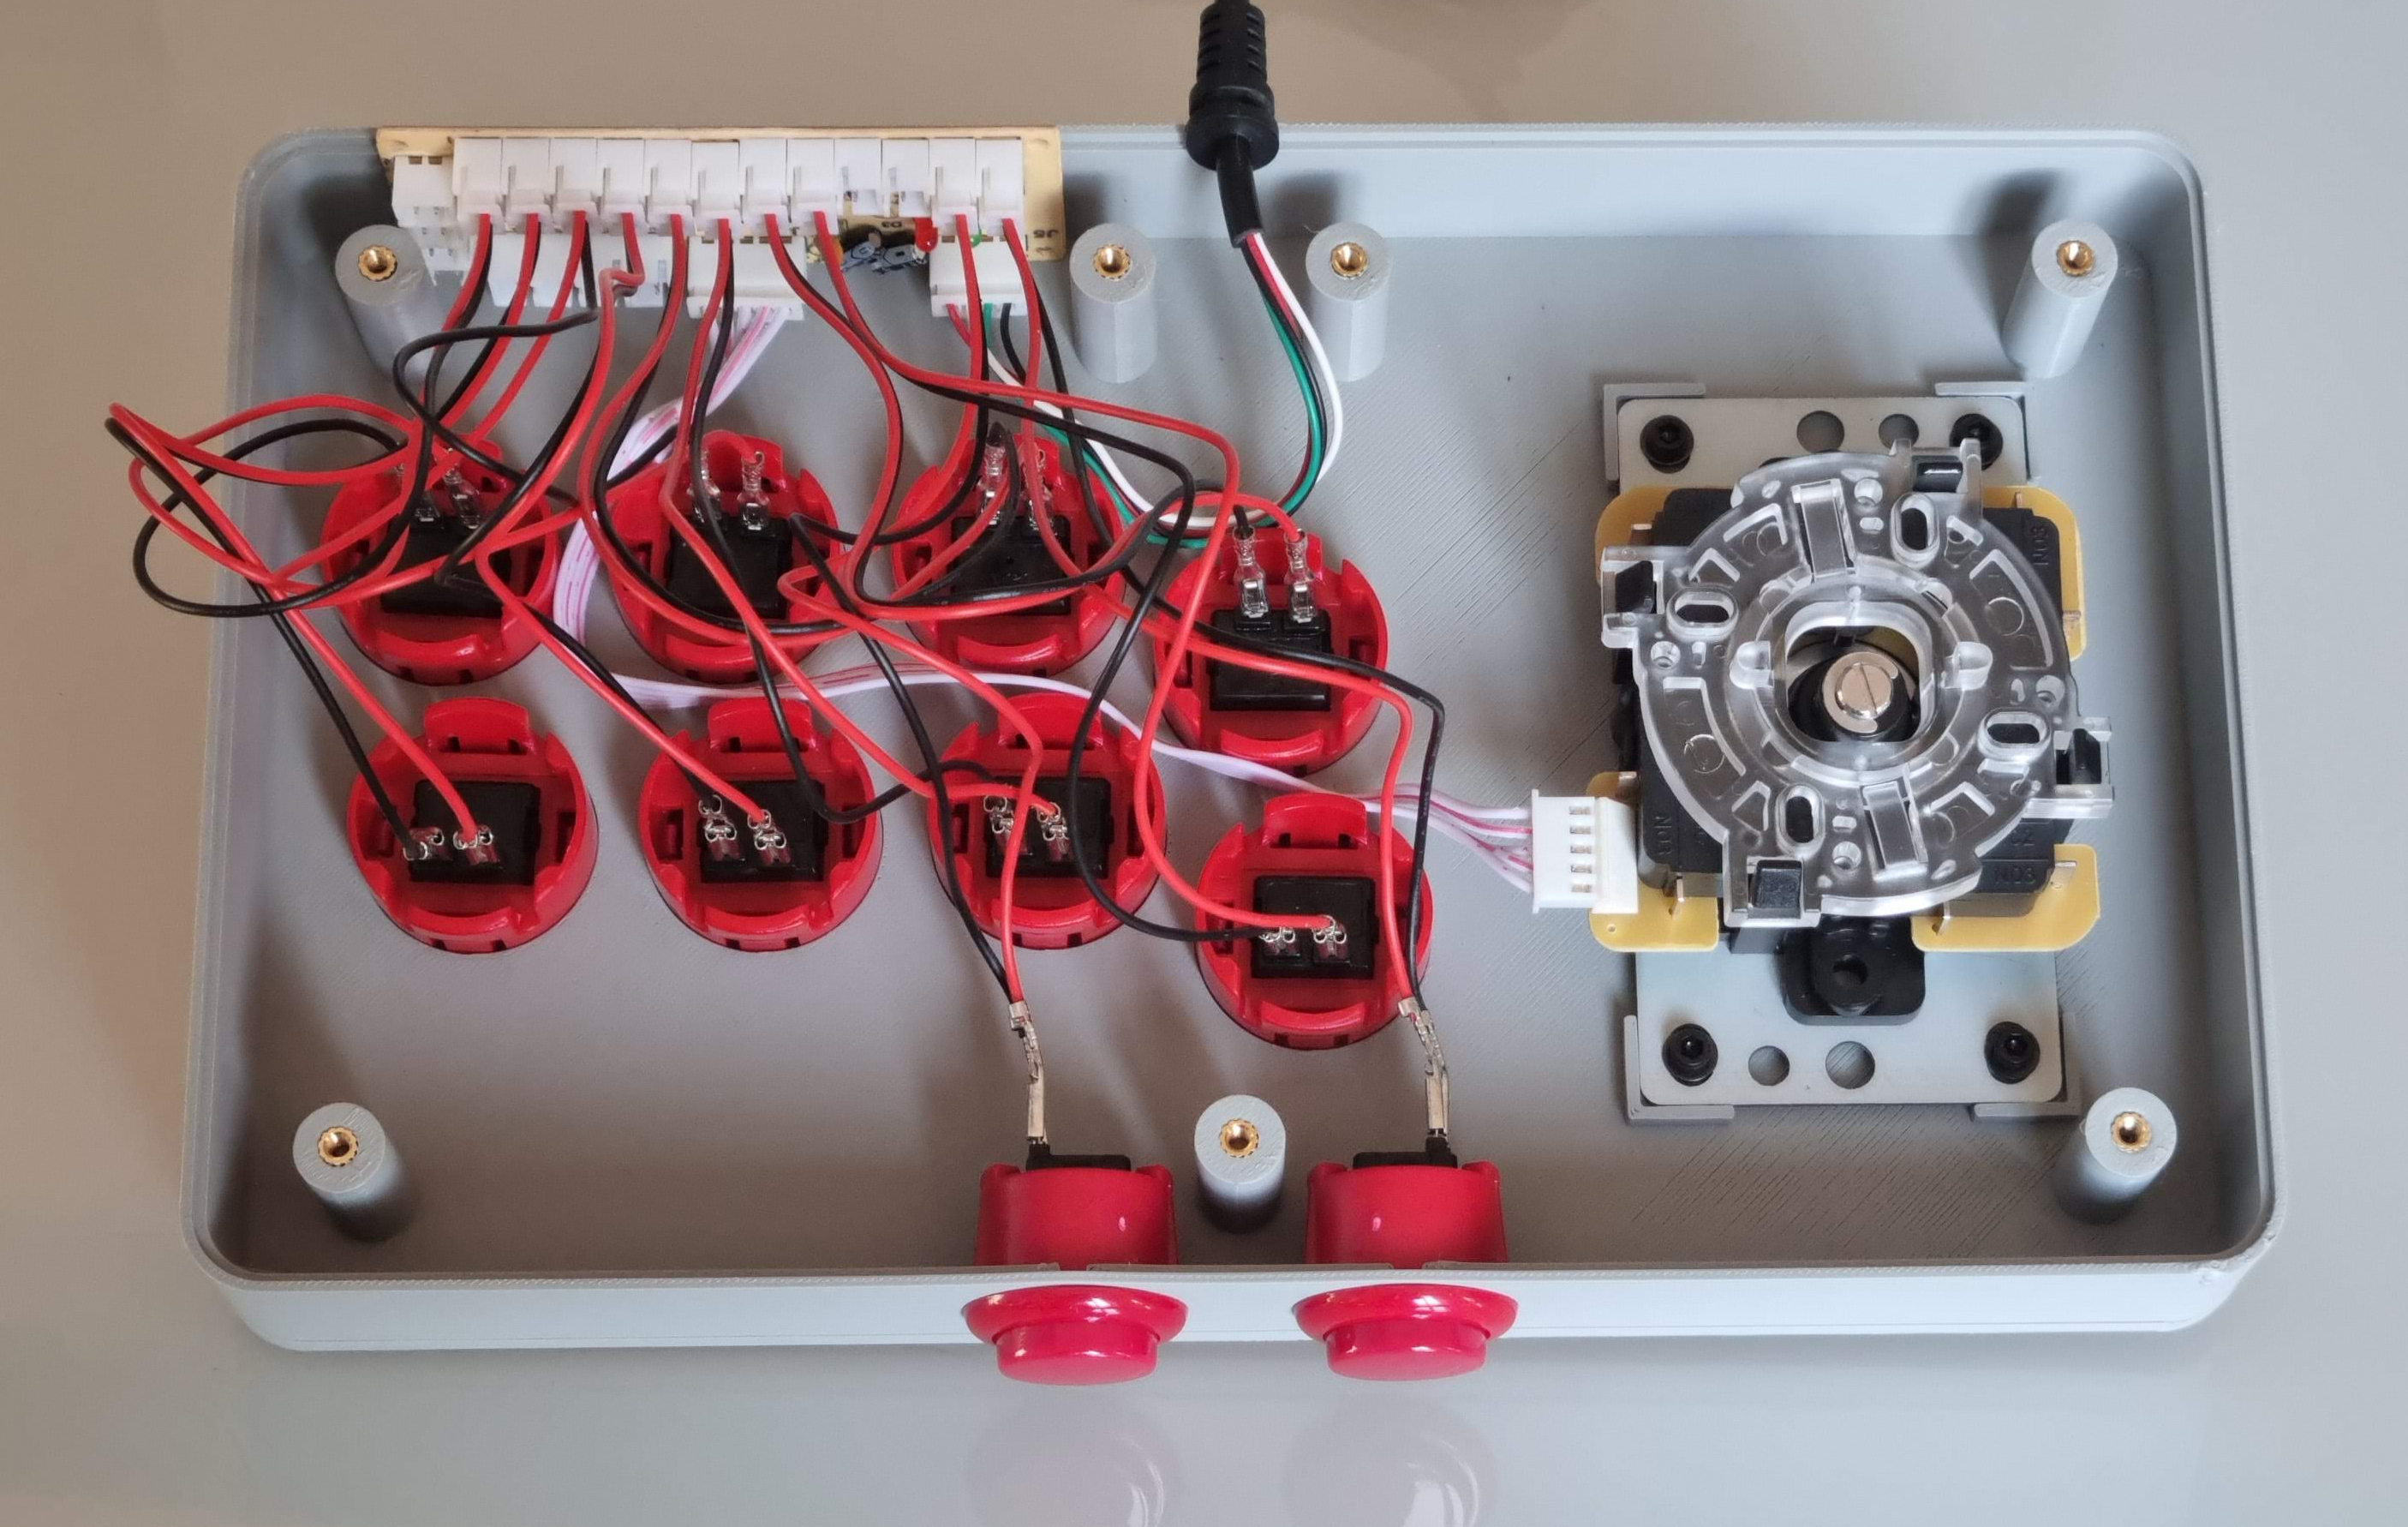
- Screw the bottom part and add small non-slip pads for better grip
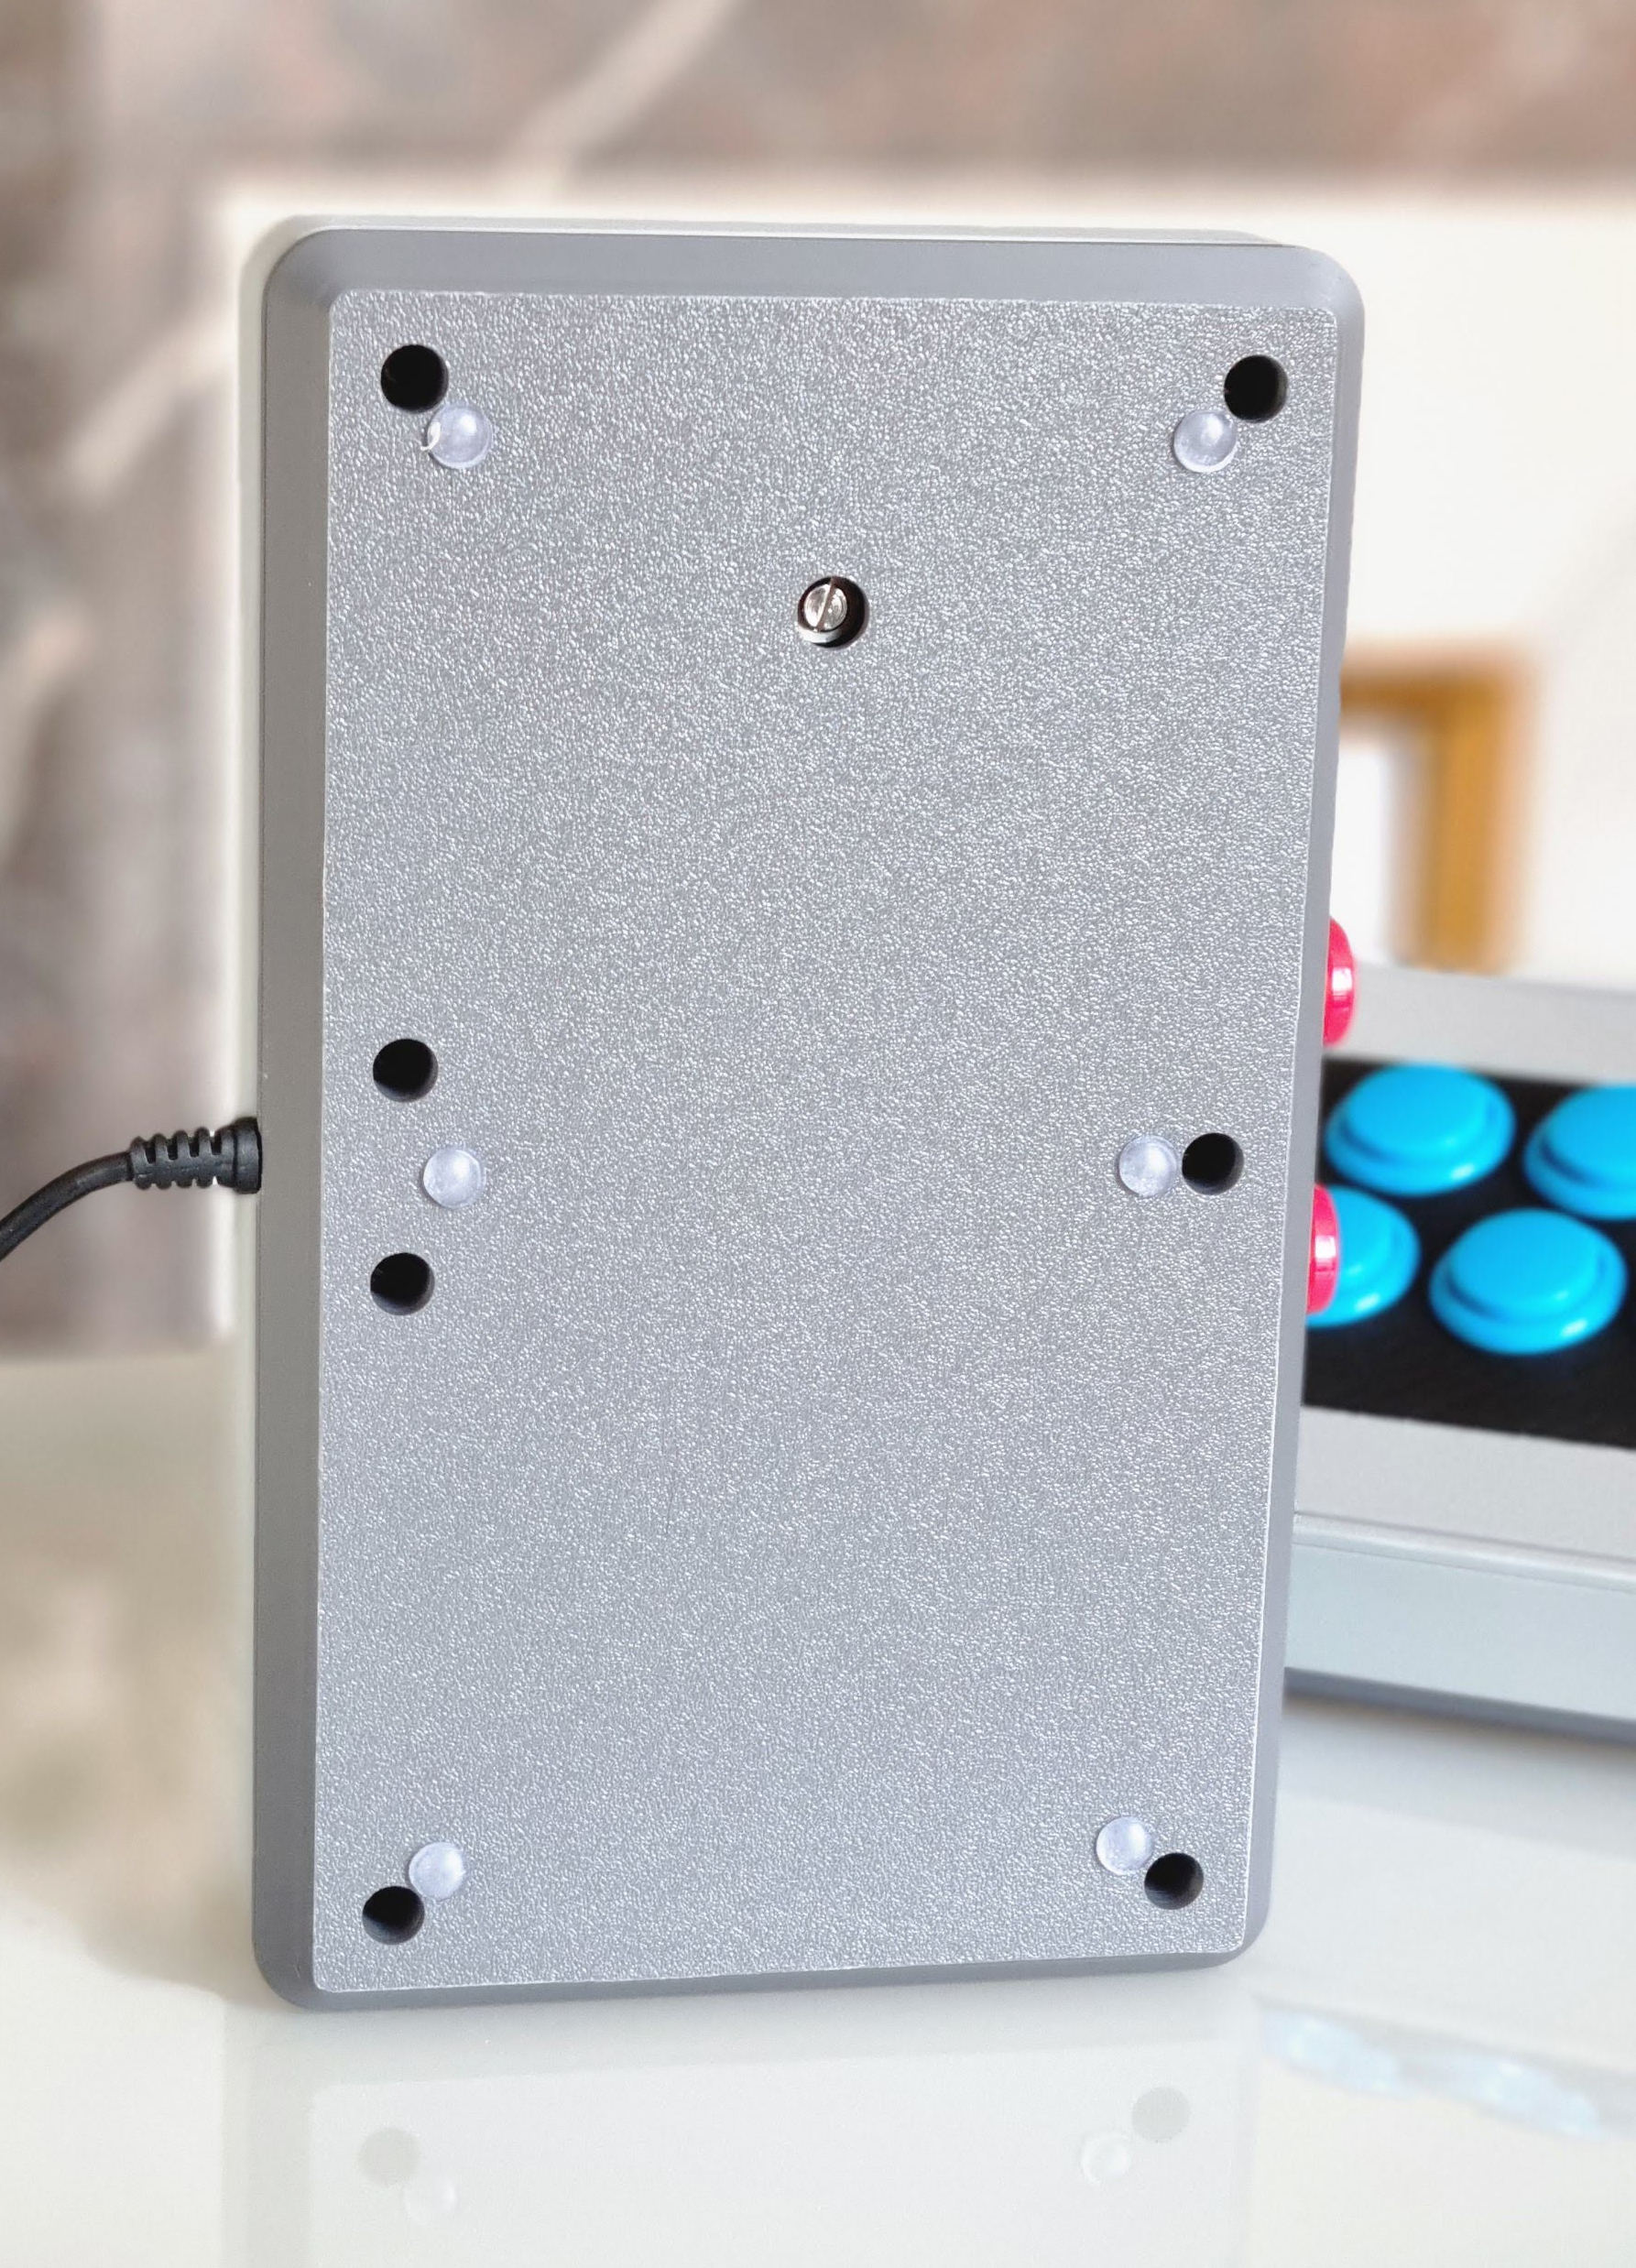
- And voilà ! That's it, enjoy
Gostou deste modelo? Crie uma conta grátis para salvar seus favoritos e voltar a eles depois.
Criar conta