Você está no 3DFinder
Buscamos em Thingiverse, MakerWorld e Printables ao mesmo tempo para te dar o melhor de cada uma.
Descrição
This model contains strong magnets. It is not a child's toy.
Introducing an unexpected twist on a classic spinning top. Made possible by its novel arrangement of magnets, X-ception's endless balance will have you question if you're in an Inception-style dream. When resting on its display stand, the top holds perfectly still yet balances as if it's spinning. Lift it off the stand and it behaves as a normal top, offering a satisfyingly long real spin.

Unlike other magnetically stabilized objects you may have seen, the method I've discovered and refined does not require electronics nor does it require magnets to partially surround the object. The base's magnets are positioned strictly below, making the balancing effect particularly striking.
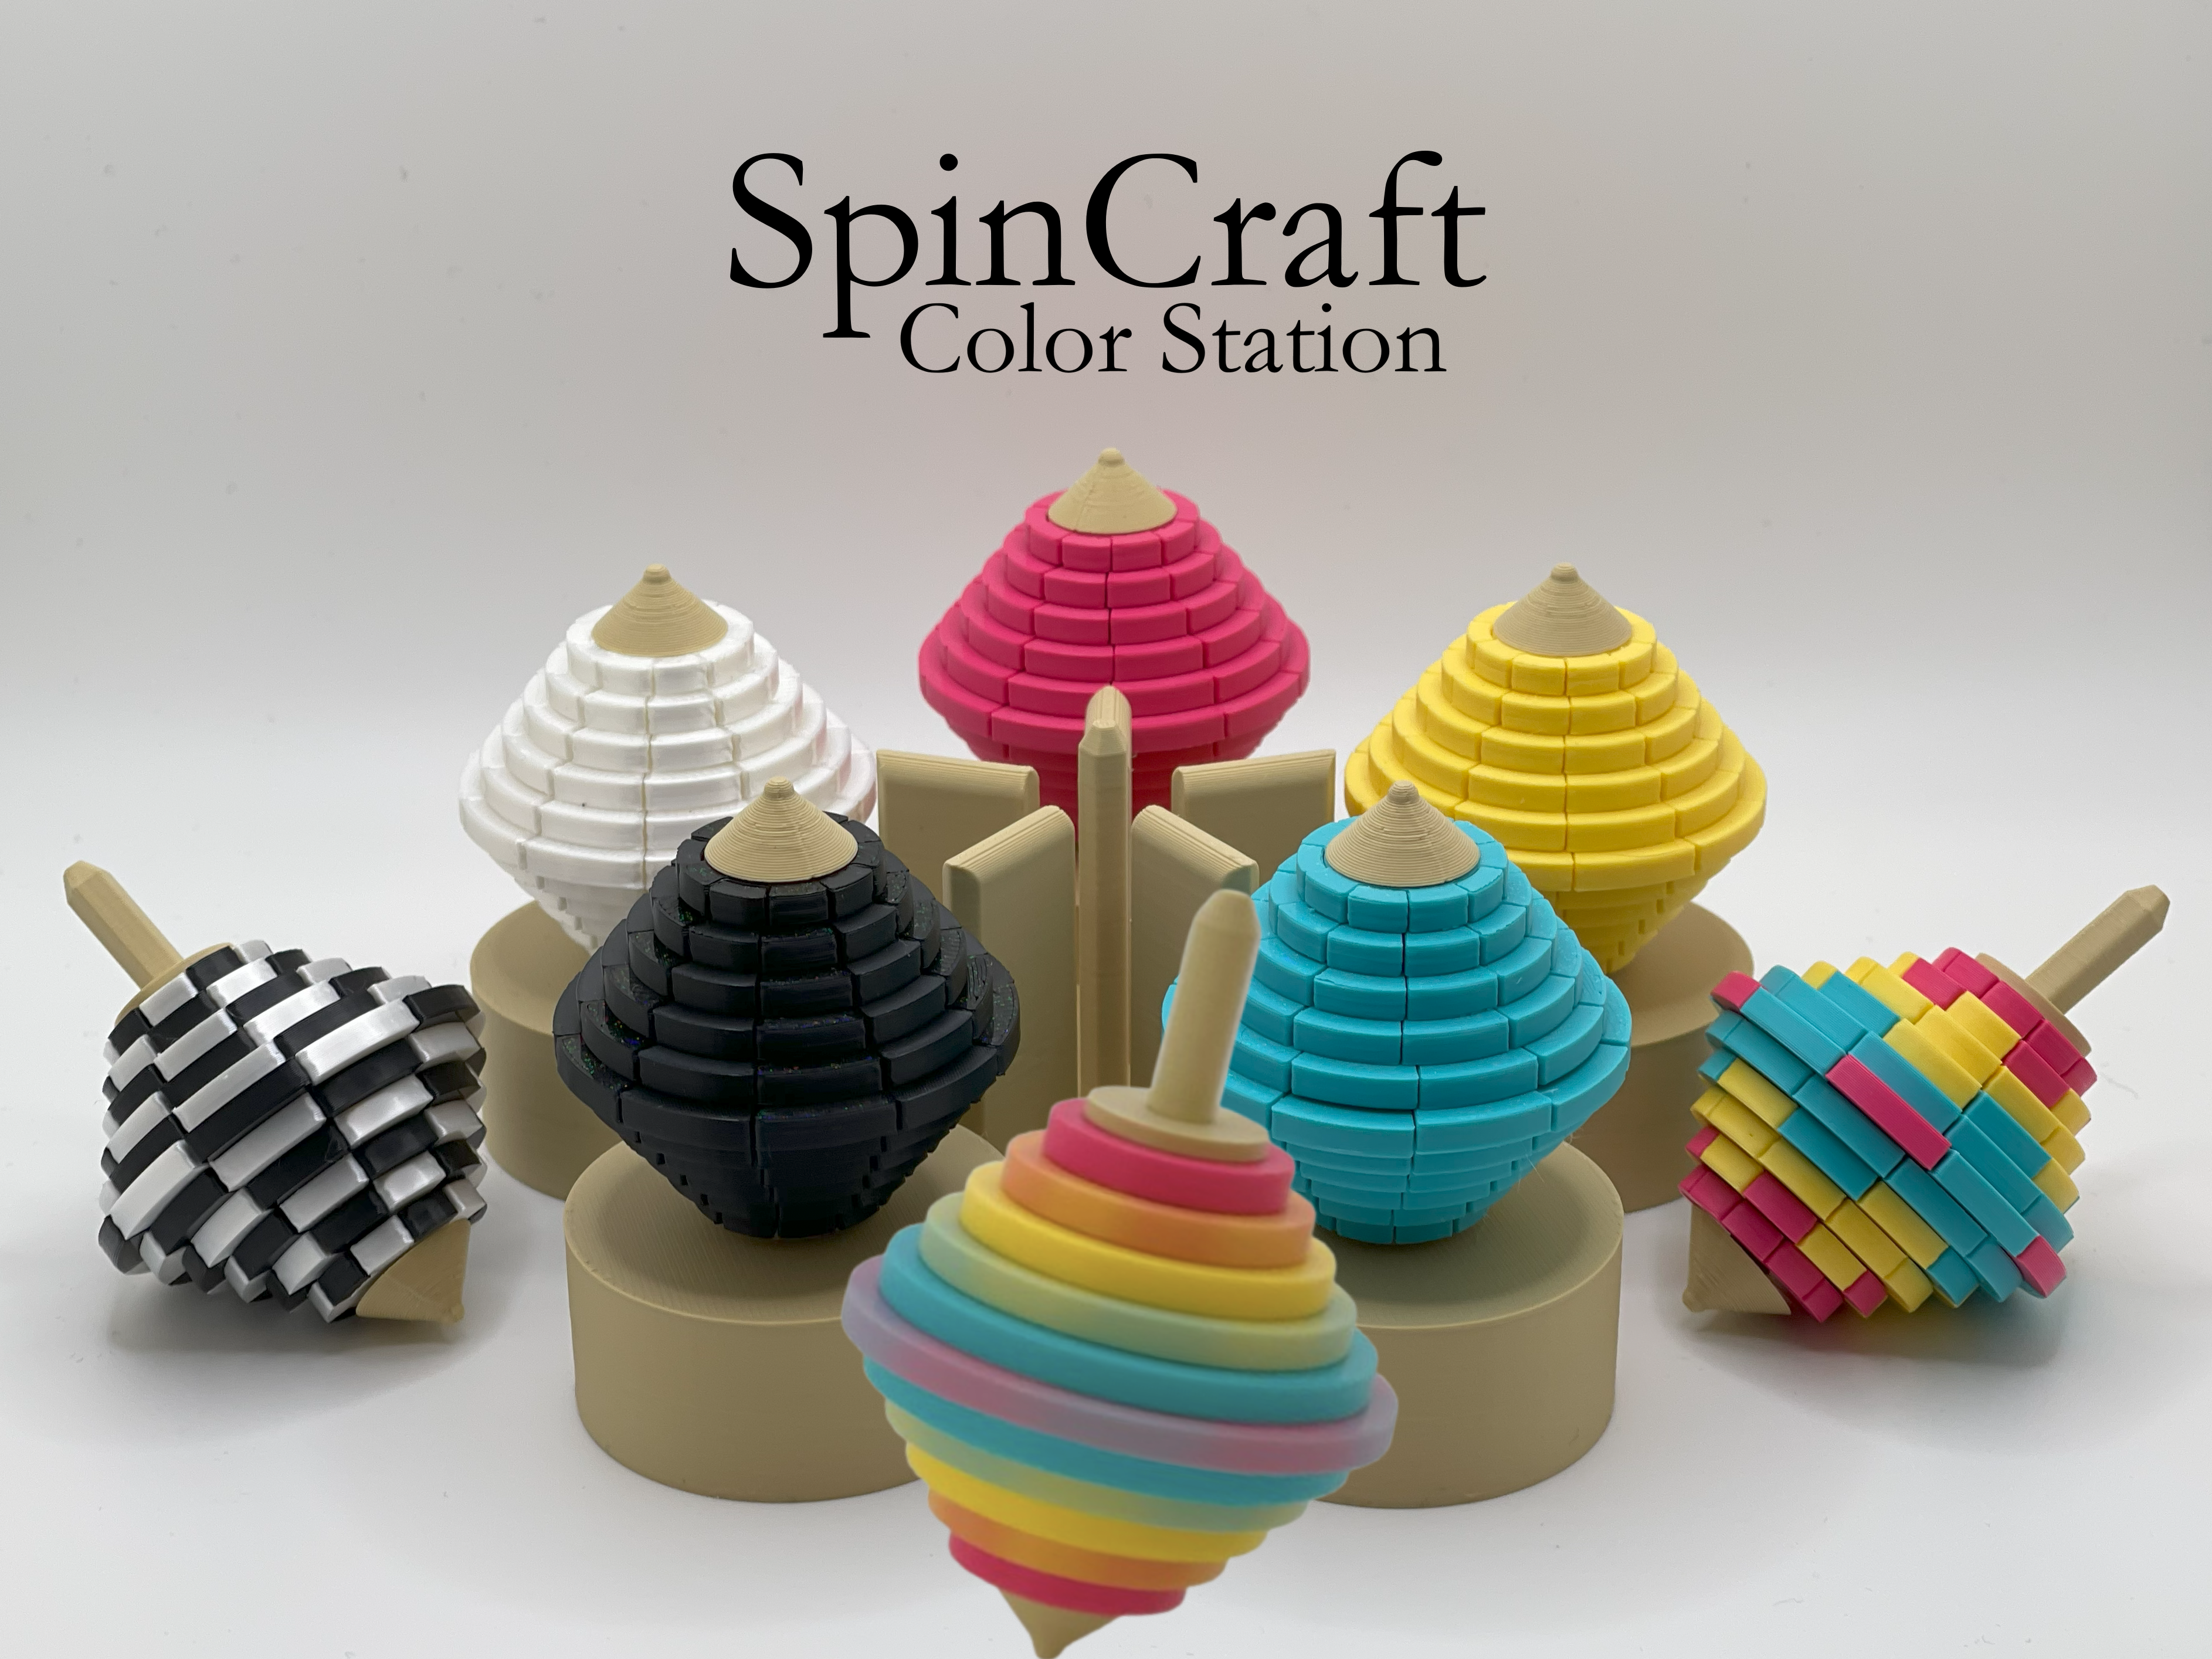
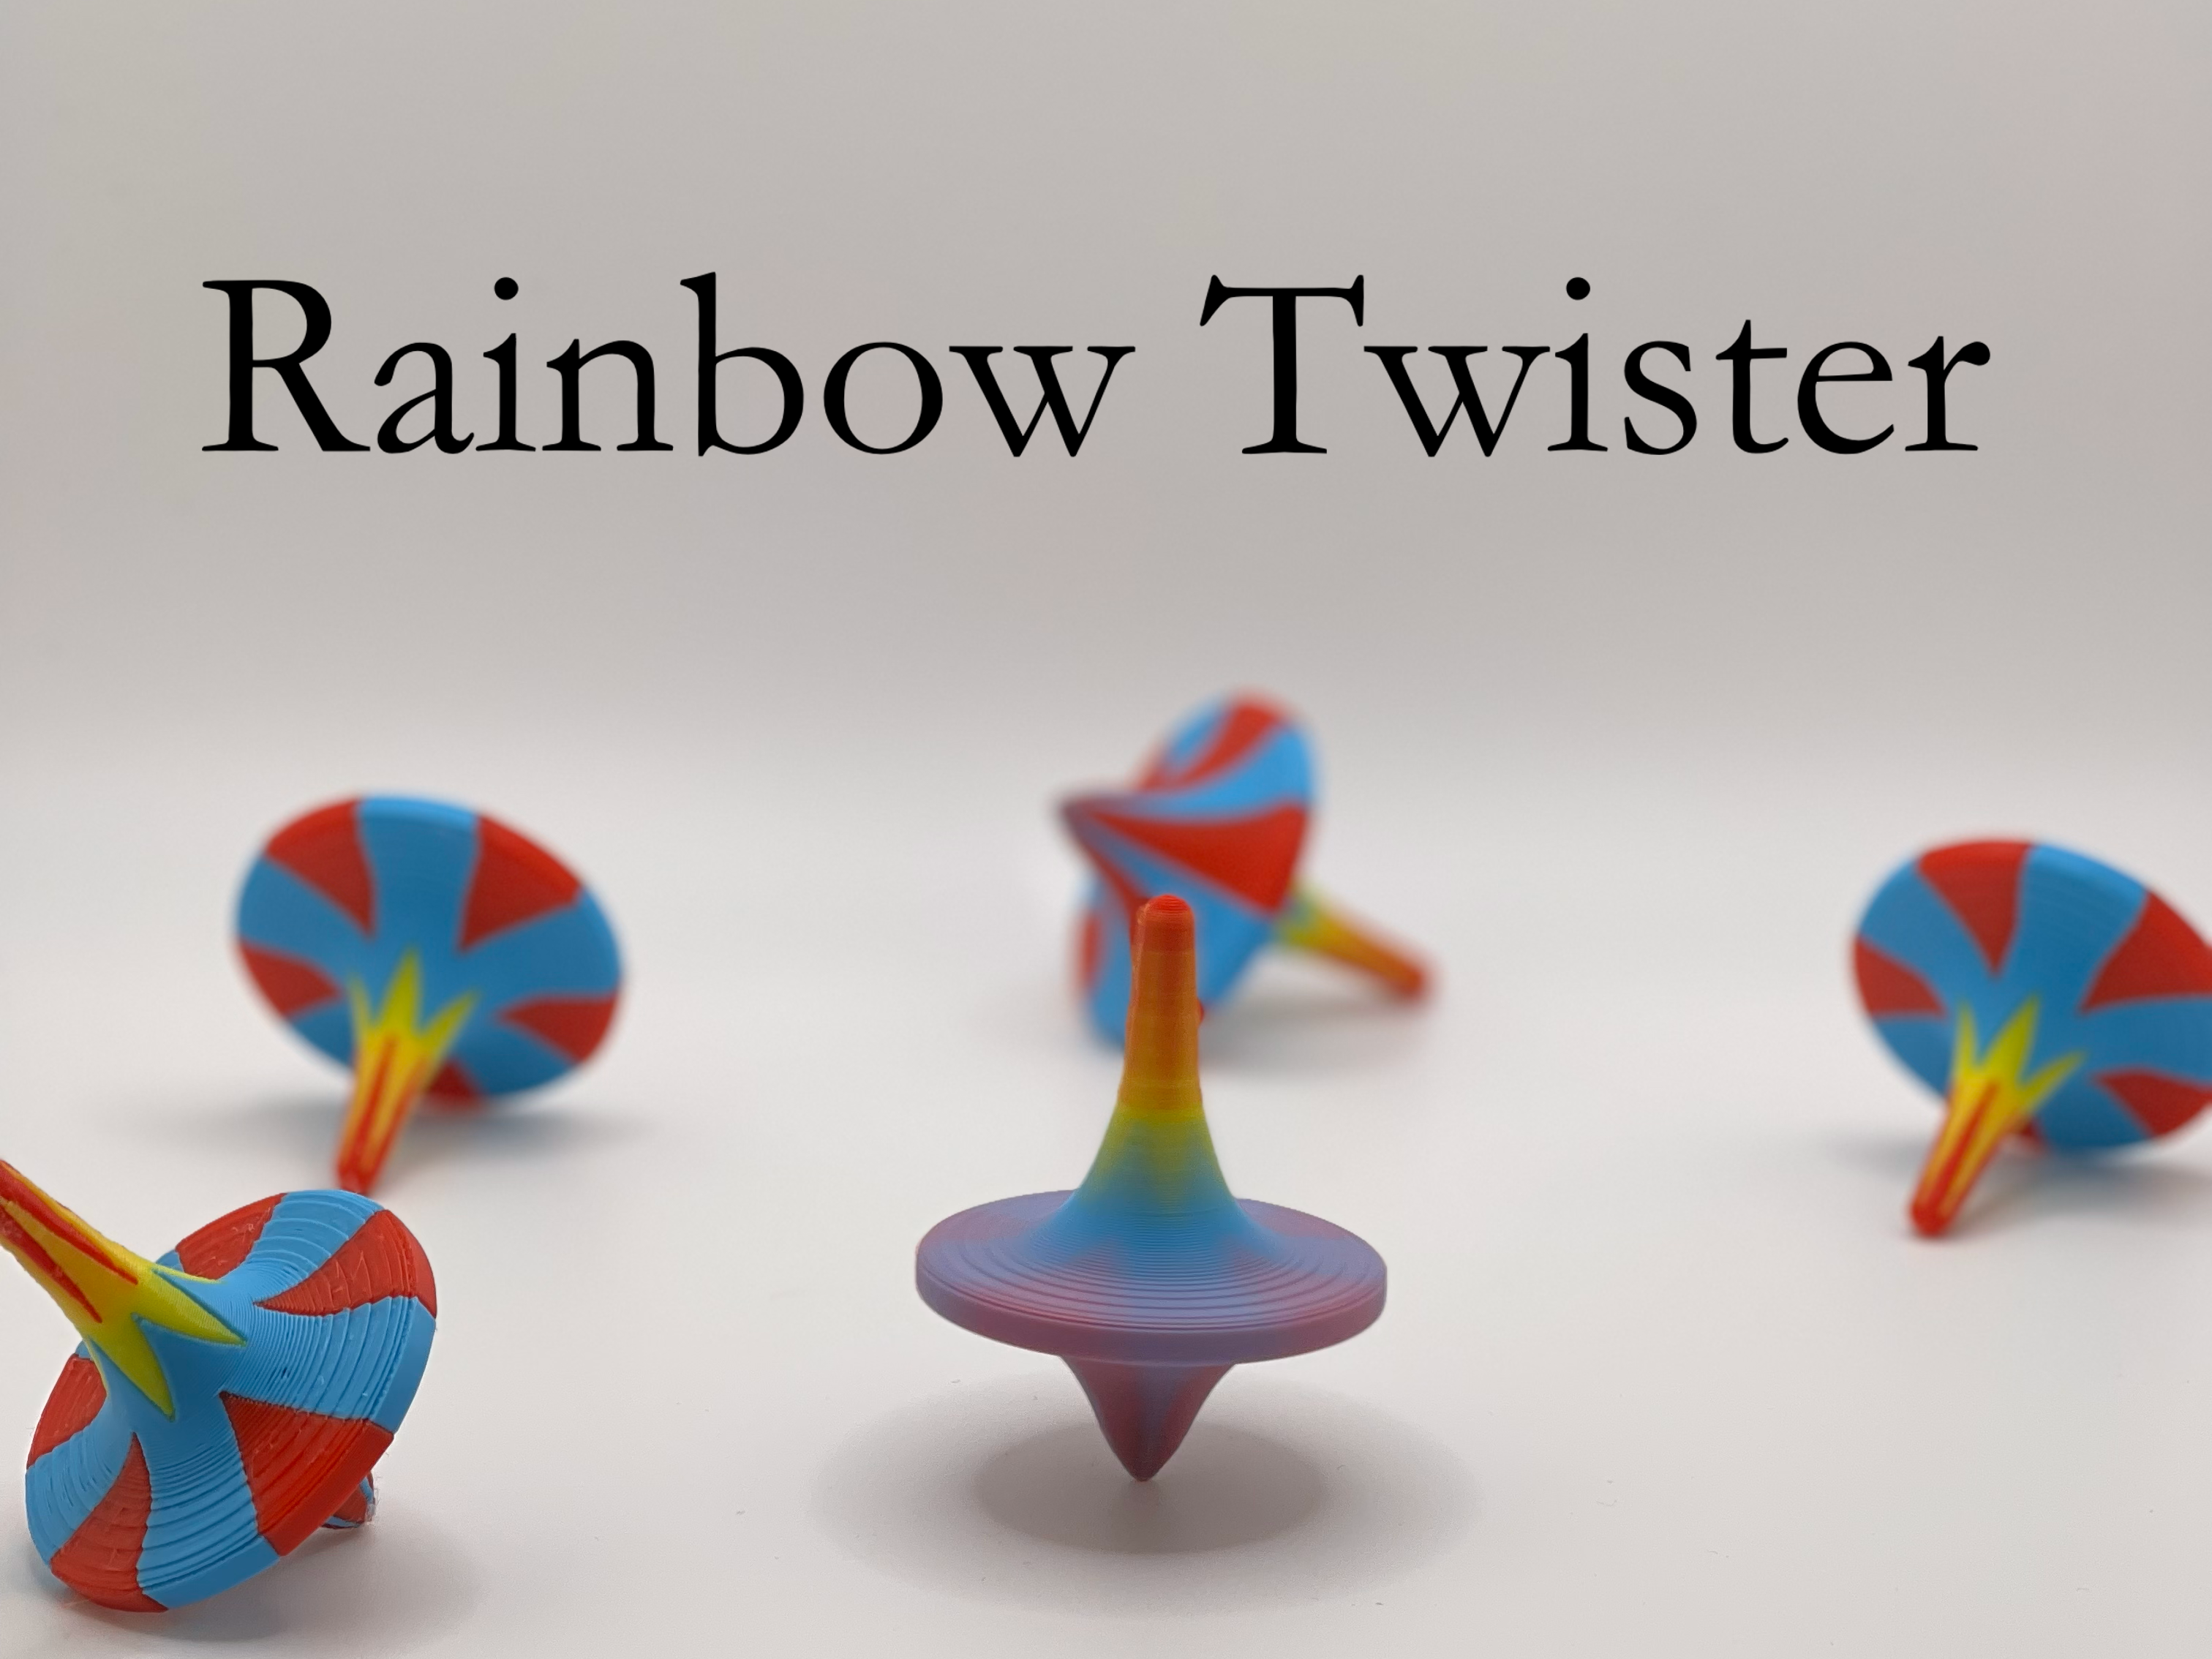
Check out my full Passive Magnetic Stabilization collection. After The Limit of Possibility, I challenged myself with an even more intricate magnetic model, The Explorer's Arcanum. This time, I wanted to do something anyone could make in a couple hours. I hope you enjoy! If you like tops, also check out Egg-ception, SpinCraft & Rainbow Twister.
Note: X-ception is intended for adults. If you give it to a child, please ensure they have basic magnet safety awareness and know not to disassemble it. It is not appropriate for young children.
Required Materials
The quantities below are for a single top.
- The Limit of Possibilities kit in the Bambu store contains all required magnets. See the Bill of Materials section on this page for a direct link.
Use the kit for best results. Most generic magnets are unlikely to have the precise strength required to achieve proper balance - I've tried and had comically bad outcomes! The quantities I list in the sub-bullets below are what the model uses, though the kit comes with extra magnets.- One (1) 10x4x3 mm ring-shaped neodymium magnet.
- Four (4) 25×3 mm round neodymium magnets.
- Four (4) 4×2 mm round neodymium magnets. If you don’t already have a magnet insertion tool, you’ll need two additional 4x2 mm magnets (total of 6) to create one, but either way the kit has enough.
- (Optional) Super glue.
- (Optional) A magnet insertion tool such as the simple one I created. If you choose not to use one, you'll need another way to distinguish relative polarity. Determining which end is absolute N isn't required, but you must be consistent about which end you consider N. You can always use another magnet to assess polarity, though it's easy to lose track of its orientation if it's unlabeled. An insertion tool is a quick print which can save you a headache.
- (Optional) Stainless steel nozzle – this type of nozzle doesn't attract magnets. But if you monitor the print for the next few layers after inserting the magnets, and are ready to take prompt action if needed, hardened steel should be fine (it’s what I used).
Check that all magnets are in good condition, free of chips, to ensure maximum potency.
Consistency of Magnet Strength
Magnet strength (and size) varies drastically by manufacturer. Using neodymium magnets from Maker’s Supply (Bambu's store) is critical since this model is calibrated to them. If they switch suppliers in the future, results could change. In any case, these are inexpensive parts. Just add them to your next filament order to save on shipping!
If you decide to use other magnet suppliers and are ok tinkering with calibration yourself, note that size also varies significantly among brands. For example, the Maker’s Supply “4×2” magnets are just under 2 mm thick, but the cheap generics I had were about 1.65 mm thick. I expect some magnets could exceed the thickness of the Maker’s Supply ones, and if they protrude above your printed surface, they could damage your nozzle.
Safety Warnings
Neodymium magnets are not toys.
- Keep them away from pets and young children. Swallowing two magnets can clamp them together inside the digestive tract, leading to severe injury or death if not surgically removed.
- The 25×3 mm magnets are relatively strong. Keep away from pacemakers, and avoid handling them near other magnets or ferrous metals. If they freely collide, they can break or cause finger injuries, and shards can fly off and injure your eyes. They typically ship with spacers which will need to be carefully removed. A good technique is to stack them one at a time, carefully sliding the next magnet onto the stack from the side and then releasing once it begins to slide into place.
How to Print
Base
If you're using the “no AMS” print profile, there's a pause to swap filaments. You can remove this pause in the Preview tab if you want to print using a single color.
I have the bed temp set to 60. If you use your own filament settings, you might want to do the same. Otherwise, the base can have adhesion issues.
Top
You’ll notice a “wipe + cooling tower” cube on the plate. This cube slows the layer speed as the print nears completion, resulting in a pointier tip. It also acts as a makeshift prime tower. Bambu Studio only adds its own prime tower for multi-color prints, to re-prime the nozzle after each filament swap. While this plate doesn’t have filament swaps, it does include two pauses for magnet insertion which unprime the nozzle as a side effect. Rather than mar the main model with stray blobs, the unprimed nozzle will deposit any extra gunk onto this disposable cube instead. If you change any objects on this plate, verify in the Preview tab that this cube is the first thing printed at each layer so that it can serve this function.
The magnets get embedded into the print. There are two pauses included in the print profile so you can insert the magnets at the right time.
First pause:
- With your fingers, insert the 10x4x3 mm ring-shaped magnet into the slot. The N side of the magnet should face up, so check that the S side of the insertion tool sticks to the top surface of the ring. It should not, however, stick to the center part of the ring (which has inverse polarity).
- Verify proper orientation (polarity) by confirming that the N side of the insertion tool is repelled by the ring until you bring it close to the hole, at which point it should be attracted.
- Push the ring down as far as it will go and verify that it doesn’t protrude above the print surface, to avoid damaging your nozzle. Resume printing.
Second pause:
- Insert a stack of four 4×2 mm magnets into the center hole. The stack’s S side should face up, so use the N side of the insertion tool to insert it. You should feel the stack being repelled by the ring magnet as it approaches.
- Push the stack down as far as it will go (you may need to press firmly) and verify that it doesn’t protrude above the print surface, to avoid damaging your nozzle. Resume printing.
How to Assemble & Display
- Snap all parts of the top together (both halves and the square peg).
- Line up the seams for a smoother look.
- Depending on your filament & extrusion settings, the pieces may fit snugly or loosely. I've erred on the side of looser since it is frustrating to complete a print and not be able to put it together.
- If the top is loose and falls apart, you can use a few drops of glue to secure the two halves to each other. Don't apply the glue too close to the edges or else it will ooze out and discolor the top. Superglue tip: rough up the surfaces with sandpaper first for a quicker bond.
- Alternatively, you can try making the small square peg slightly larger (e.g. an additional 0.05mm in the X & Y dimensions) and reprinting just that piece.
- Stack four 25×3 mm magnets, removing manufacturer’s spacers carefully. Refer to “Safety Warnings” above for important handling tips.
- Assemble the base. Remove the supports by grabbing them with pliers and twisting. Then insert the magnet stack with the N side facing up into the upper half of the base (the half which has a subtle divot on top). Then, attach the lower half of the base.
- Display. Place the base into the base holder, with the divot facing upwards (straight up or at a slight angle). Balance X-ception by resting its tip in the divot. If it is pulled down too strongly, you probably inserted the 25×3 mm magnet stack upside down. Flip it and try again.
If you print multiple copies, keep them well separated when displaying. As long as the bases are the same orientation, they will repel each other, but if you put them too close, the magnetic force will rotate one of the balls and they will then attract, causing a collision which could damage them.
Thank You!
Magic Antigravity Top

Publicado em 28 de mar de 2025
Gostou deste modelo? Crie uma conta grátis para salvar seus favoritos e voltar a eles depois.
Criar conta