Você está no 3DFinder
Buscamos em Thingiverse, MakerWorld e Printables ao mesmo tempo para te dar o melhor de cada uma.
Descrição
As seen in my YouTube video: The Ultimate FormD T1 Air Cooled Build
Panels require a large print bed (300mm+) and a well calibrated printer.
They are somewhat experimental, trial and error may be necessary to get satisfactory results.
The panels include 4 built-in break away supports which will need to be removed after printing.
How to print:
- Import Panel.stl into your slicer (I recommend PrusaSlicer).
- Right click model choose Add Modifier and select the Infill.stl file
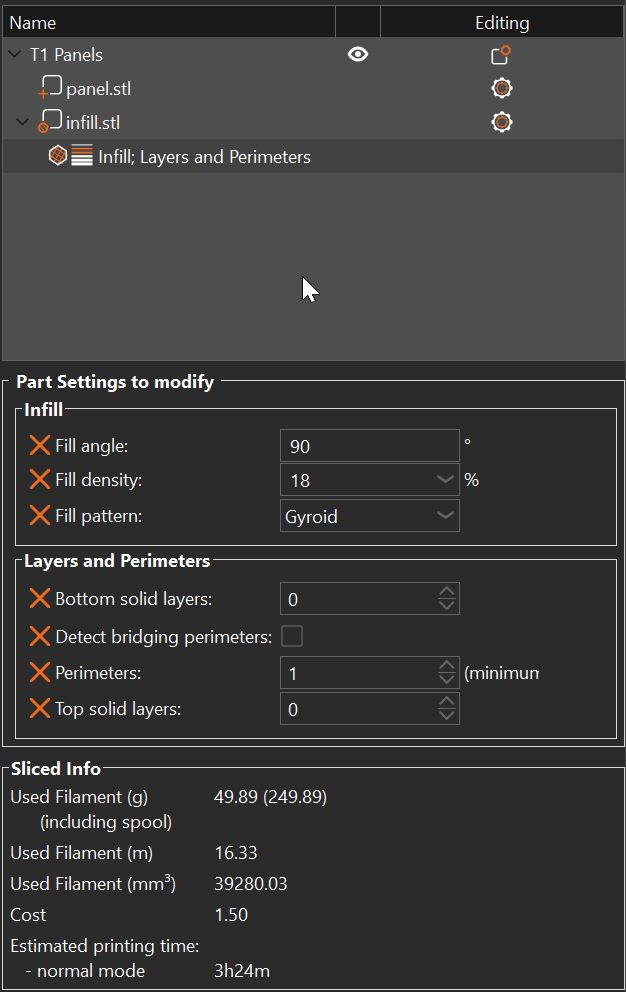
- Right click the infill model in the sidebar and add the following settings:
- Infill density 10-30 (Depends on infill pattern, but higher density is better)
- Fill pattern Cubic, Gyroid (Recommended), Triangles, etc
- Bottom solid layers: 0
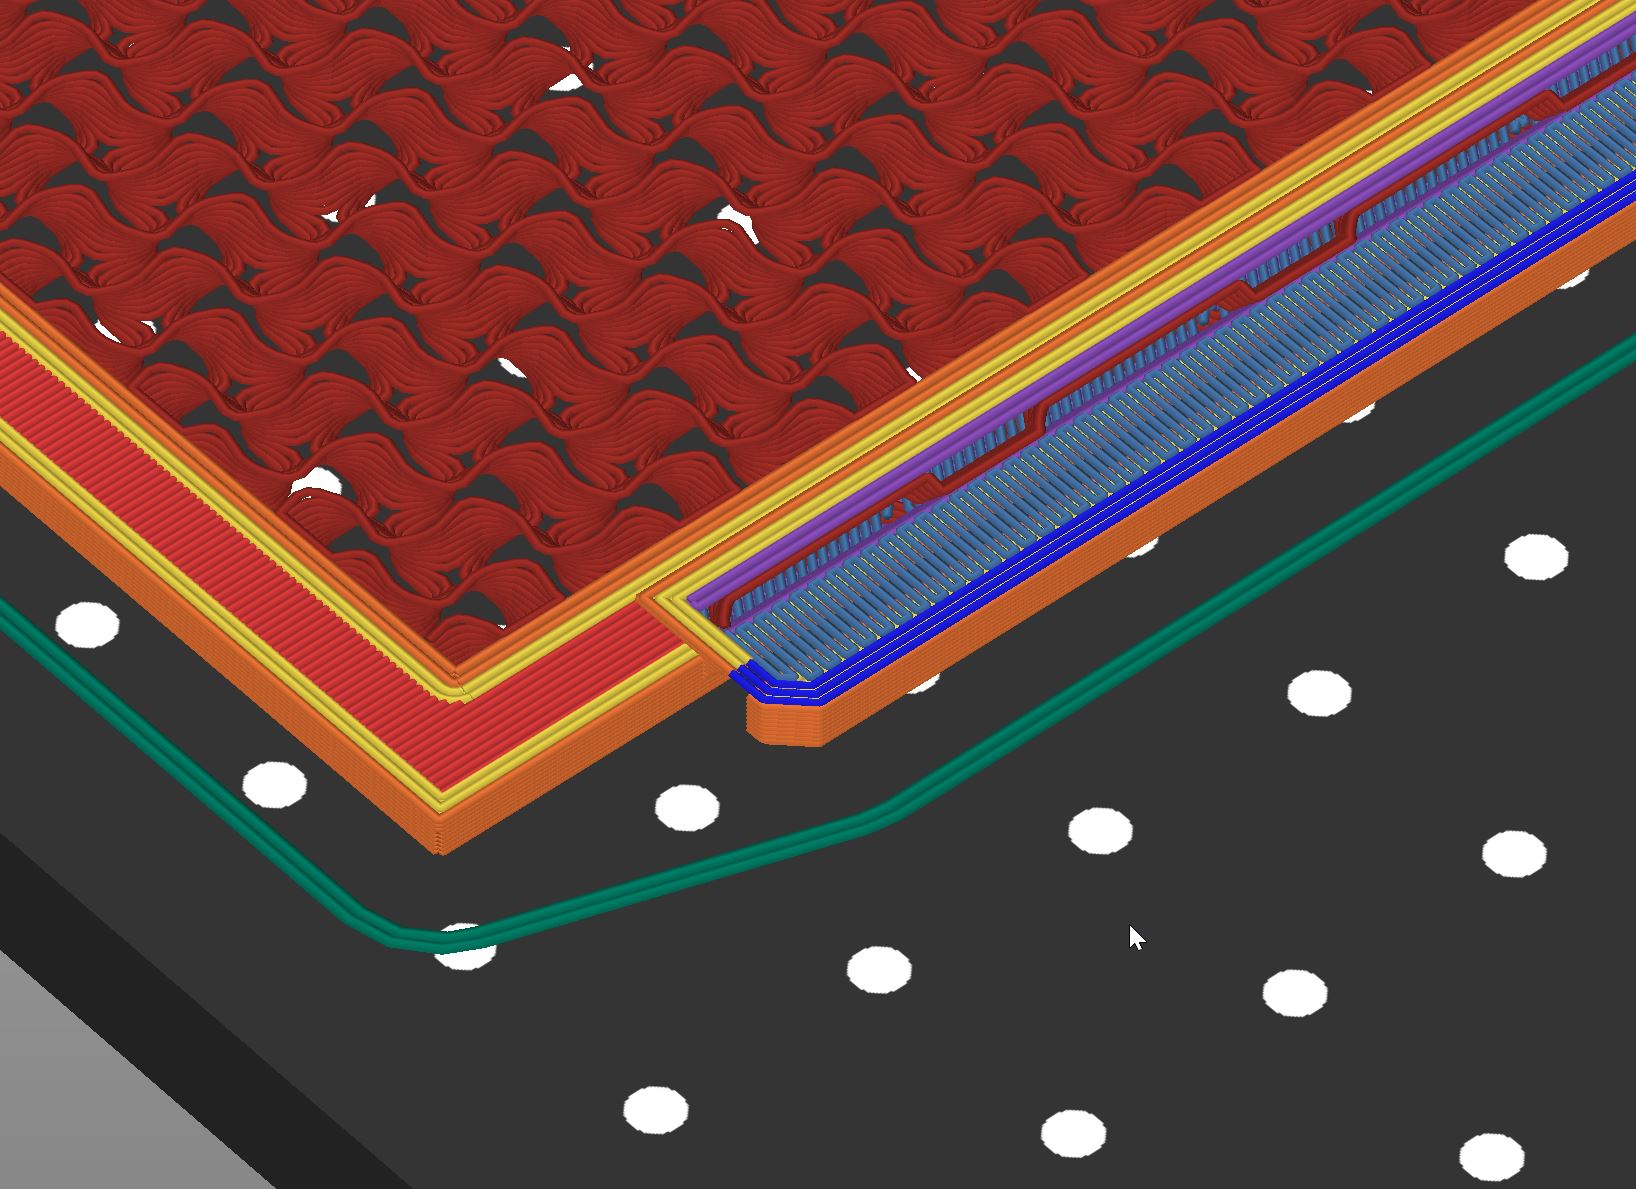
- Detect bridging perimeters: Off (Eliminates ugly bridging at edge of infill area)
- Perimeters: 0-3 (For the infill modifier itself, I recommend 2)
- Top solid layers: 0
Make sure the bridging for the overhanging panel lip is perpendicular, and if not, manually set the bridging angle.
Recommended materials and print settings:
ASA/ABS or PETG
0.2 layer height
textured PEI print surface
Special considerations:
Due to the size and rectangular shape of the panels make sure your printer is skew calibrated and it prints with a reasonable degree of dimensional accuracy.
The design files are optimized with ASA/ABS shrinking in mind.
PETG prints a bit more snug* but no scale compensation should be needed. If the panel does print too large then try compensating by scaling down up to .5%.
You may need to slow down your infill speeds / accelerations to get a clean look
*Tested with Prusament PETG

Gostou deste modelo? Crie uma conta grátis para salvar seus favoritos e voltar a eles depois.
Criar conta