Você está no 3DFinder
Buscamos em Thingiverse, MakerWorld e Printables ao mesmo tempo para te dar o melhor de cada uma.
Descrição
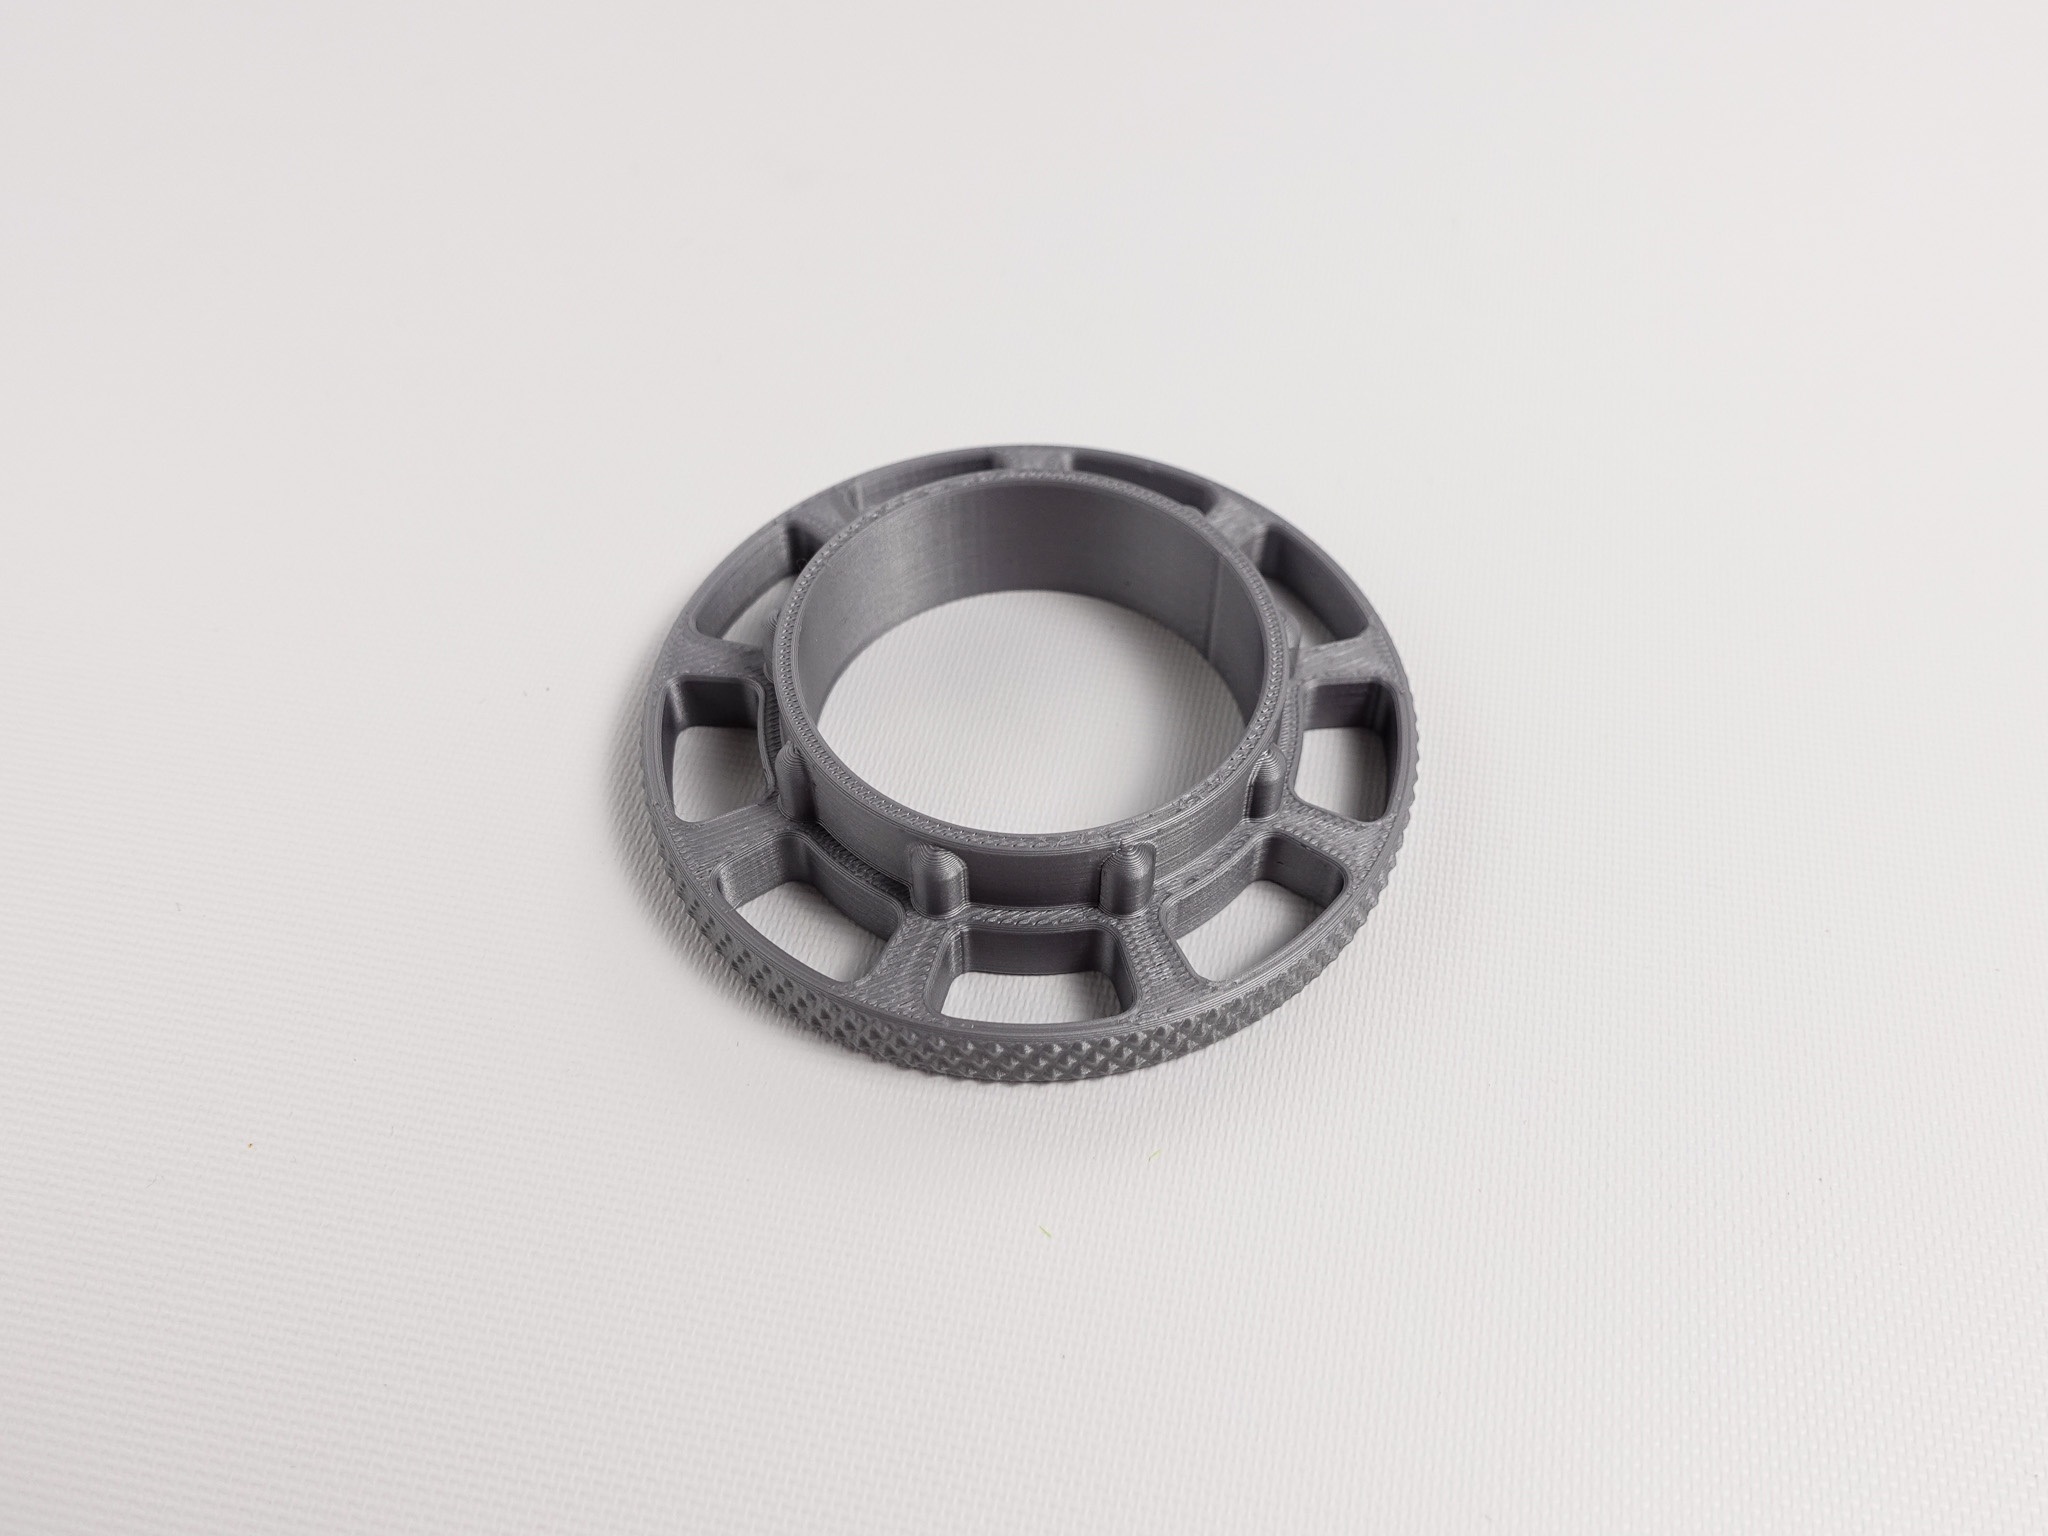
Toroidal Accelerator
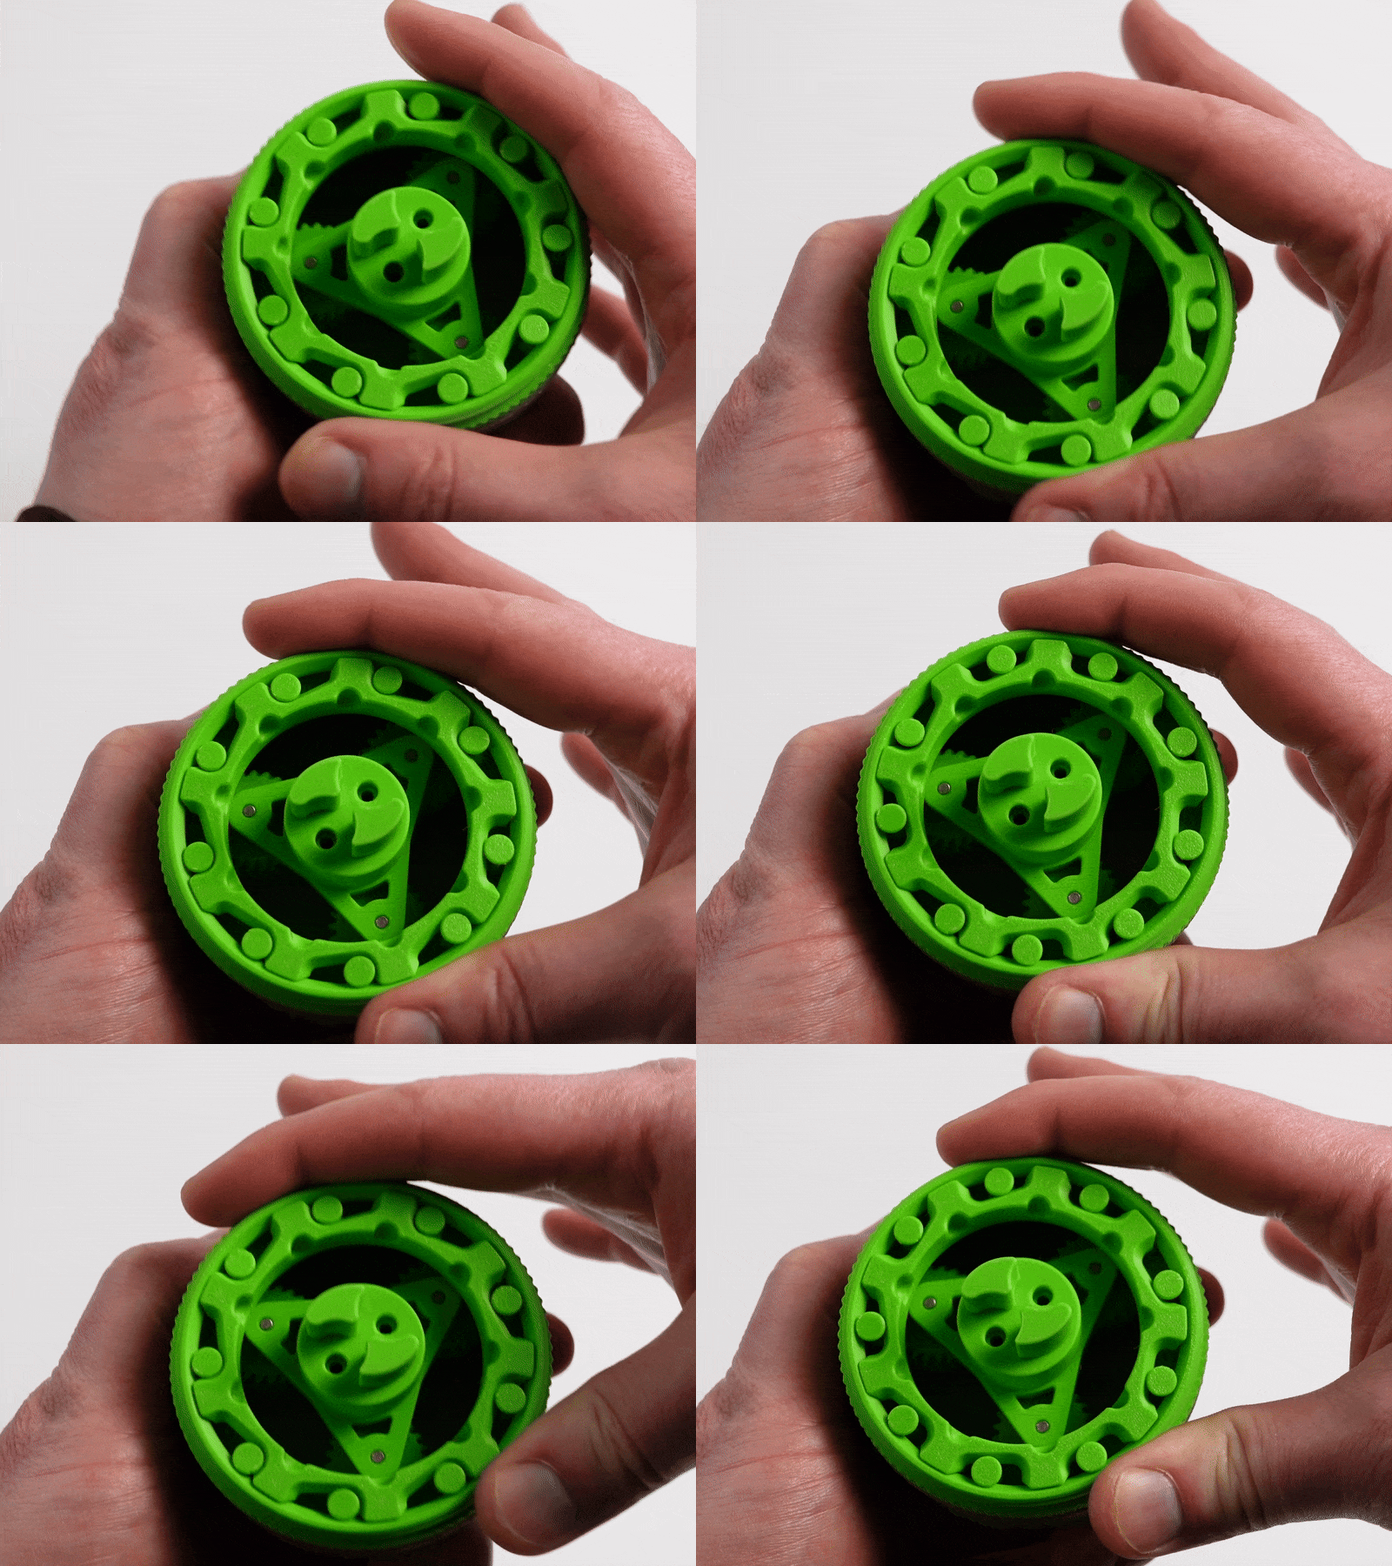
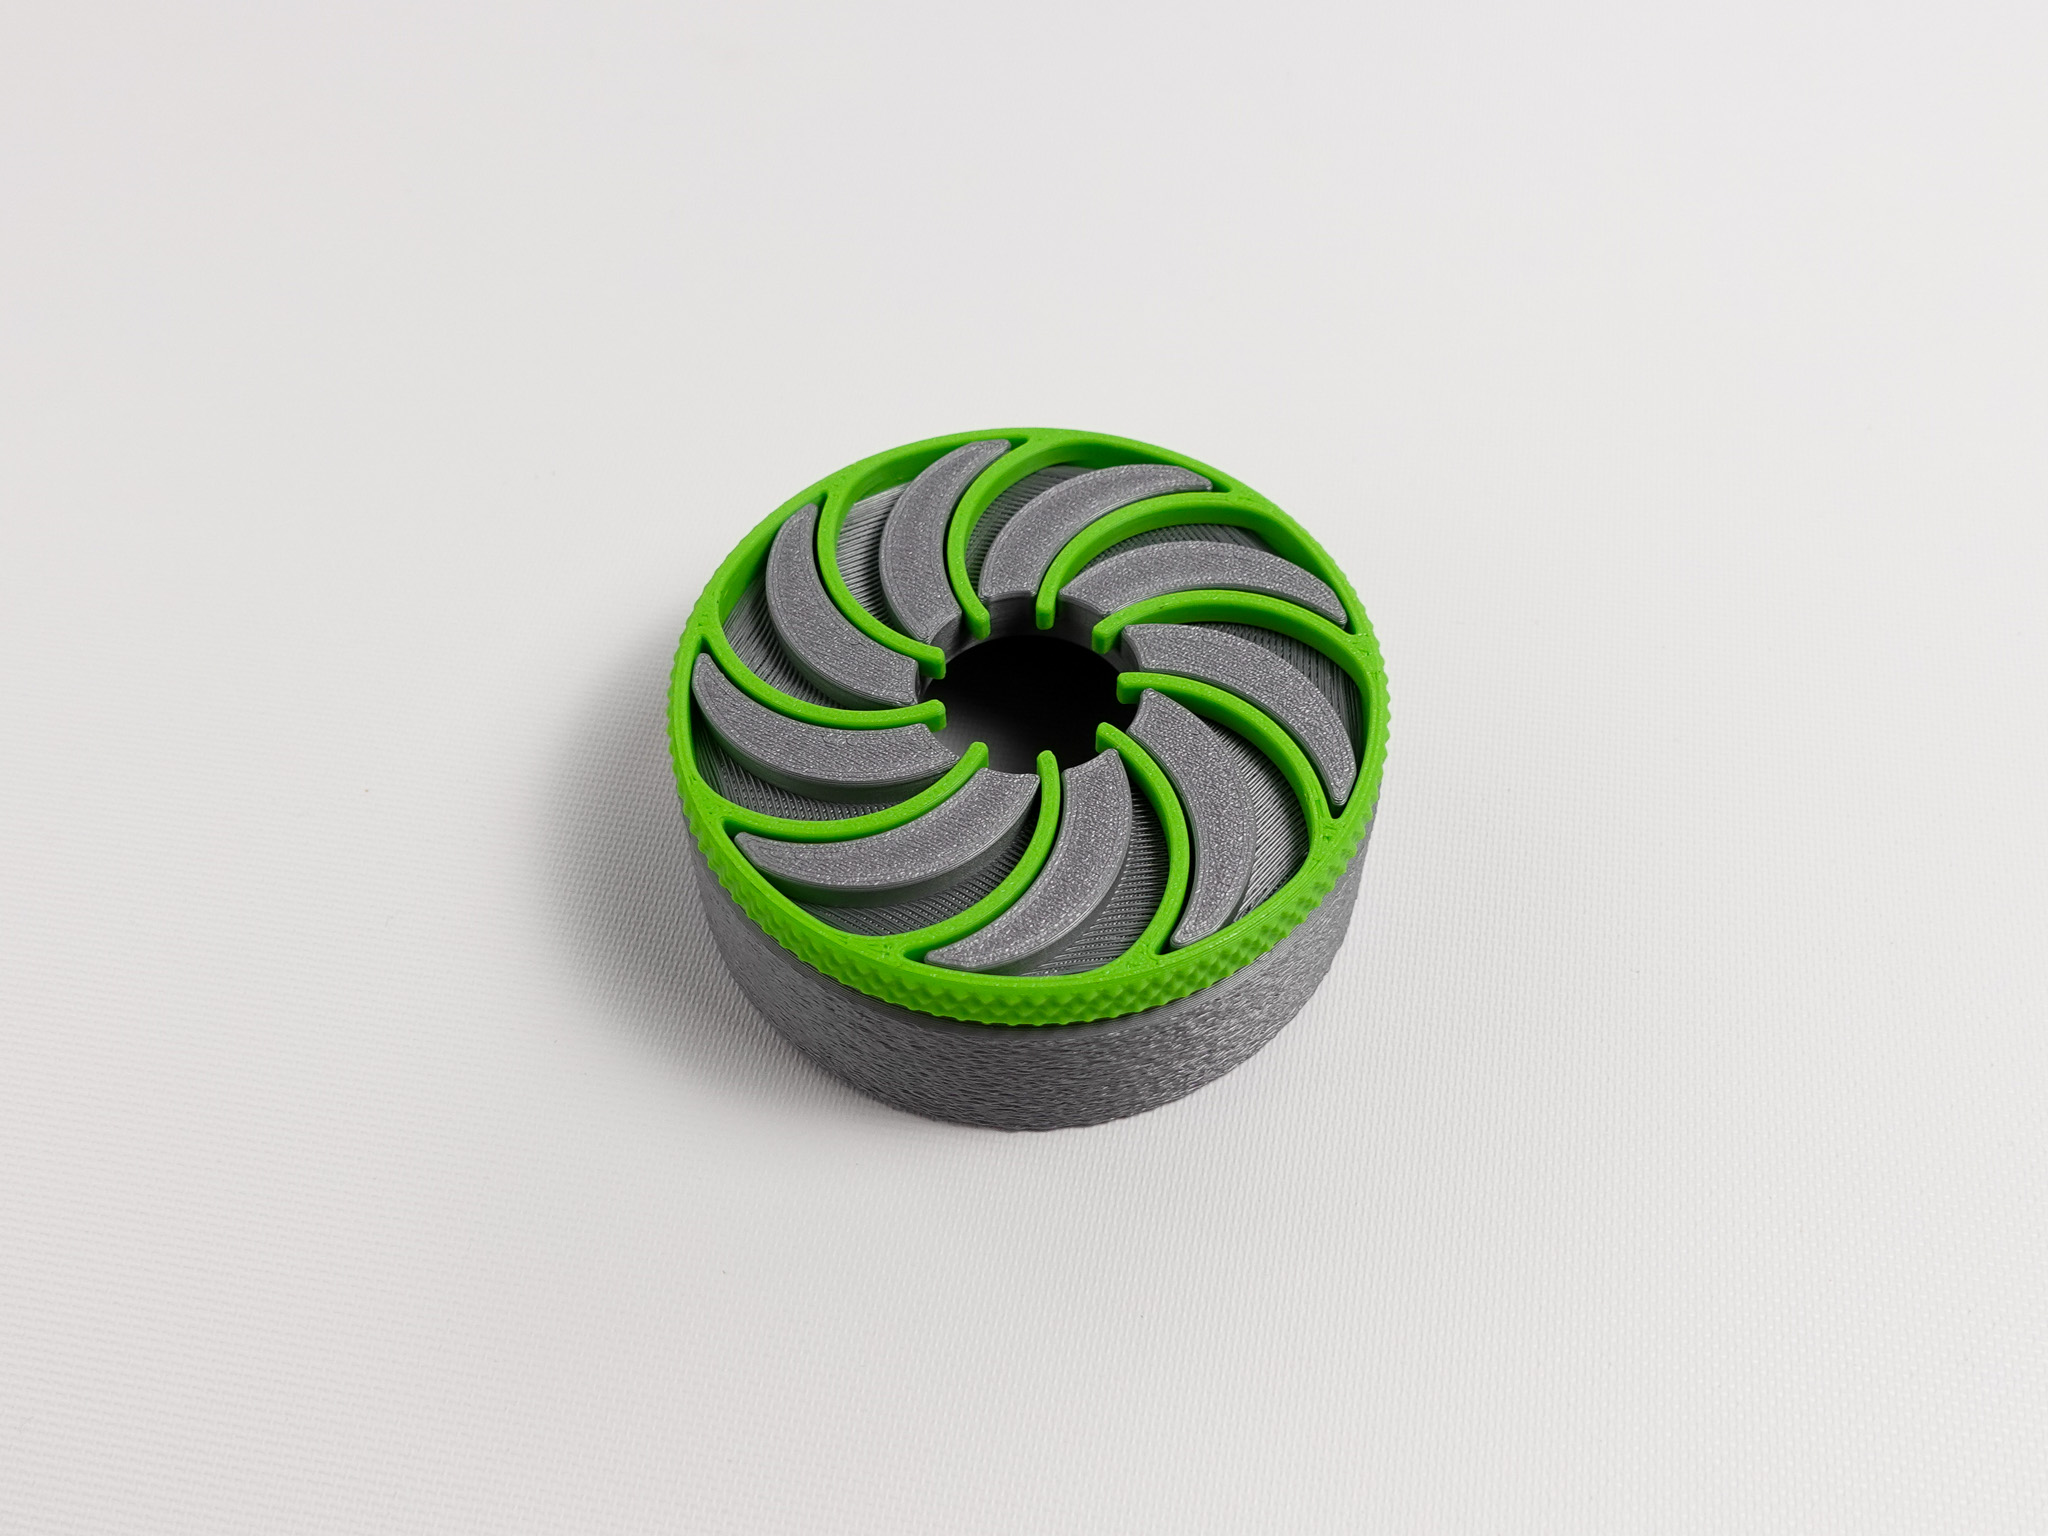
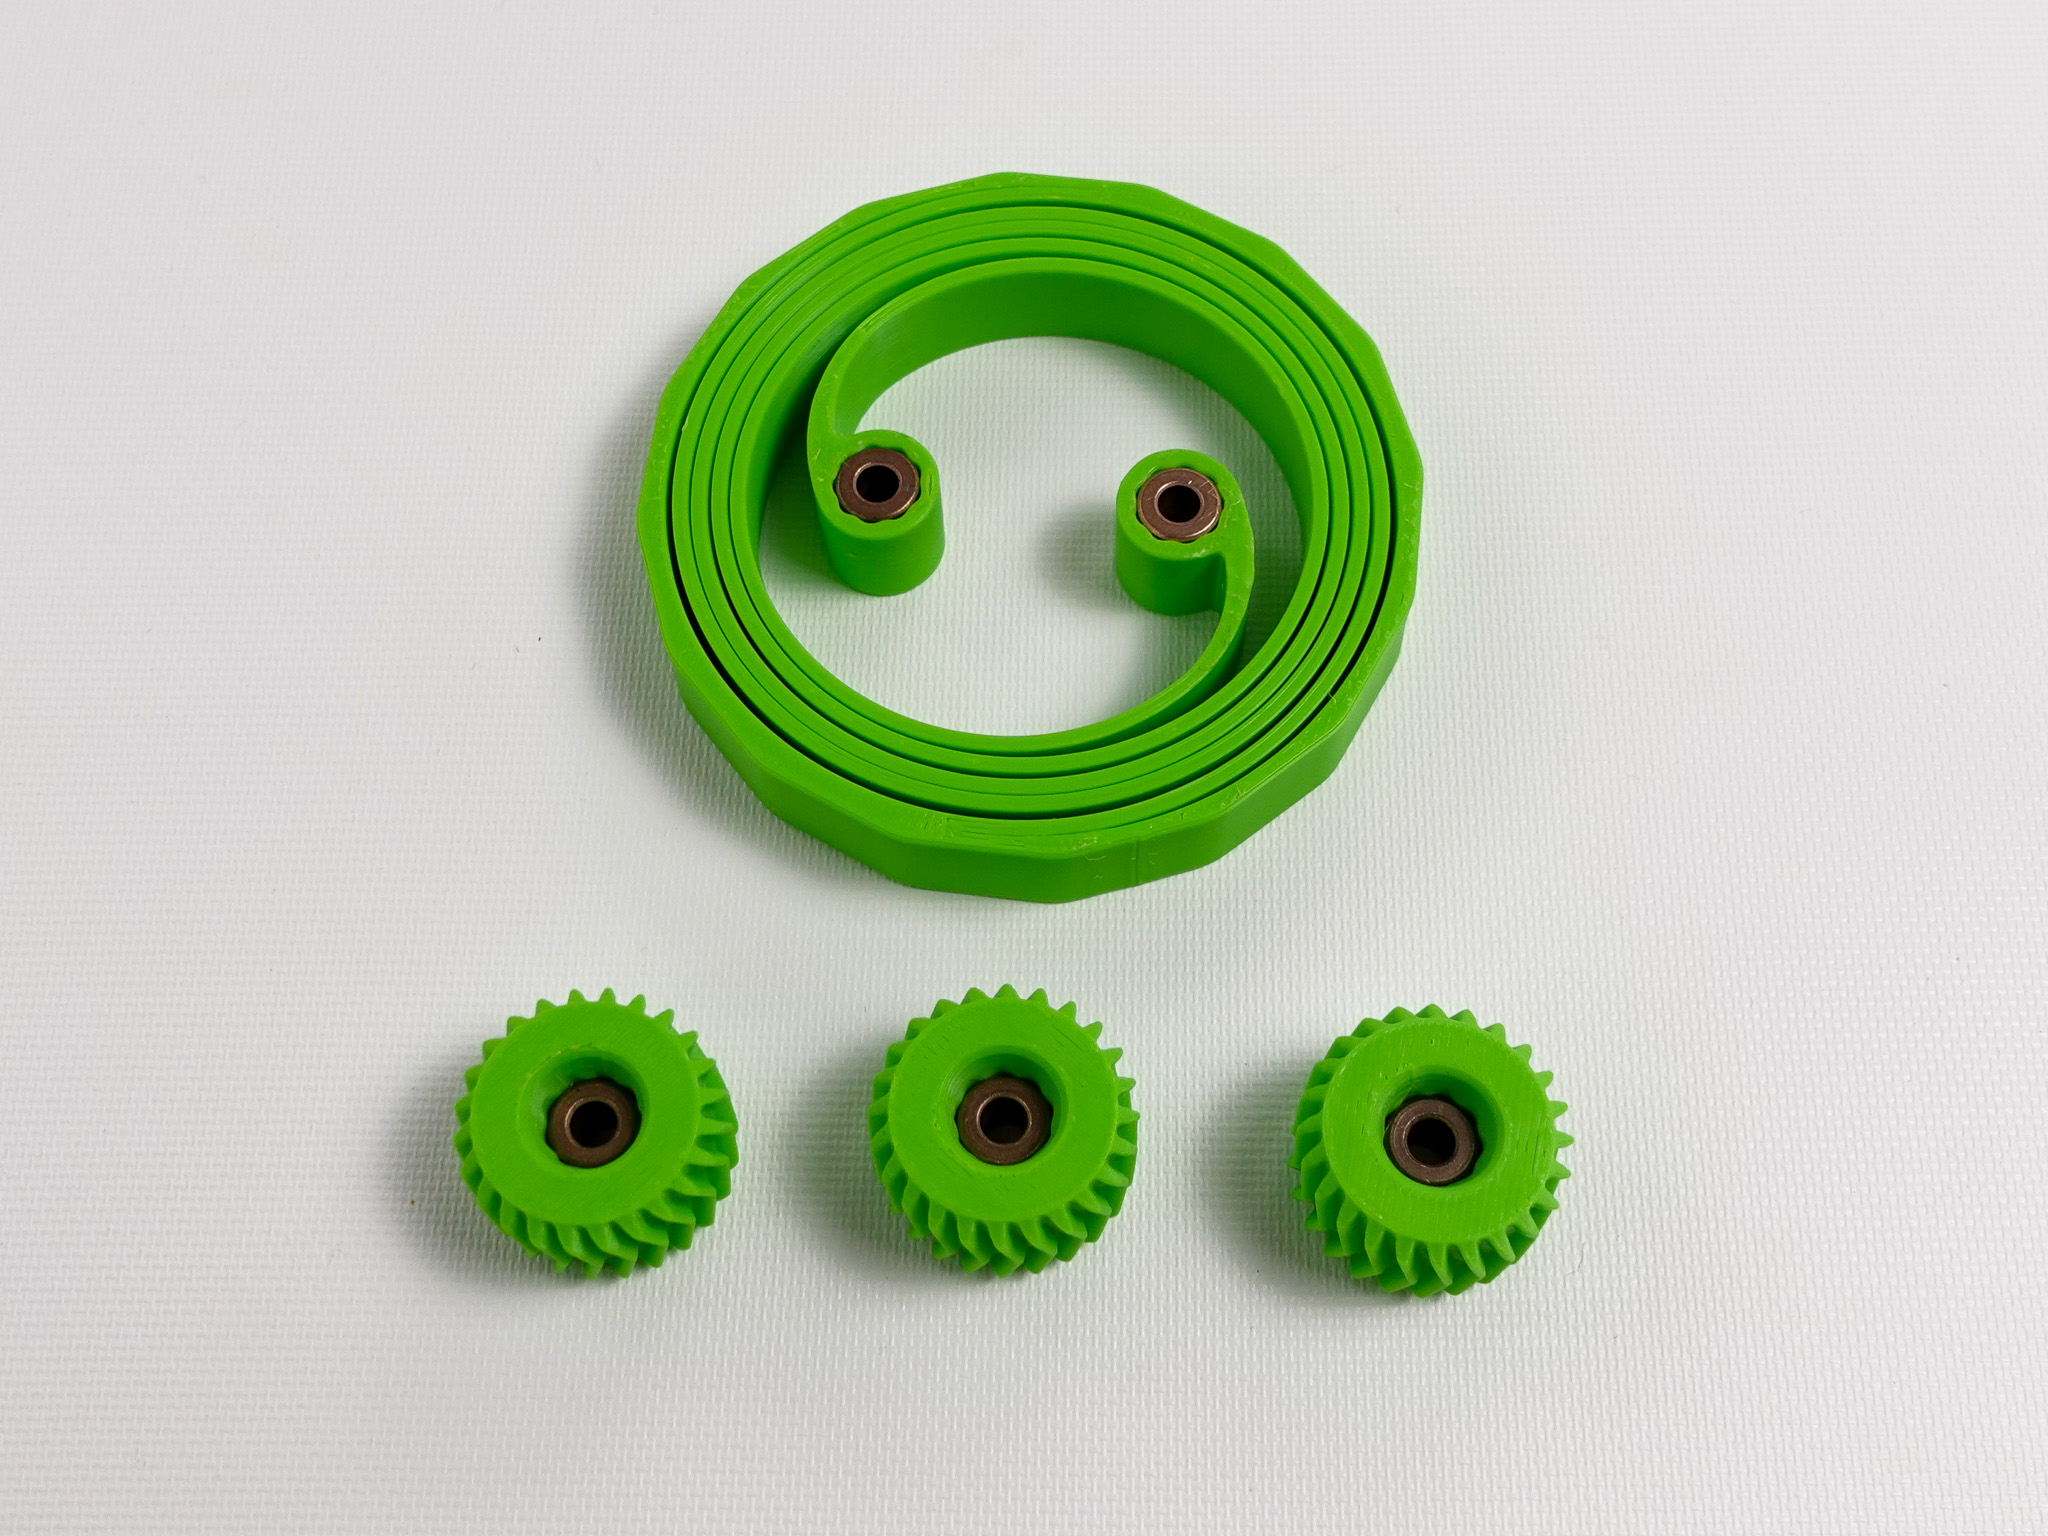
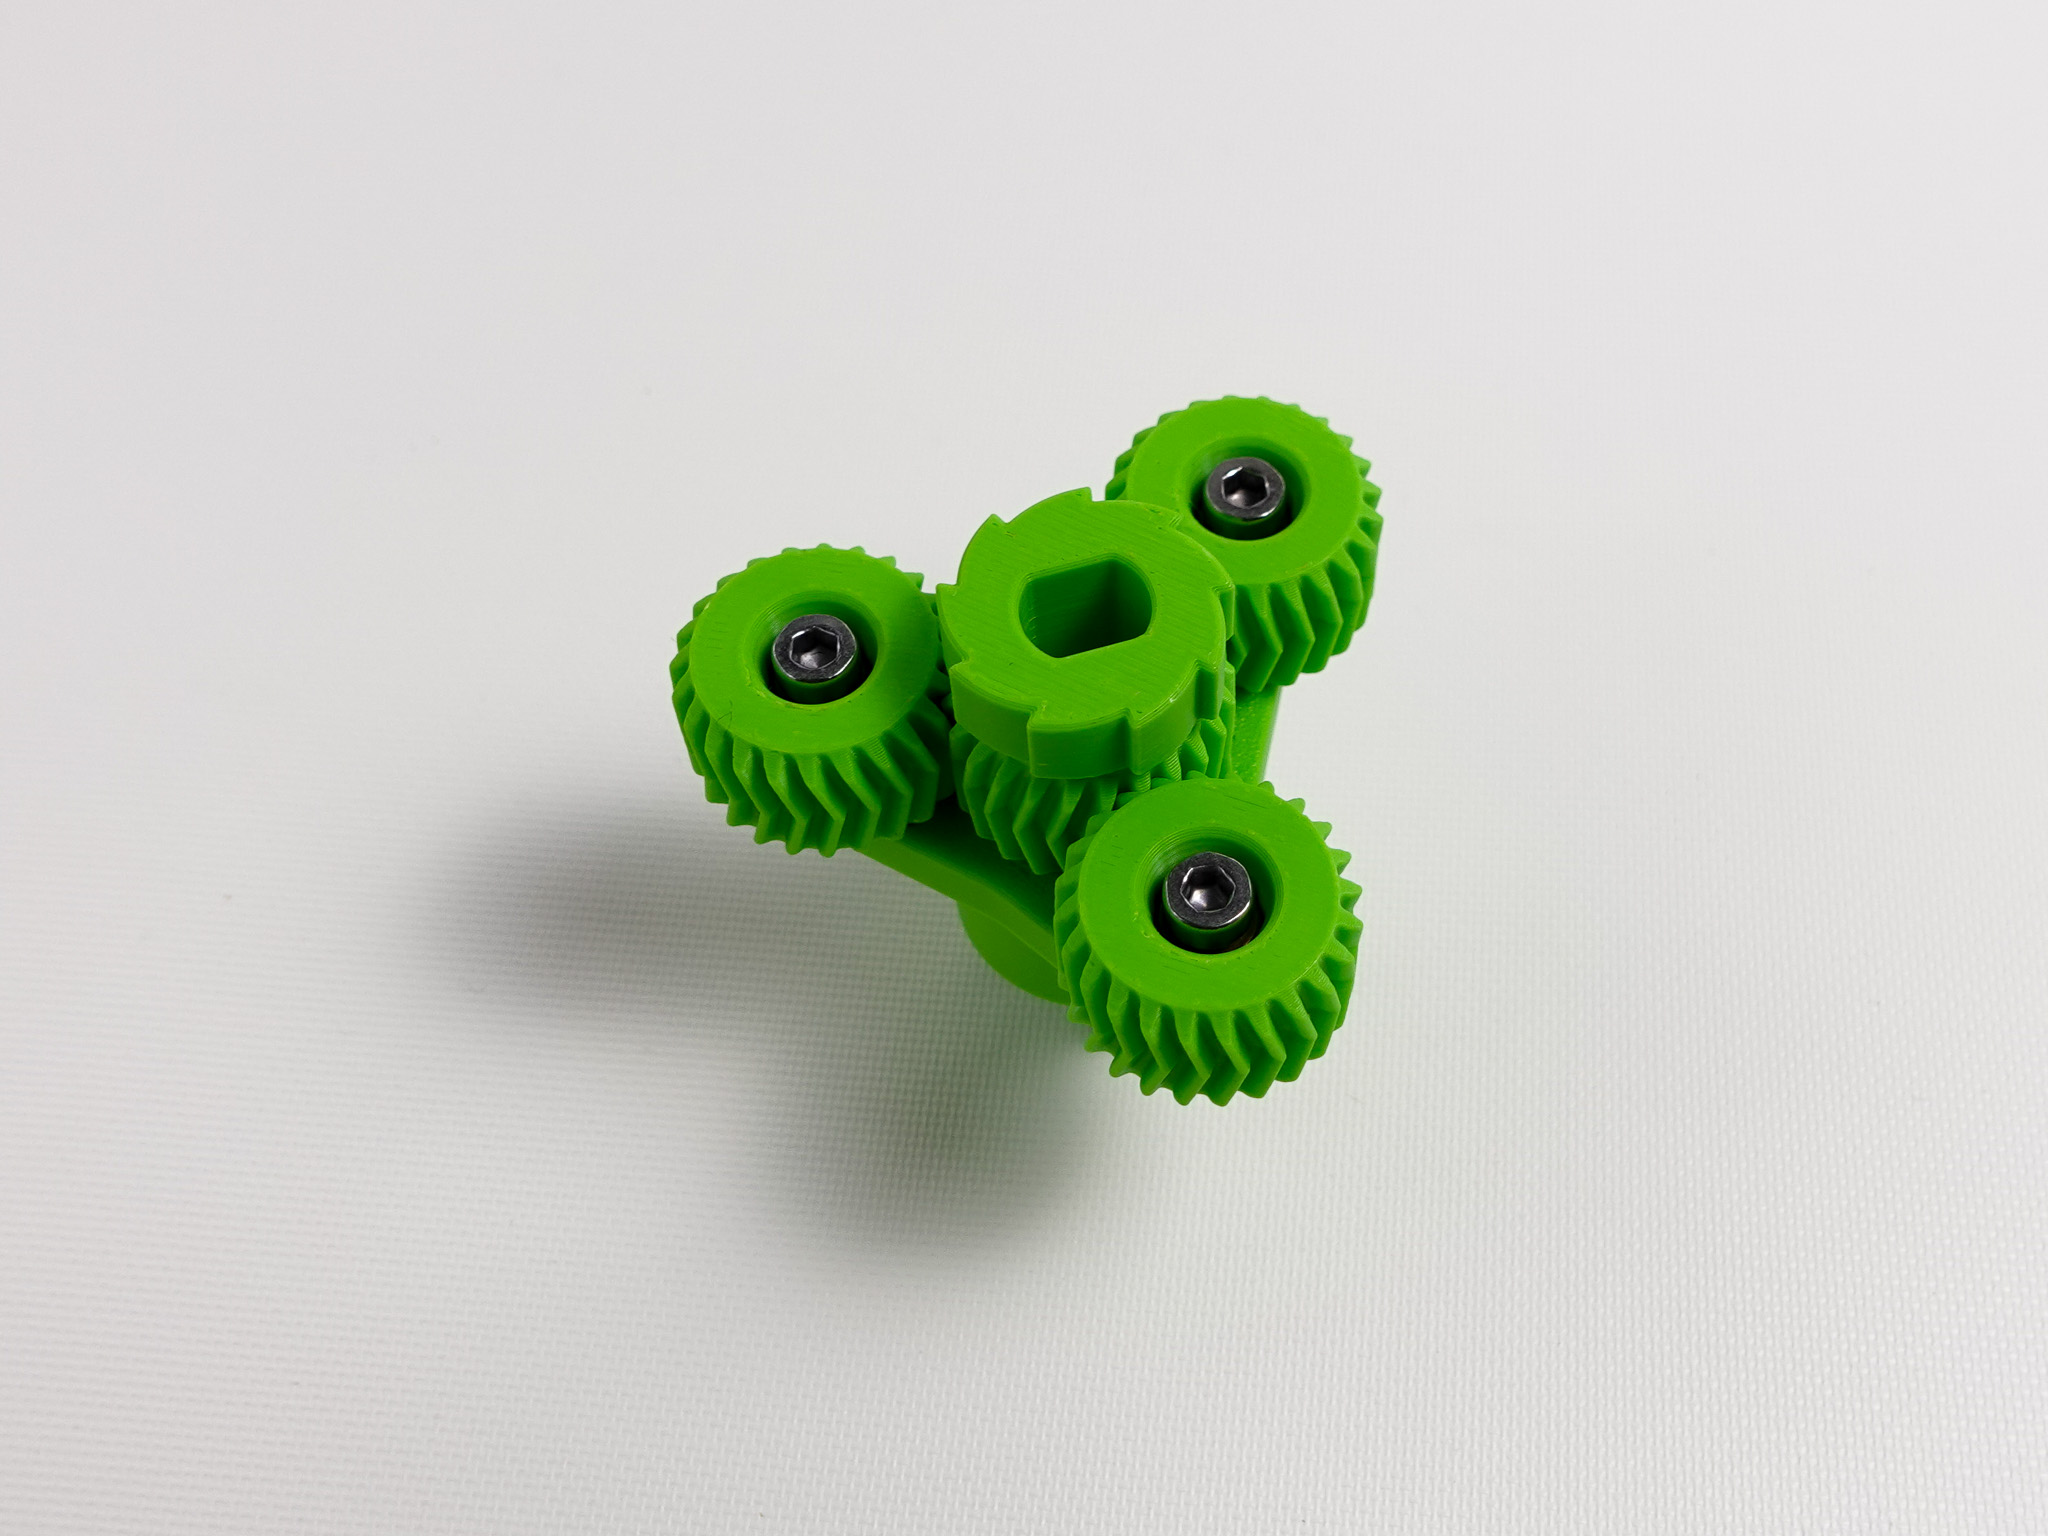
Introducing the Toroidal Accelerator, the latest version of my Toroidal Launcher and most ambitious project to date! The design is powered by a 3D printed spring and features a one-way roller clutch bearing, single stage gearbox and compliant ratchet mechanism to enable easy and consistent launches. Experiment with different gear ratios, spring designs and engineering-grade filaments from Bambu Lab to create your own custom high powered launcher!
Printing Tips
- To avoid layer adhesion issues always clean build plate using water and a light soap (wiki guide)
- For best results run flow rate calibration on all filaments to ensure dimensional accuracy
- All parts have been designed to print using the Standard 0.20mm preset with the following changes
- Arachne wall generator, 3° wall transitioning angle
- 60 outer wall speed, 150 inner wall speed
- 20% gyroid infill
- Avoid crossing walls
- 5 walls (planet carriers only)
Hardware Parts
The following hardware is required to assemble each planet carrier. If you would like to print and assemble all possible gear ratios you can purchase four sets of SHSS screws for a total of 20PCS (bronze bushings are sold as 20PCS).
Assembly Walkthrough
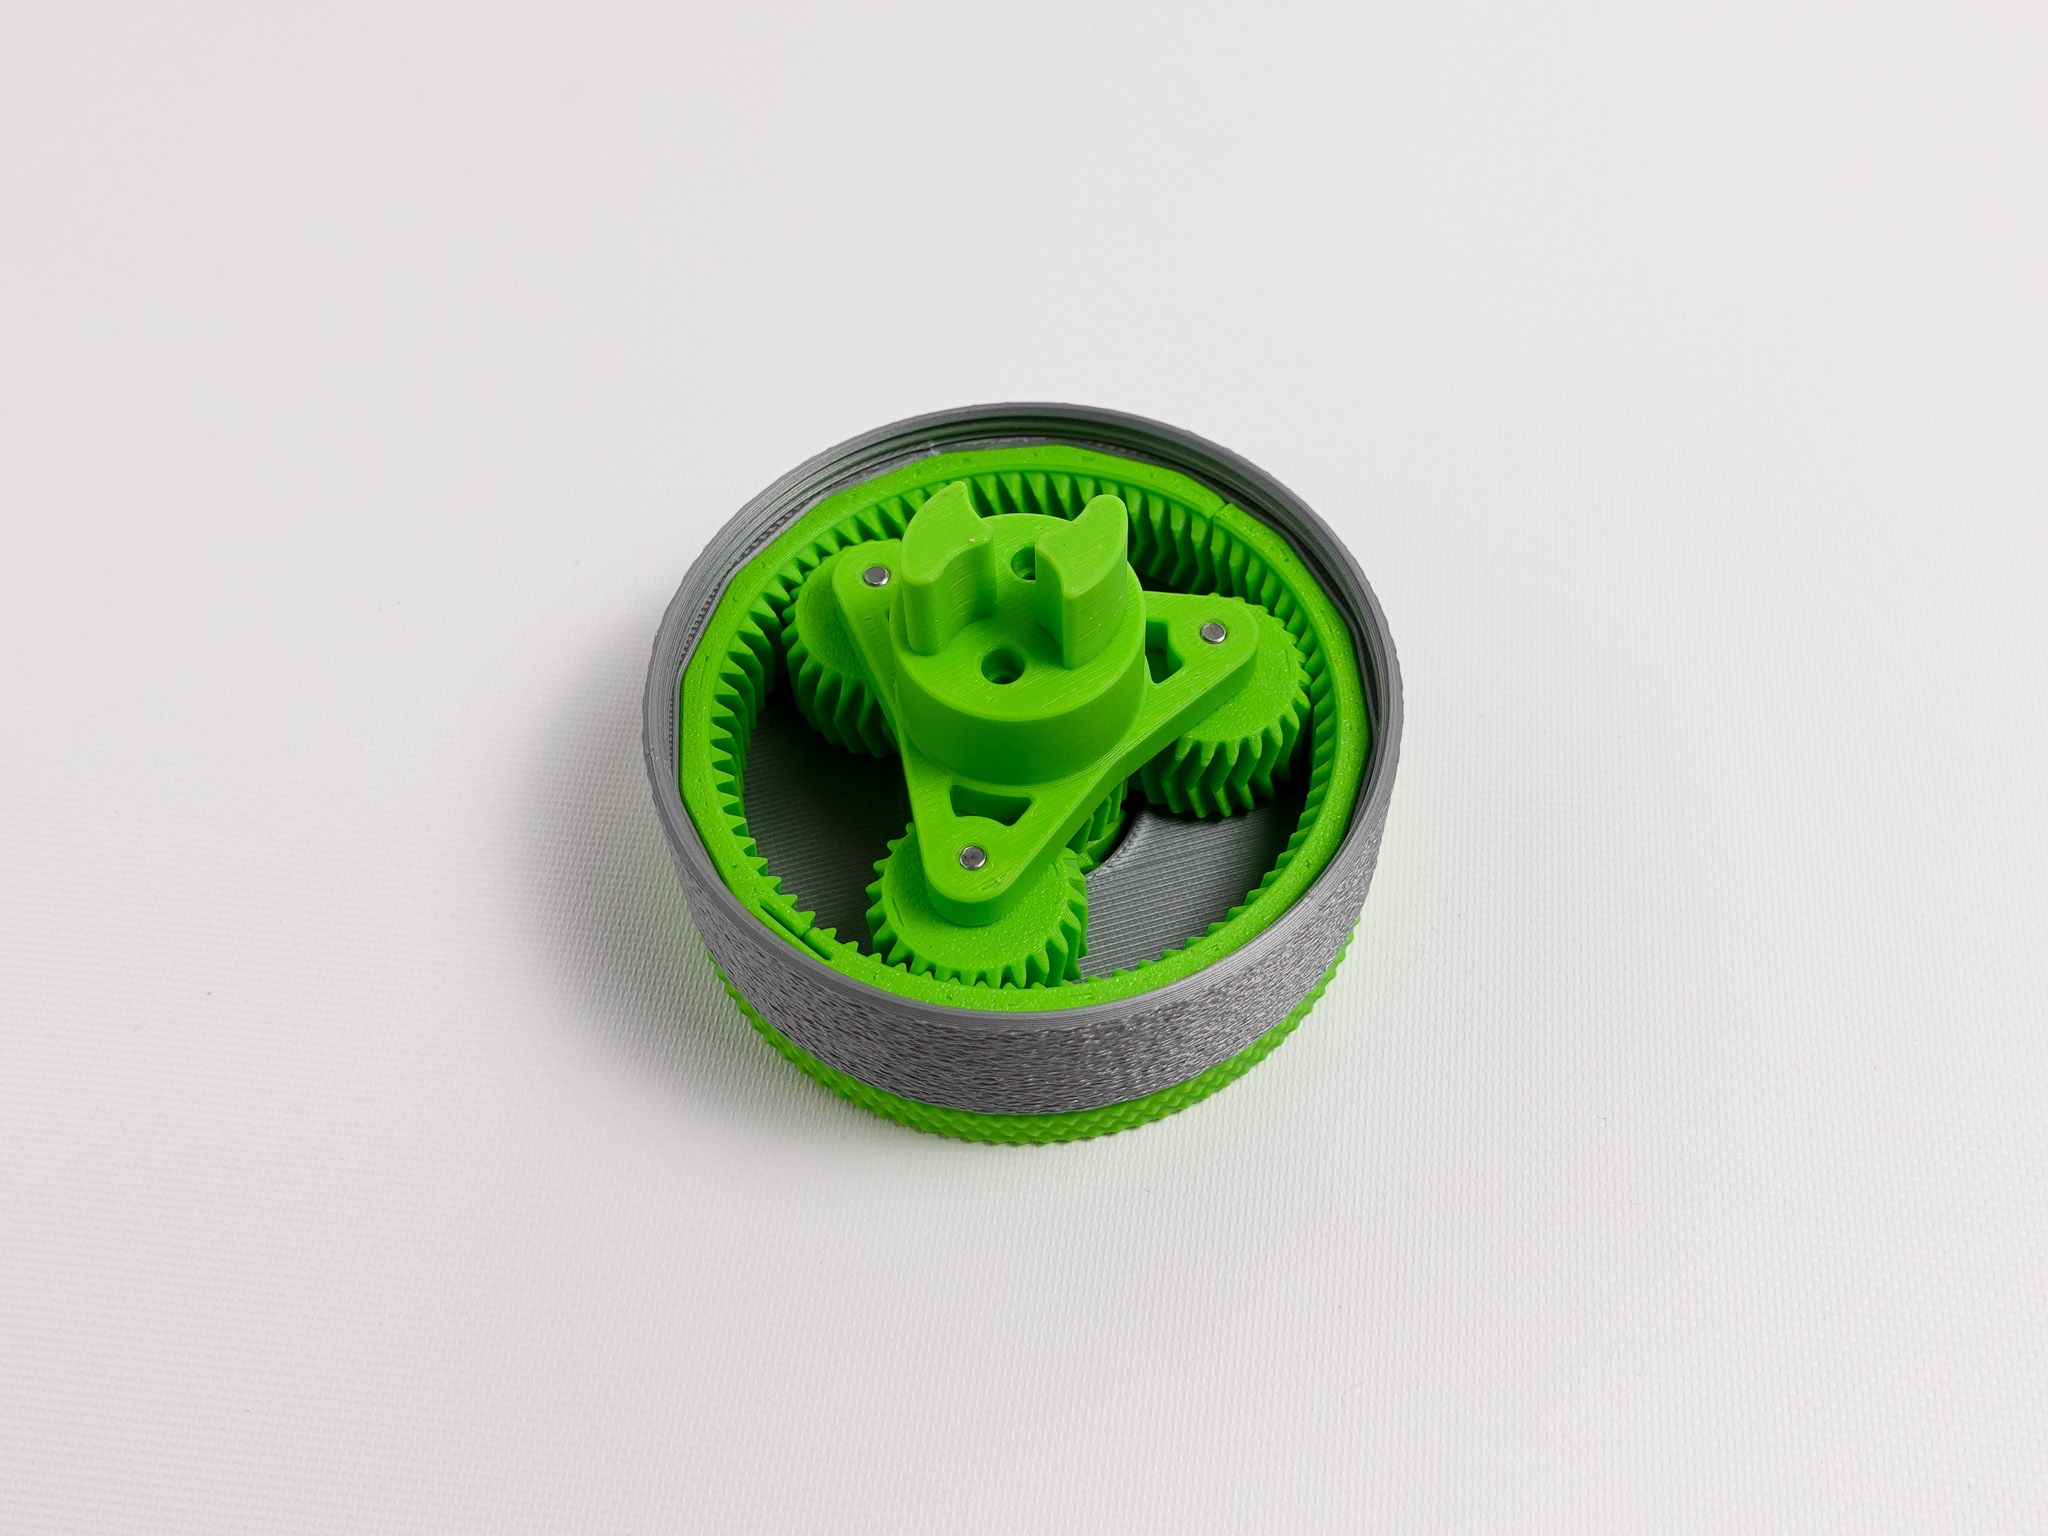
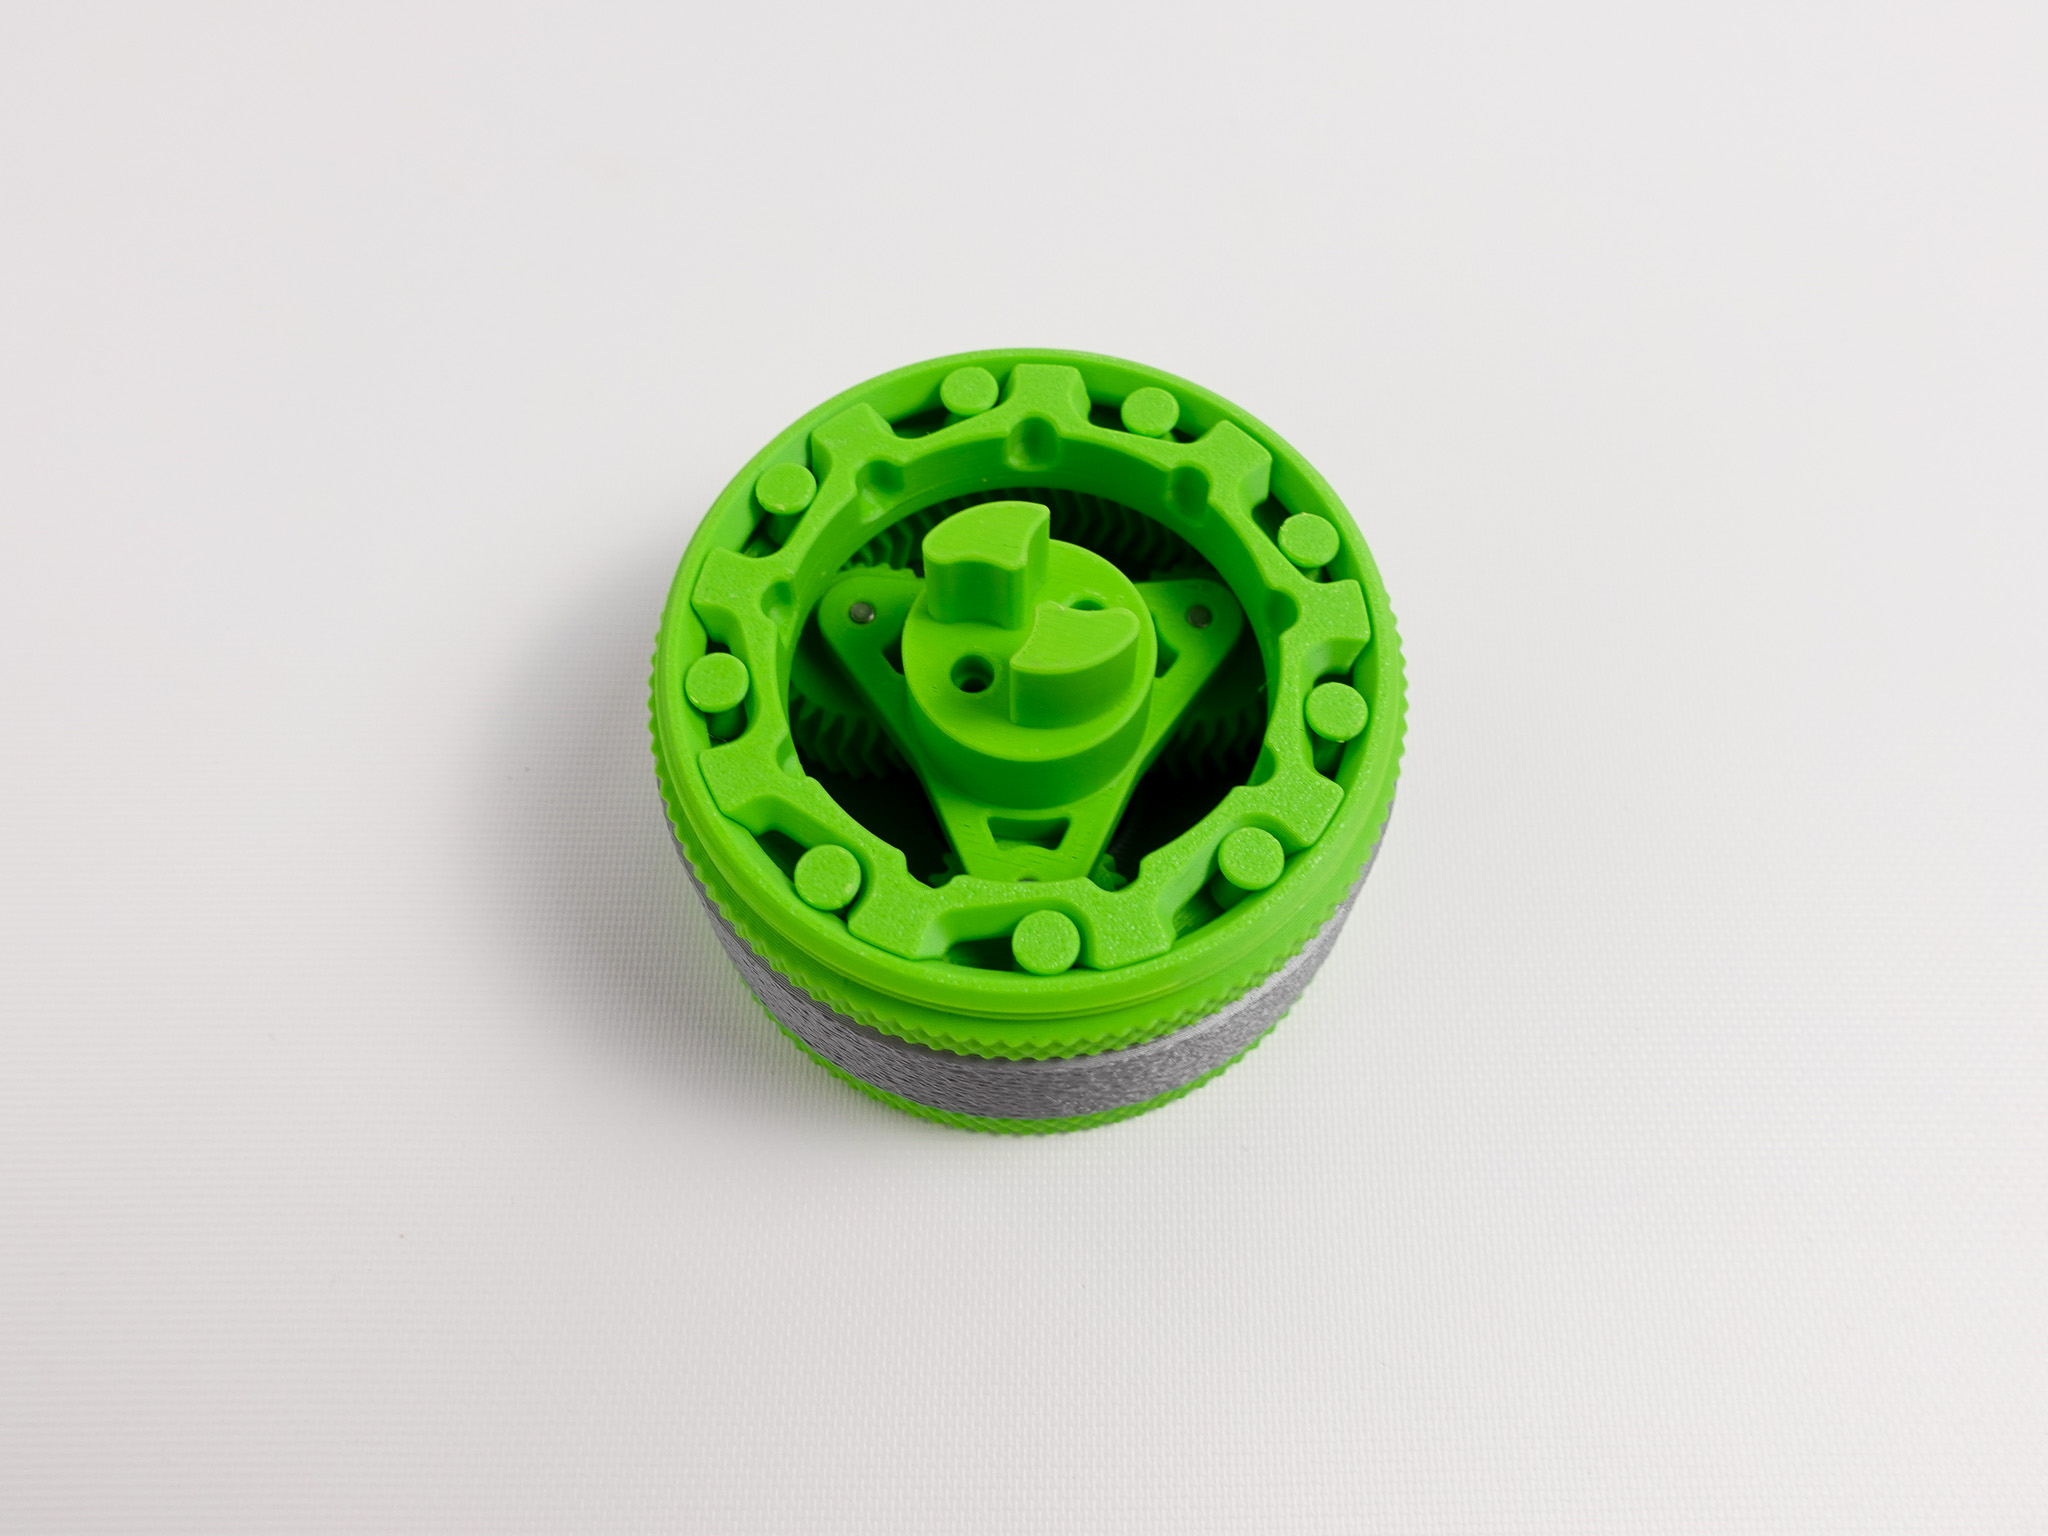
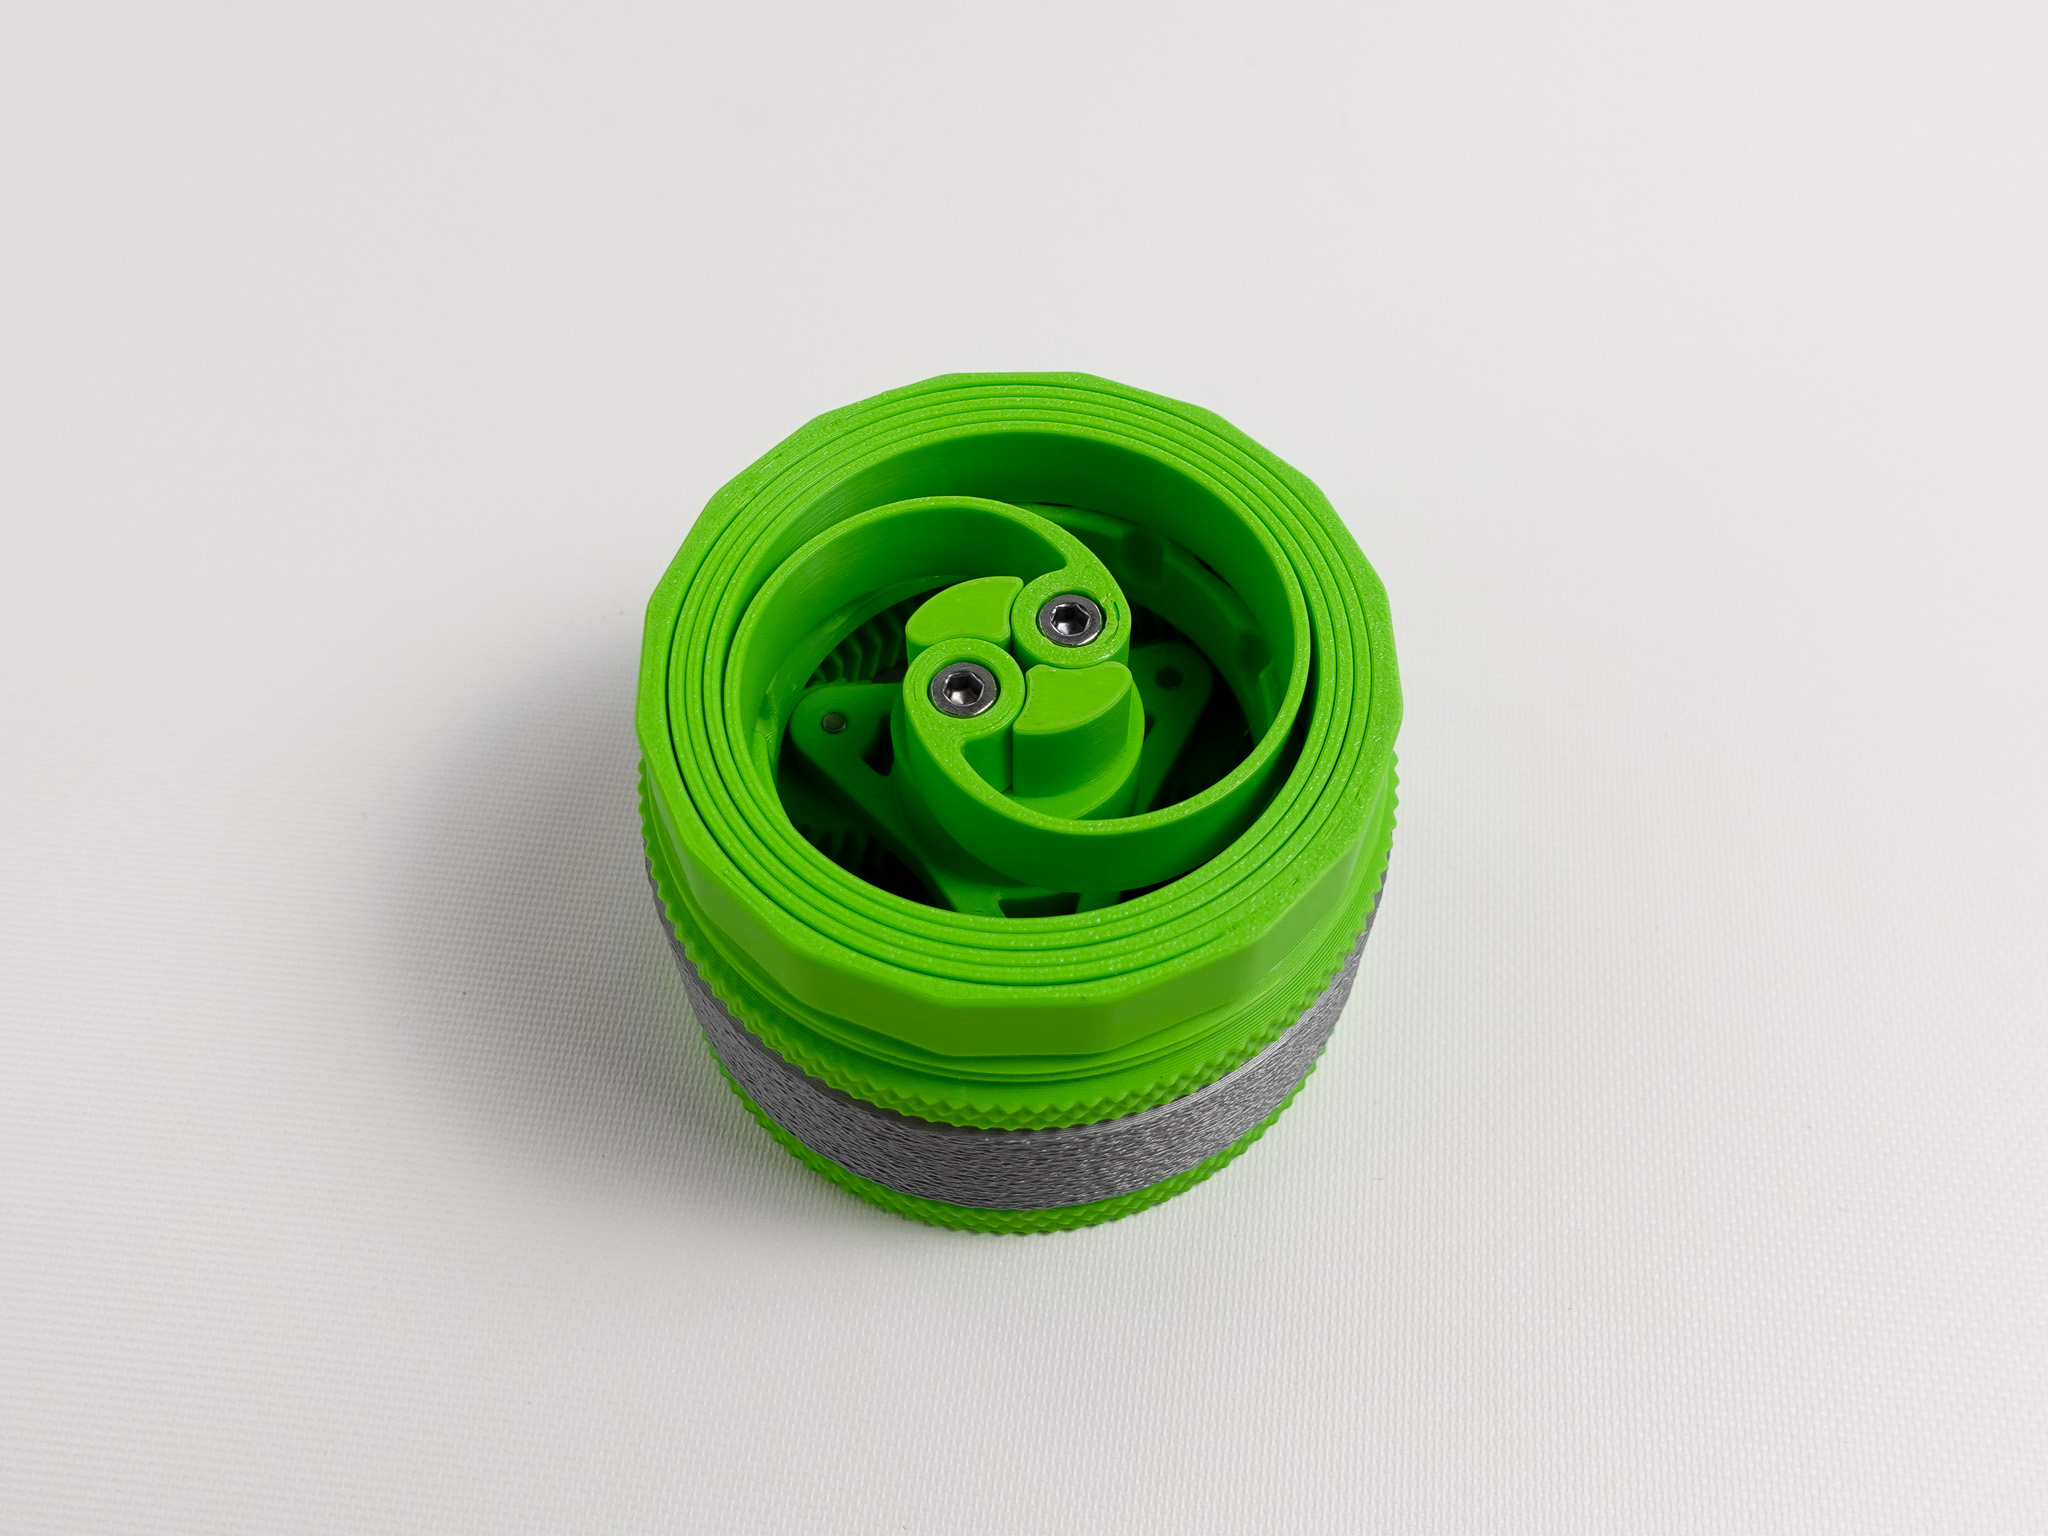
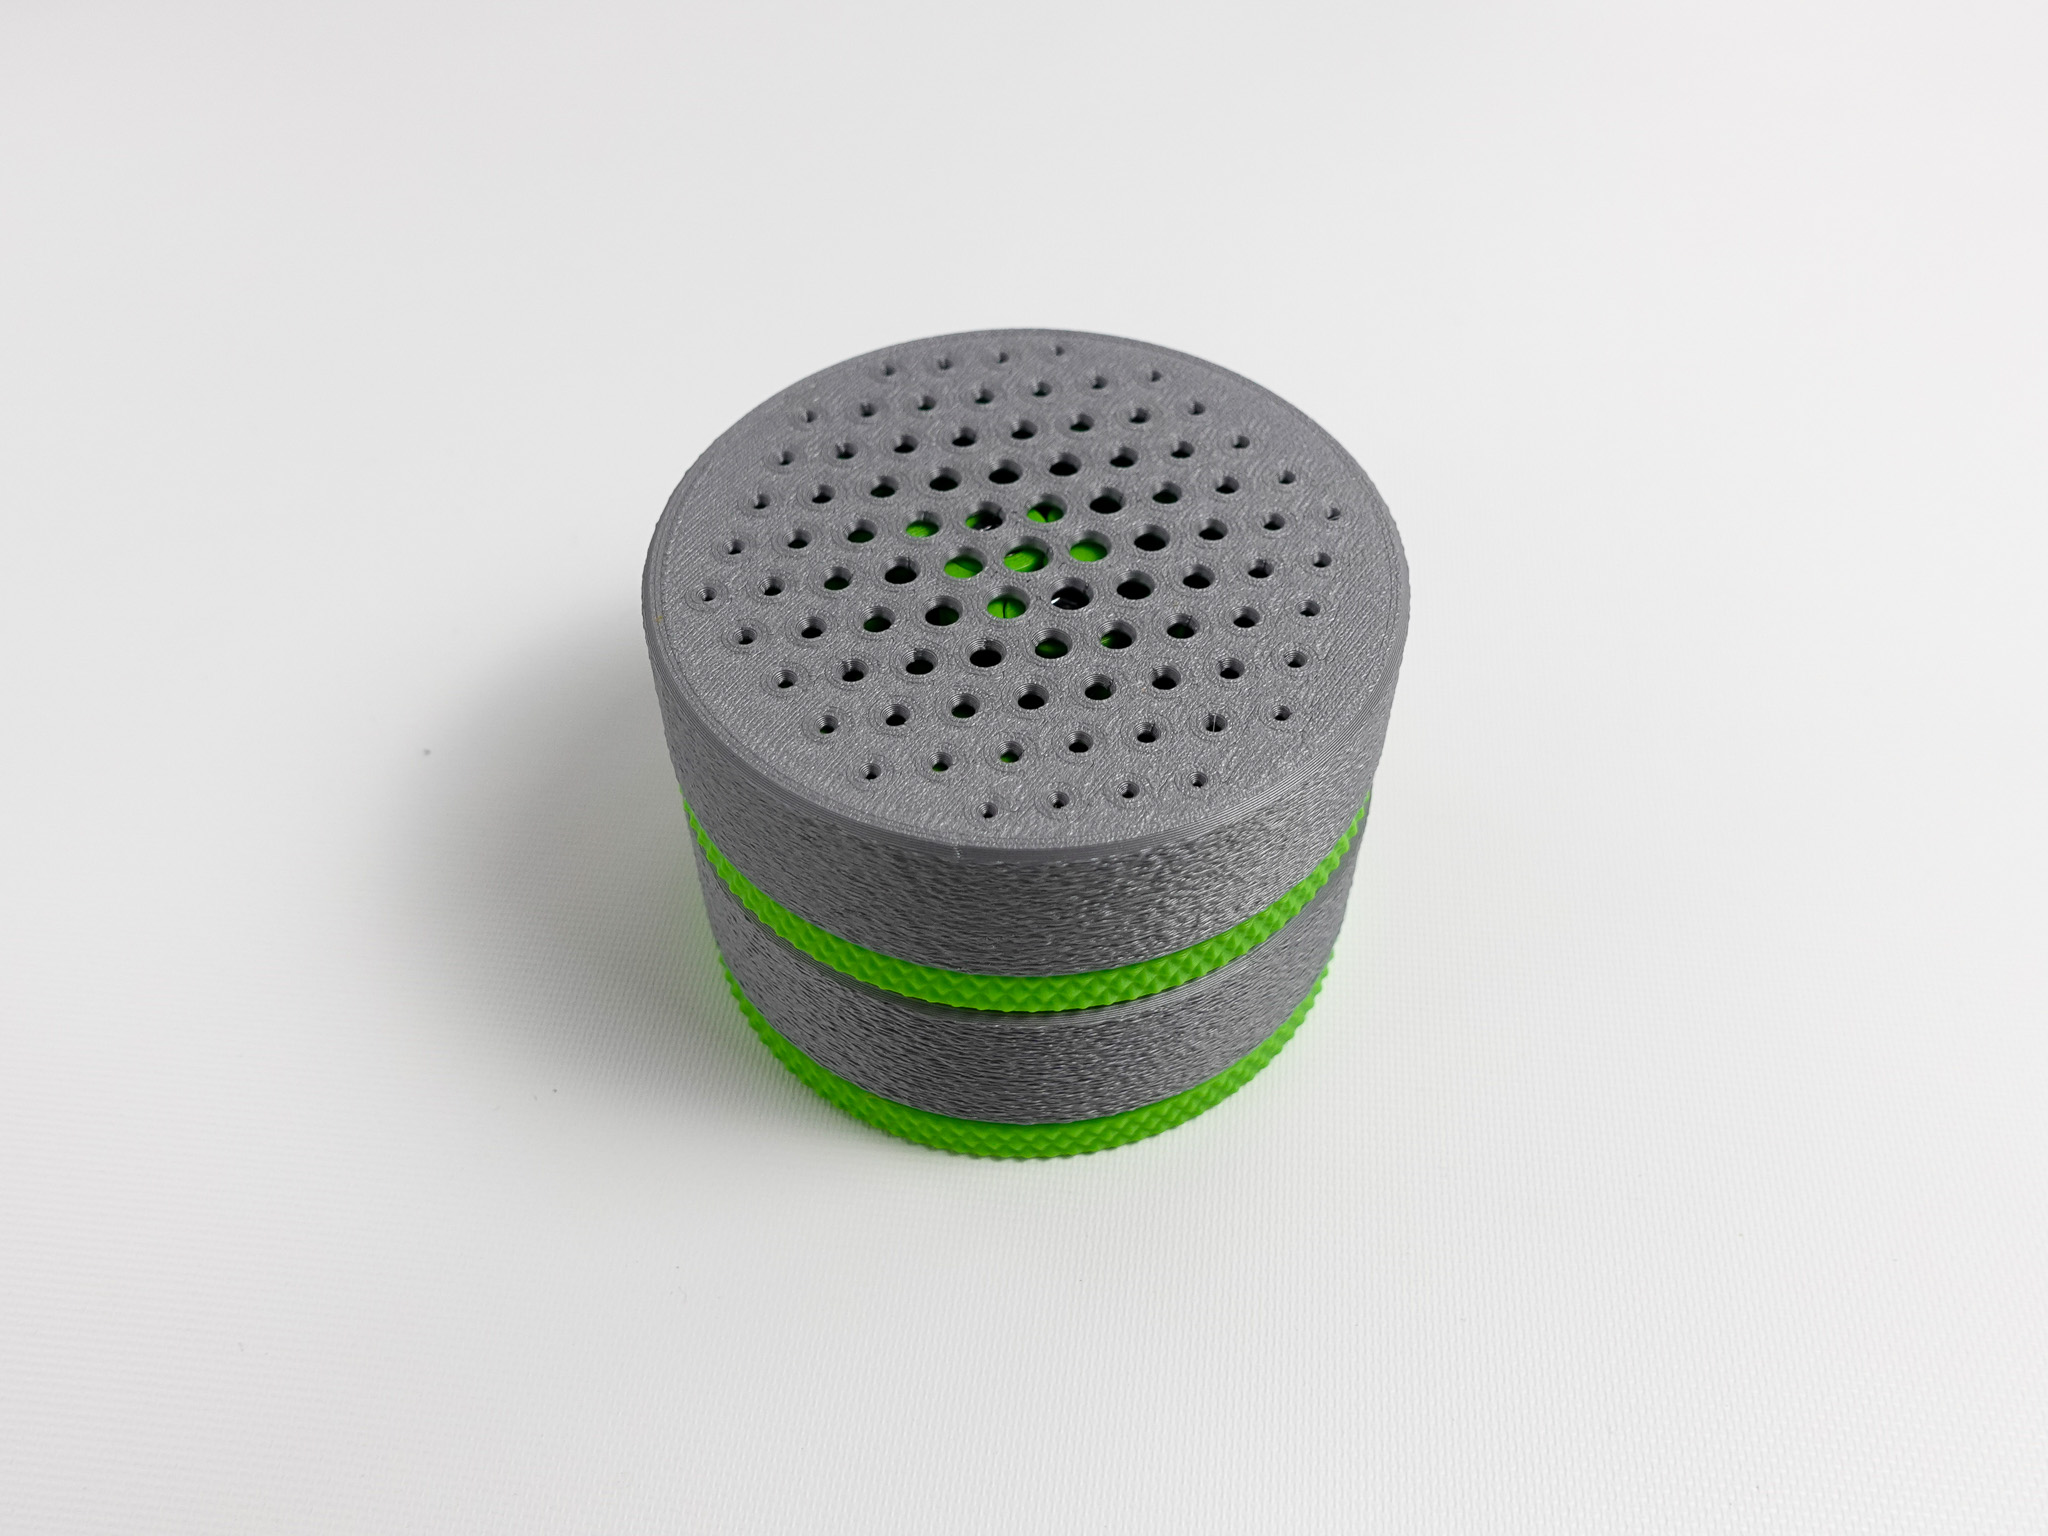
Frequently asked questions
Can the gears be lubricated?
Yes, you can apply a plastic-safe lubricant (e.g. Super Lube 51004) to reduce the friction of the gear components but do not lubricate the roller clutch bearing since it requires friction to operate correctly.
I'm having trouble getting the gears to spin, what can I do?
The first step is to always try reassembling the gears and housing, taking care to mesh the gears before closing and inserting the ring gear. If you're certain the gears are meshed correctly and there is too much friction it's recommended to run flow rate calibration on all filaments used for gear components to ensure dimensional accuracy.
Is there any way to fine-tune the gears even more?
You can try adjusting the X-Y contour compensation in Bambu Studio (under Quality → Precision) and print a single stage of the launcher gears to check the fit. Once you are satisfied with the fit of a single stage the same compensation setting can be used to print the remaining stages to achieve a similar fit.
Can I showcase the design on my YouTube/Instagram/TikTok or other social medial platform?
Of course! You're more than welcome to showcase or feature the 3D printed model in any blog, short/long form video or other content as long as you provide credit to the designer and a link to the exclusive design here on MakerWorld. Be sure to leave a comment with a link to your content and I will showcase the best videos here directly on the model page!
Can I sell the printed design or files?
The design will always be free for anyone with a 3D printer to print for themselves and gift to others but if you are interested in selling the printed models for profit I offer several options through Patreon and the MakerWorld membership program, click the button below to learn more!
Community Support
Thank you to everyone who downloads and prints the Toroidal Accelerator! If you would like to support my design work and the development of more fun and functional 3D printed models the easiest way is to simply click the button below and Boost the model for free.
If you would like to support even more you can purchase filament through the official Bambu Labs store using the links in the Bill of Materials or with a monthly donation through Patreon or the MakerWorld membership program linked above.
Change Log
- Mar. 26th, 2025 - Restructured print profiles and updated settings to print faster
- Mar. 24th, 2025 - Initial model release
Toroidal Accelerator - Spring Powered Launcher

Publicado em 24 de mar de 2025
Gostou deste modelo? Crie uma conta grátis para salvar seus favoritos e voltar a eles depois.
Criar conta