Você está no 3DFinder
Buscamos em Thingiverse, MakerWorld e Printables ao mesmo tempo para te dar o melhor de cada uma.
Descrição
Warning!-Only use this model under parental supervision. This rocket can severely injure the user when used incorrectly!
This is a fully working and 3D printed rocket model rocket!! This Model has the capability to fly 1000 plus feet!! This rocket is very big standing at a staggering 2.5 feet tall!! This Rocket is an amazing creation and was completely design use the Open Rocket program on windows.
I Printed this Rocket with Bambu Lab ASA as it is required to print it with a material that has a high heat resistance so the ejection charge does not damage the rocket its self. Although something like PEGT might work the safest option would be to use Asa or Abs, if you successfully print and launch your rocket with a different material let me know and I will start a list of useable materials!
The entire rocket is fully 3d printed in 3 different pieces but there are 4 materials that are required to launch: An Estes E12 rocket engine, super glue or epoxy, a parachute, and lastly a rubber band.
This rocket Requires An Estes E12 rocket engine, or one of similar dimension and size (24mm in diameter, 95mm in length) once again if you successfully launch with a different engine please let me know and I will make a list of compatible engines. If you are using a different engine please note the the delay charge cannot be any longer then 6 seconds or your parachute will not have enough time to deploy.
Building Instructions:
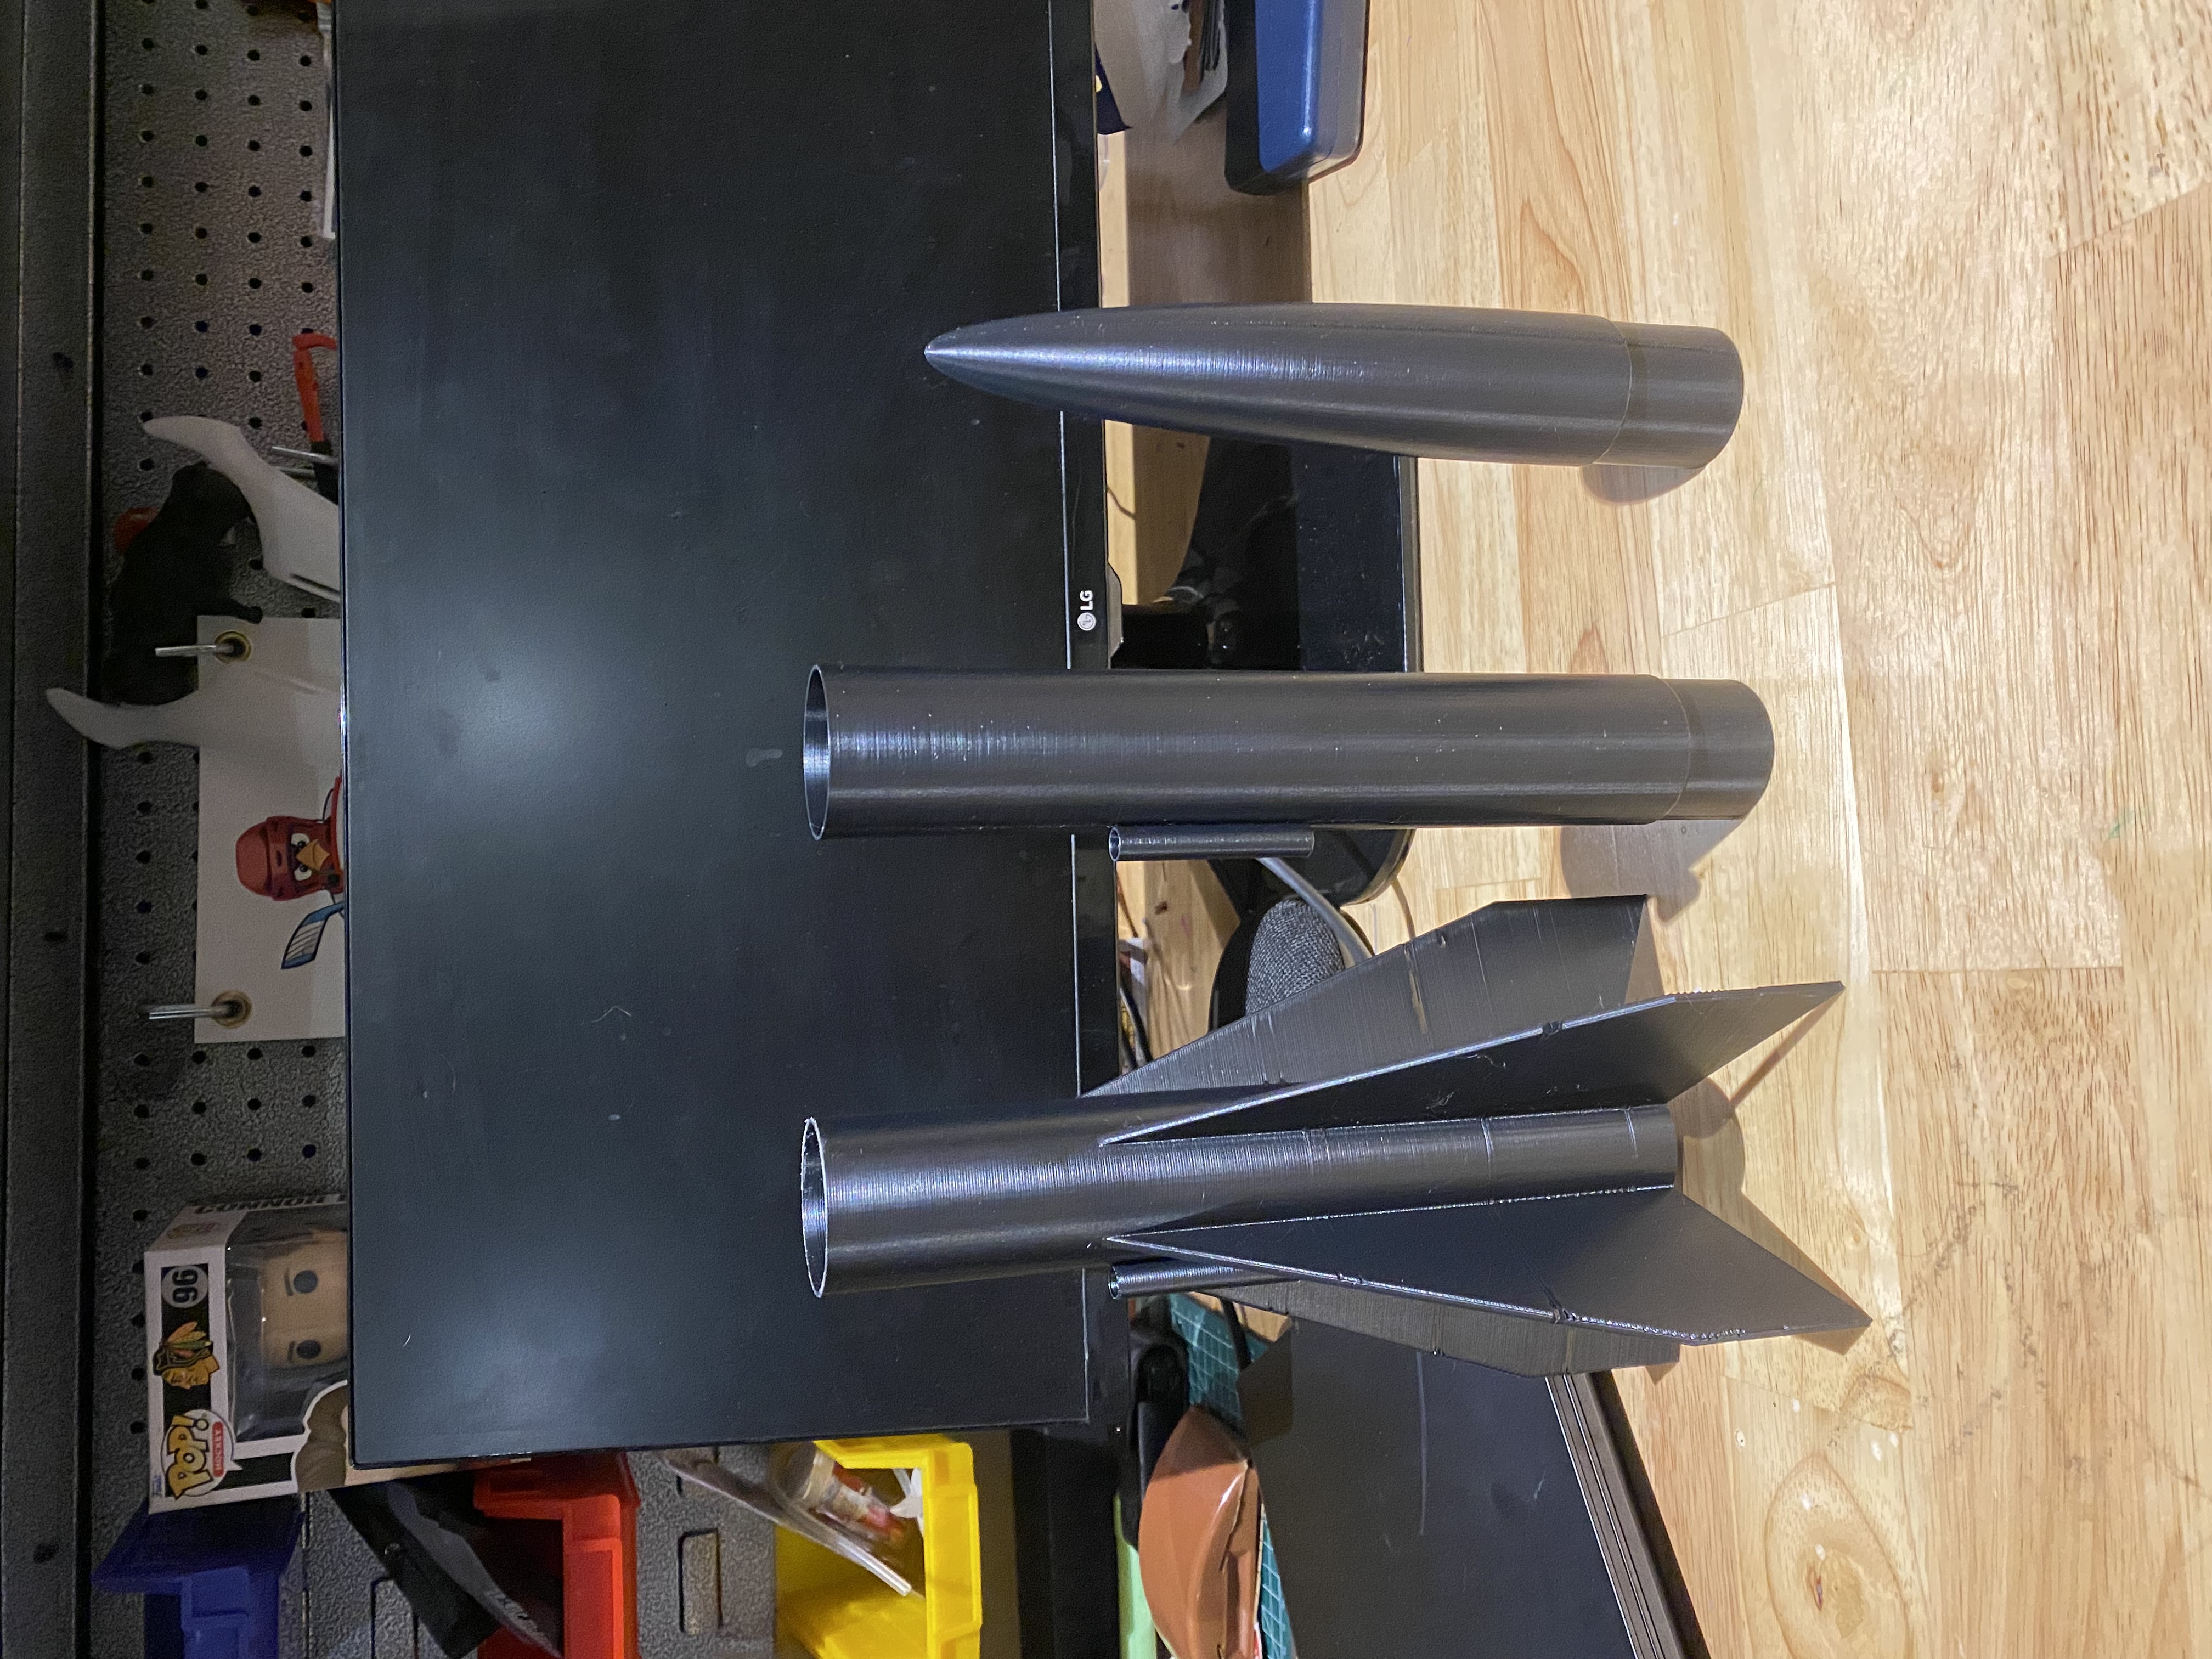
Step 1: Carefully remove any supports and sand out any imperfections until the rocket pieces slide together nicely and have proper smooth surfaces. If the parts are to lose move down to step 2
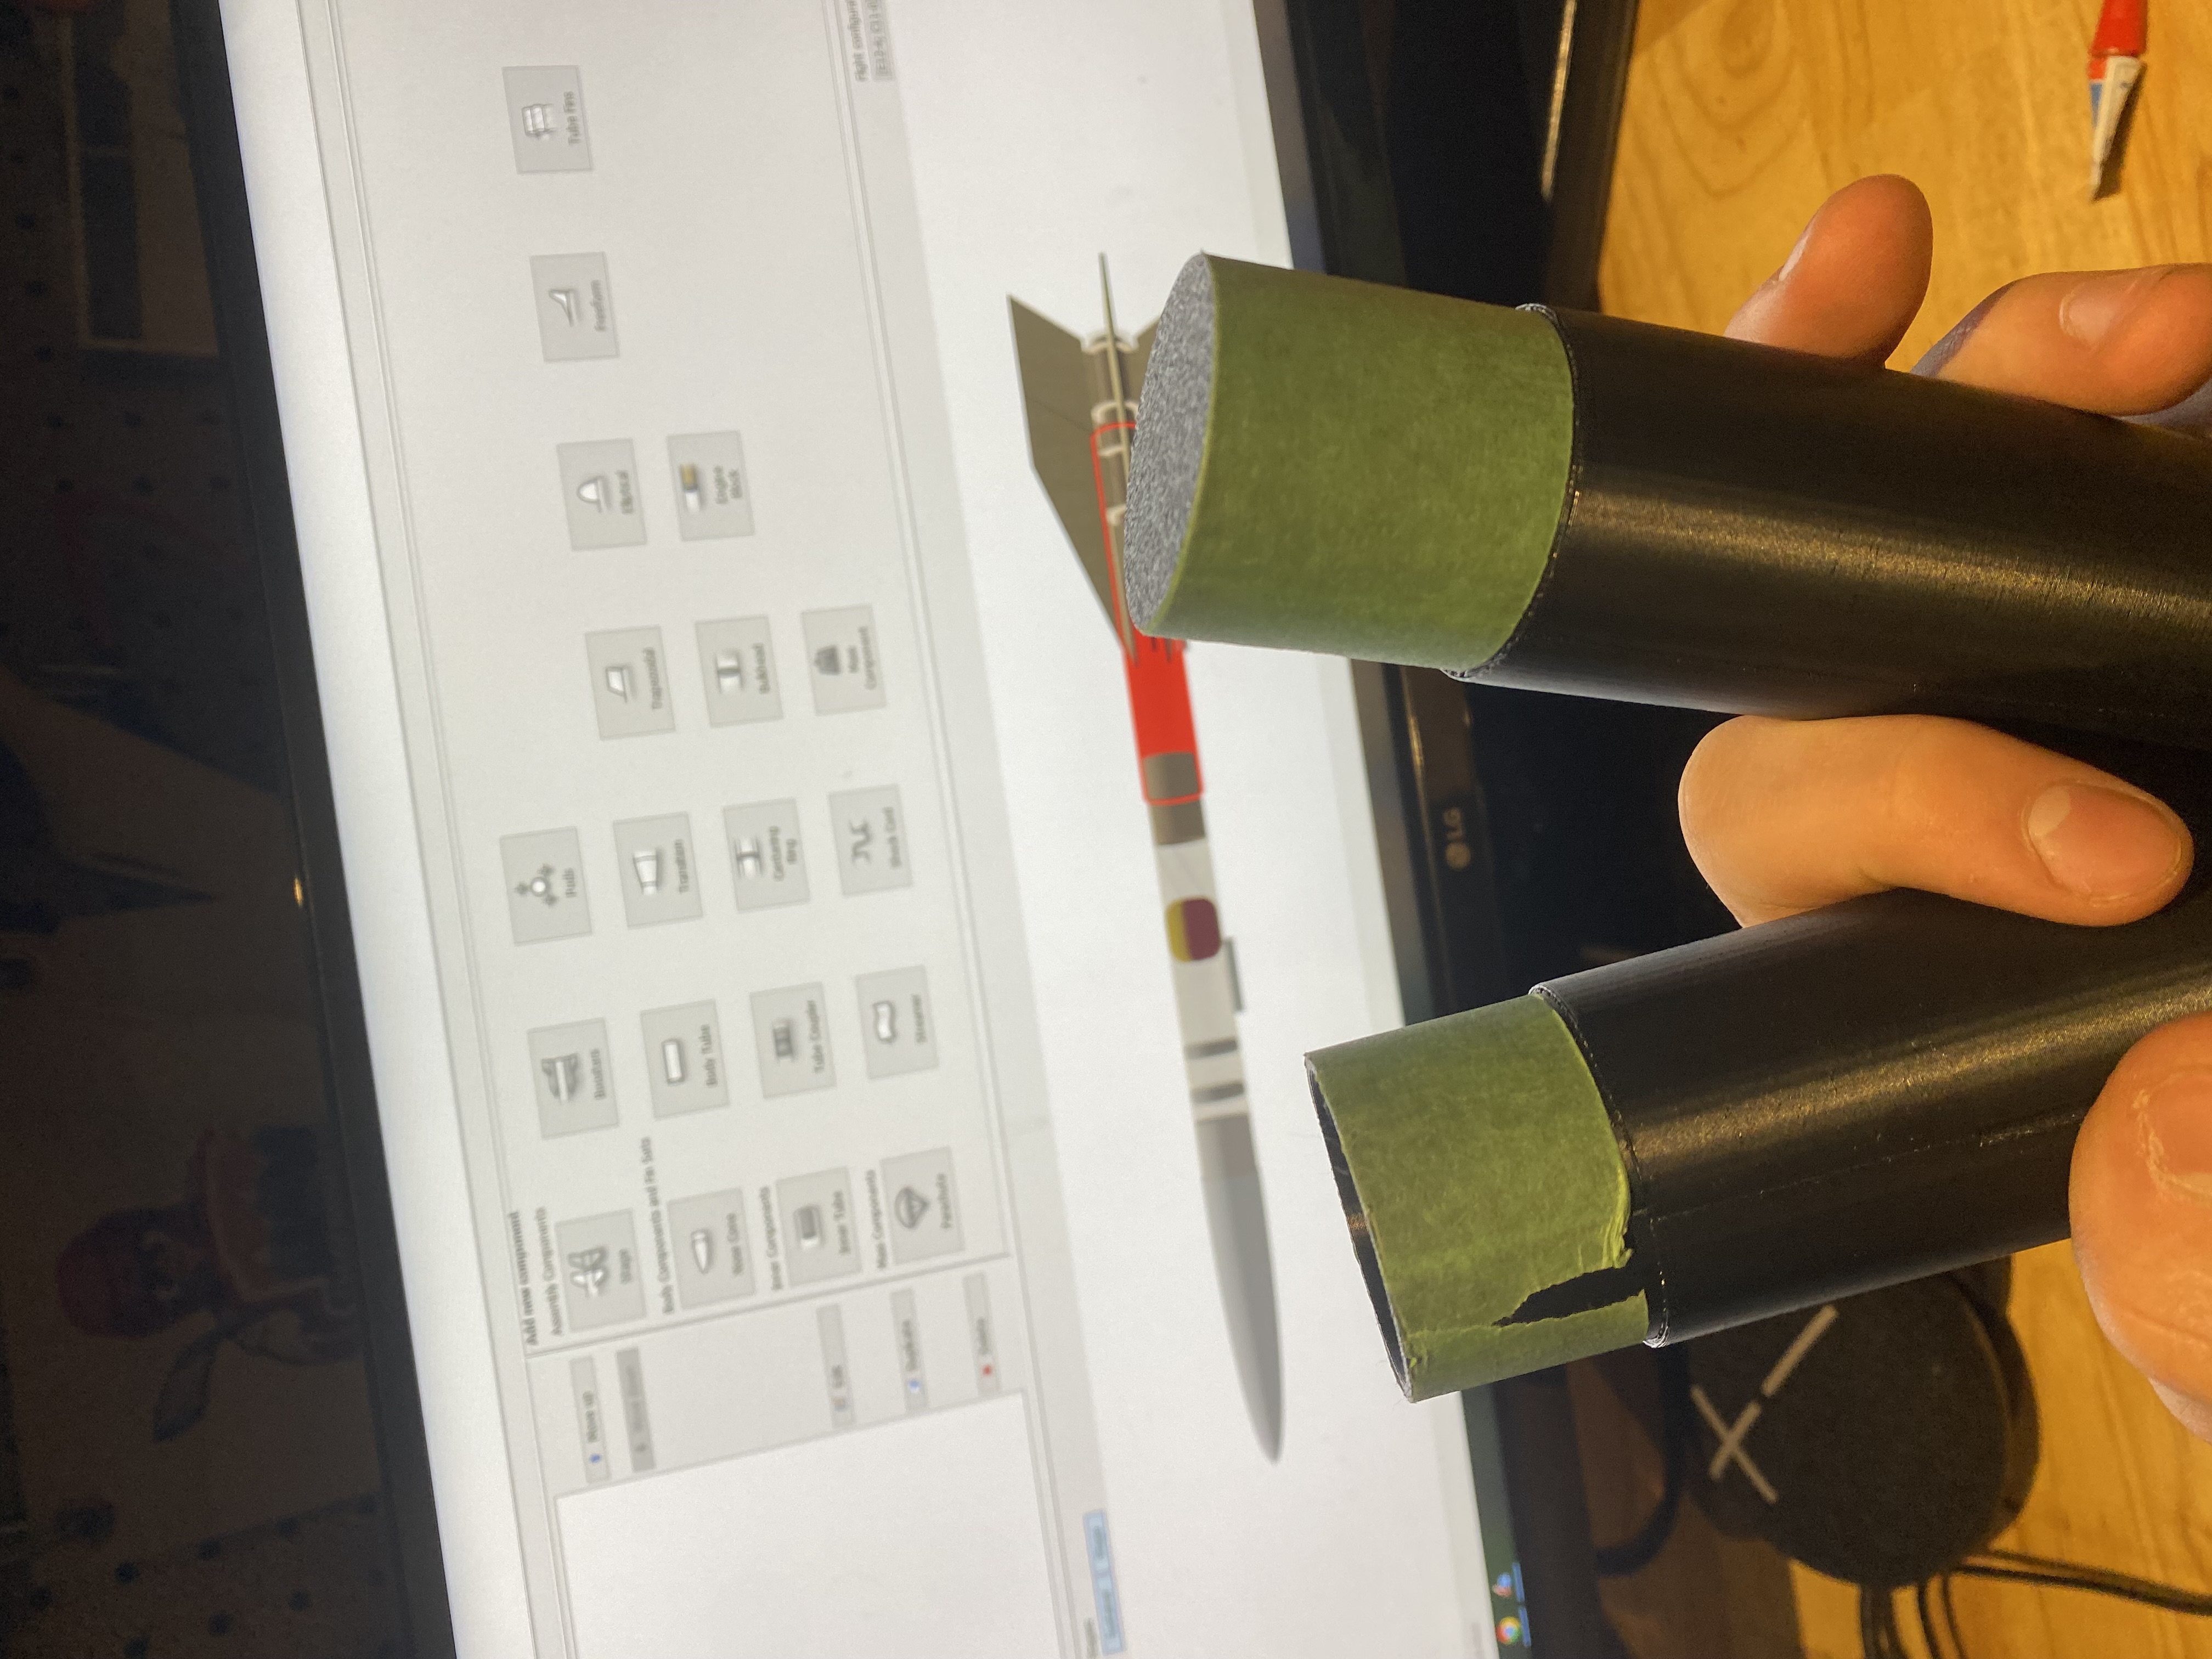
Step 2 : Add a small amounts of masking tape until the mid section and the fin section slide together with some resistance but don't make it to tight. When applying the tape to the nose cone do not make the fitting to tight because it needs to be able to eject when the rocket reaches its desired altitude. Make the nose cone stays in place when fitted and does not fall out or move when help upside down, but that you can remove it with little force. this may take a little bit of trial and error.
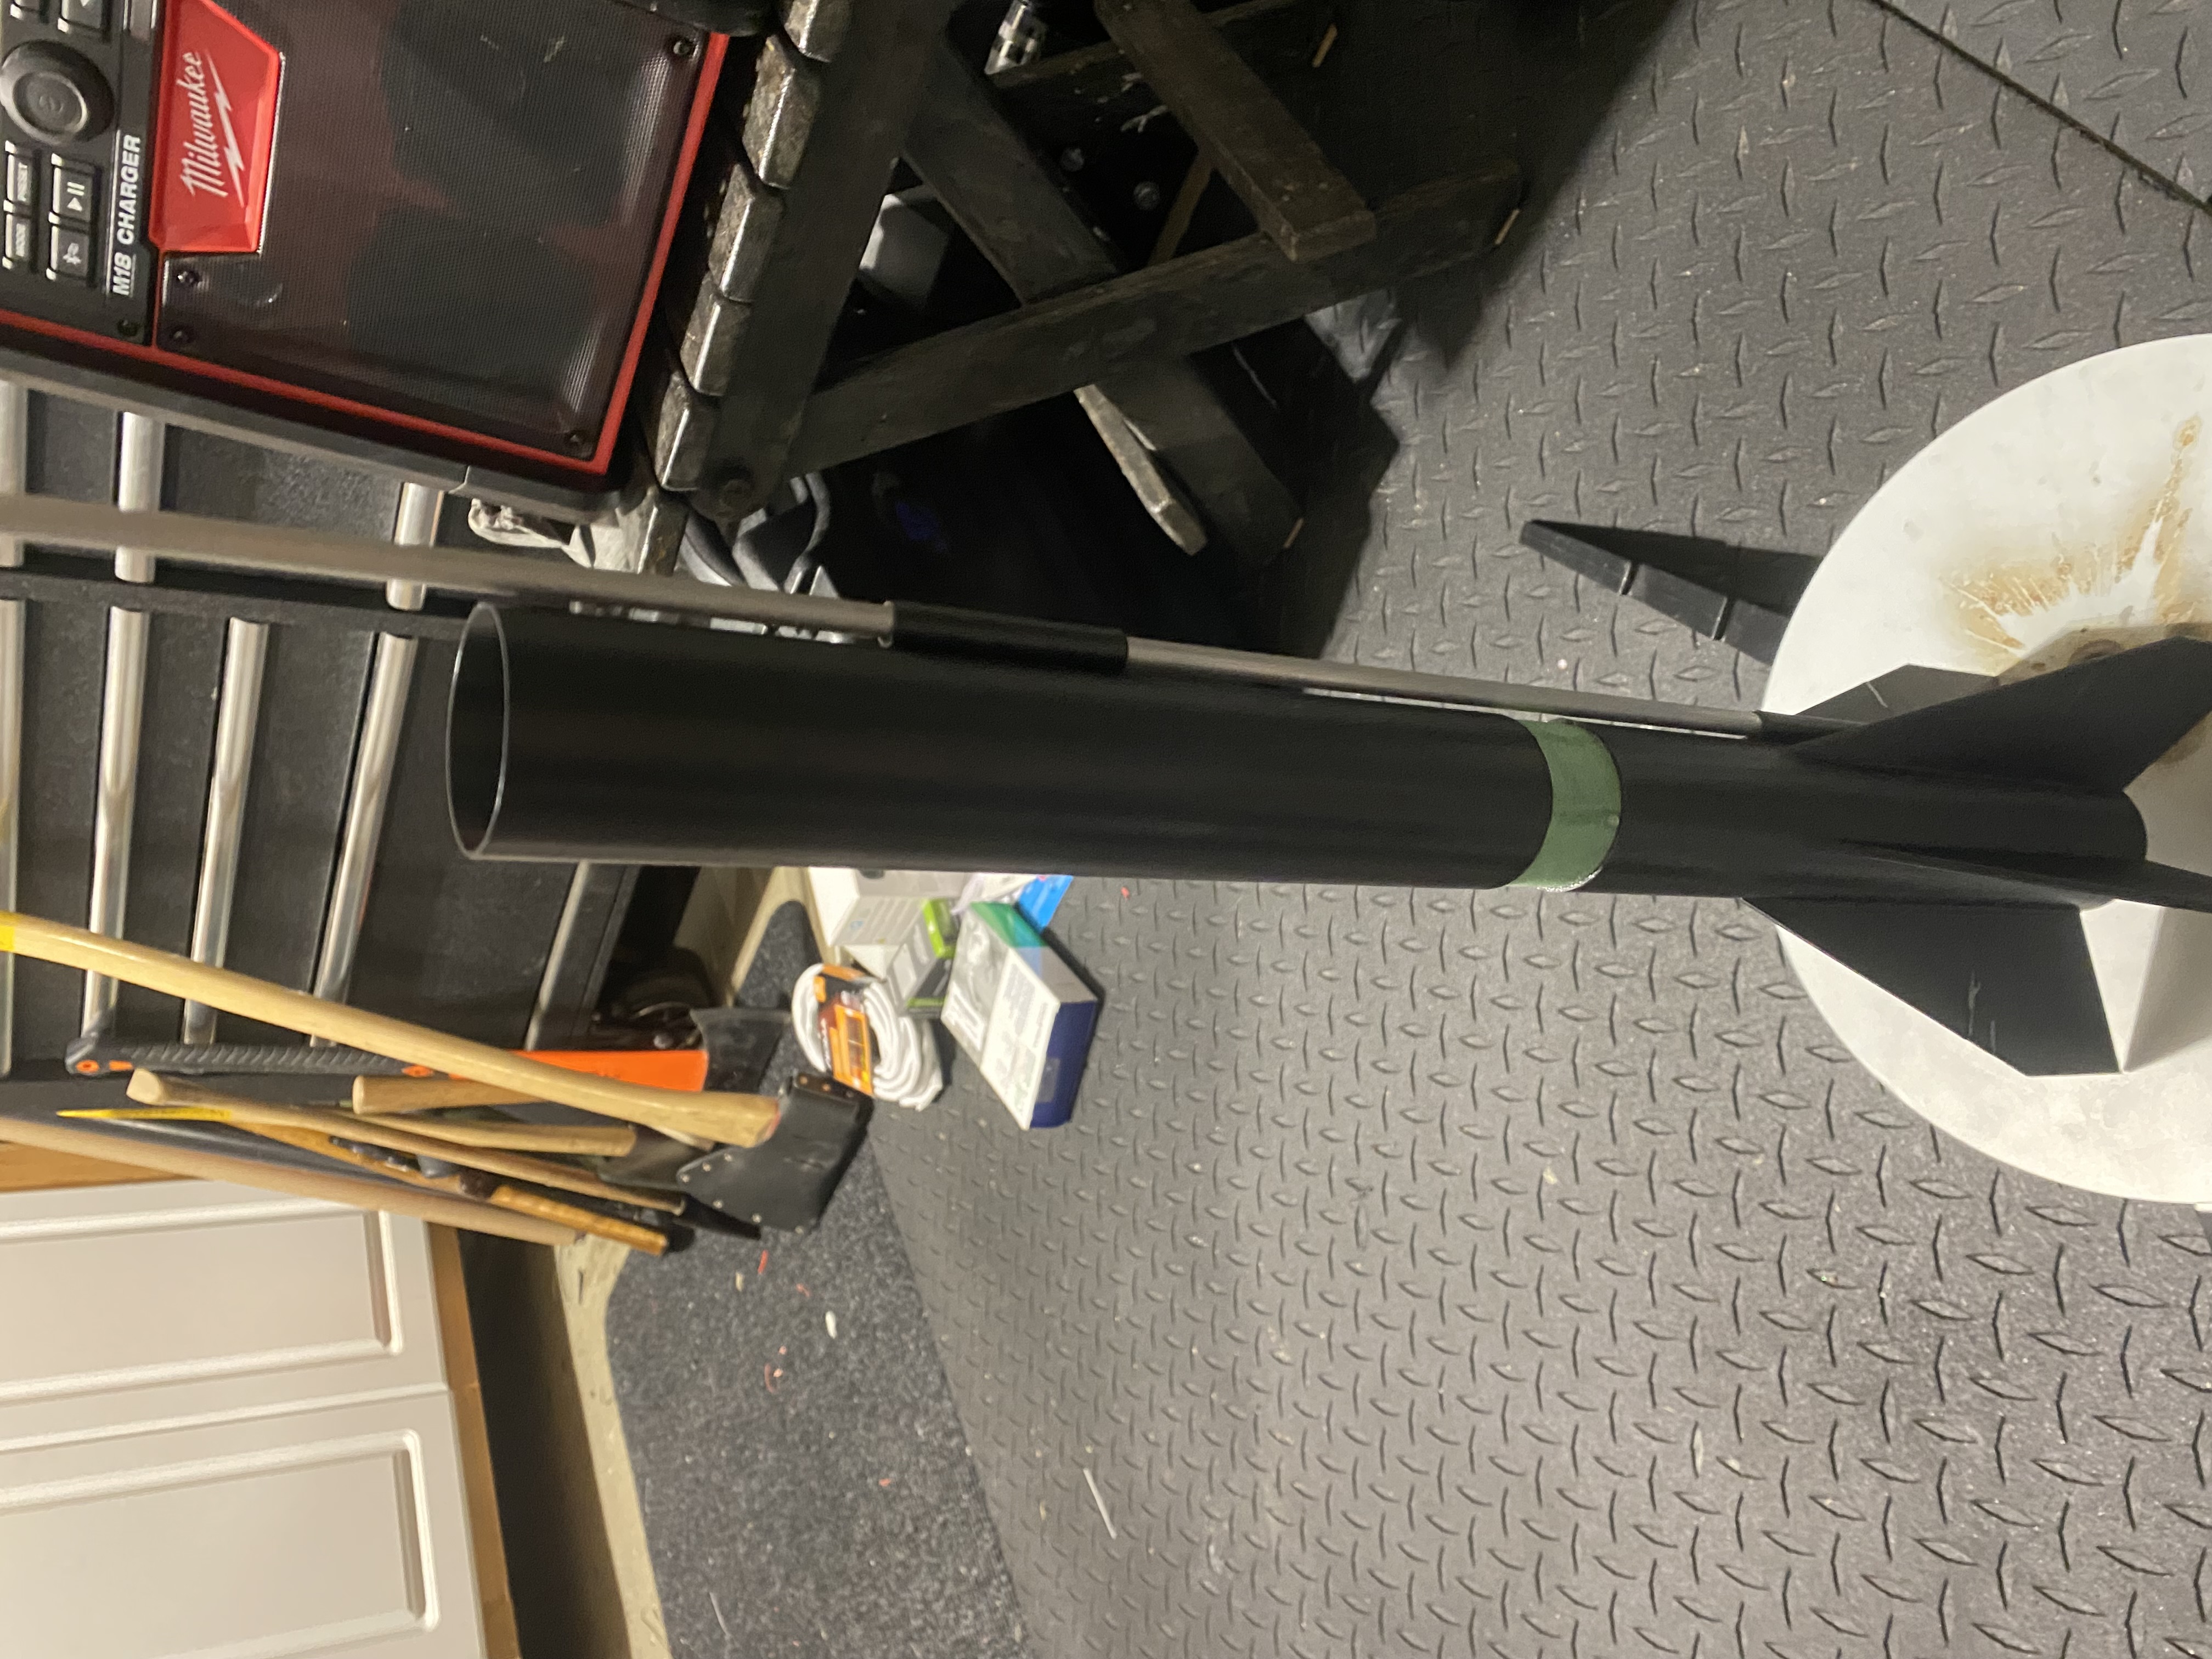
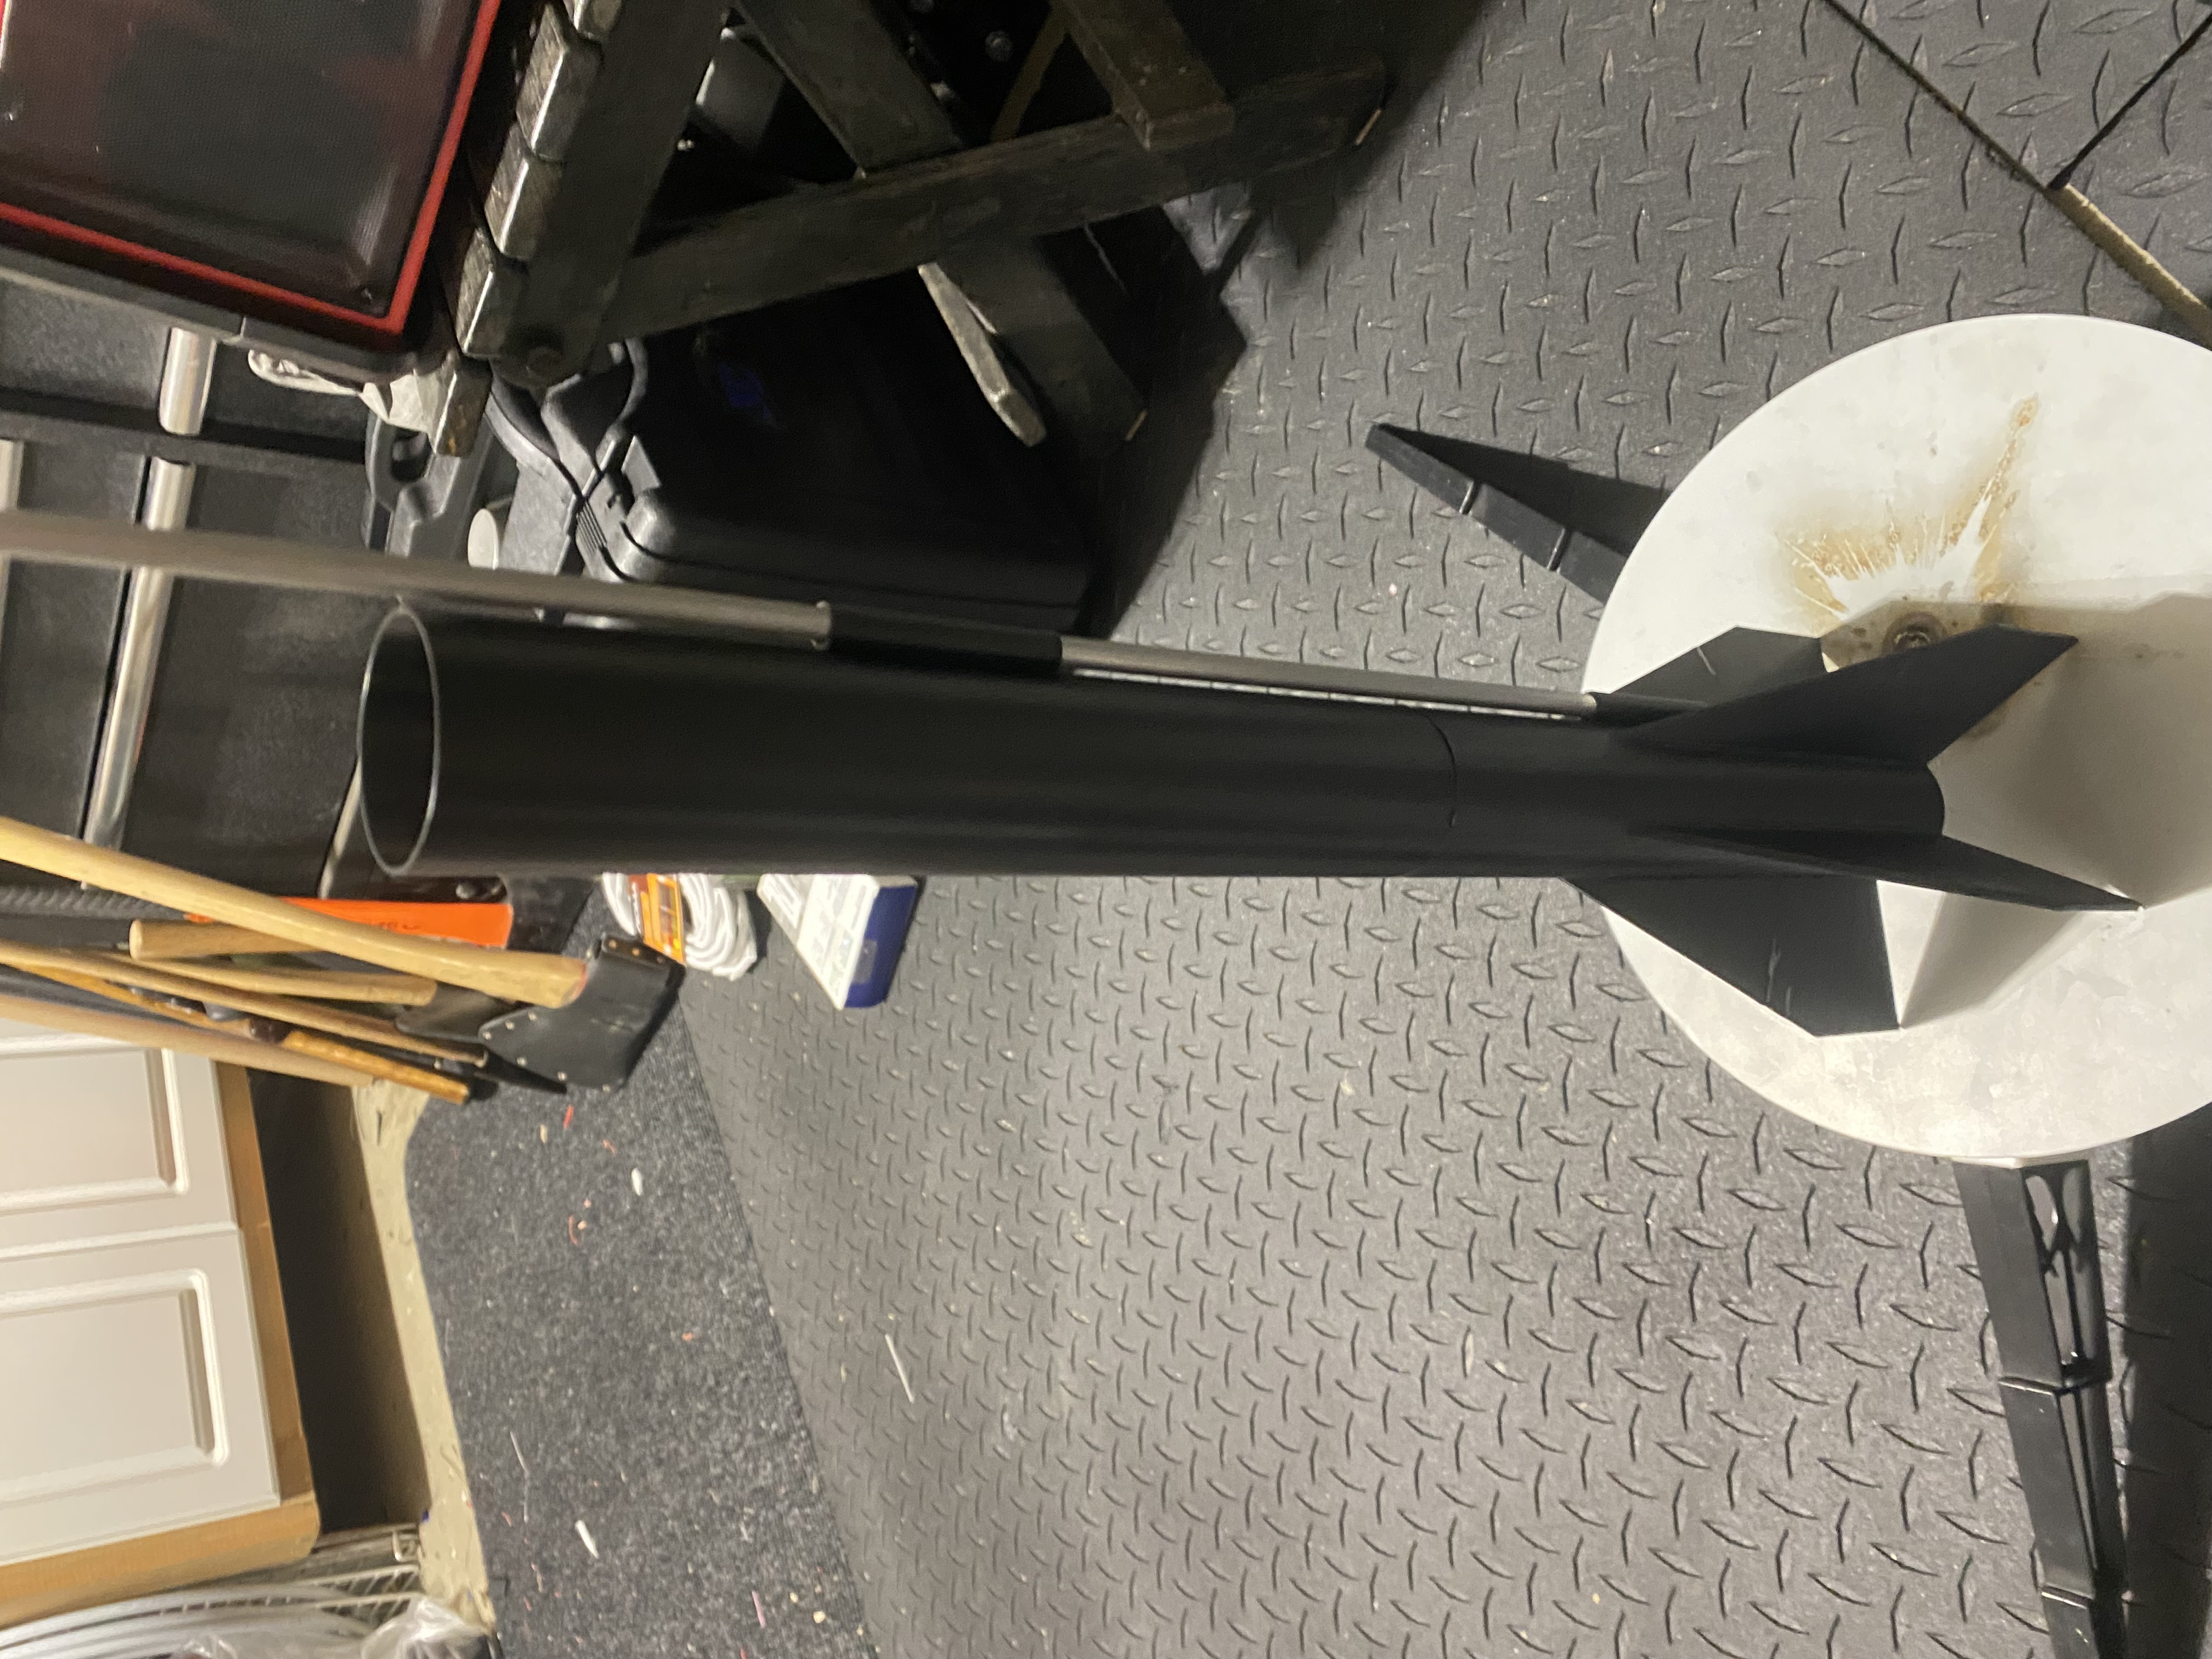
Step 3:Take the fin section of the rocket as well as the middle section and properly align them on your launch rod as shown in the first picture. This is to make sure the holes are aligned when rocket has been glued together. Known separate the two pieces and apply glue to the outside of the masking tape. then press the two pieces together as shown in the second image. make sure the rocket smoothly slides up and down the pole, then let this sit and dry for a respected amount of time.
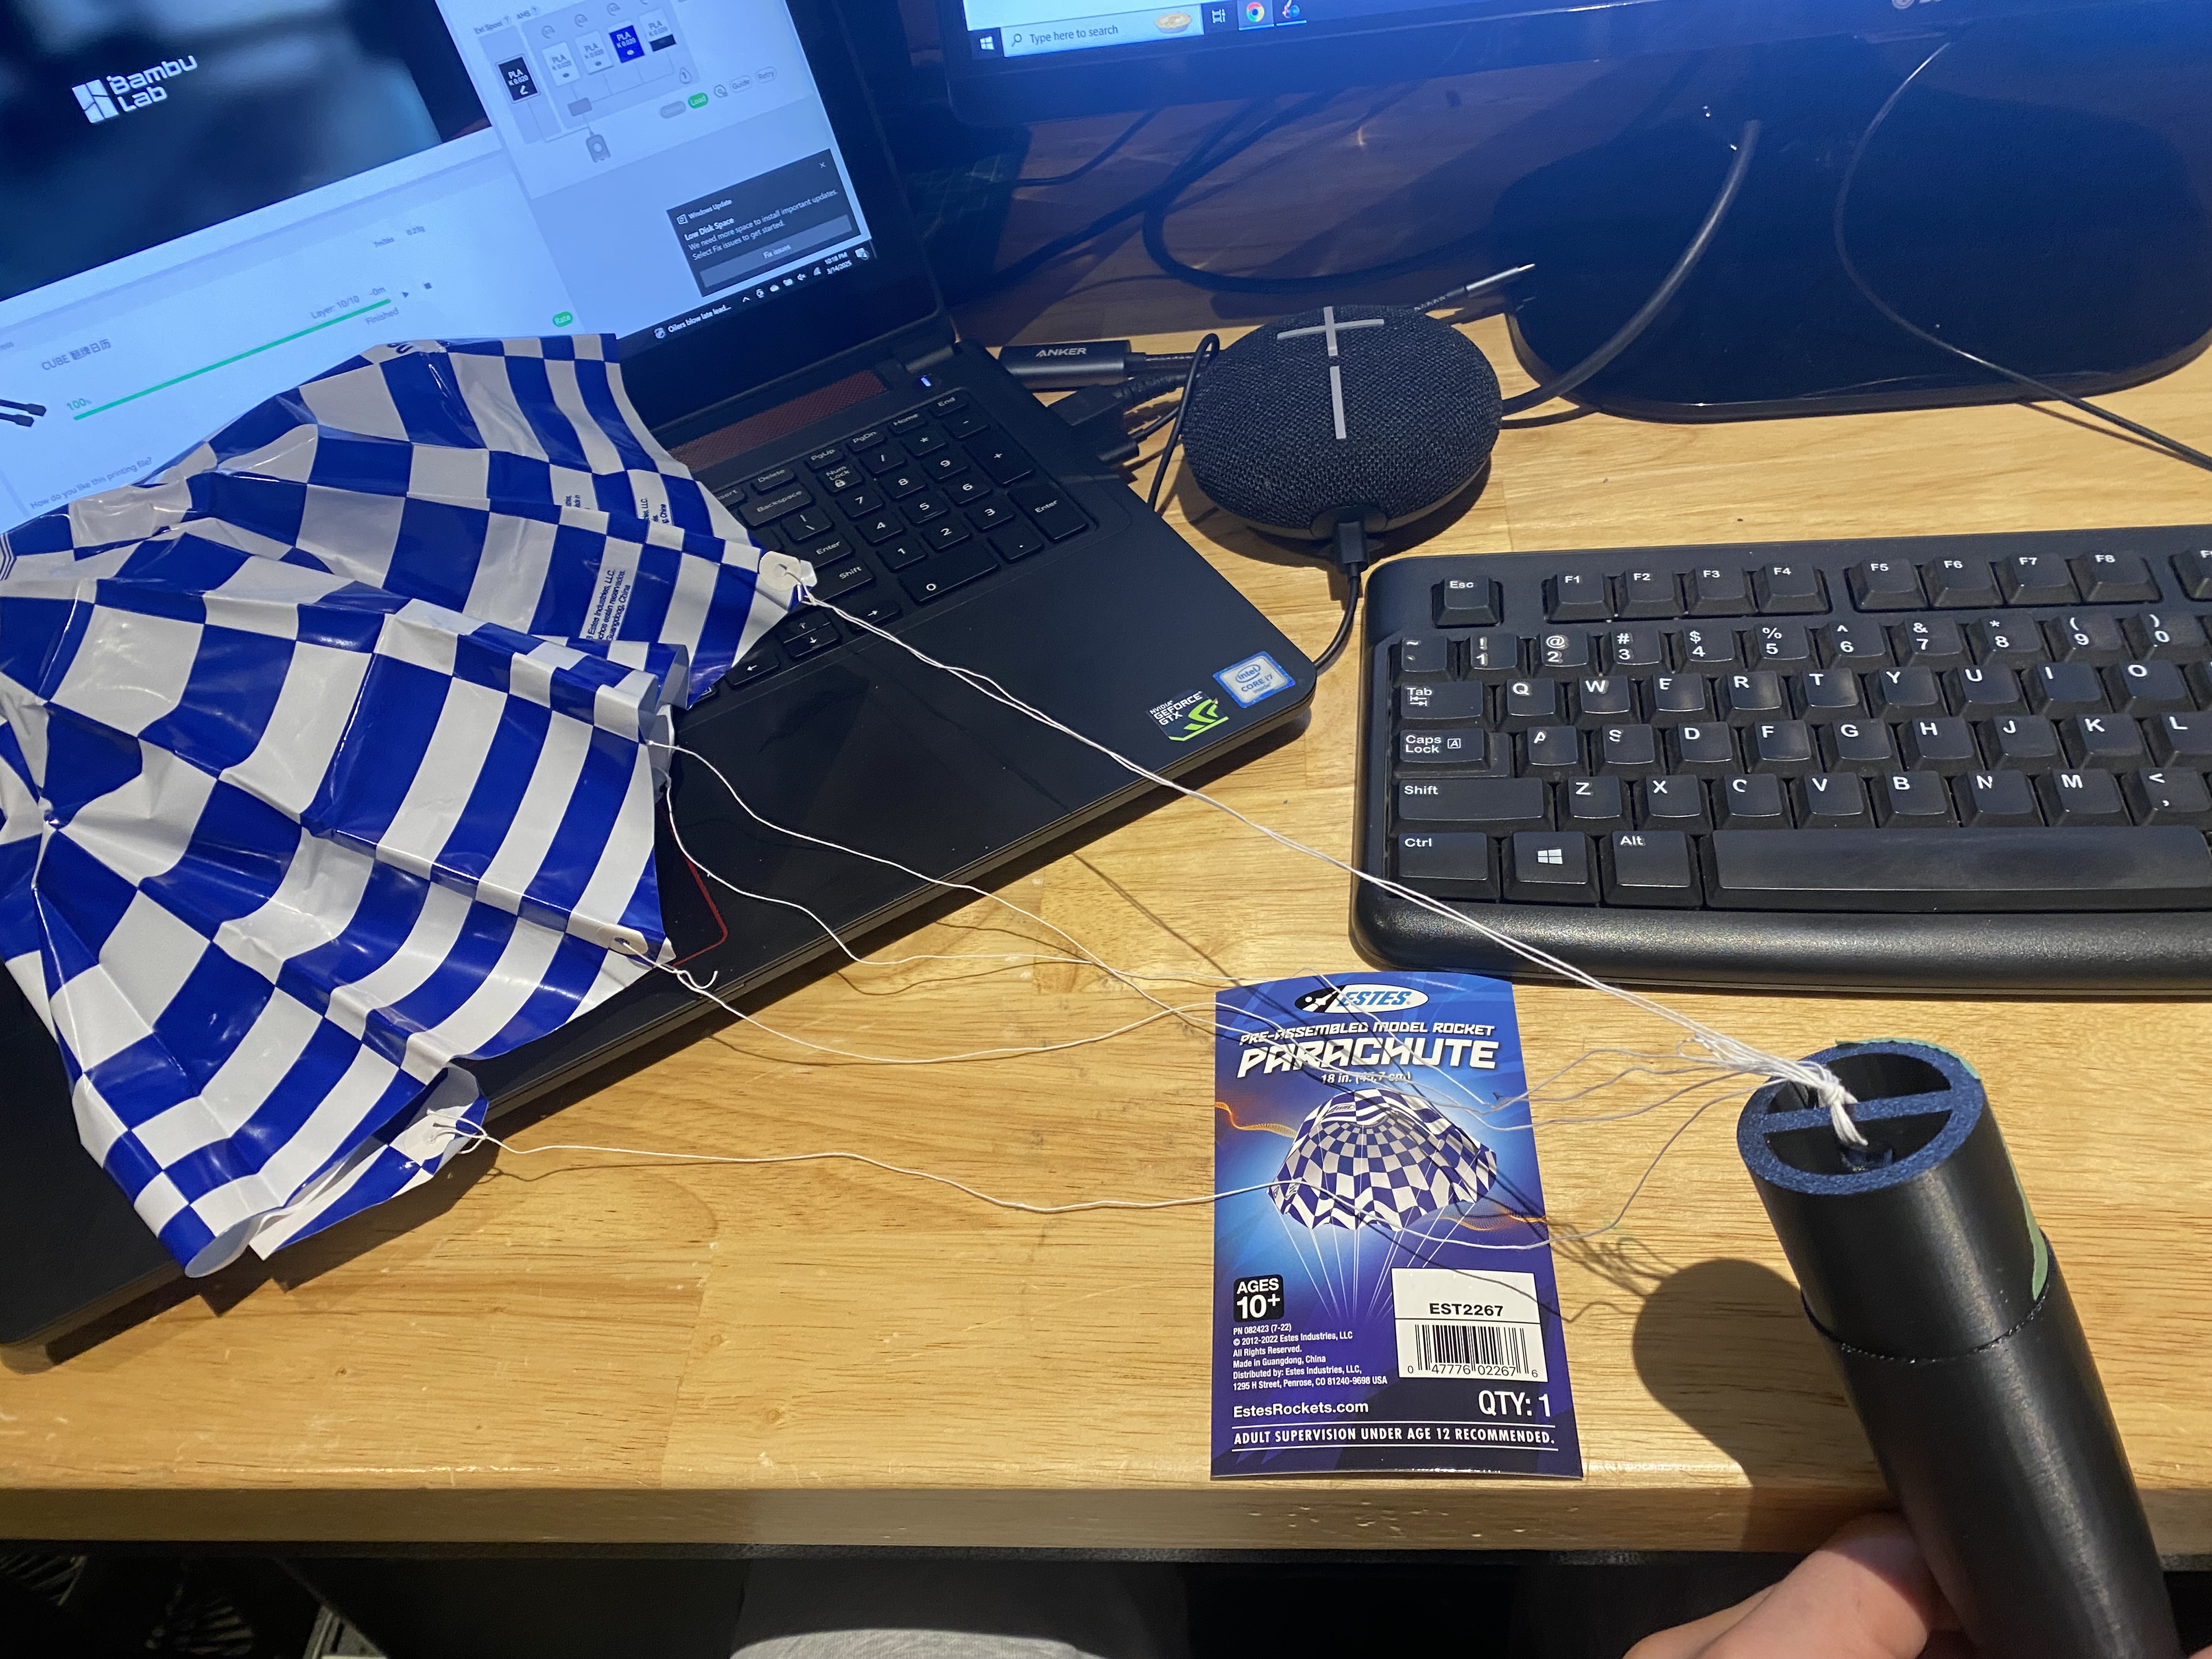
Step 4: For this step you will either need a pre-made Estes Parachute or you can simply use a home-ade one. If you are making home-ade one you can find plenty of useful videos on YouTube. Take you parachute string and put it through the hole in the end of the nose cone. Make sure you securely tie down your not as this parachute is responsible for bringing the rocket down in one piece.
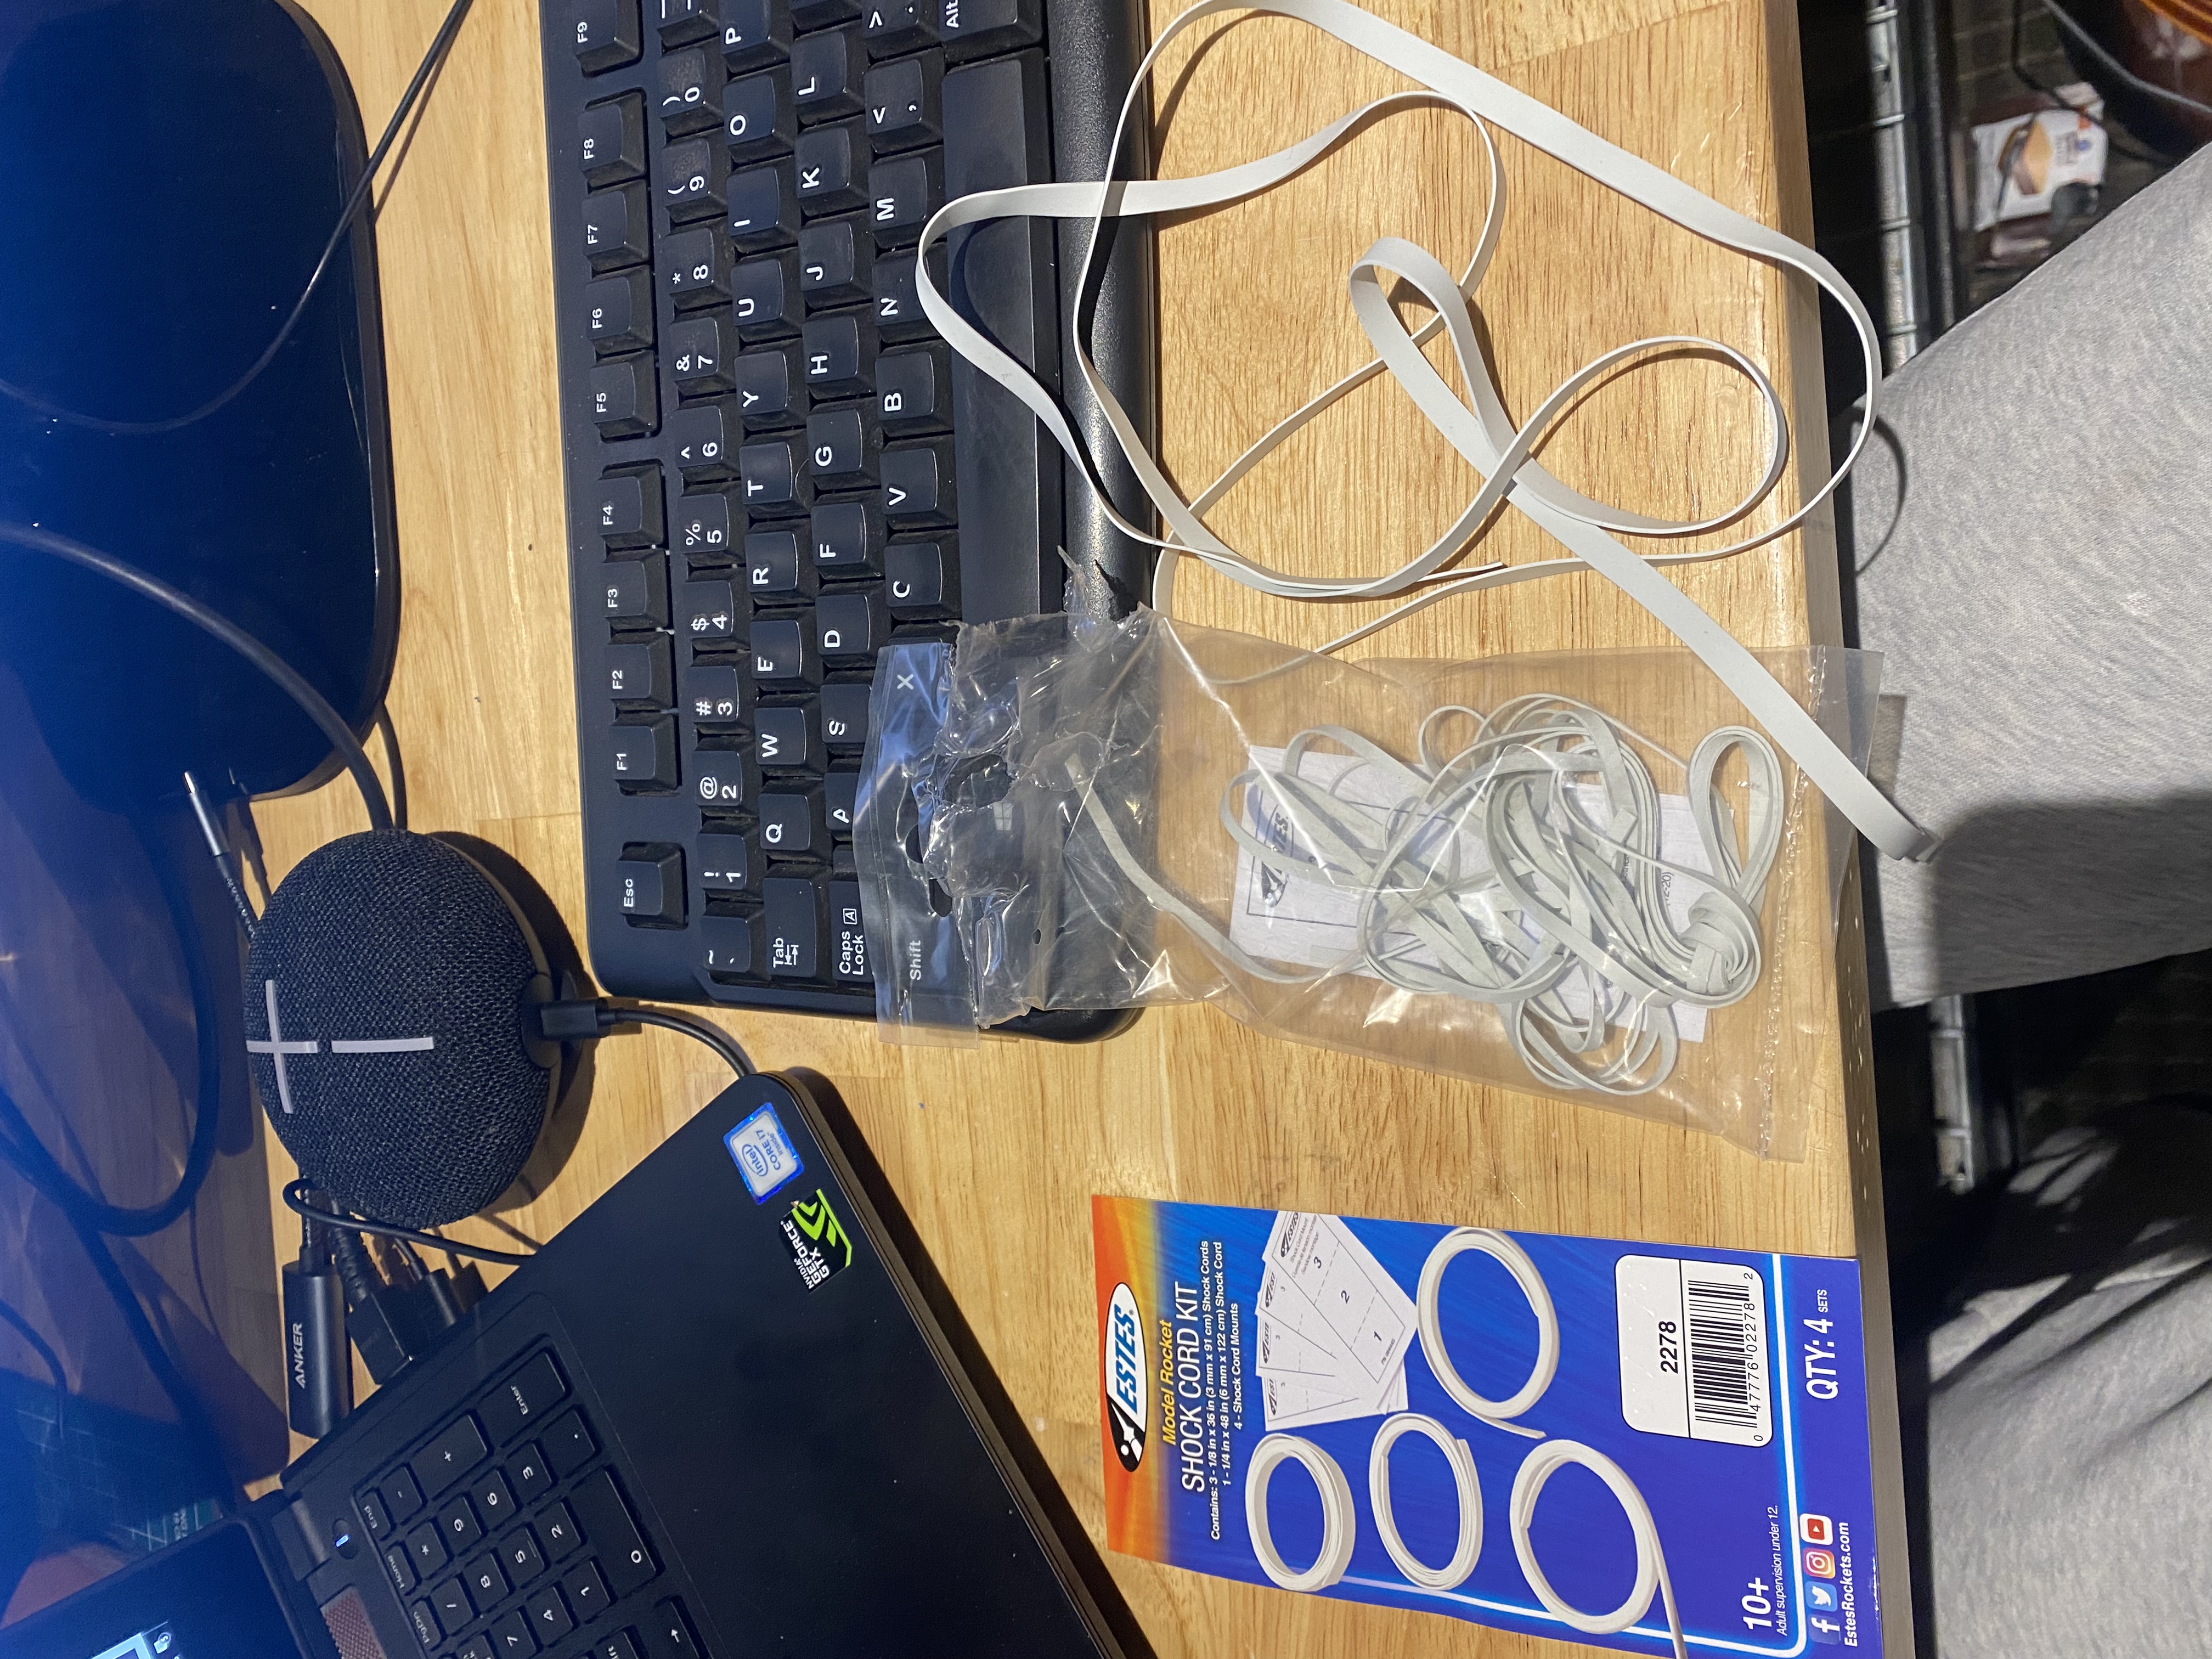
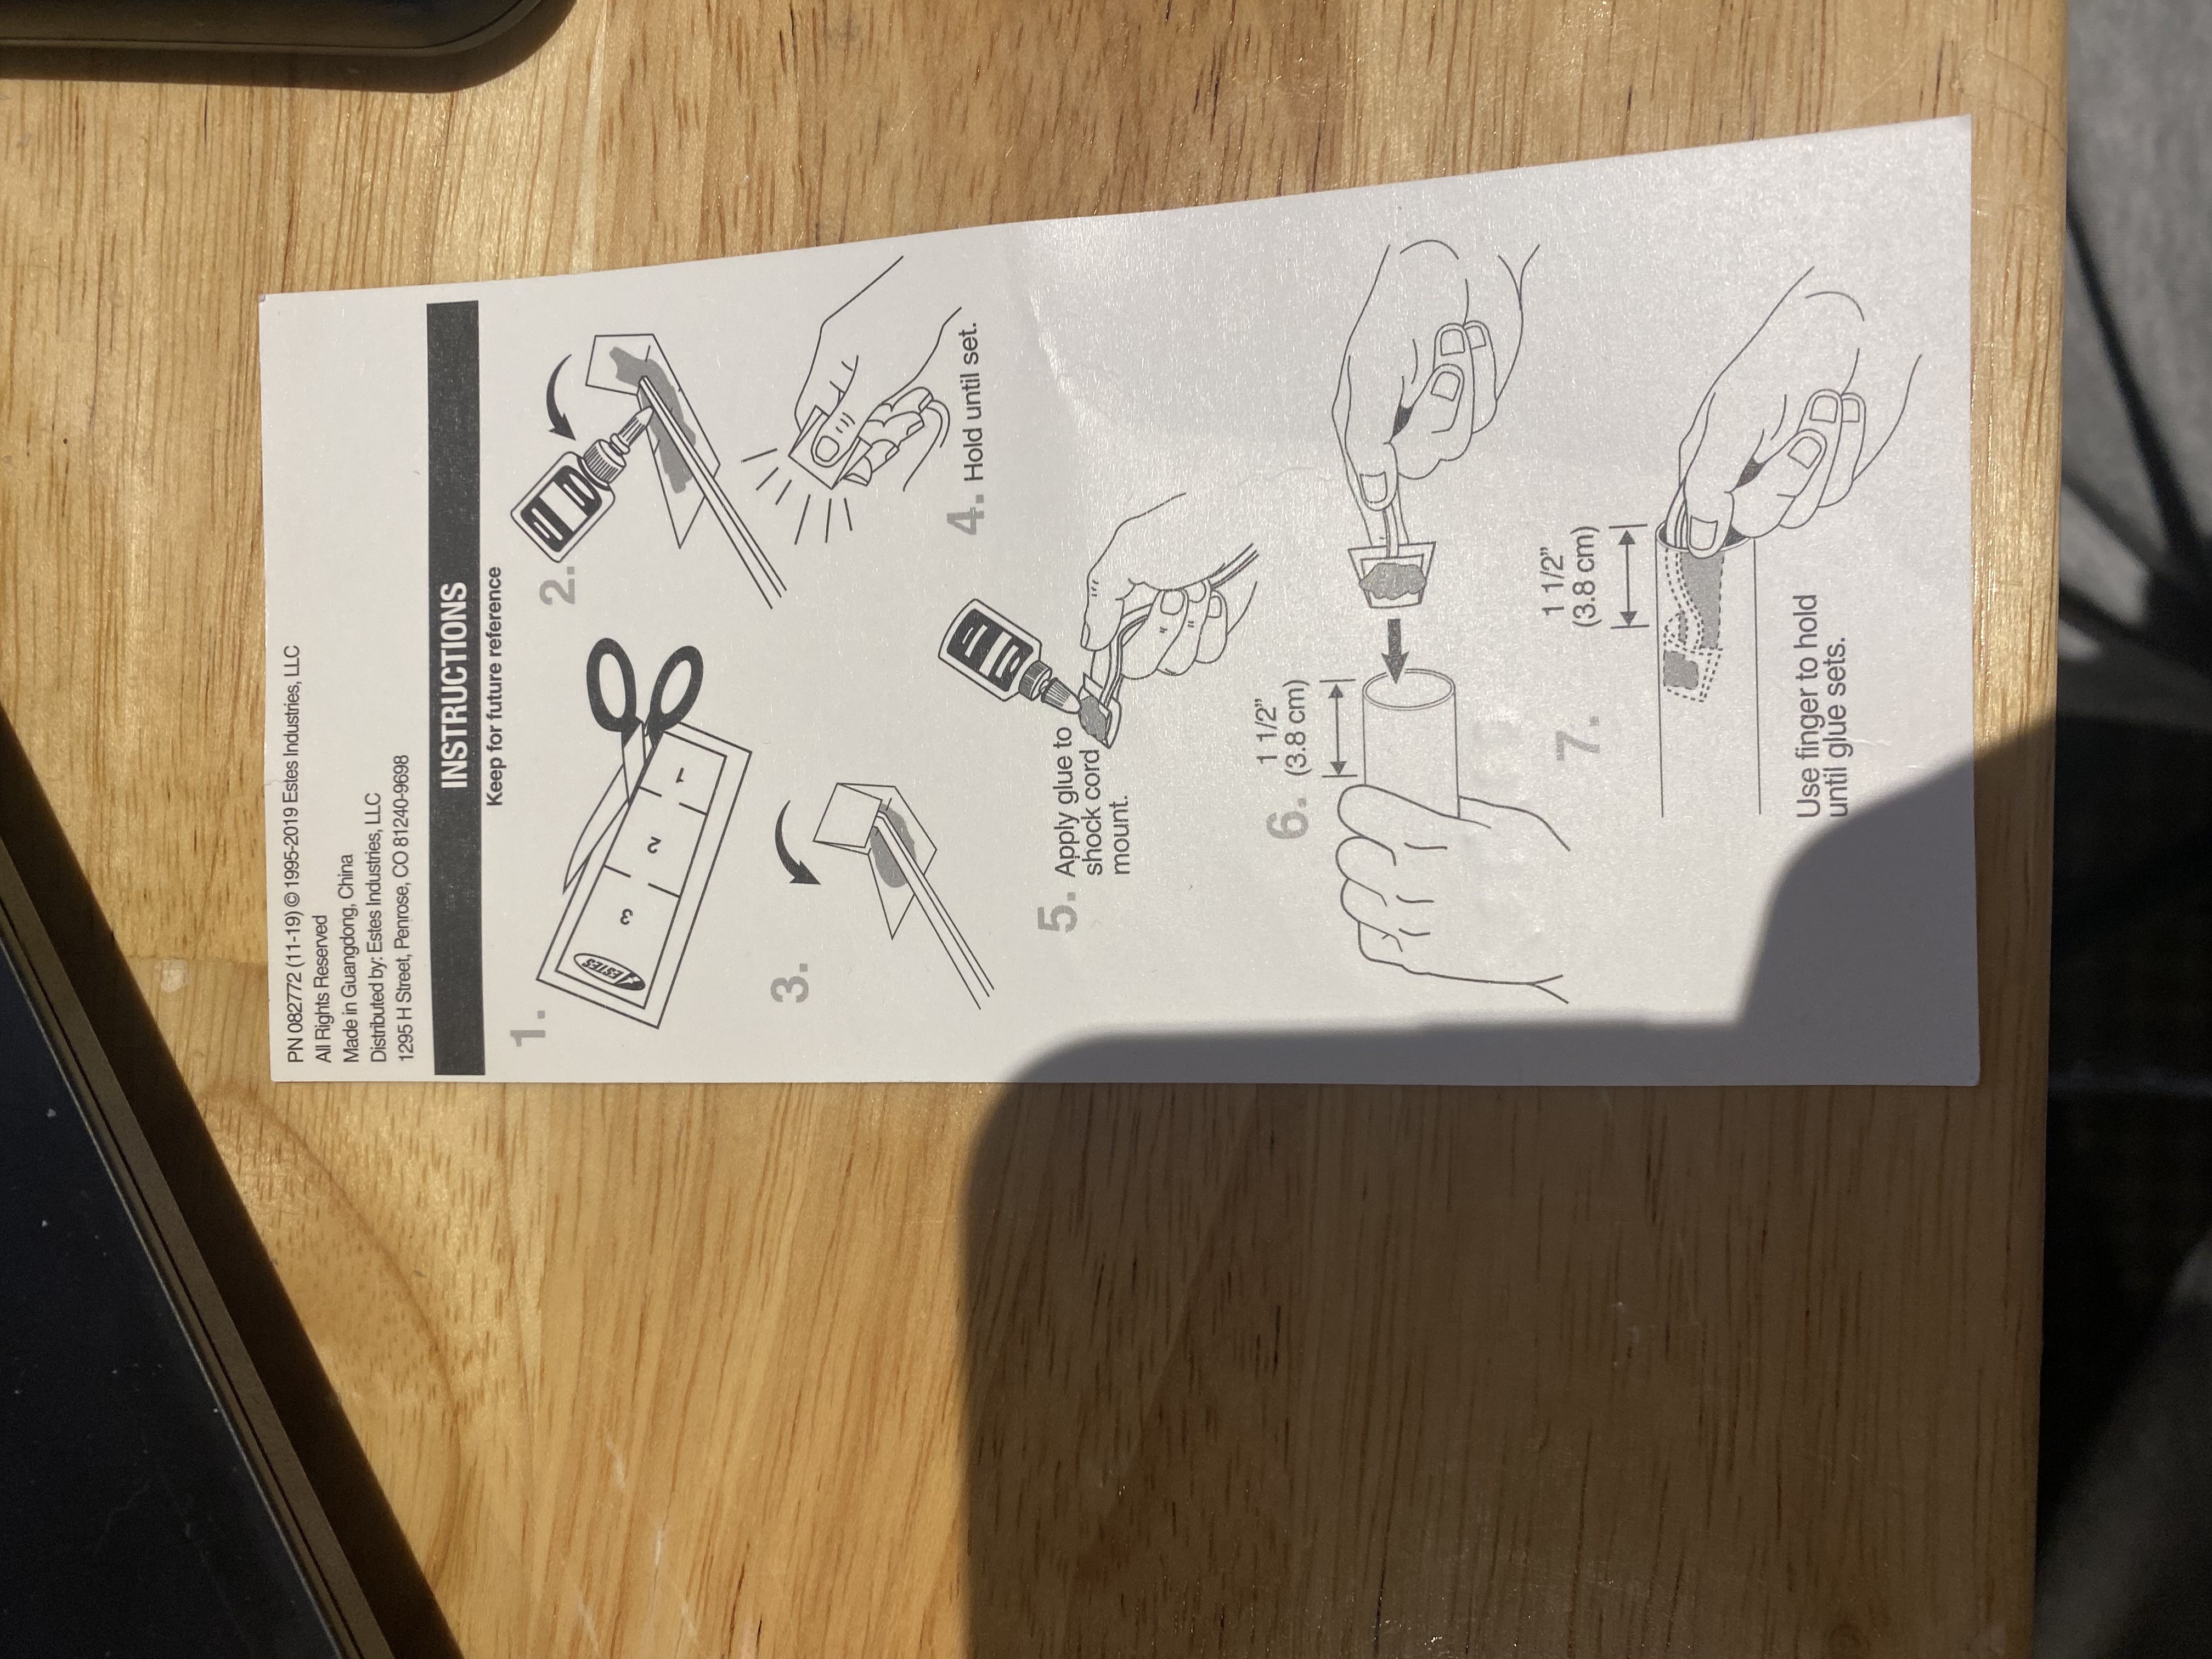
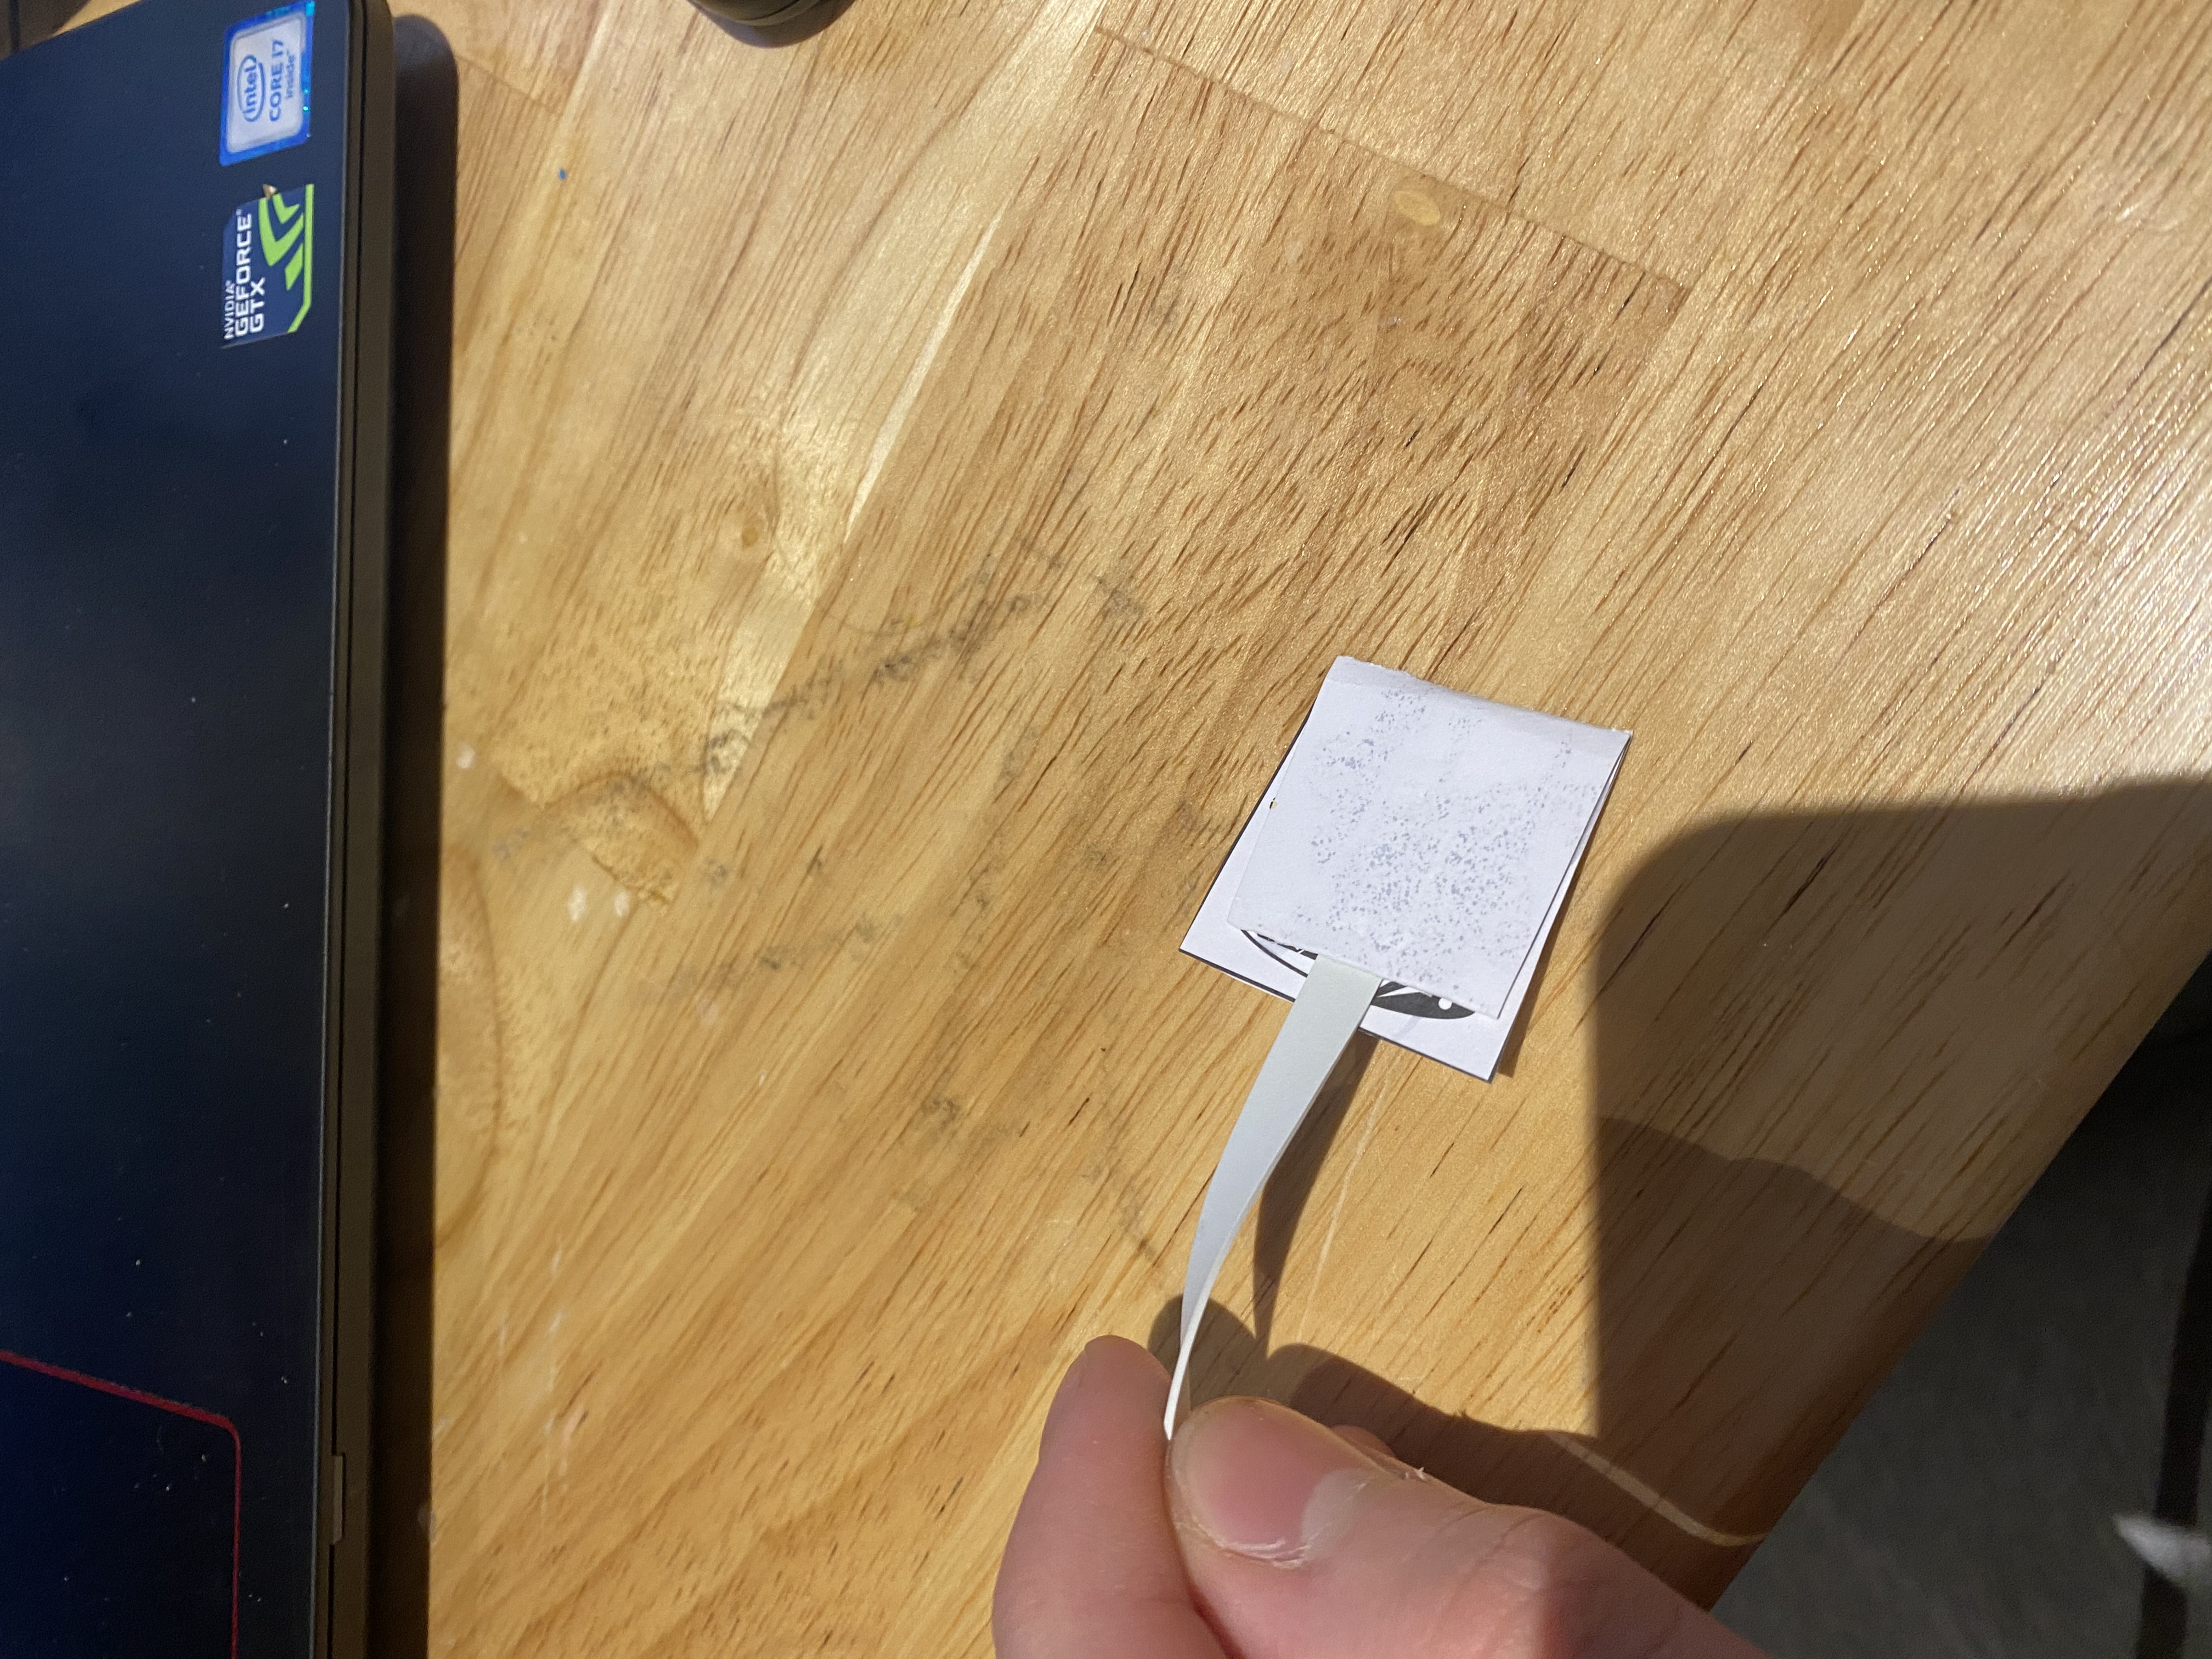
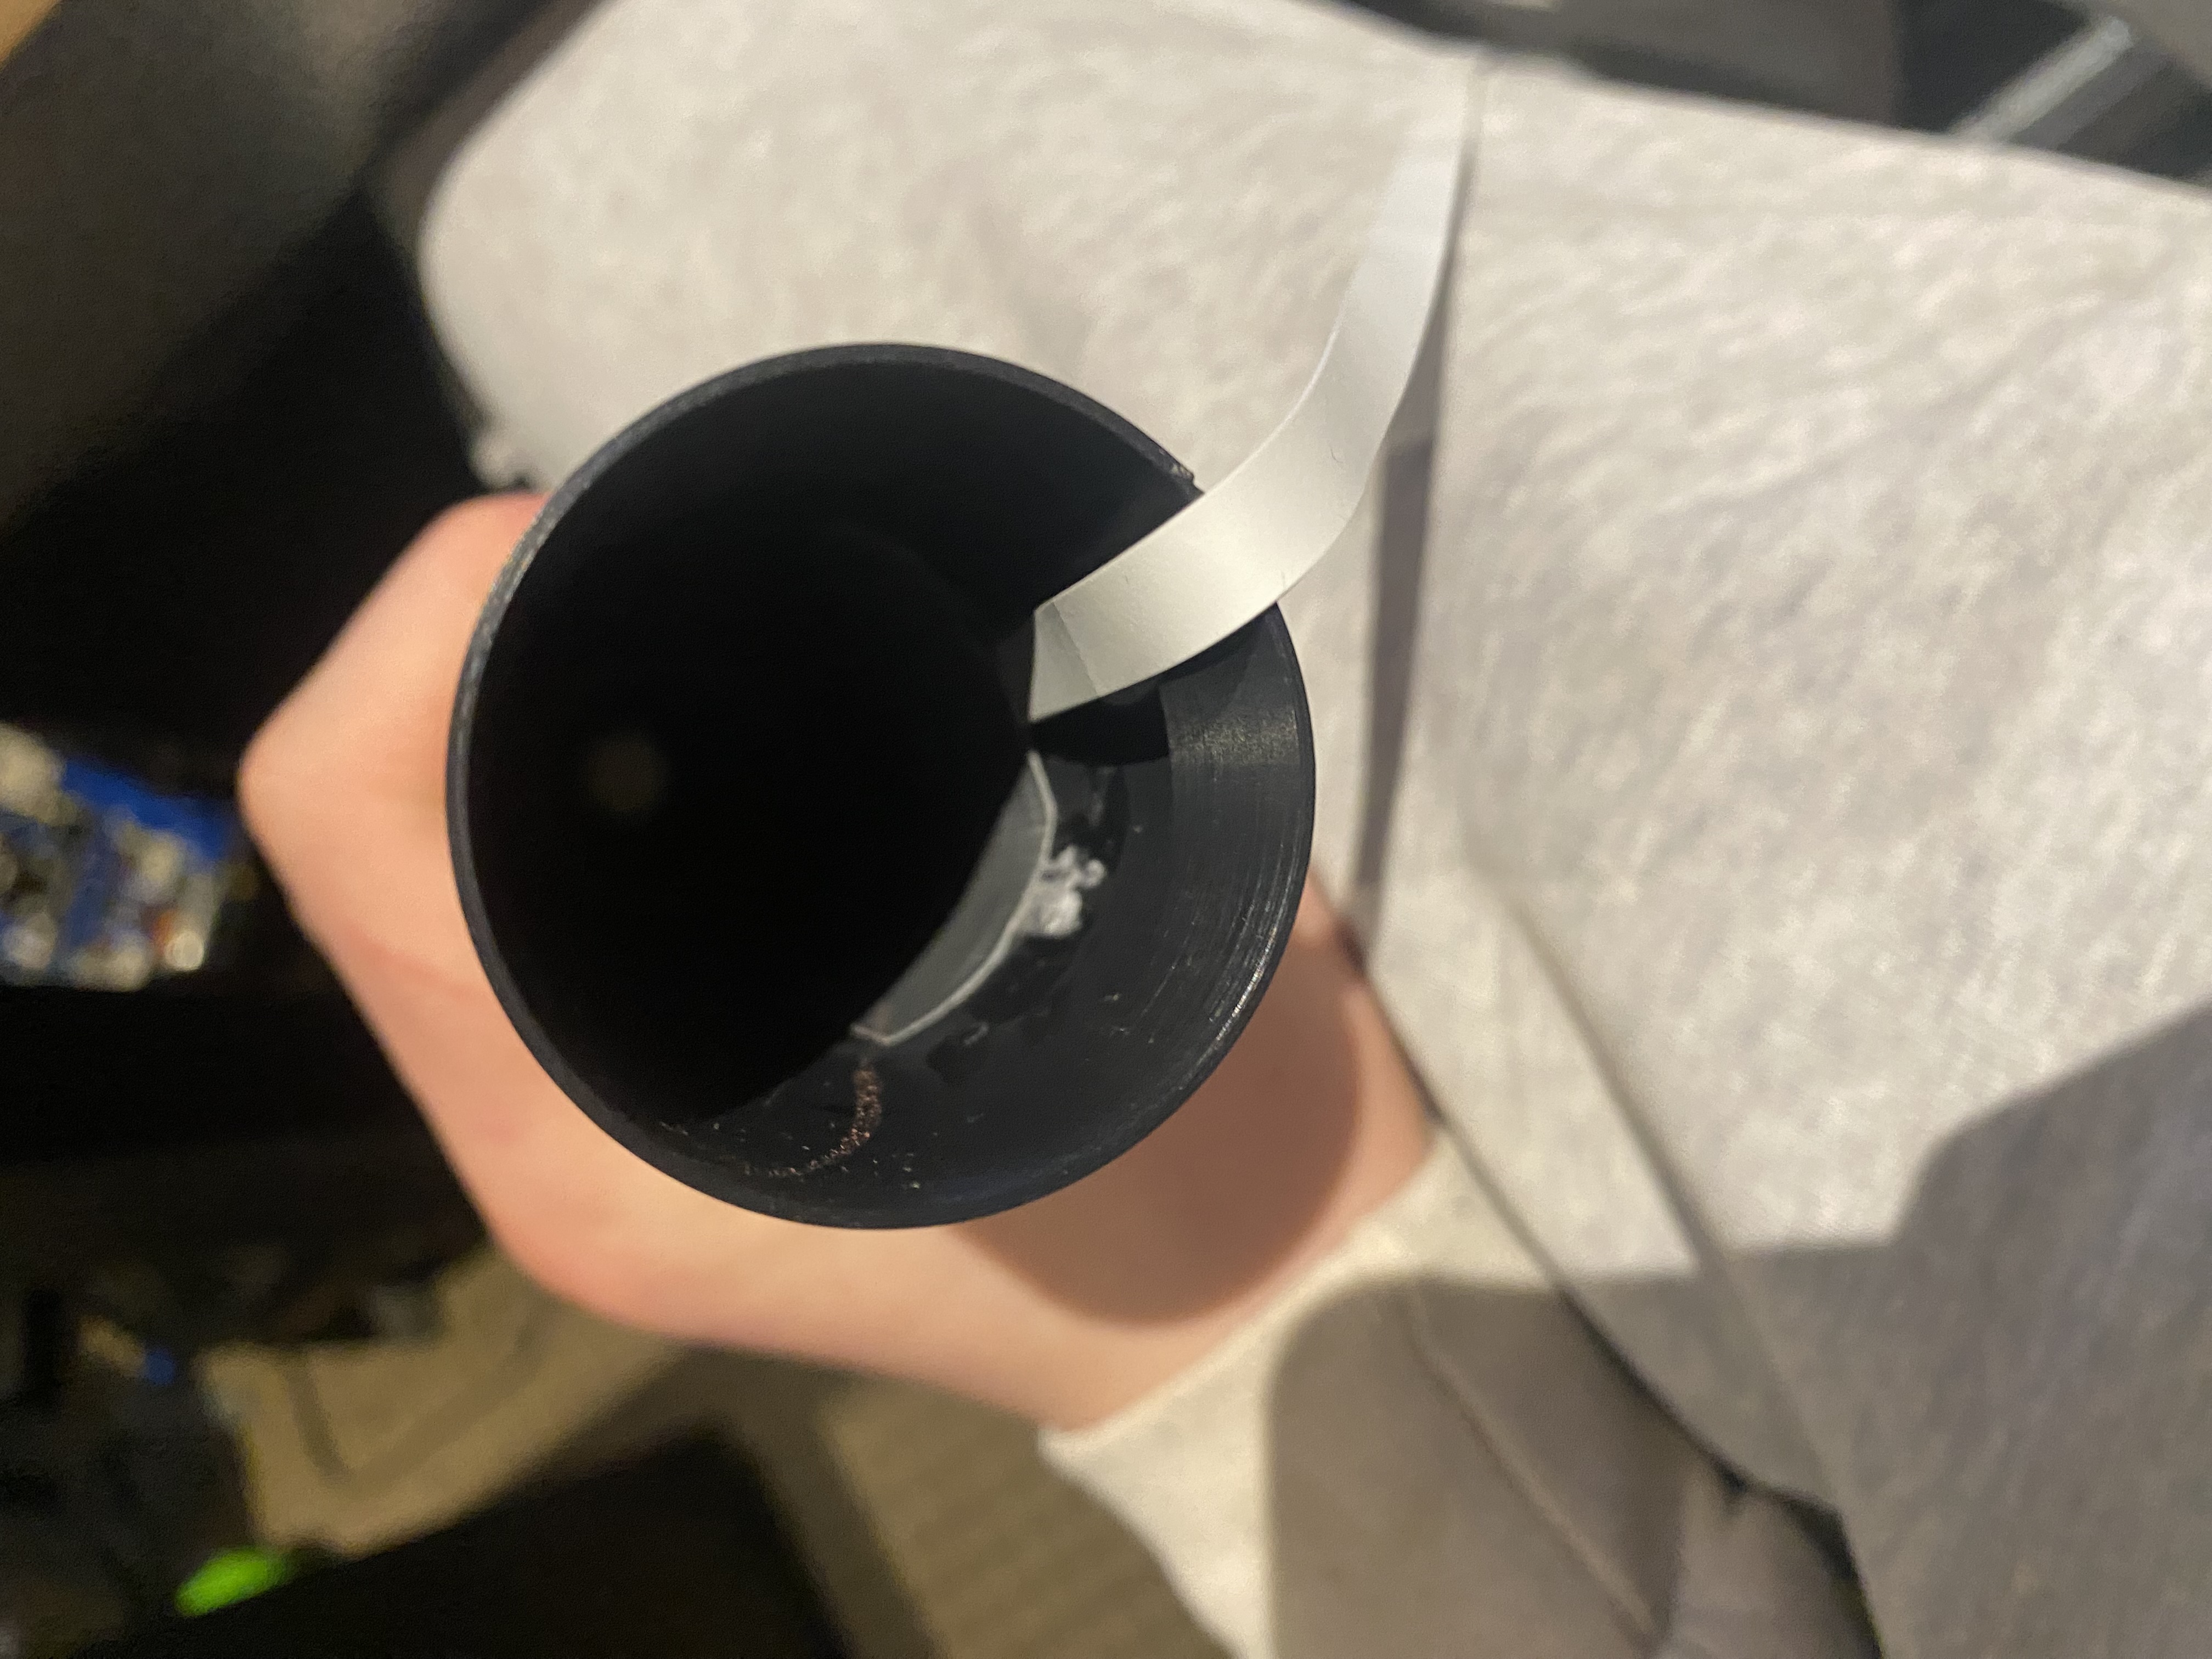
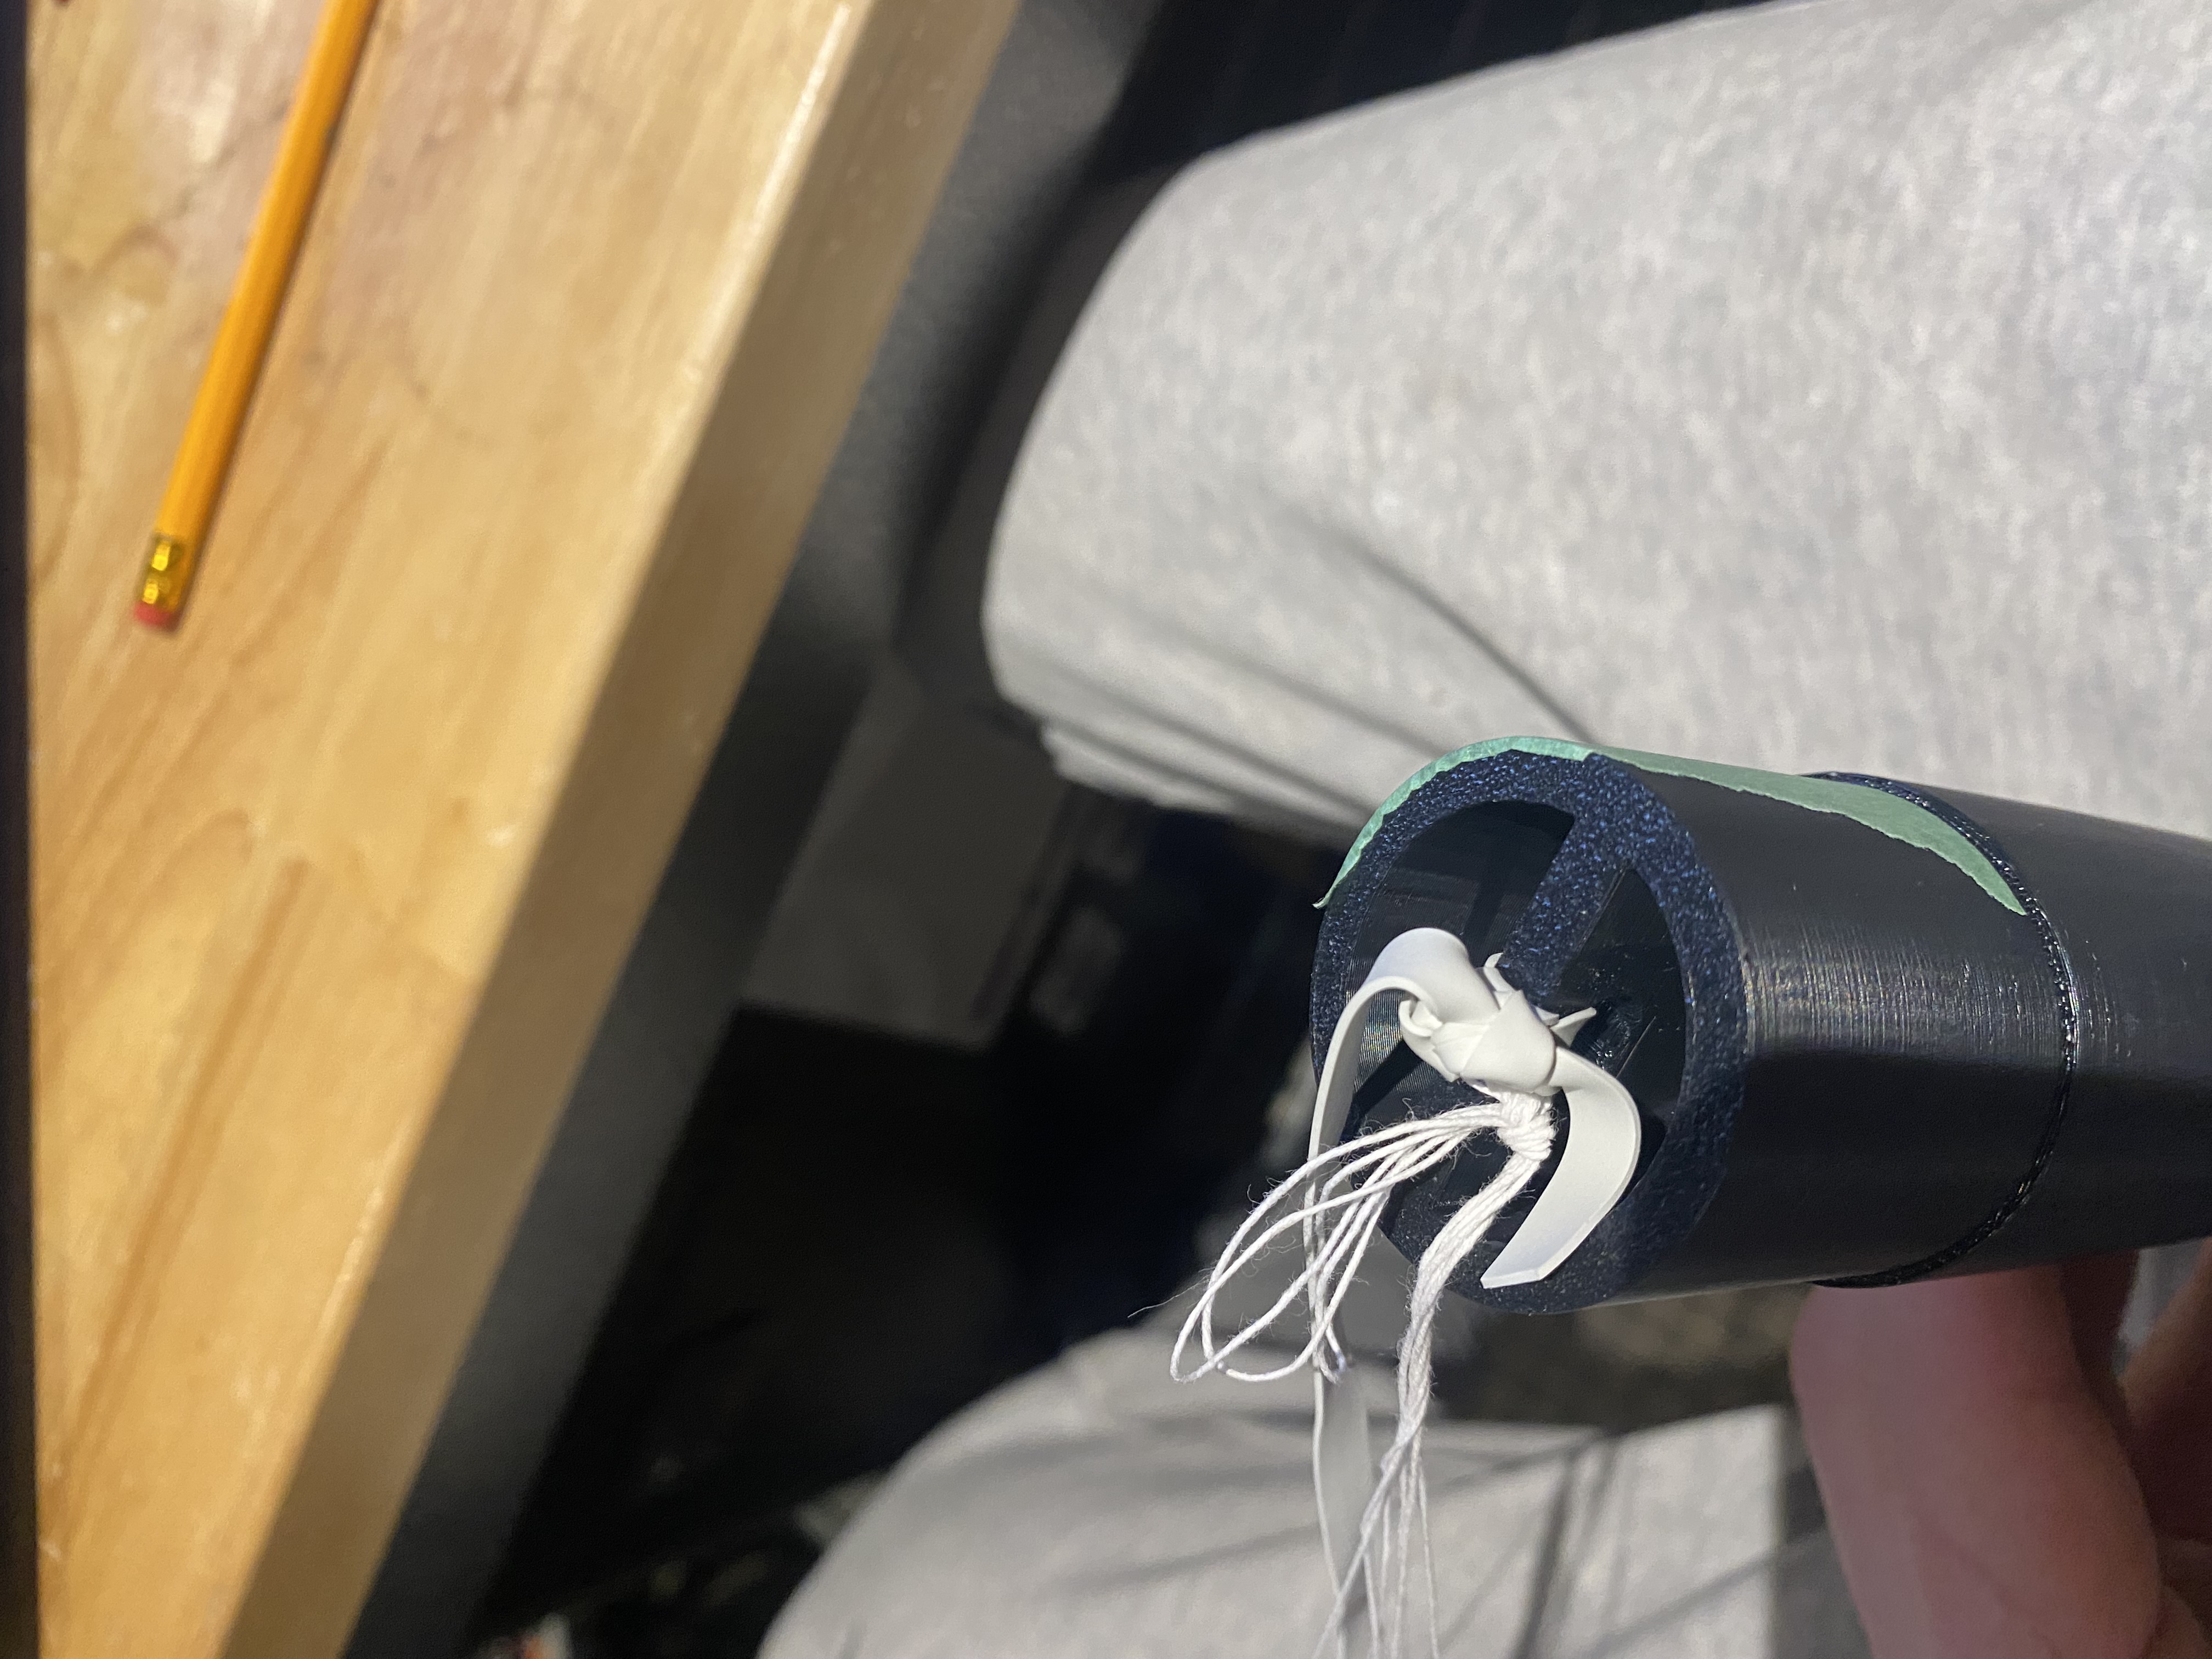
Step 5: For this step I used the pre-made Estes shock cord kit but any thick rubber band and a piece of paper will also work just fine. I found that this set of instructions (as seen in the second picture) seem to work better then I can show it so I will just show this part for now. First cut out a triangular piece of paper with the end cut off. You will then want to add you rubber band about 3 quarters of the way up the paper and add glue all around. Fold down the part that does not have the rubber band on it, then do that on more time creating a compacted square. Hold this until it is able to set. Once completed yours should look similar to the third image. Once this has been completed add glue to one side of the square and hold to the wall of the inside of the rocket. Make sure you leave a good 2 inches from the top so the nose cone has room to enter. This is not mandatory but I like to add a piece of duct tape right over this just to hold everything together. Once that has had time to set you once again want to make sure you tie the other end securely to the end of the cone (as seen in the Fifth picture).
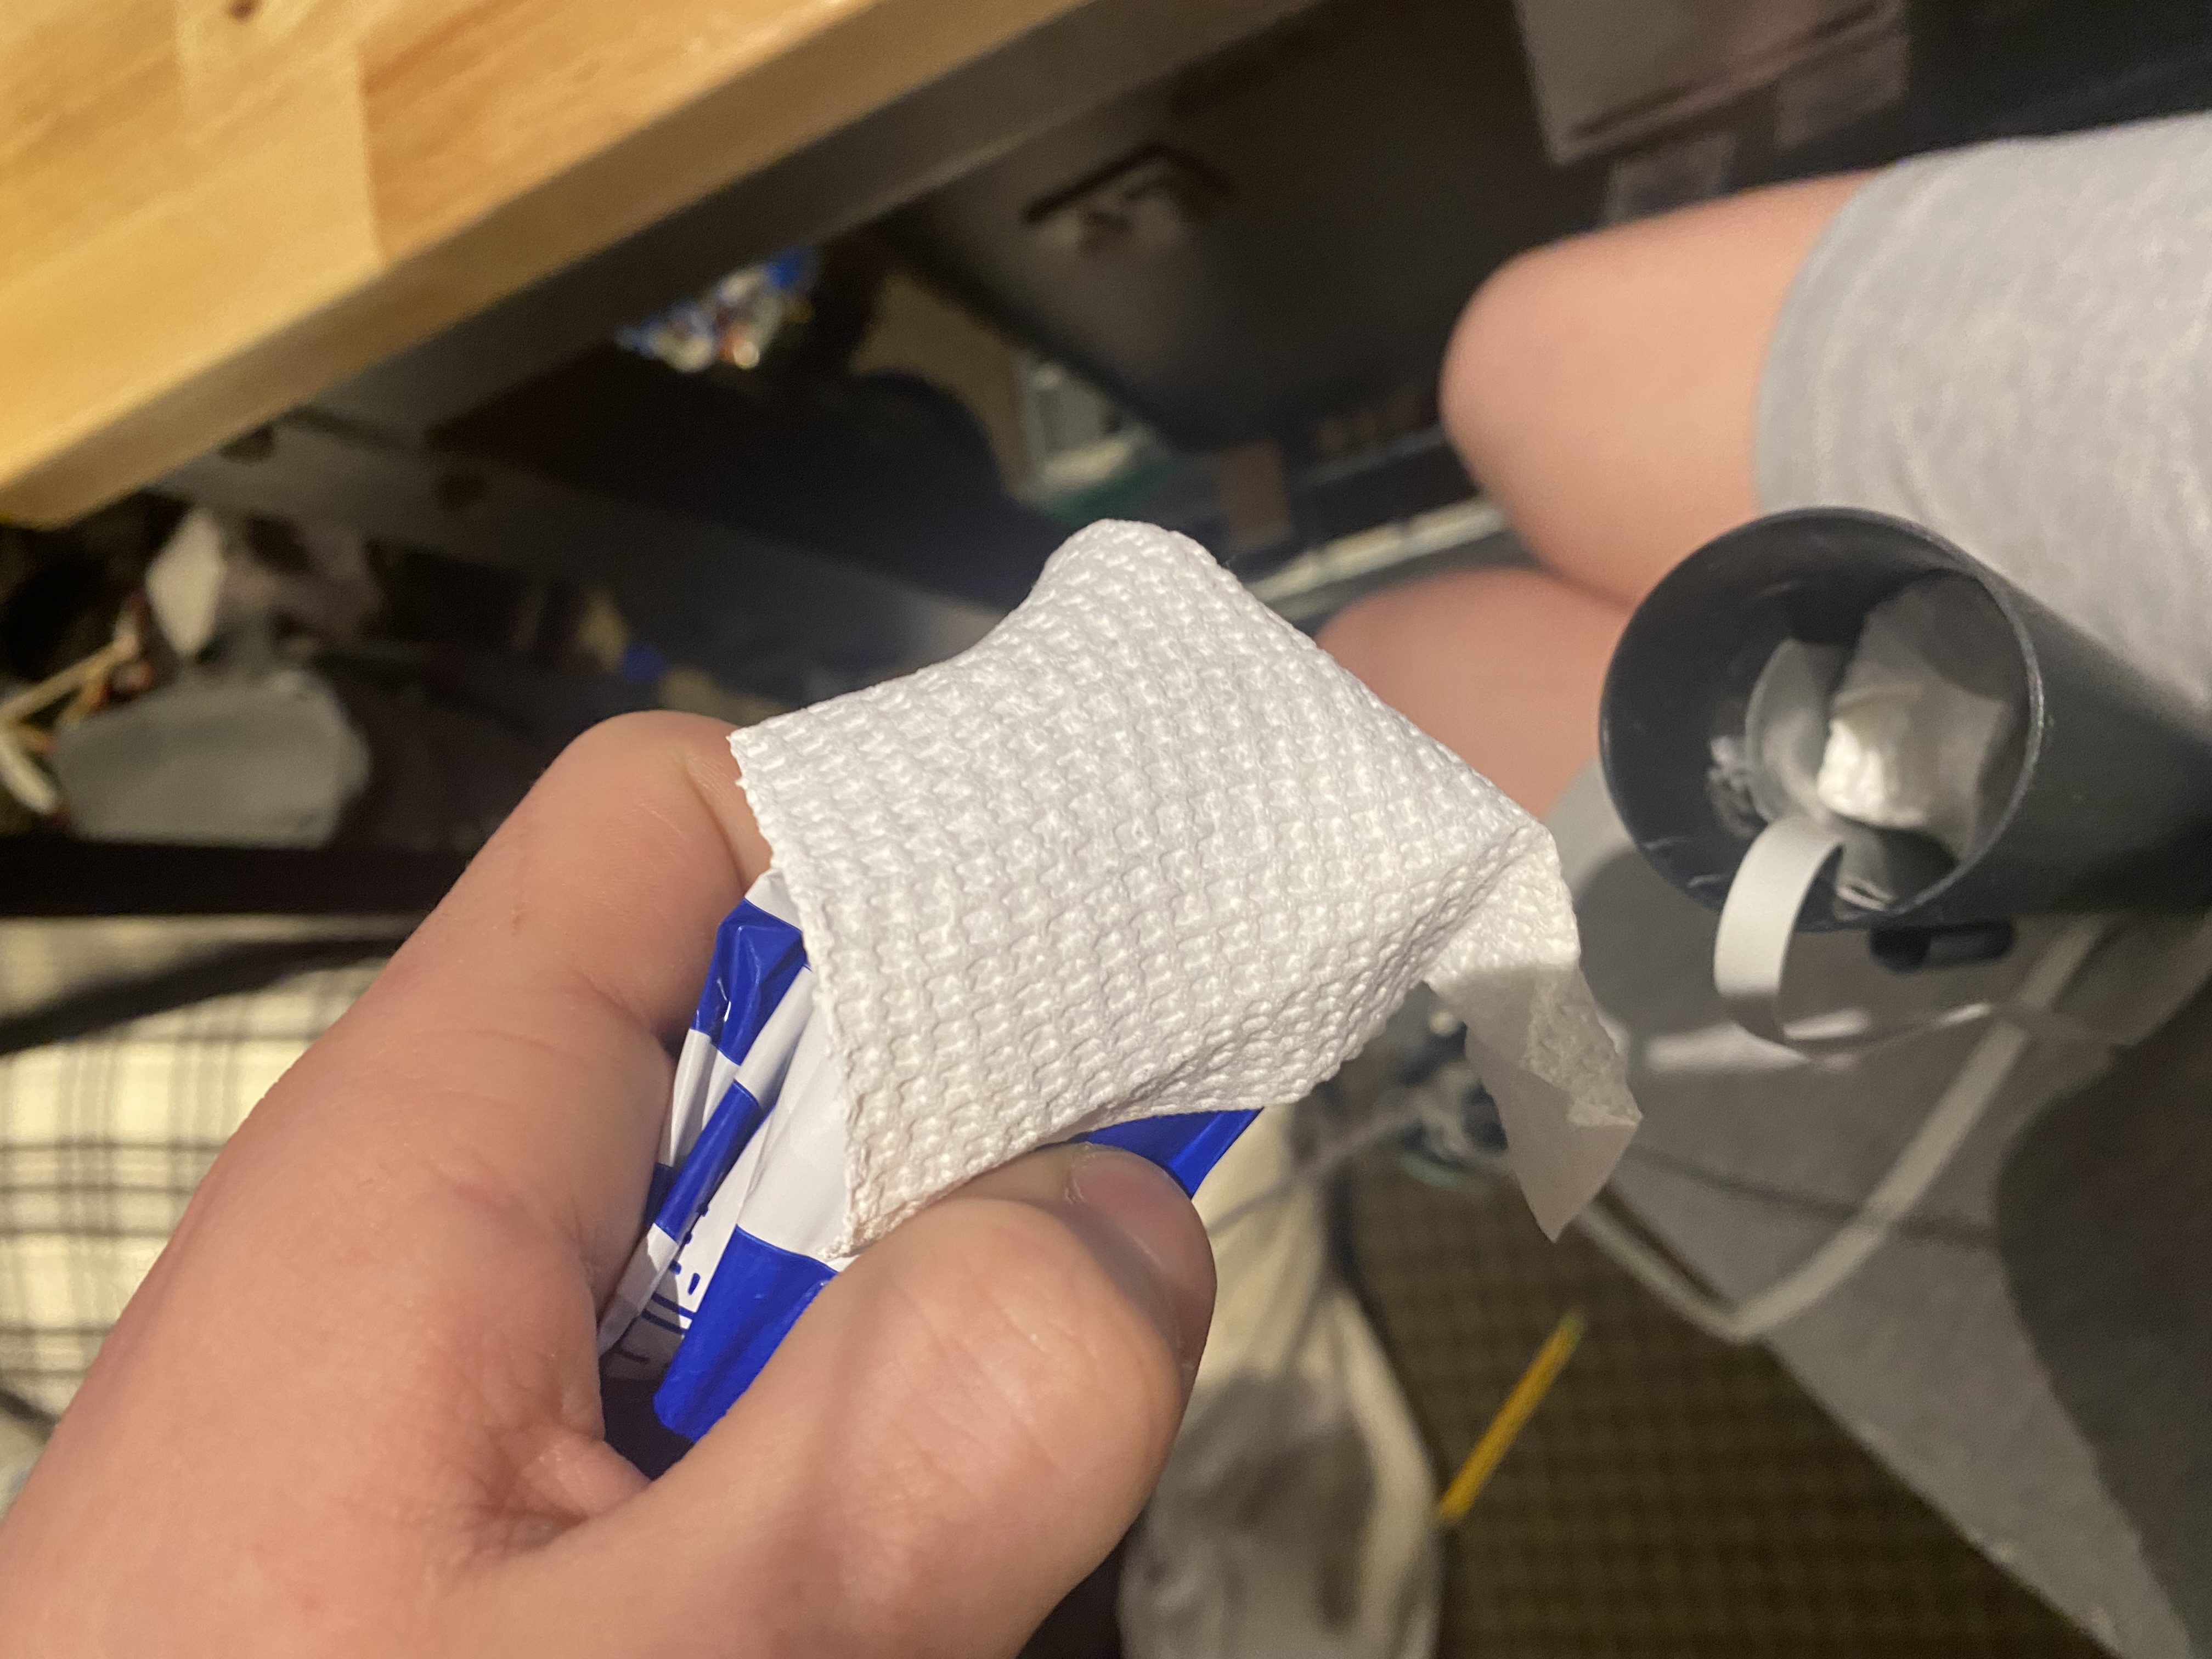
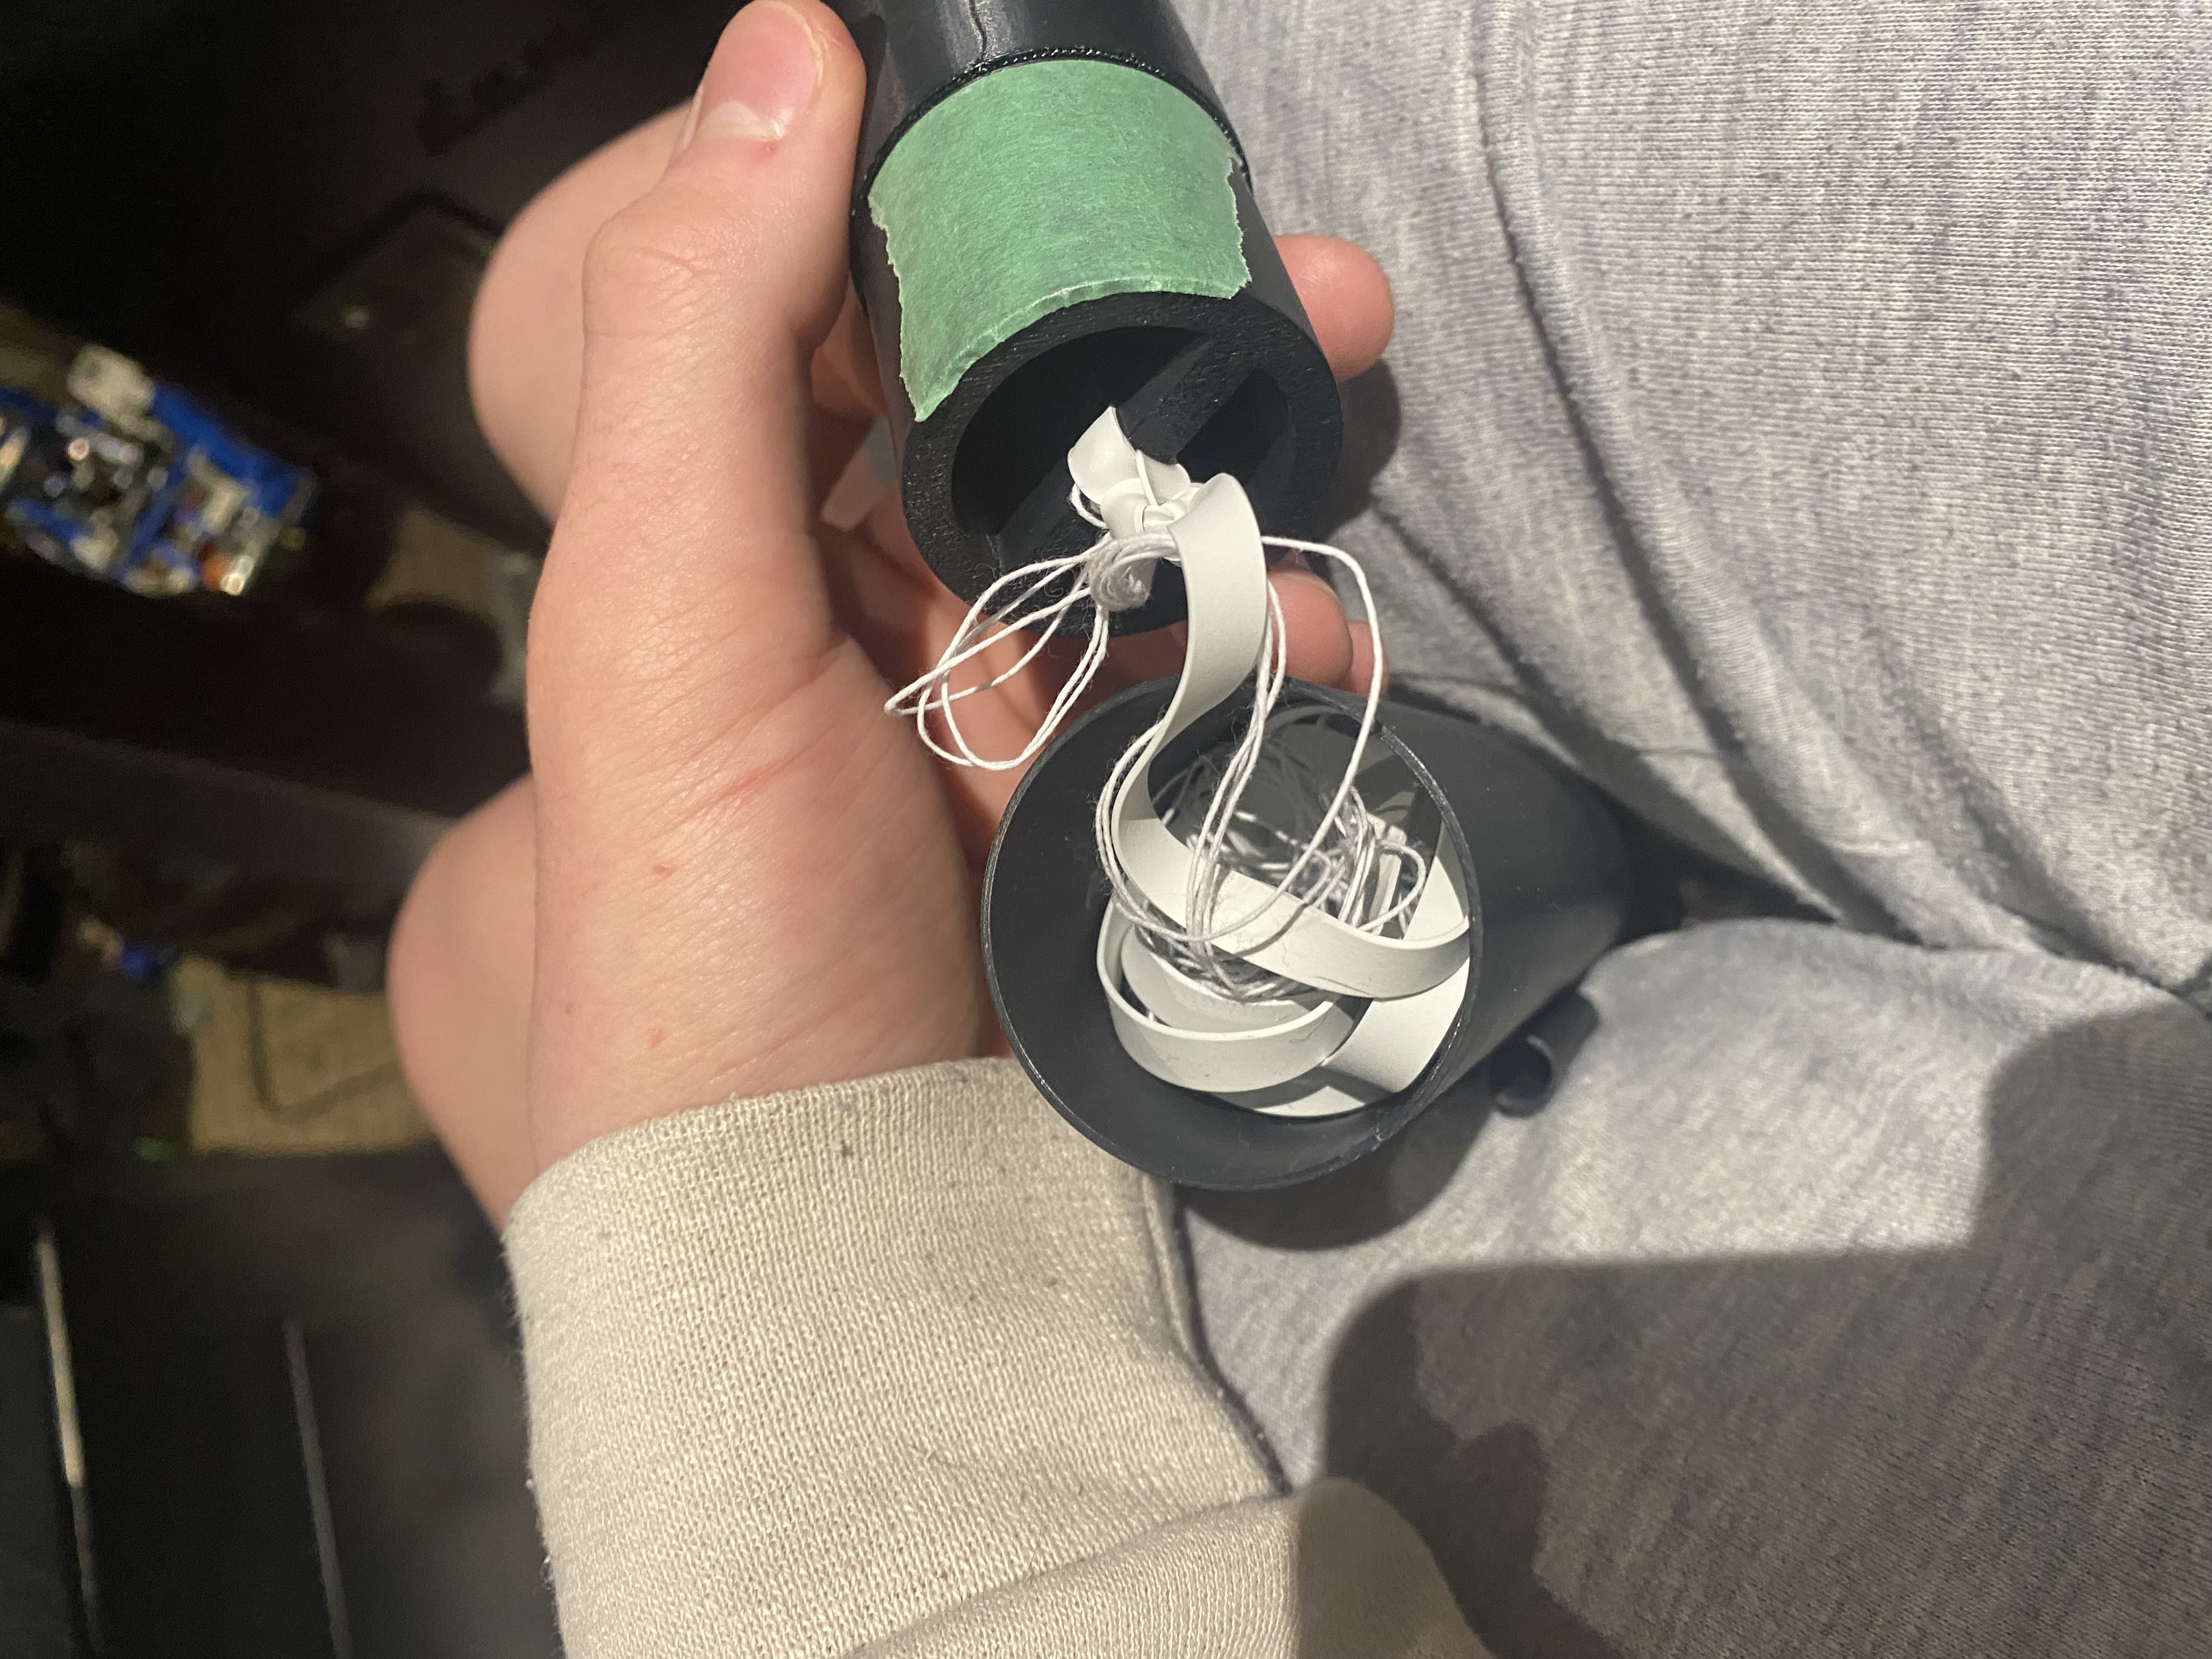
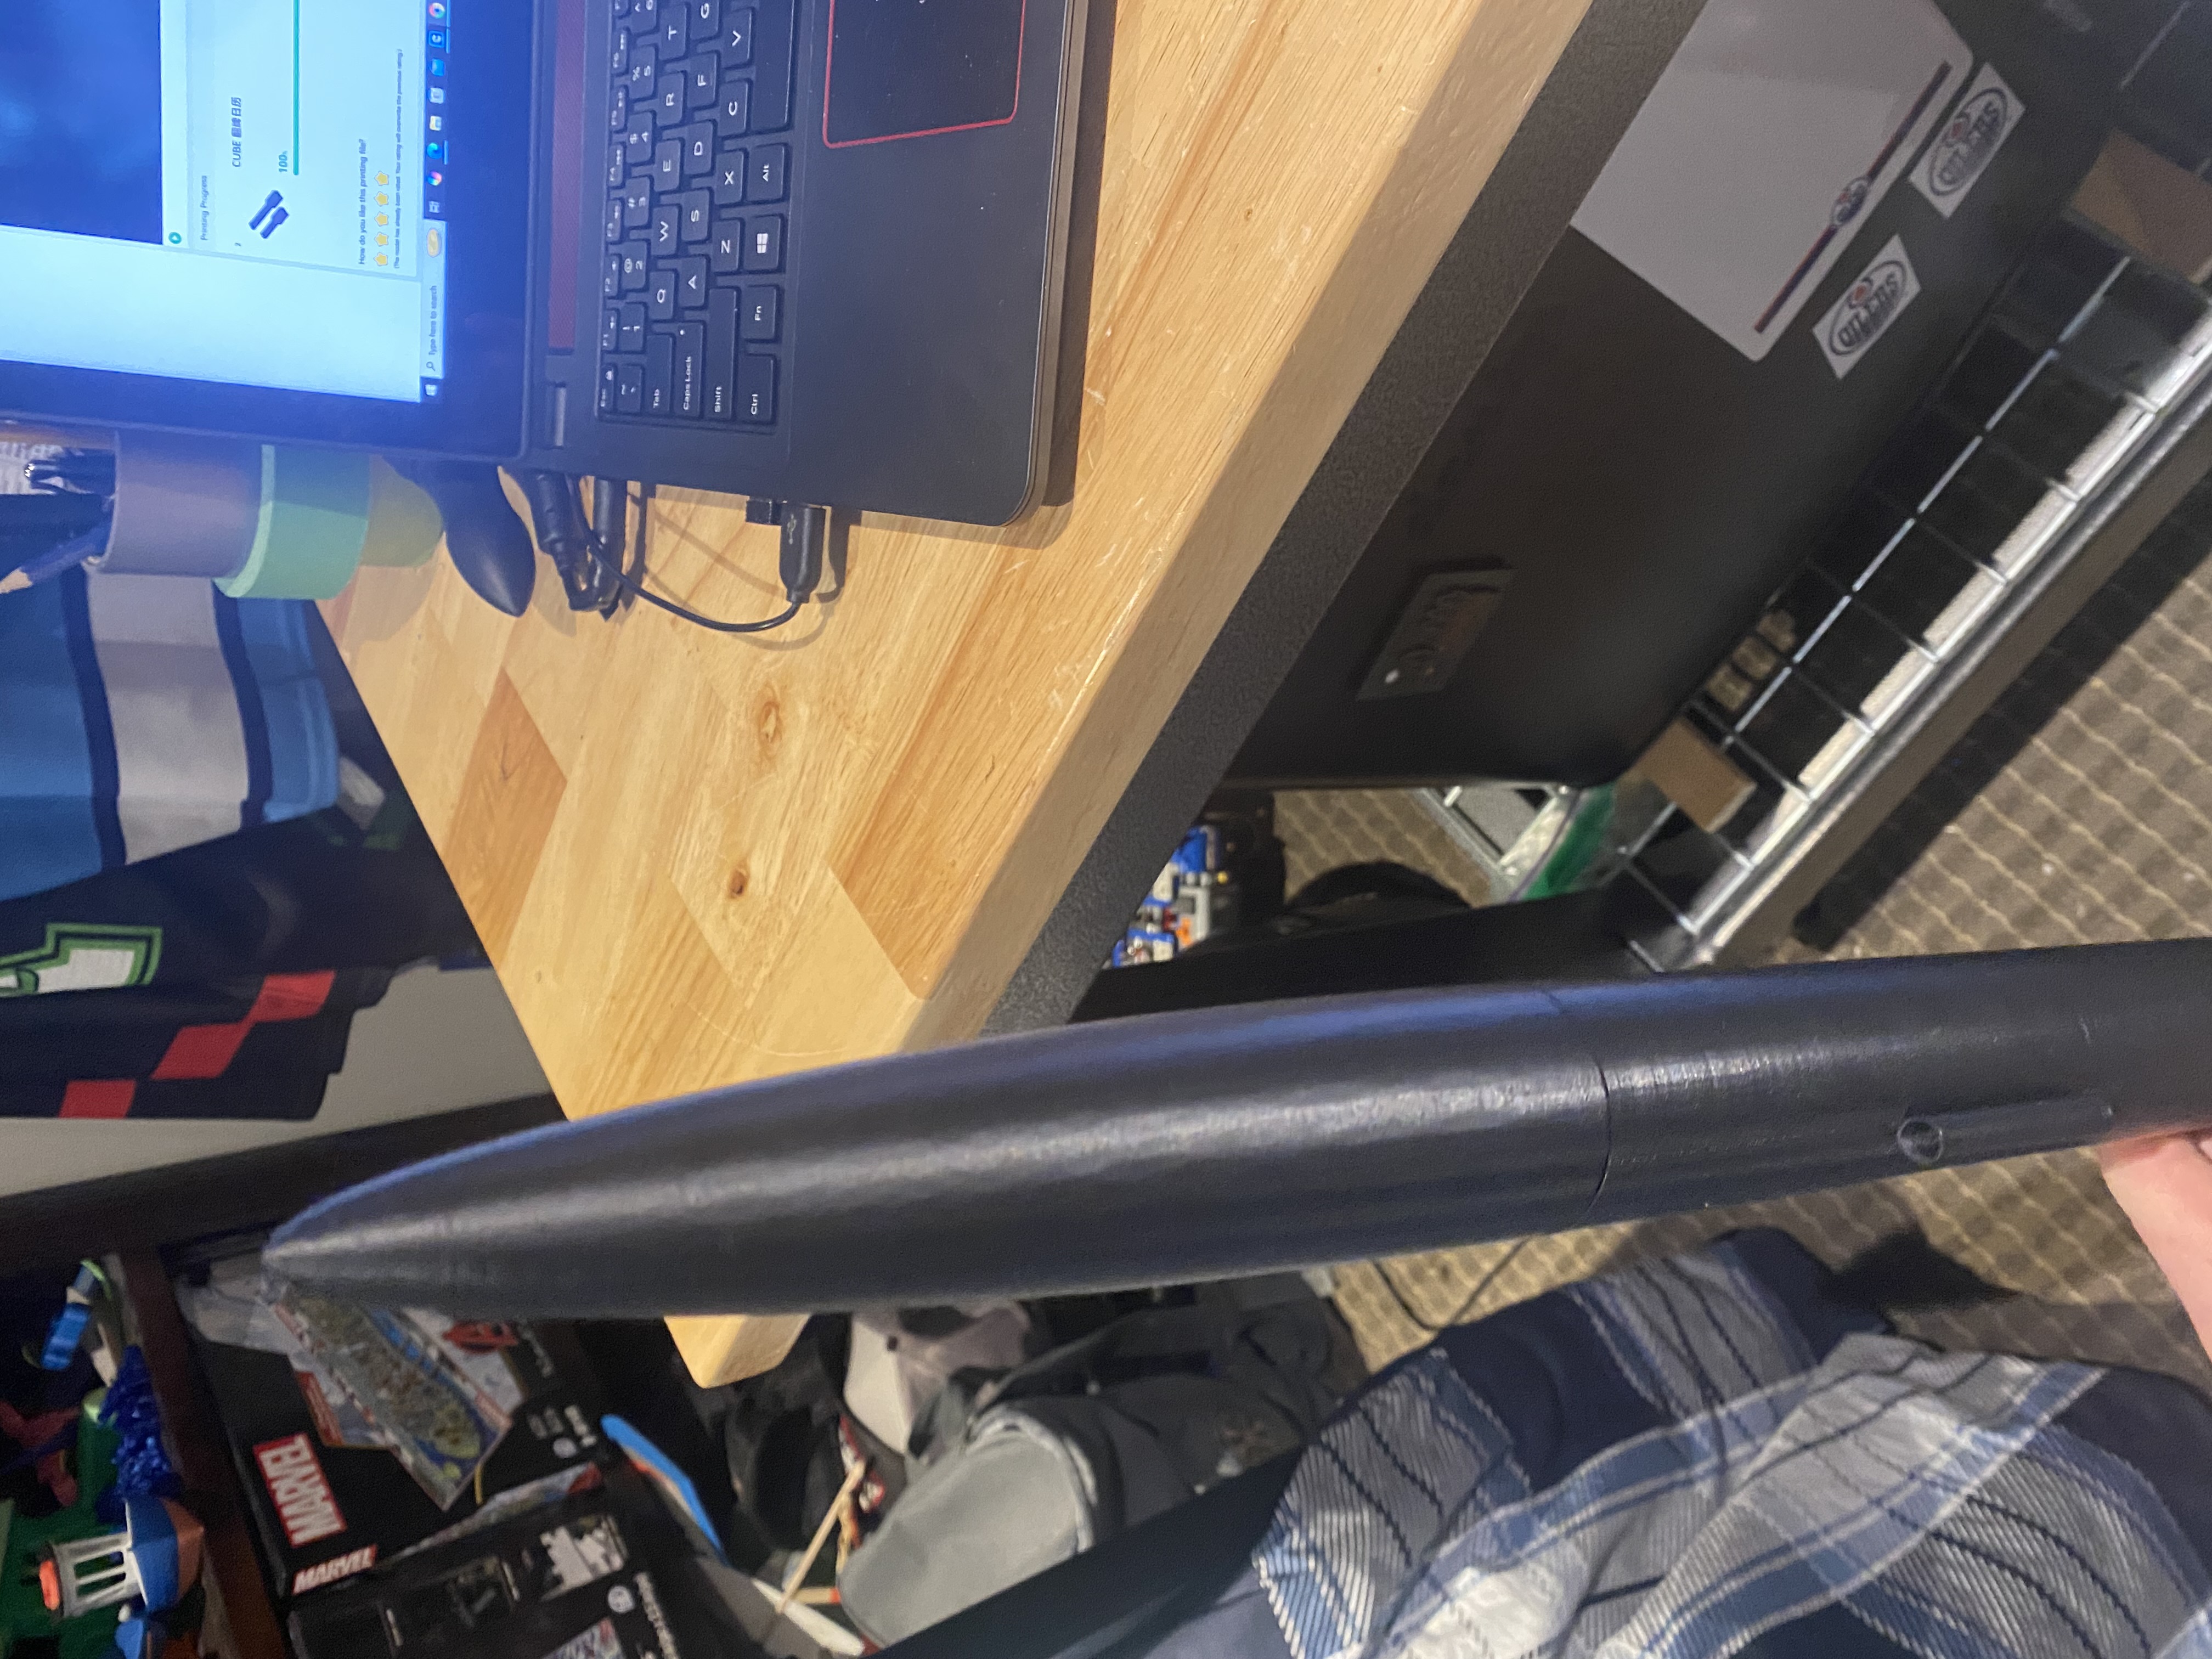
Step 6: Once everything has been set and place and connected it is finally time to assembly everything into the rocket. For this first part you will need some rocket wadding. You can buy pre-made stuff or make your own like I did here. You can find useful videos for this on YouTube. First press one sheet of it into the tube and wrap the other around you folded parachute (as seen in the first image). Then begin to place in you shock cord and parachute strings. Finally secure it all by placing you nose cone into the tip. Now insert your rocket engine into the bottom and make sure it fits very snug with some masking tape.
Congratulations your rocket is ready to take to the skies!!!
Gostou deste modelo? Crie uma conta grátis para salvar seus favoritos e voltar a eles depois.
Criar conta