Você está no 3DFinder
Buscamos em Thingiverse, MakerWorld e Printables ao mesmo tempo para te dar o melhor de cada uma.
Descrição
!!! MAKE SURE YOUR PRINTER IS CALIBRATED AND THE BED IS CLEANED, OTHERWISE PARTS MAY NOT PRINT CORRECTLY BECAUSE OF SMALL SIZE !!!
About:
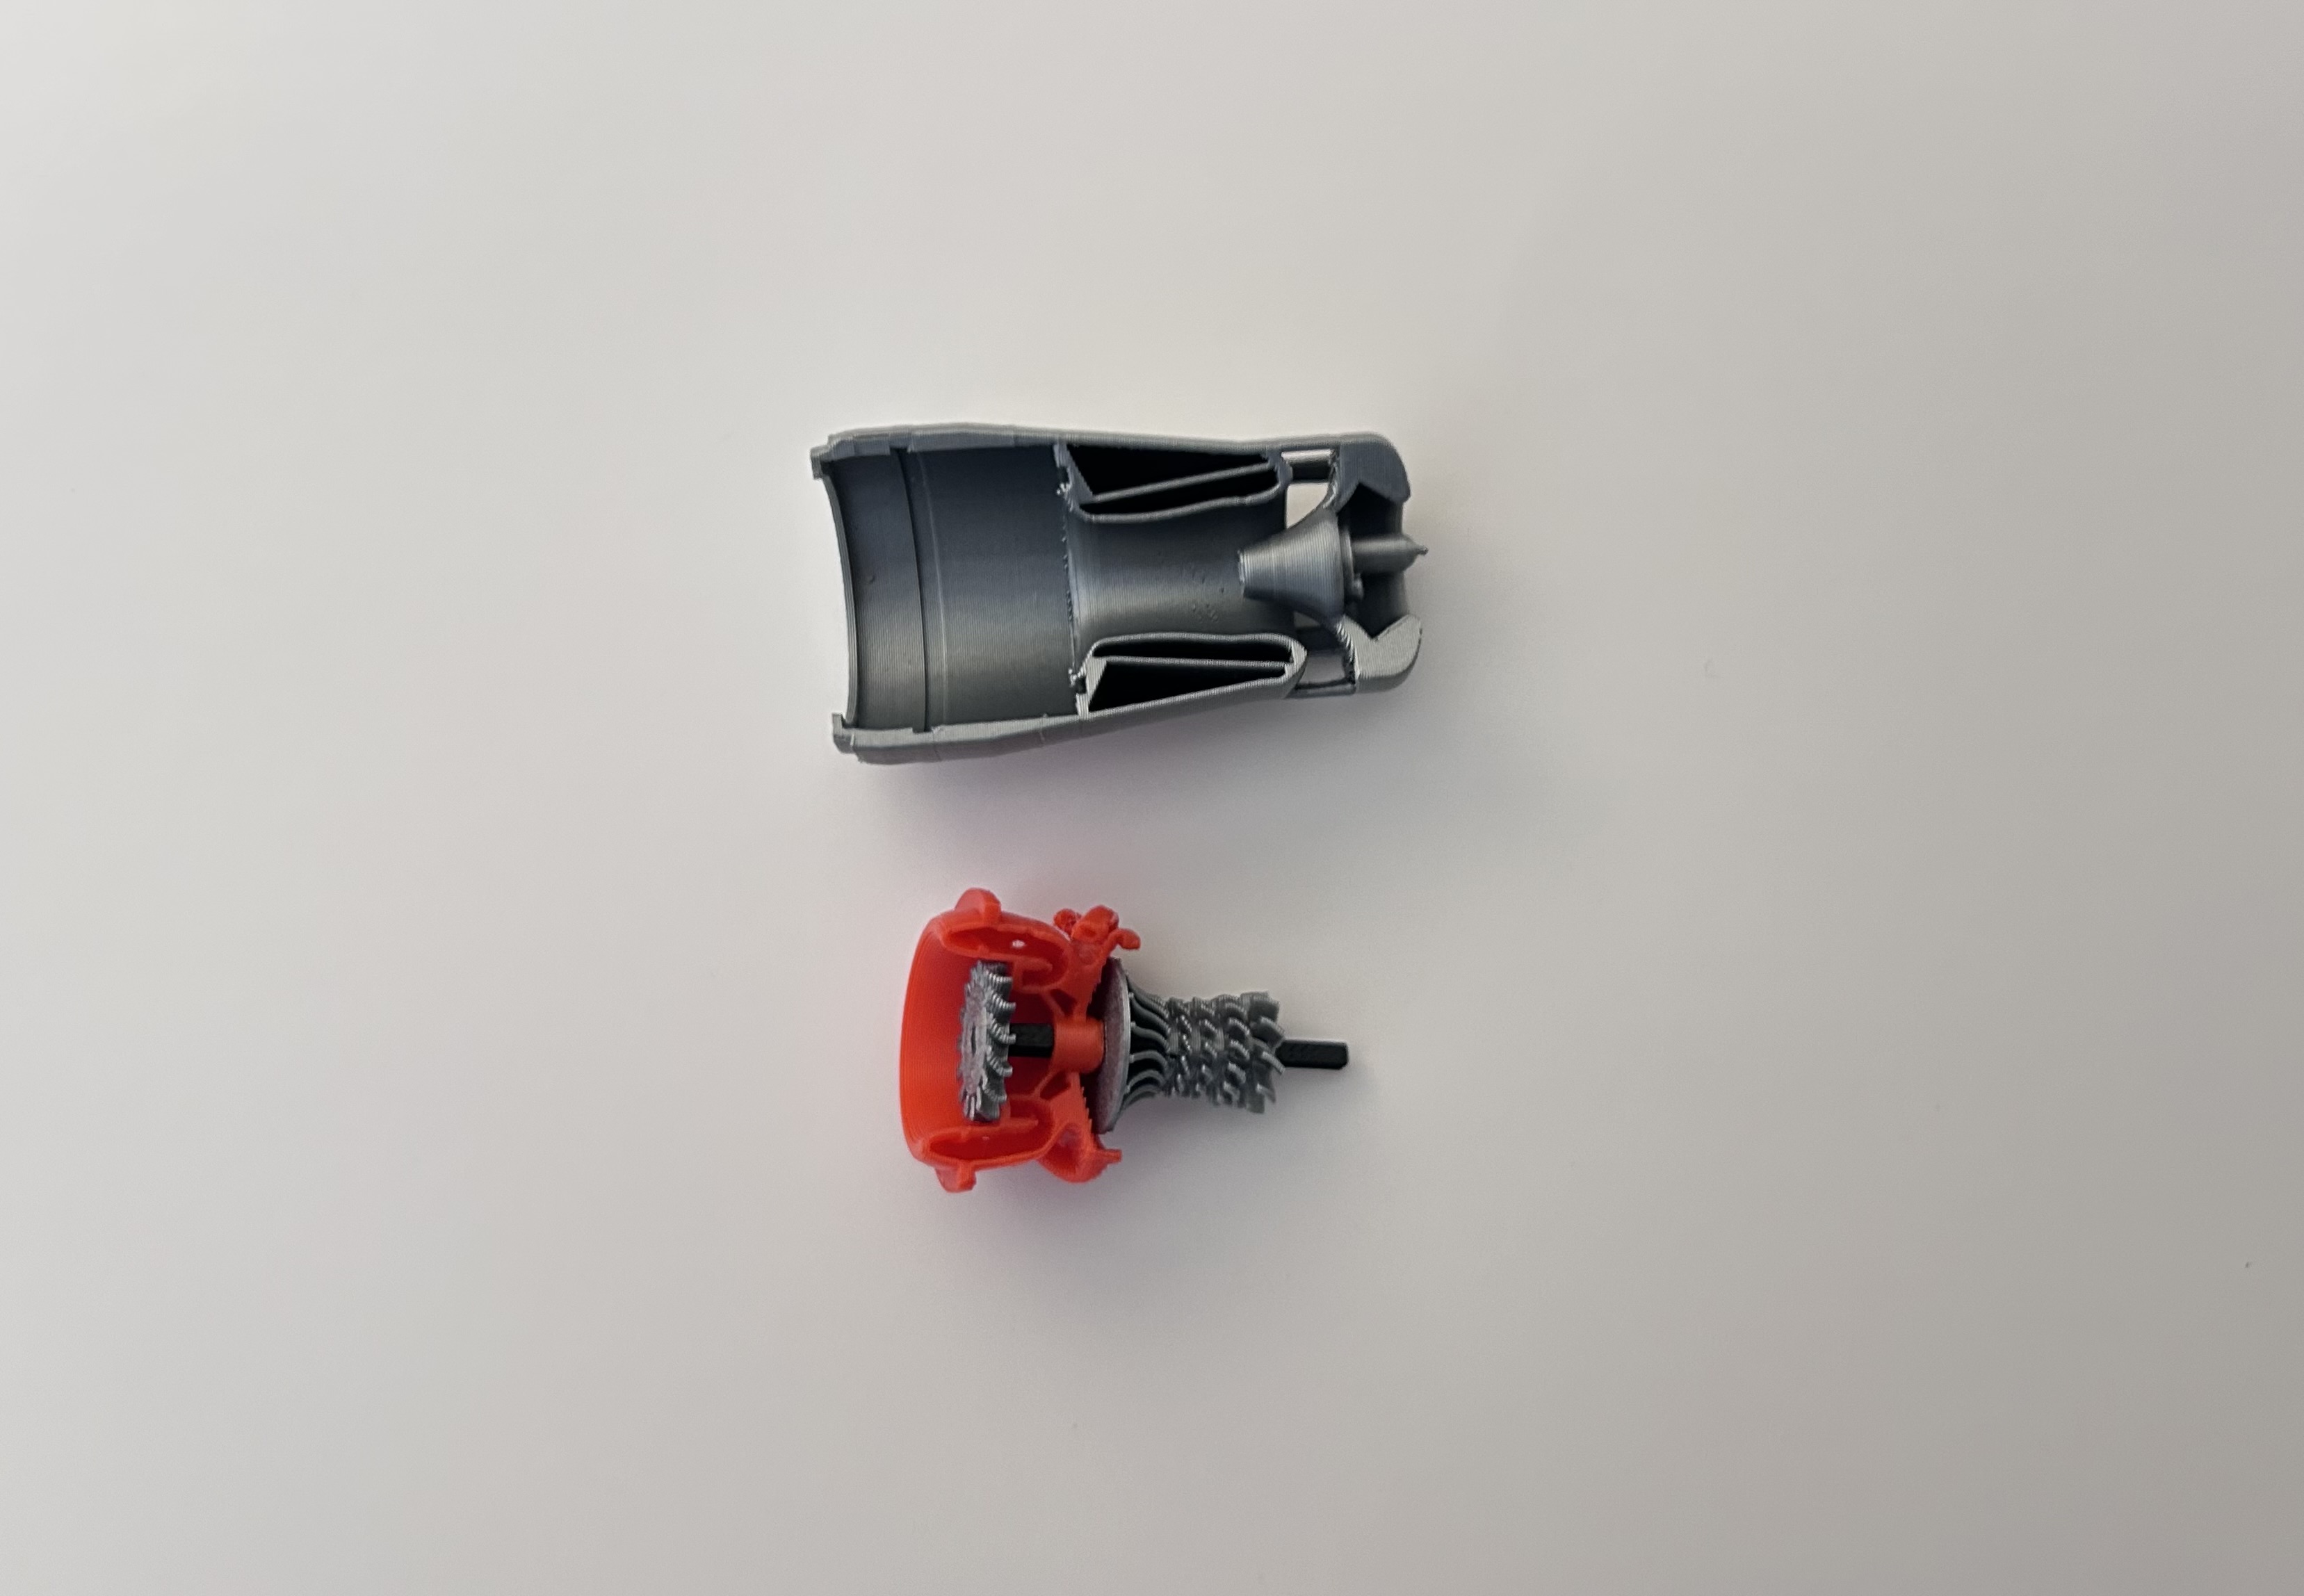
This is a super simplified reverse flow turboprop engine where the intake is in the rear of the engine and the exhaust is in the front. It slightly resembles the Pratt and Whitney PT6. My design features a working planatary gearbox with spinning shafts, Compressor section, Combustion section, and the Power and High pressure turbines.
Larger more detailed motorized version here!
Printing:
I have found out the tolerances on the planetary gearset vary between filaments, if your having trouble getting it to mesh properly, try a different filament for the “planet” gears. I created this using the bambu basic pla. Matte Pla seems to have a looser fit in my experience.
Supports are needed and the standard tree supports work. Just make sure to uncheck these options for best results. Make sure to fully remove all supports. 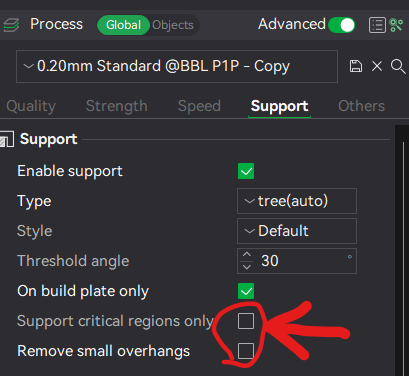
Assembly Instructions :
- No hardware needed
- Super glue is optional but can be used to glue some peices together
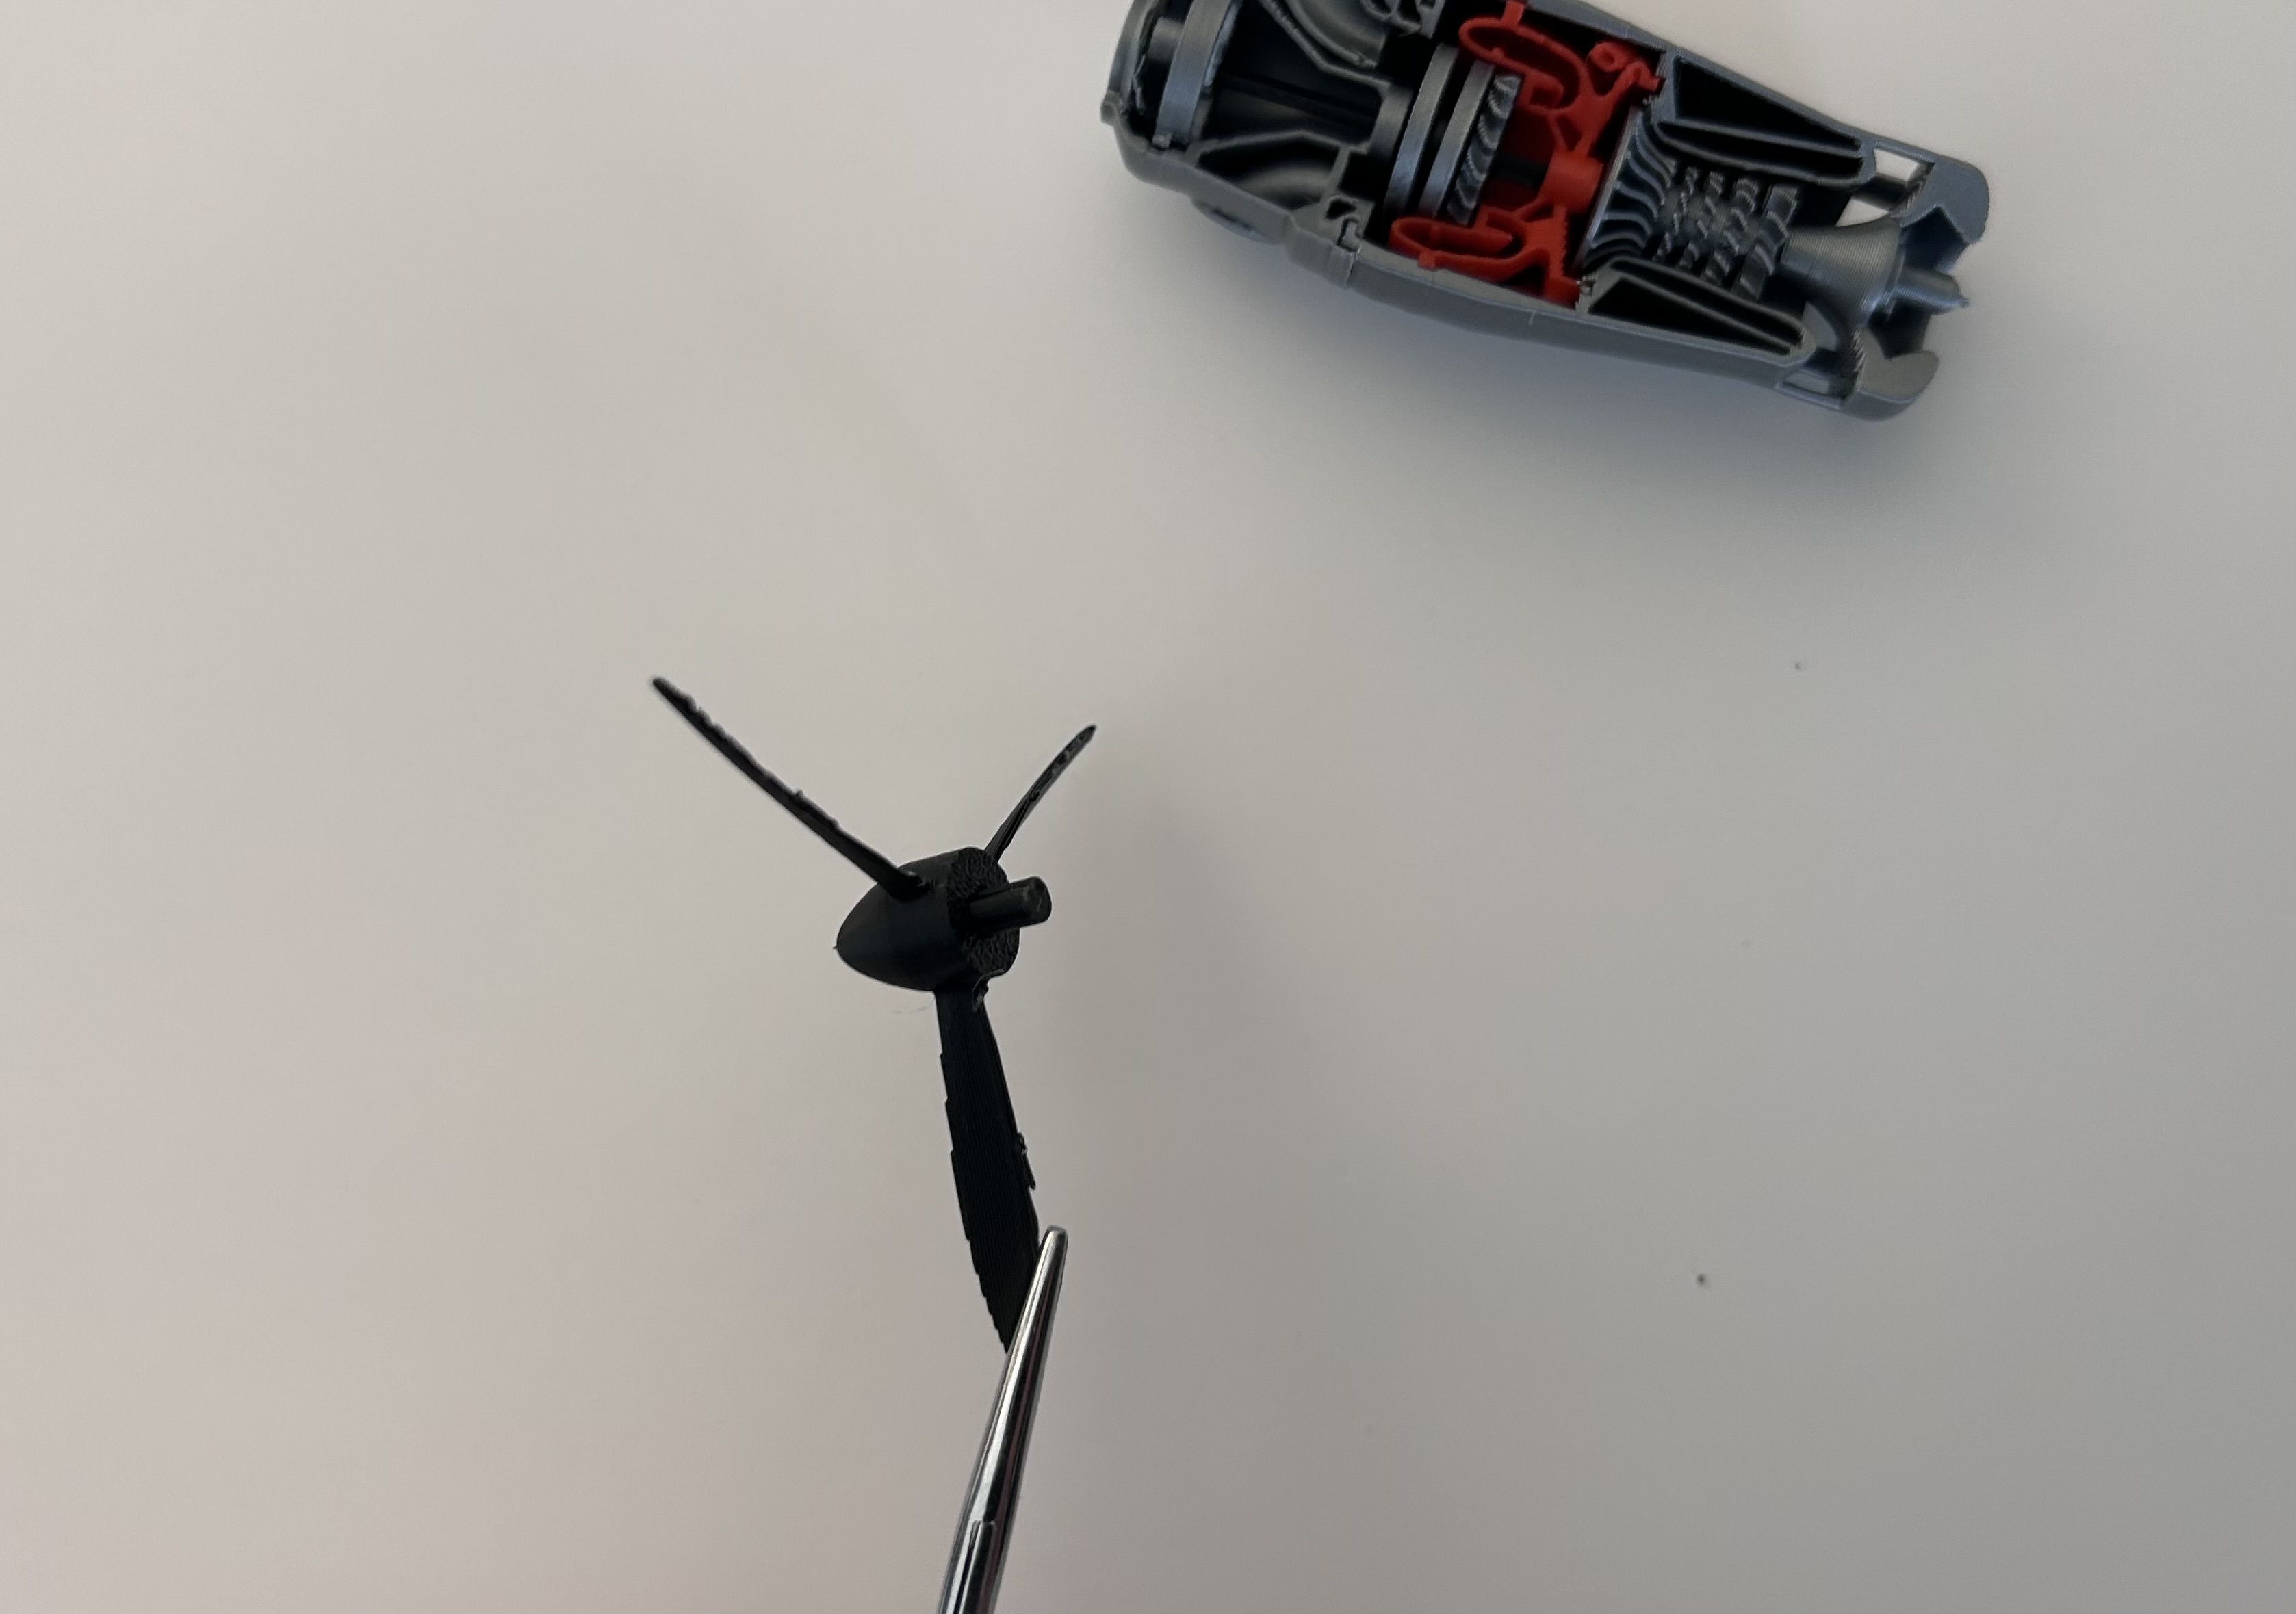
- Tweezers and a small knife are also recommended and can help with assembly and removal of supports.
Step 1: Verify All Parts are printed
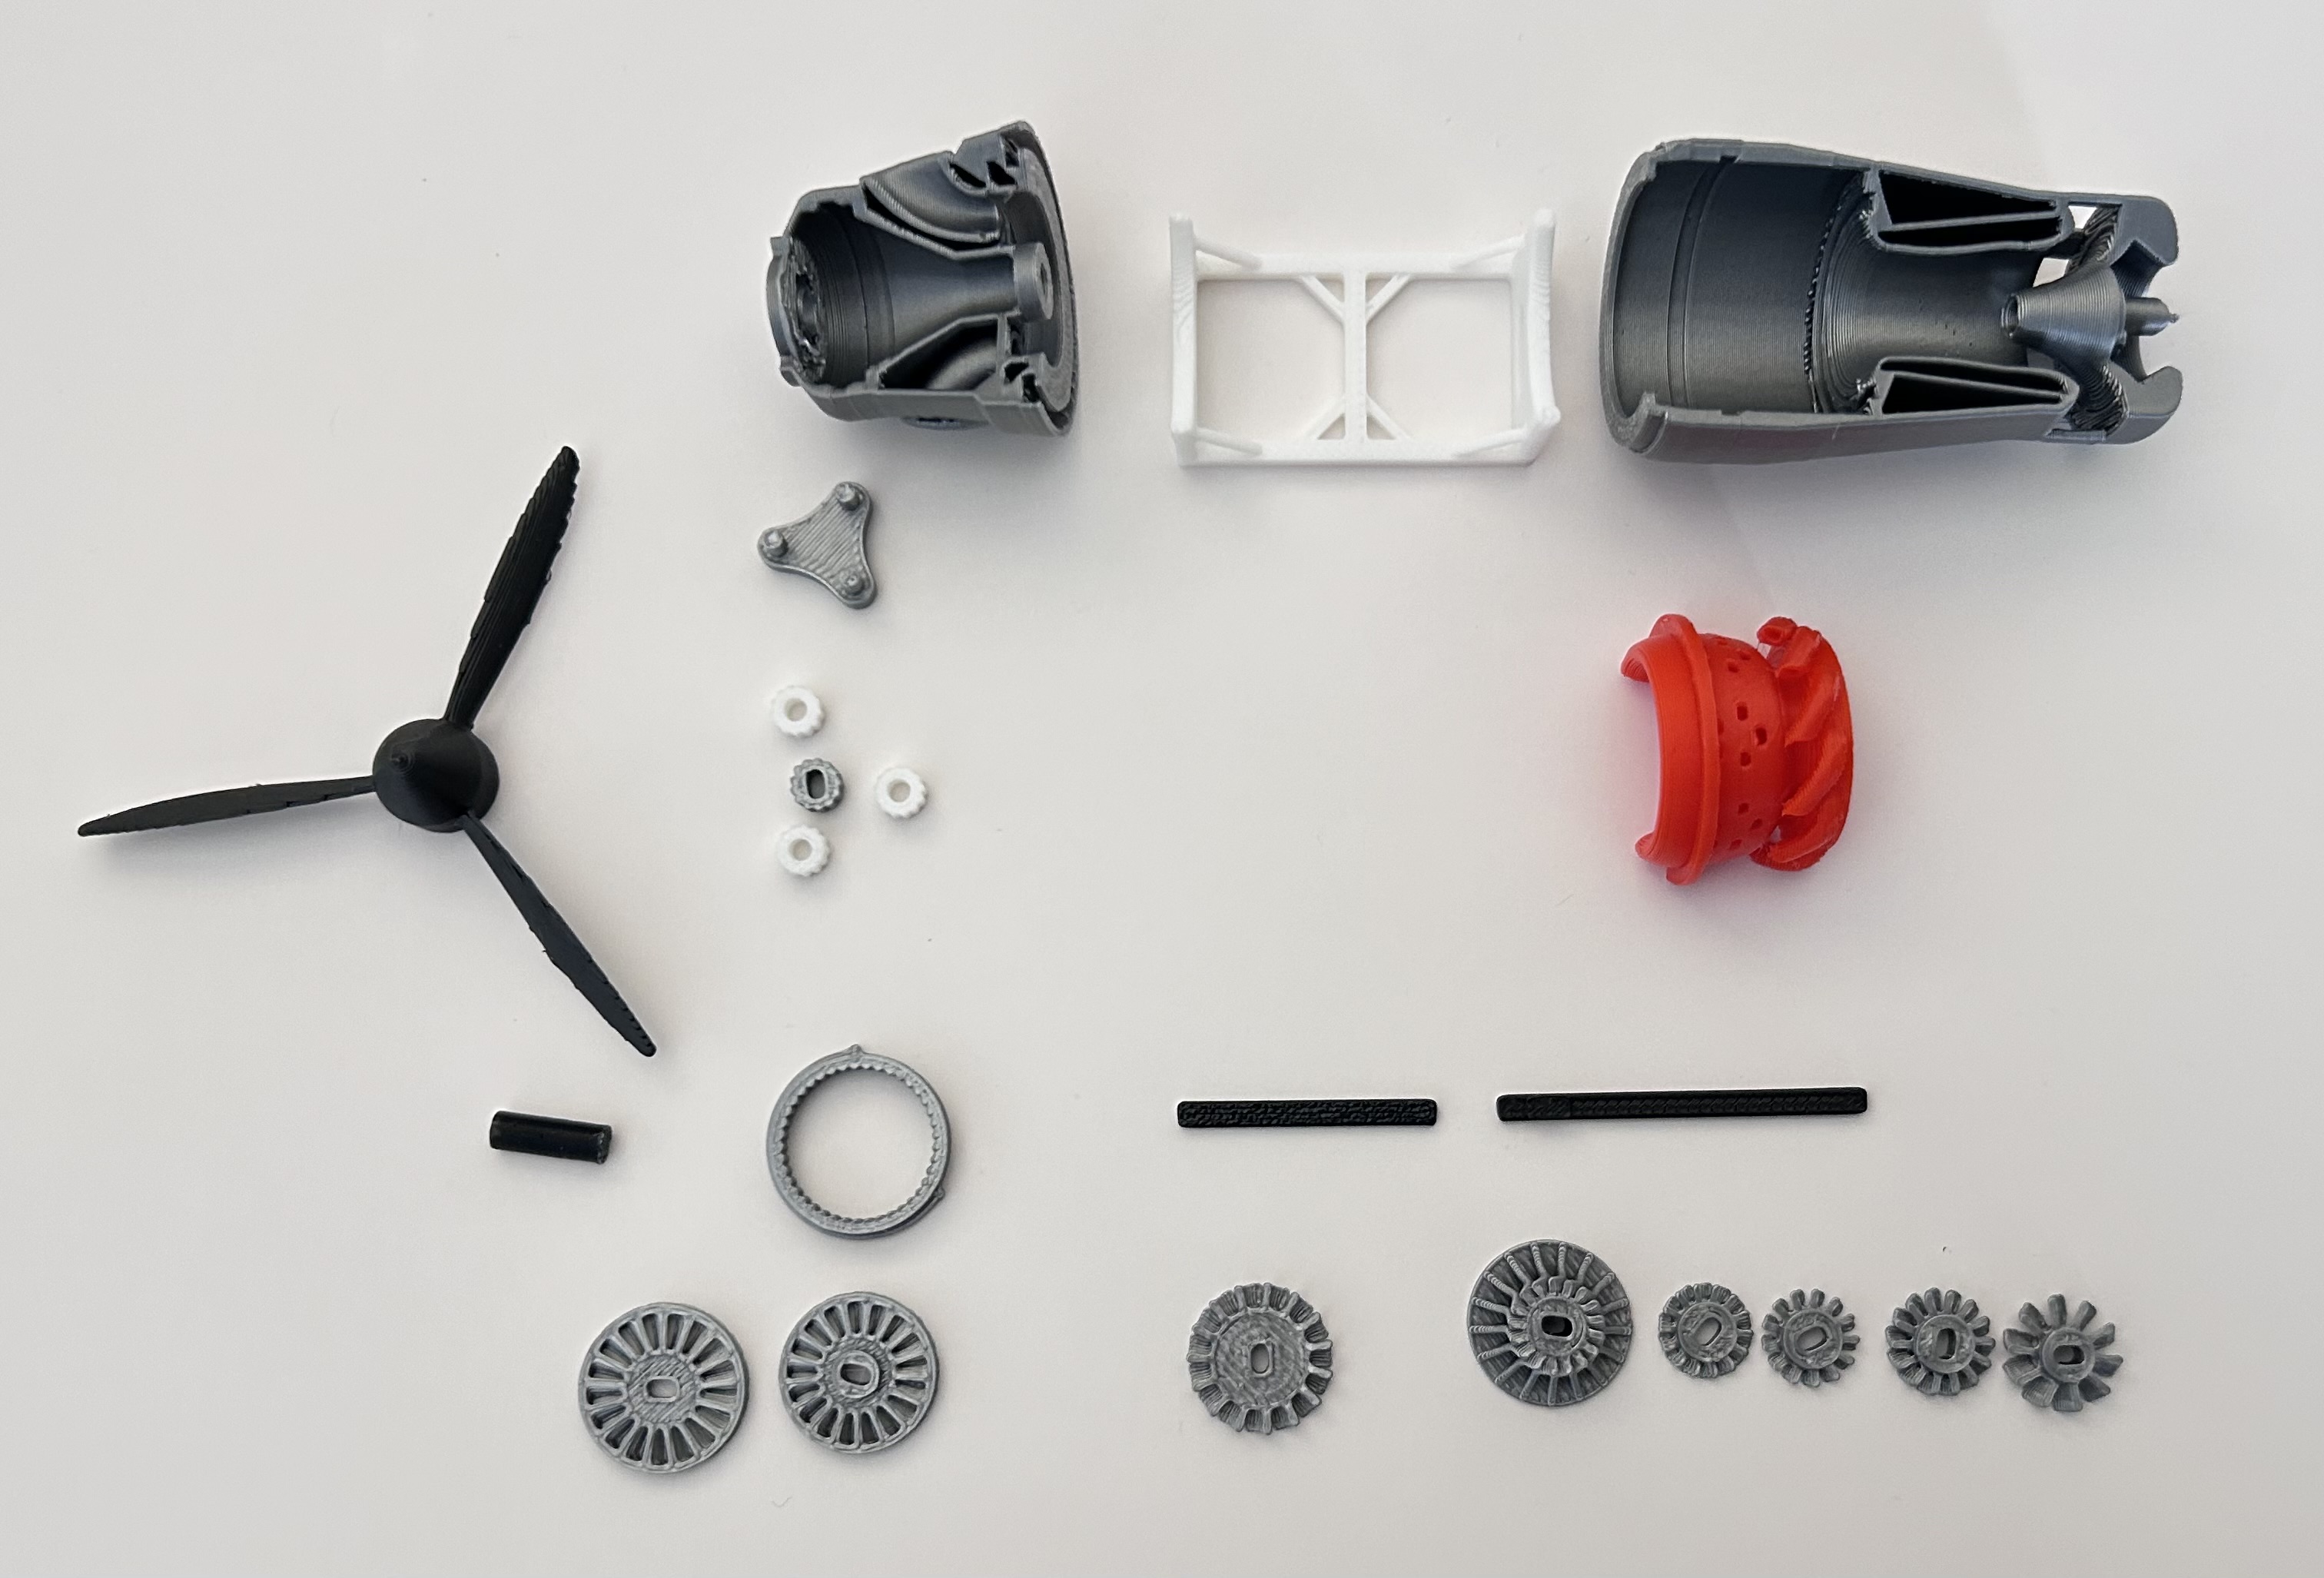
Step 2:
Gather all of the pieces shown above. Put the turbine shown on the far left side onto the left side on the shaft. This should be a tight fit.
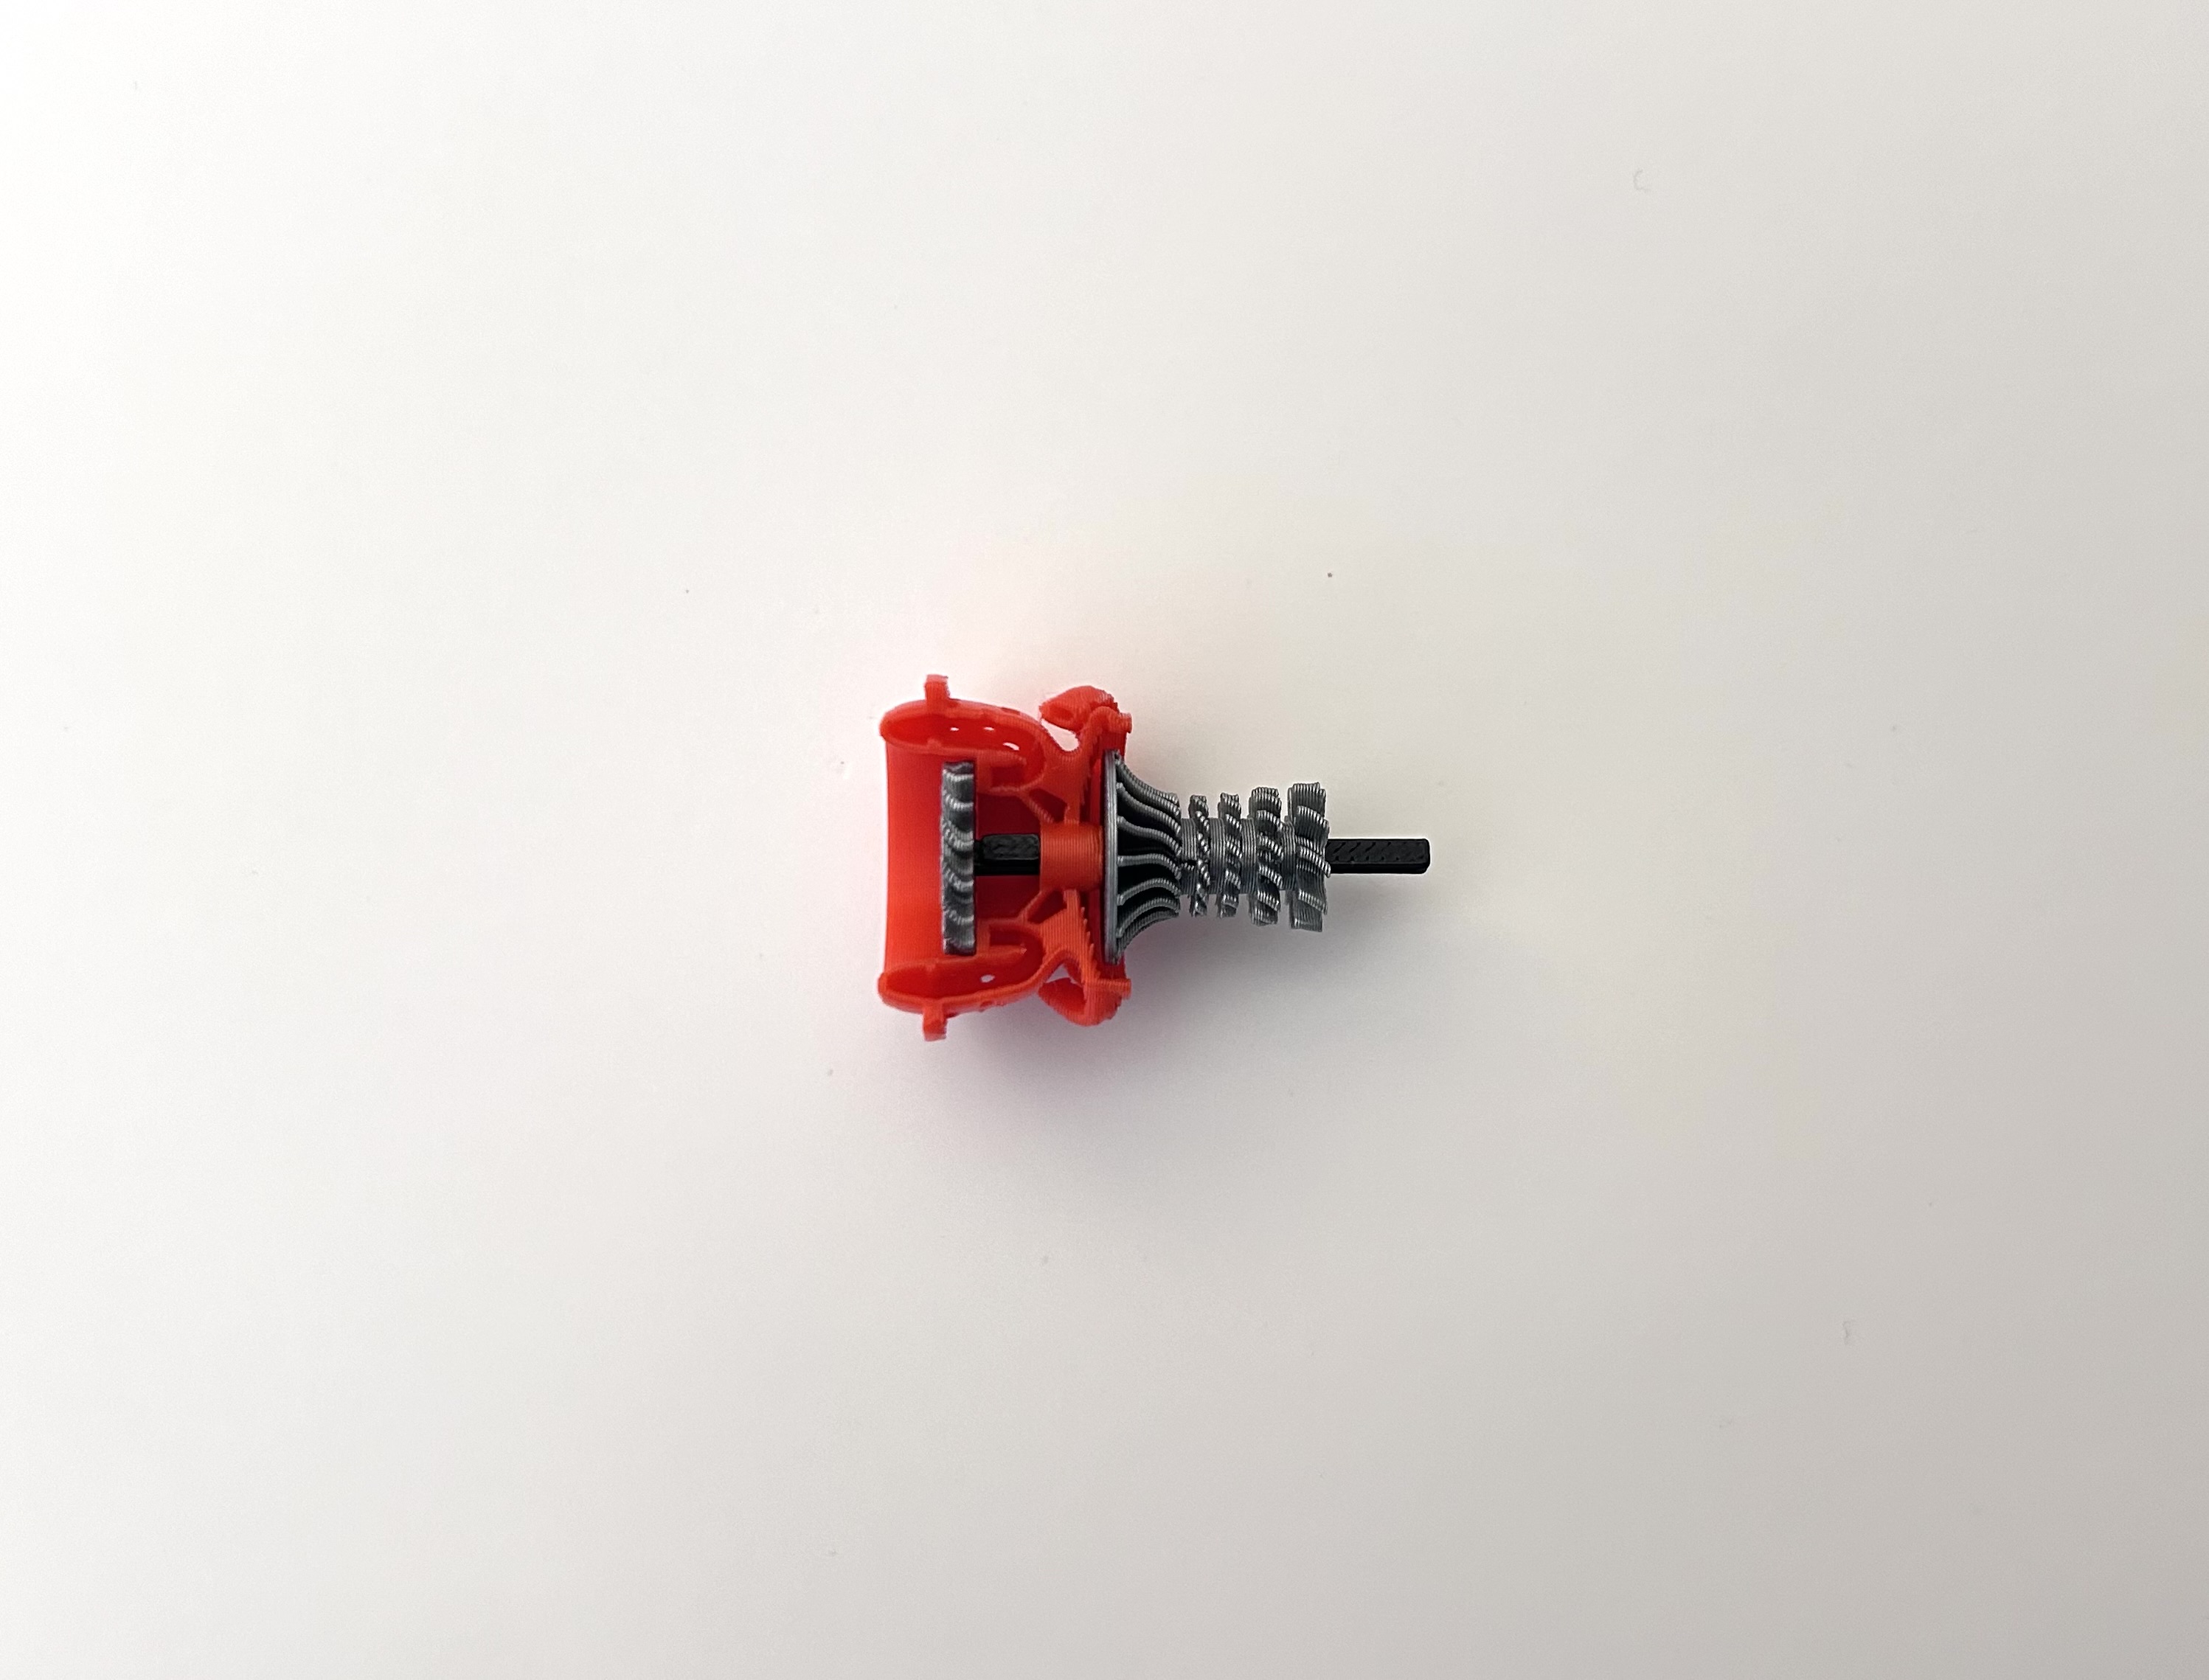
Then slide into the combustion section.
Lastly slide the remaining blades onto the shaft as shown below.
Set this aside.
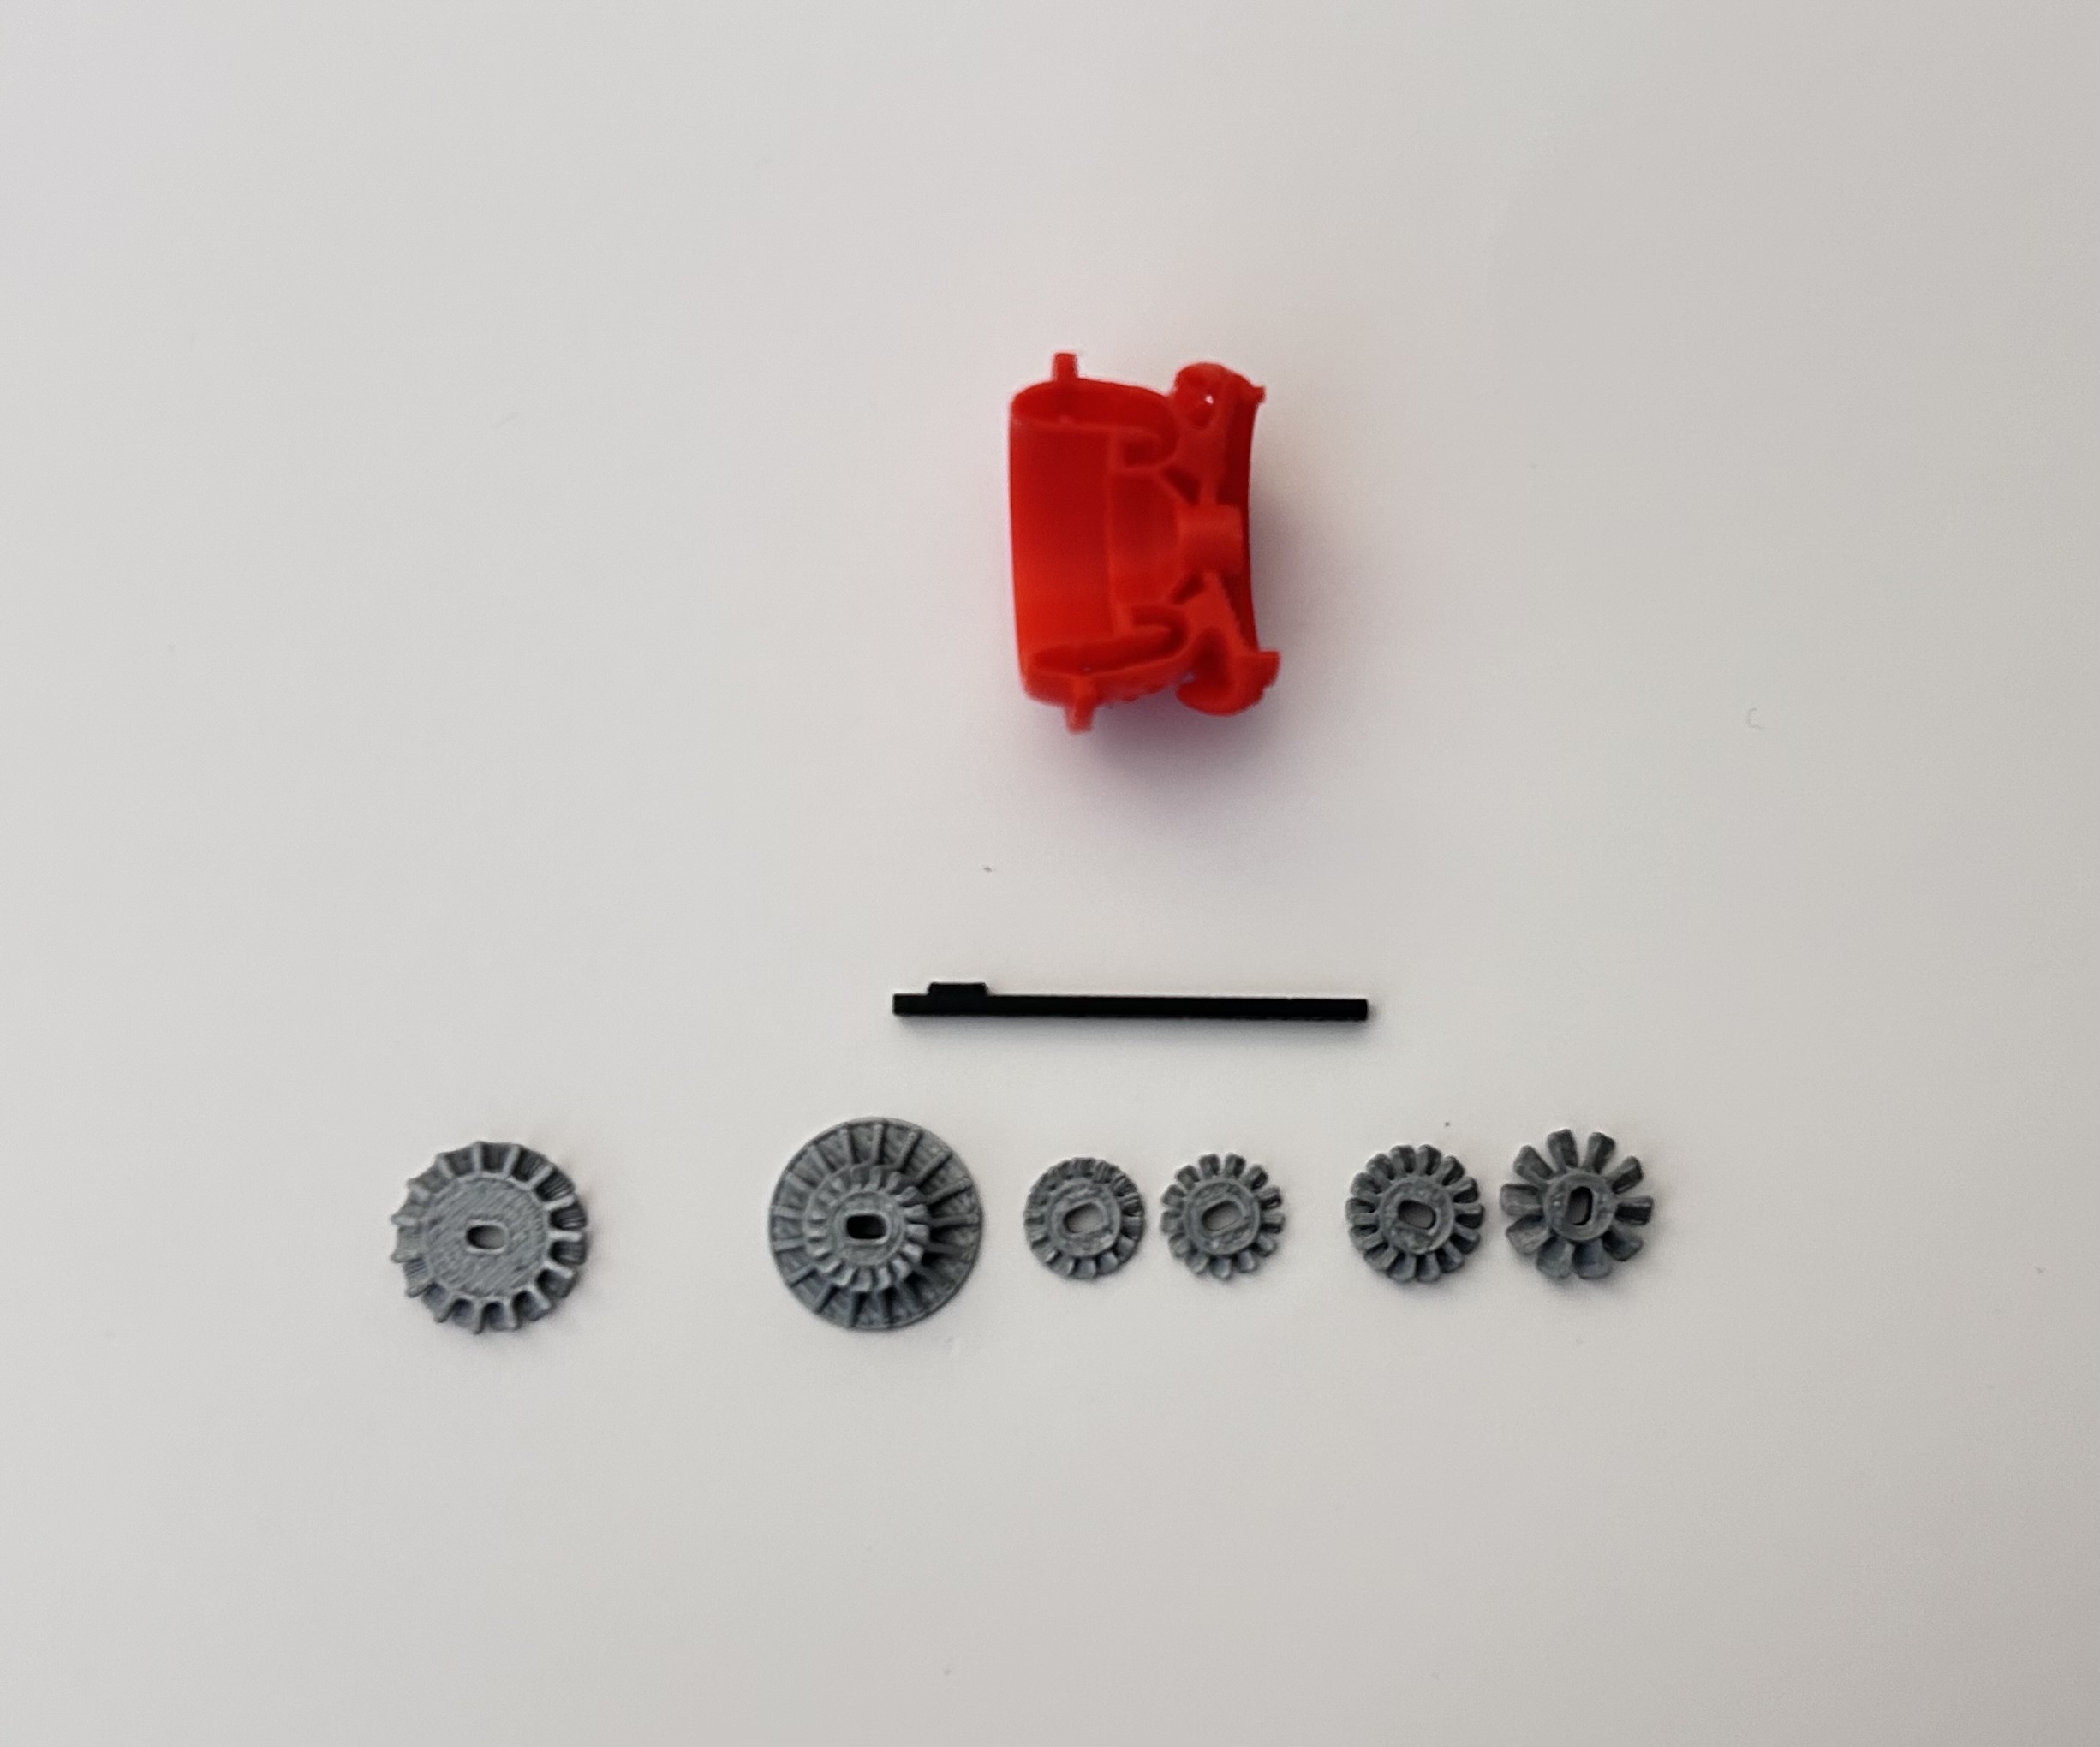
Step 3:
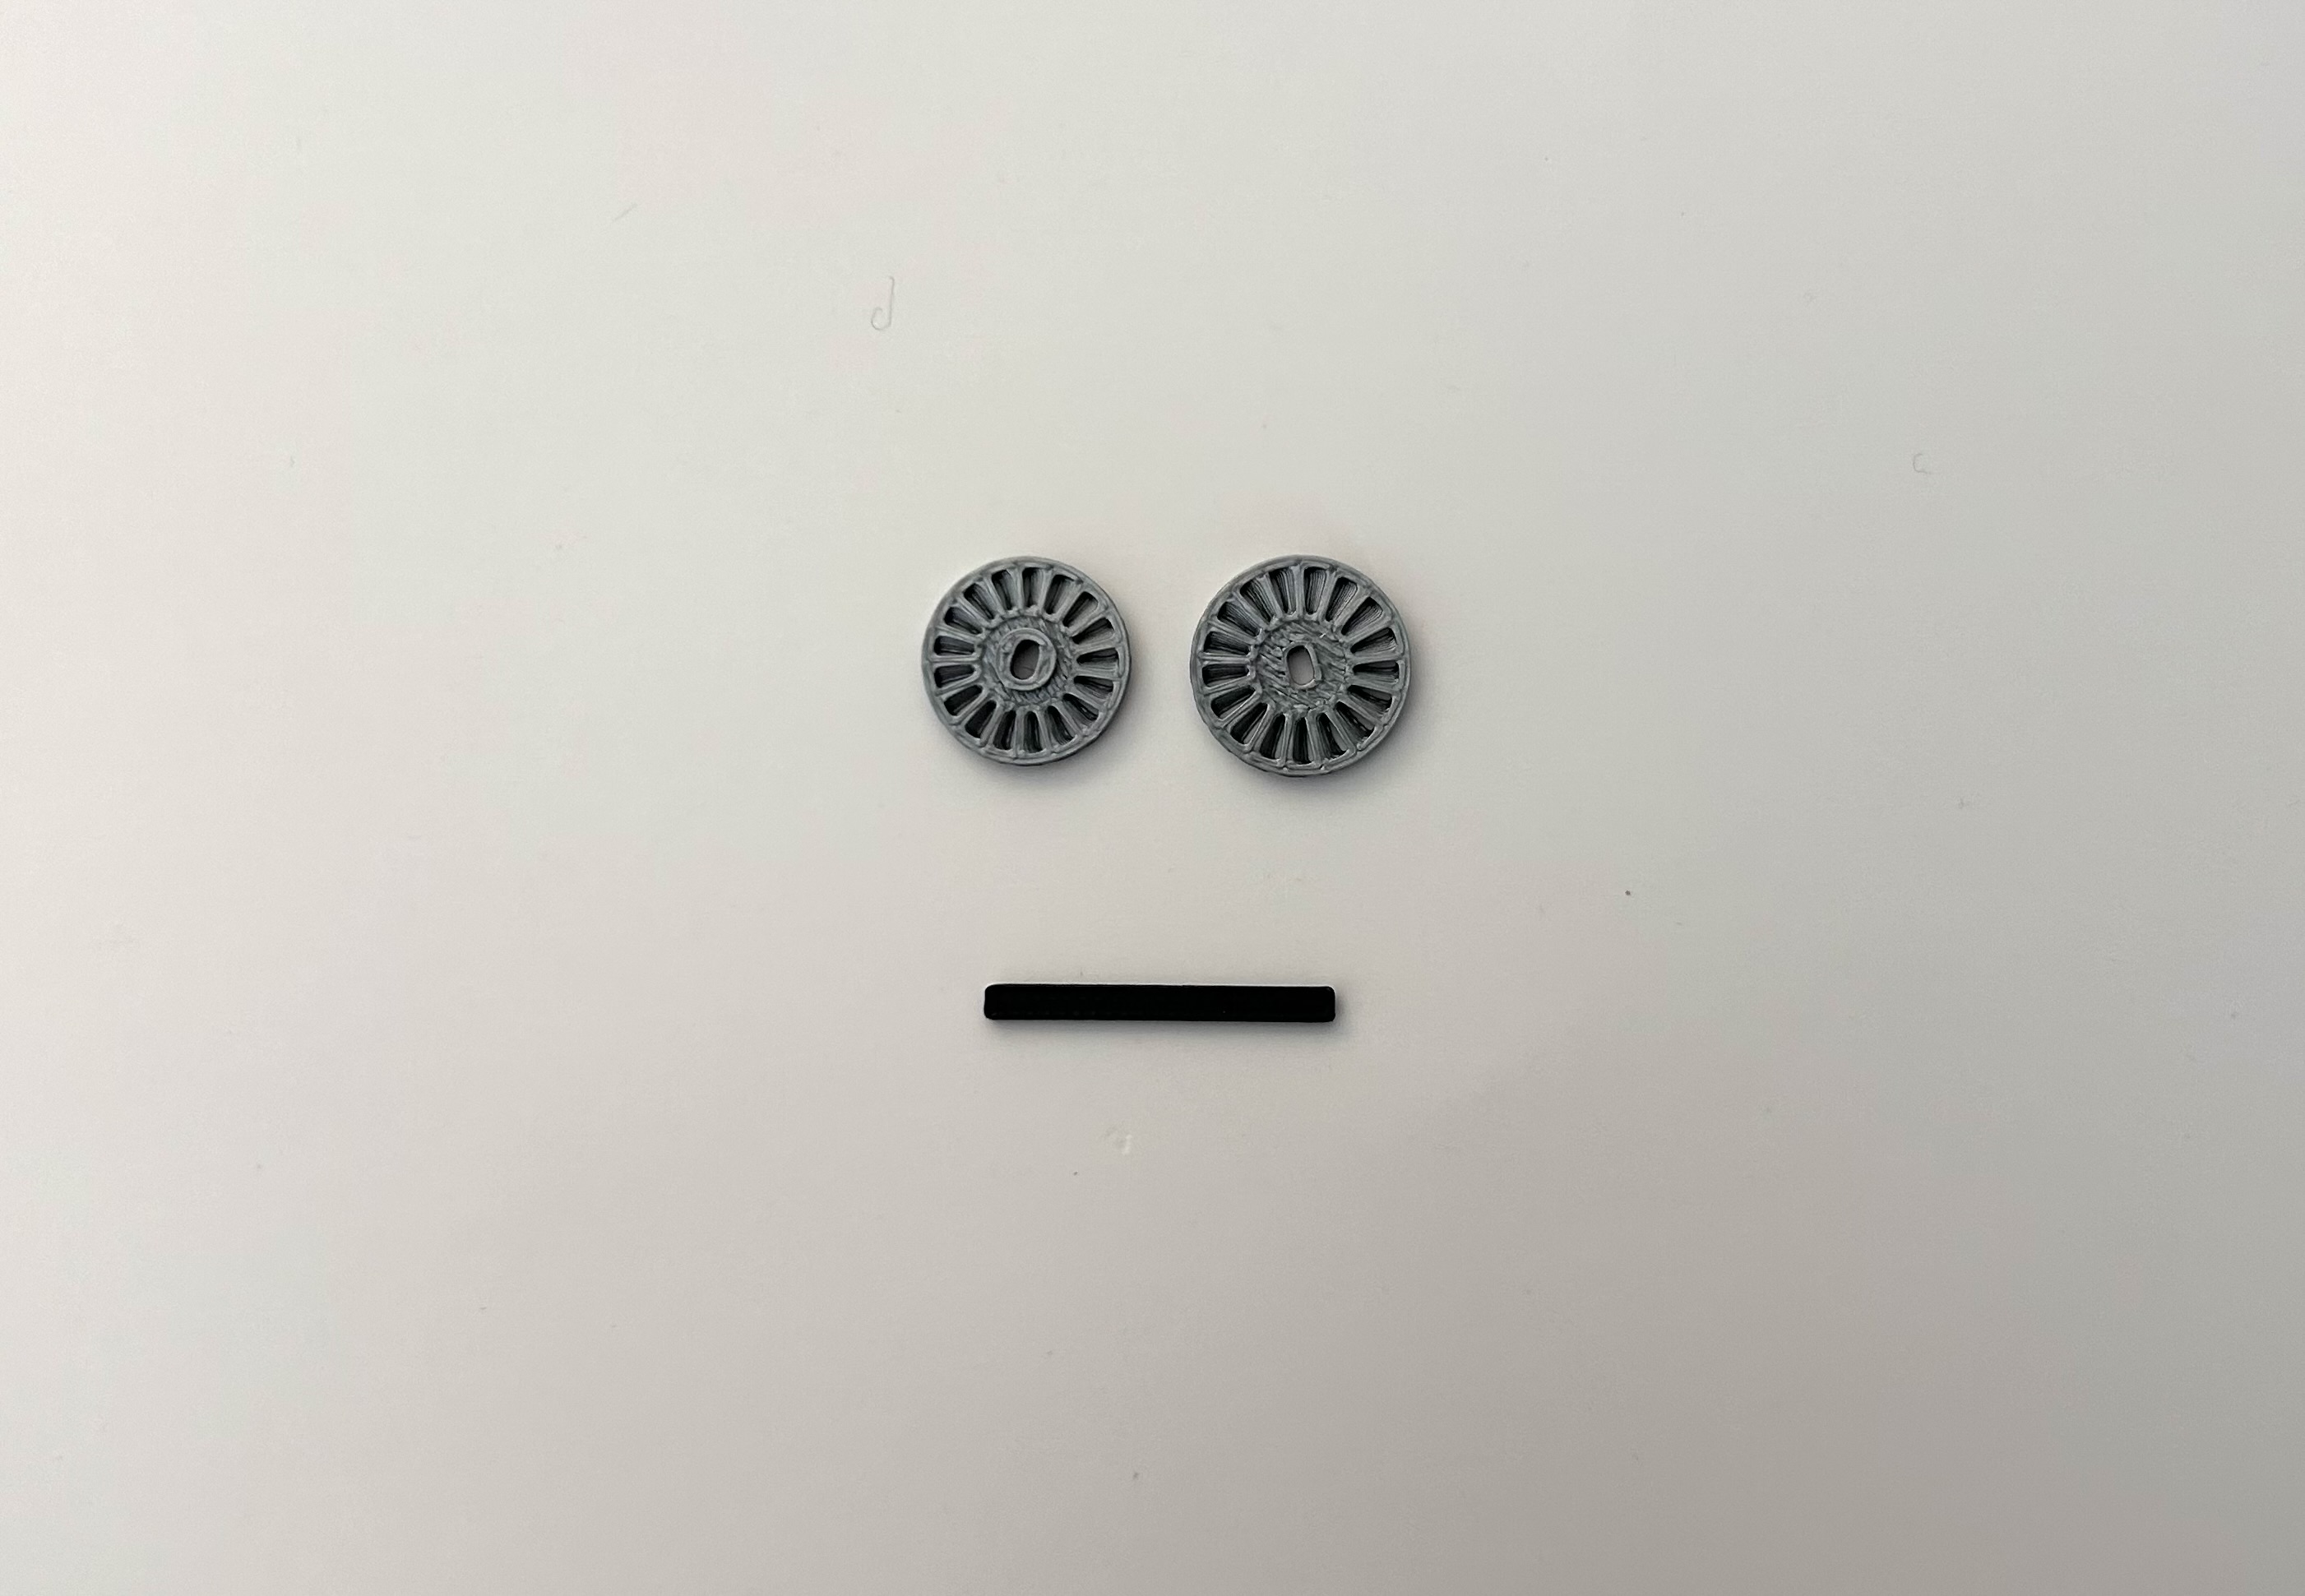
Gather the smaller shaft and the two power turbines as shown above.
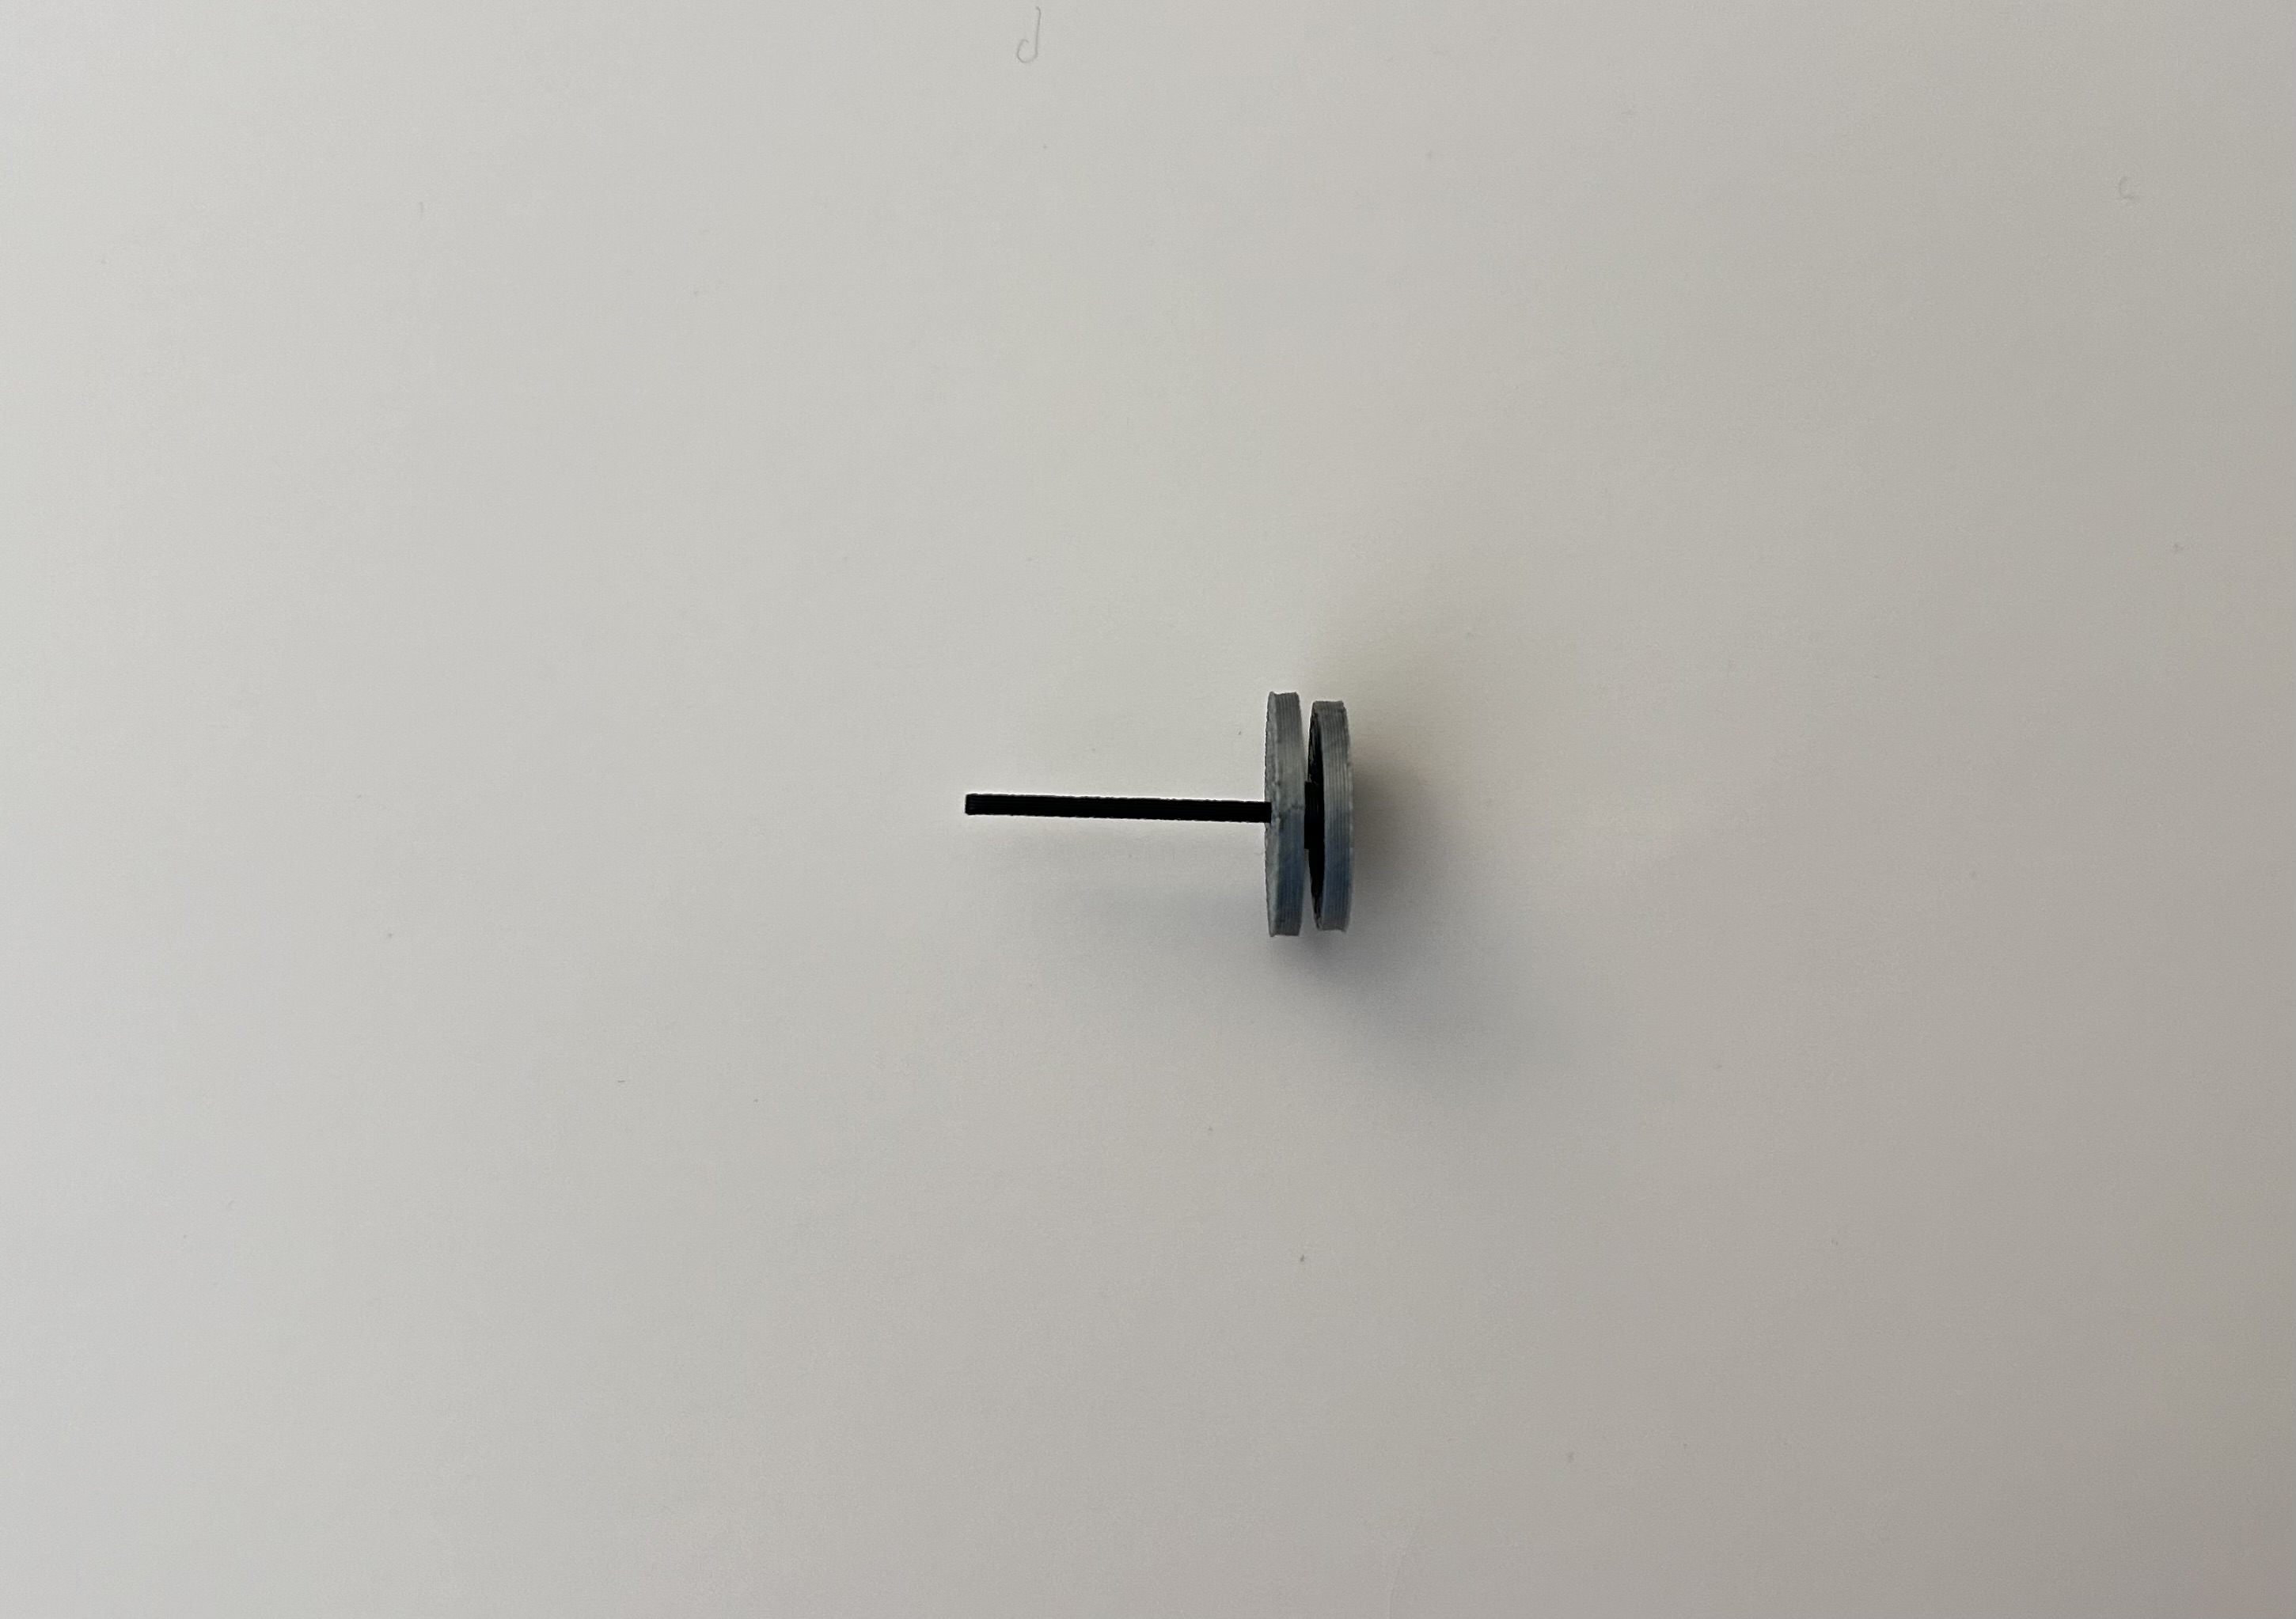
Place the one with the small extrusion on first, then the second one with the larger extrusion.
Set this aside.
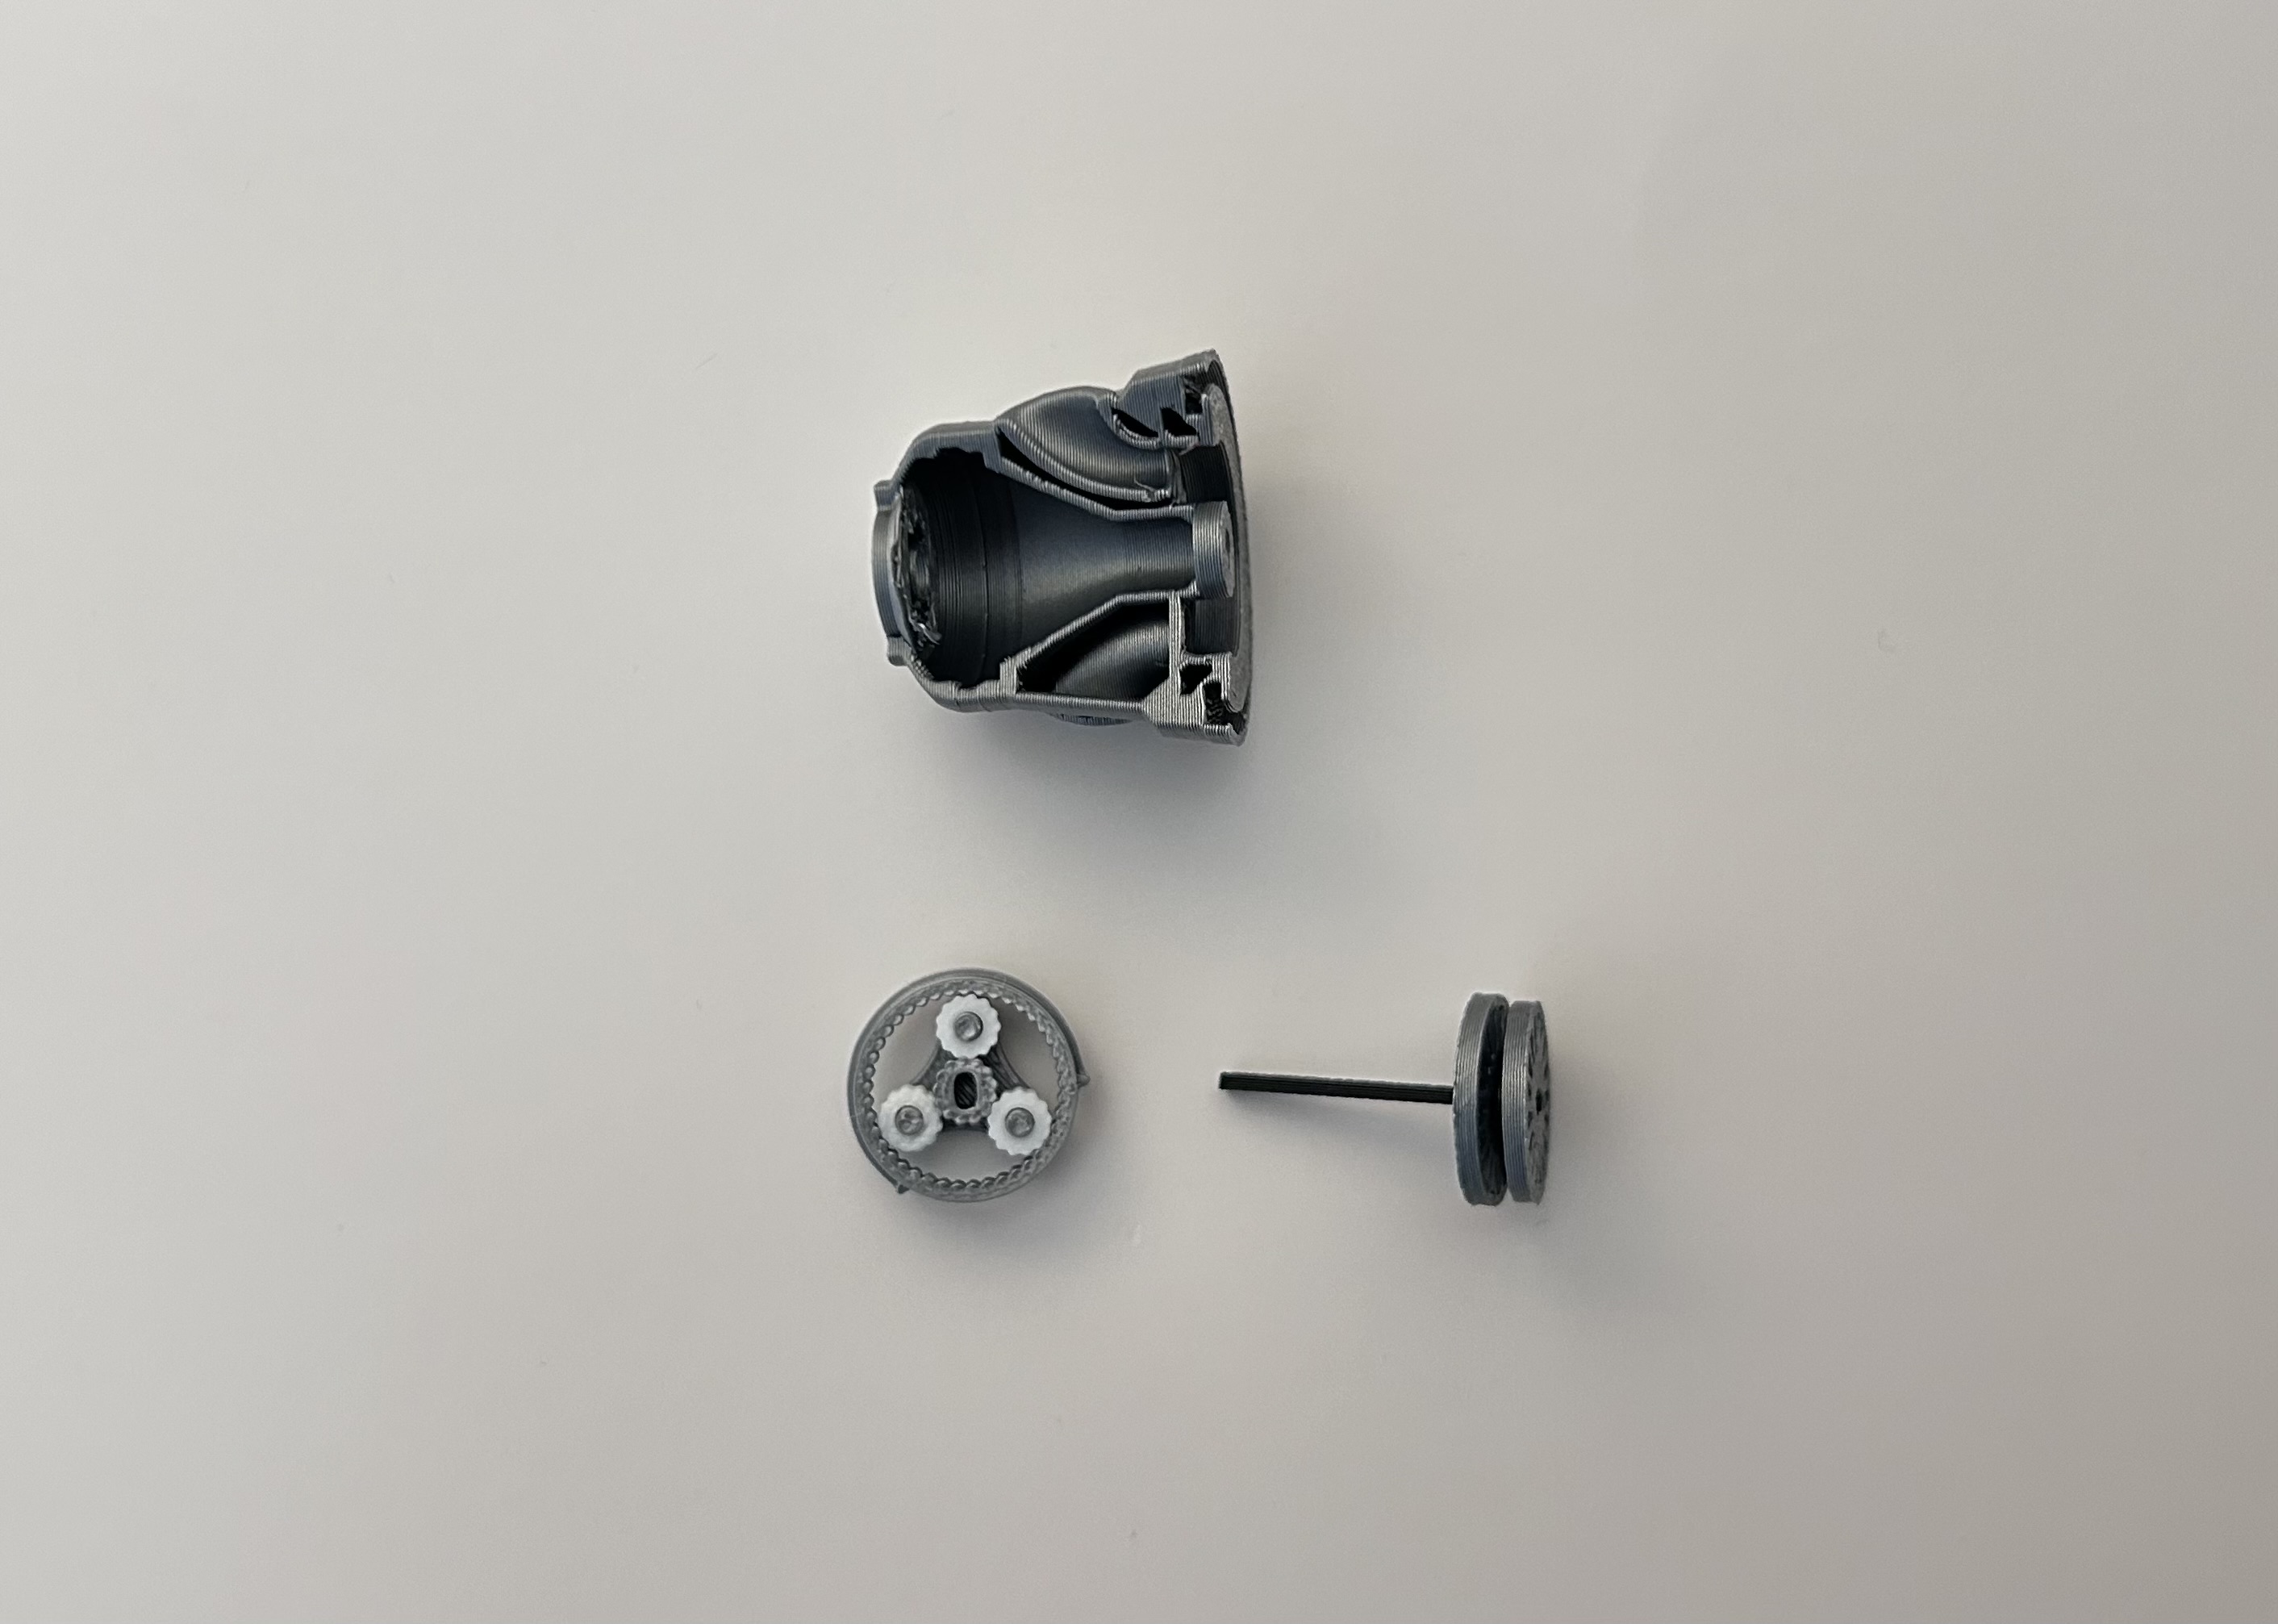
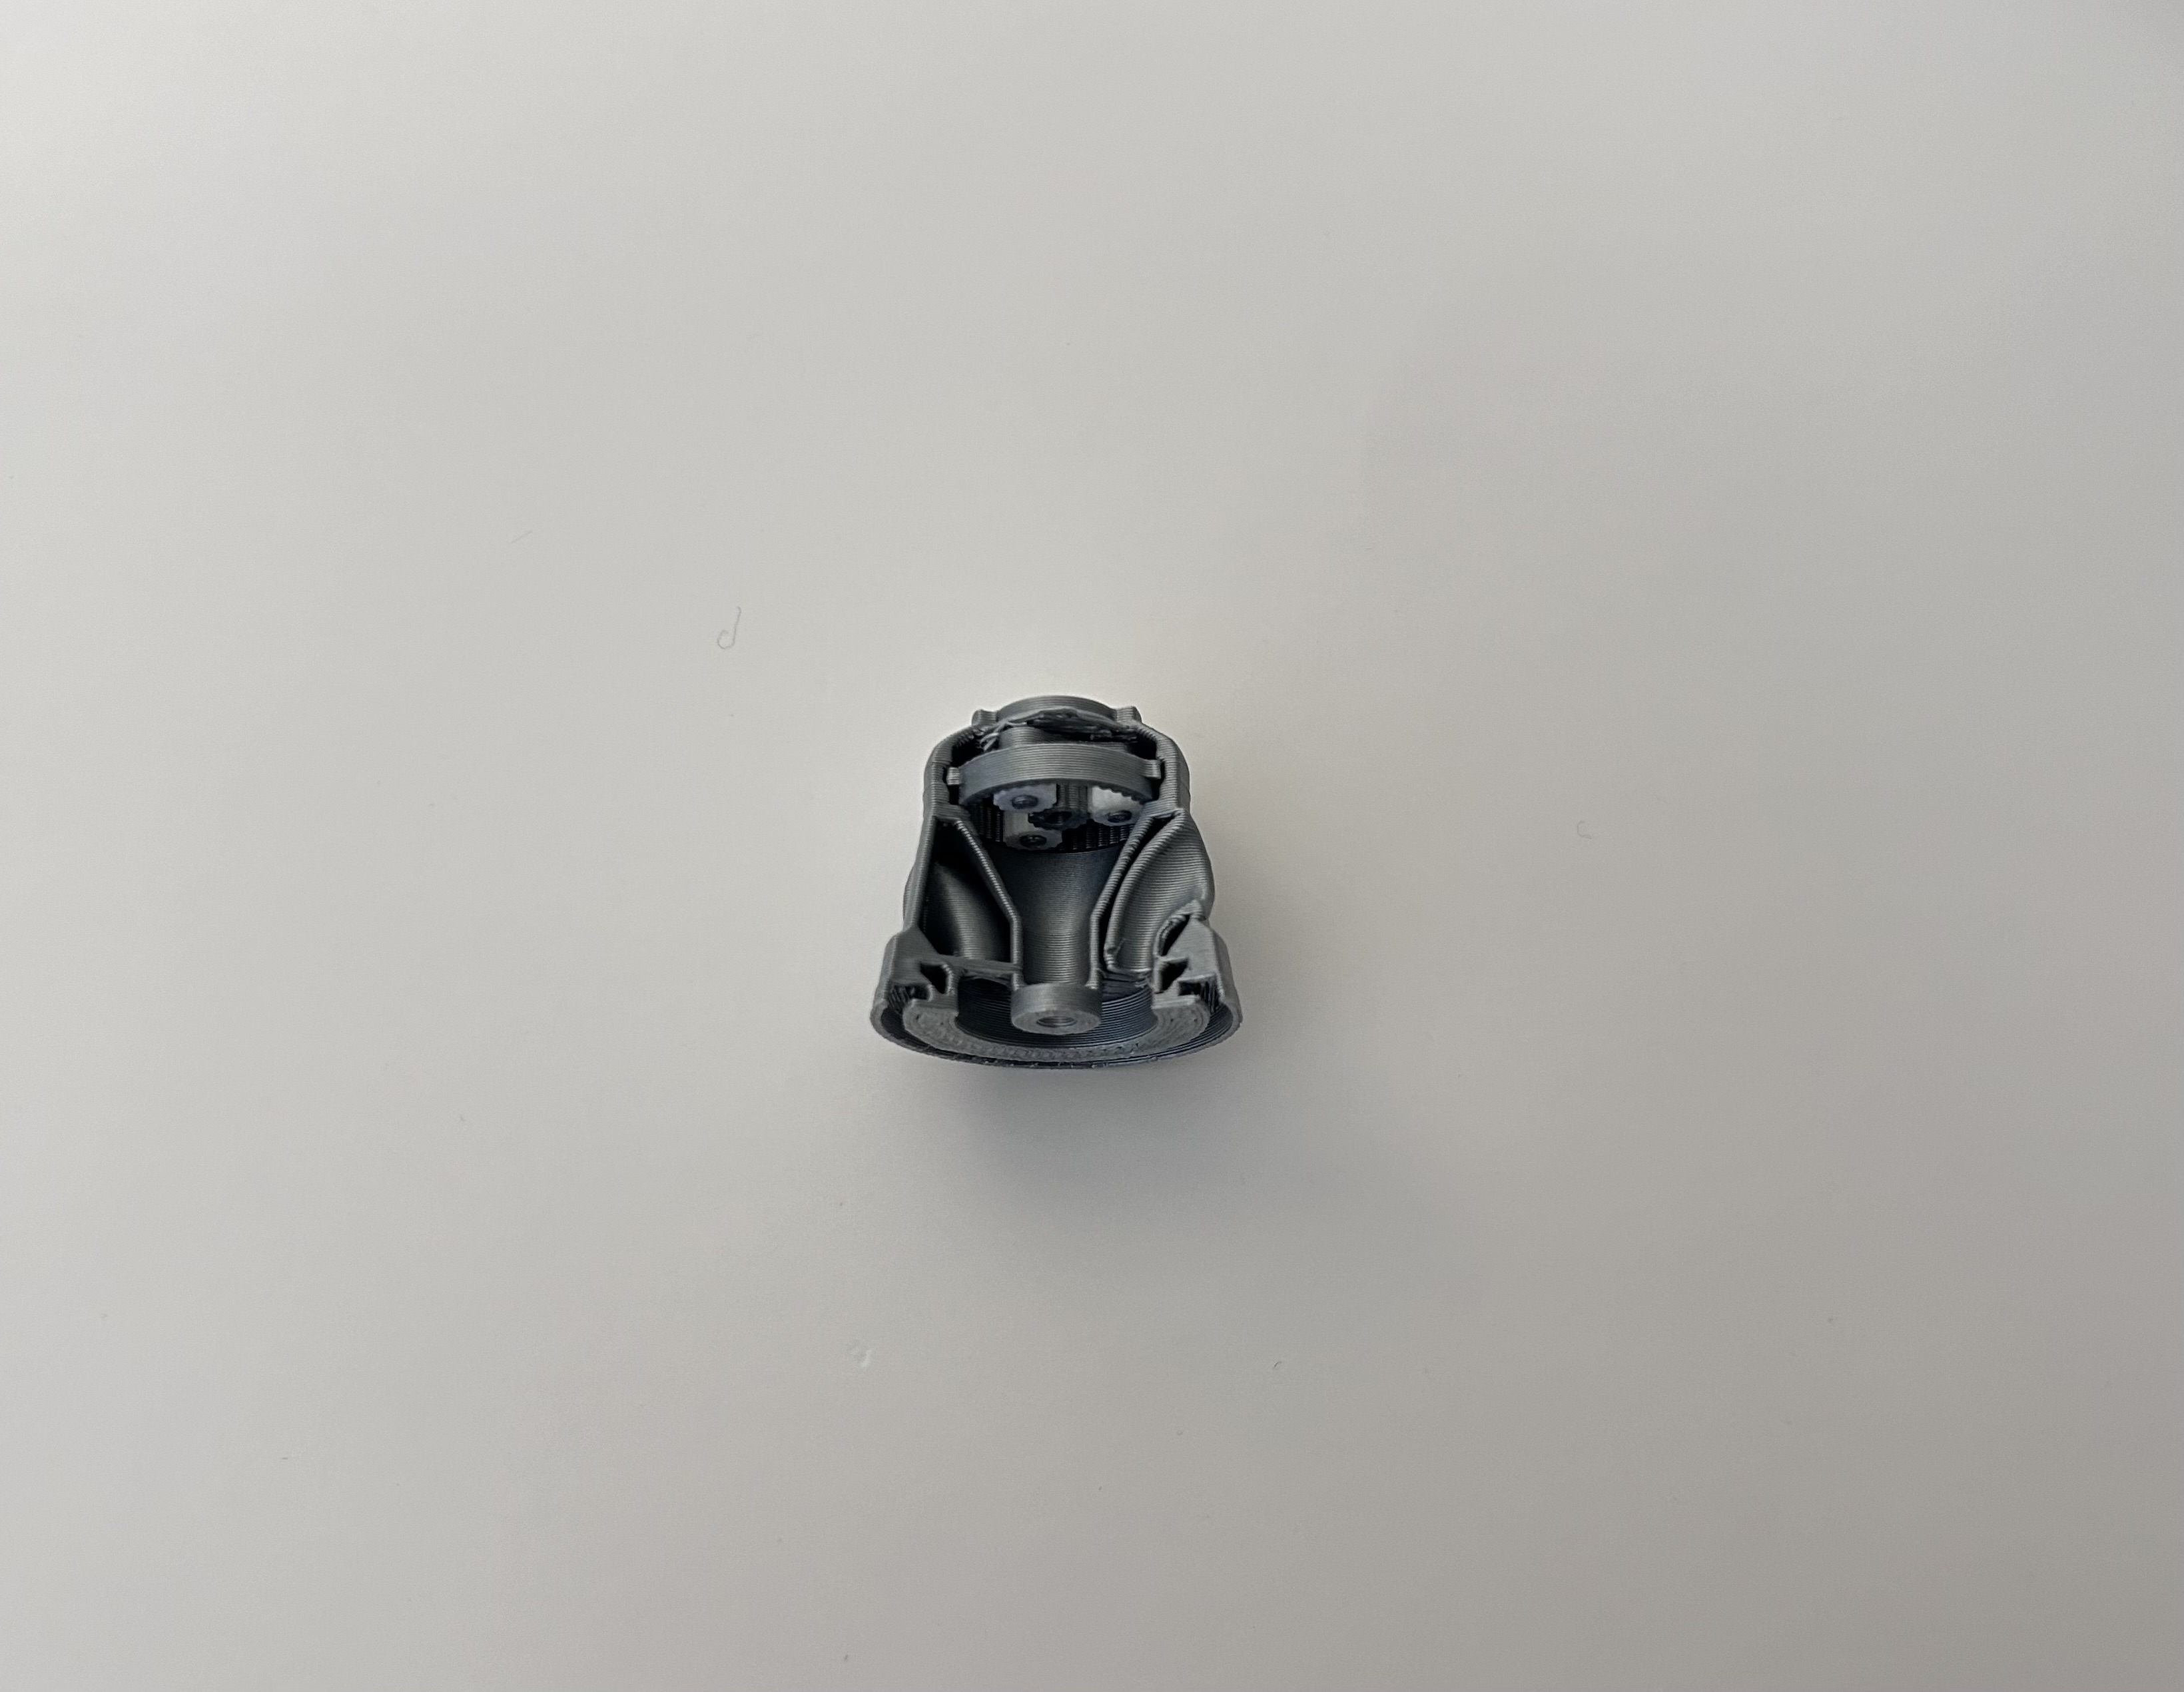
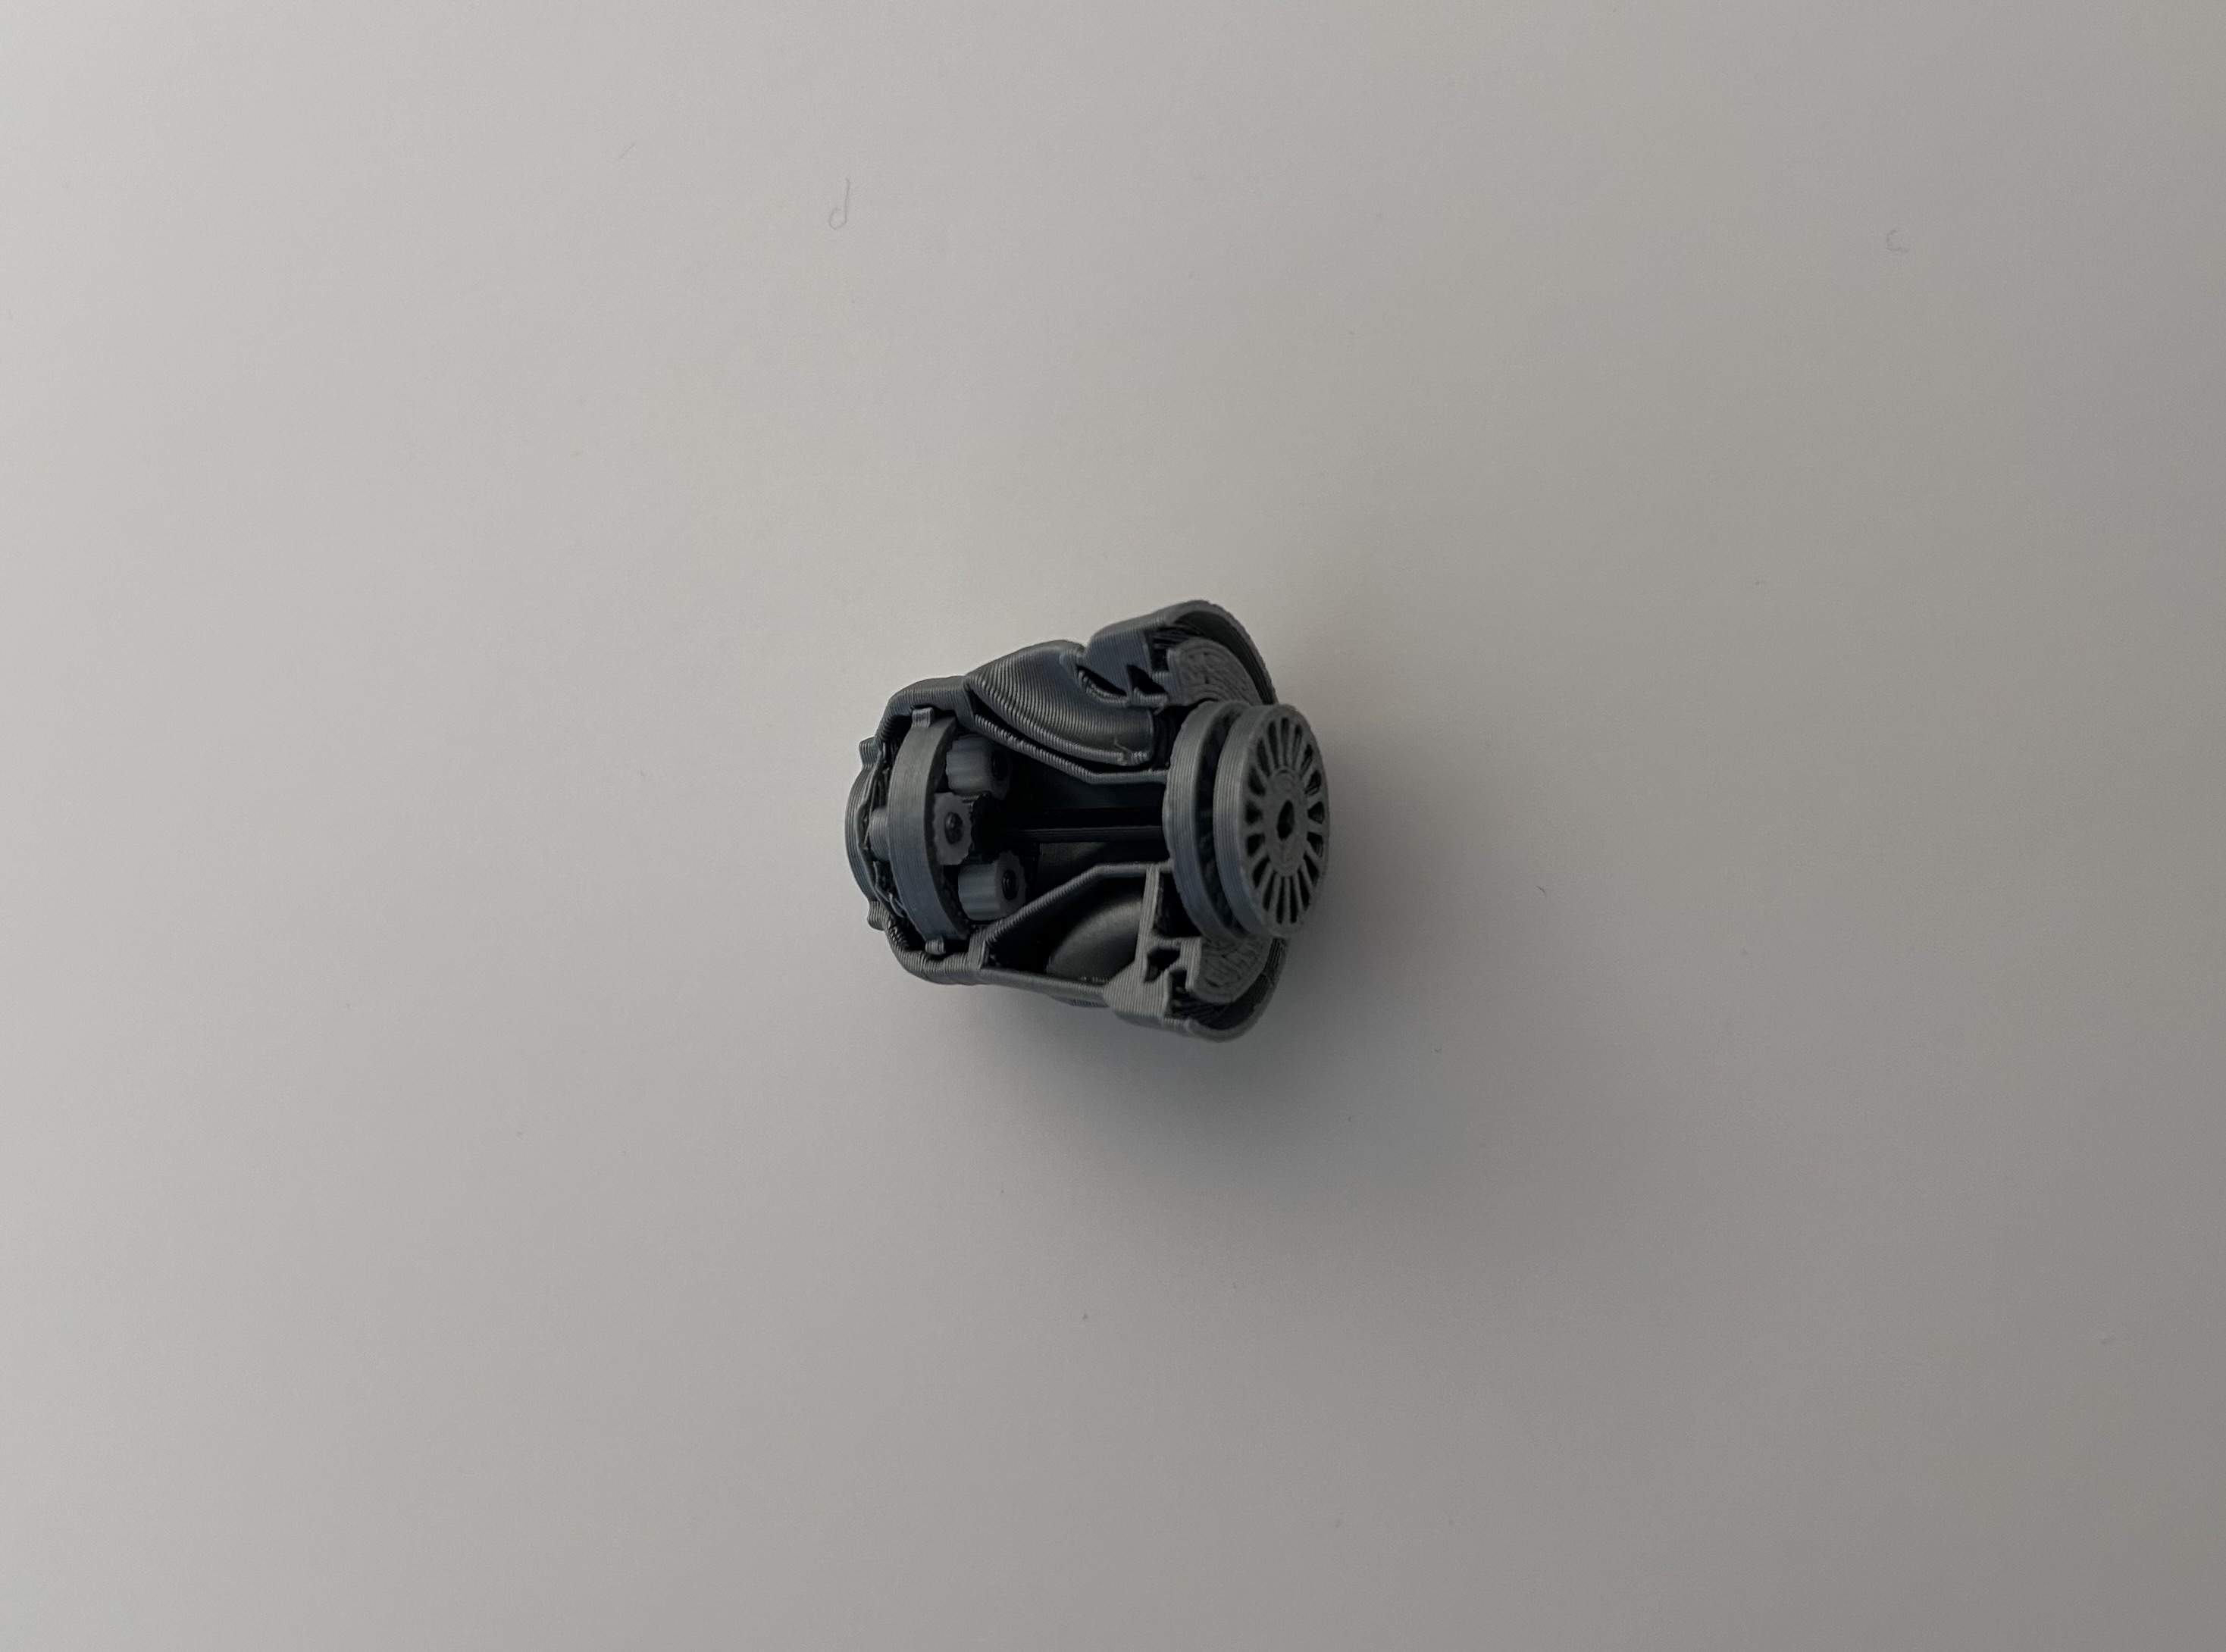
Step 4: Planetary gear assembly
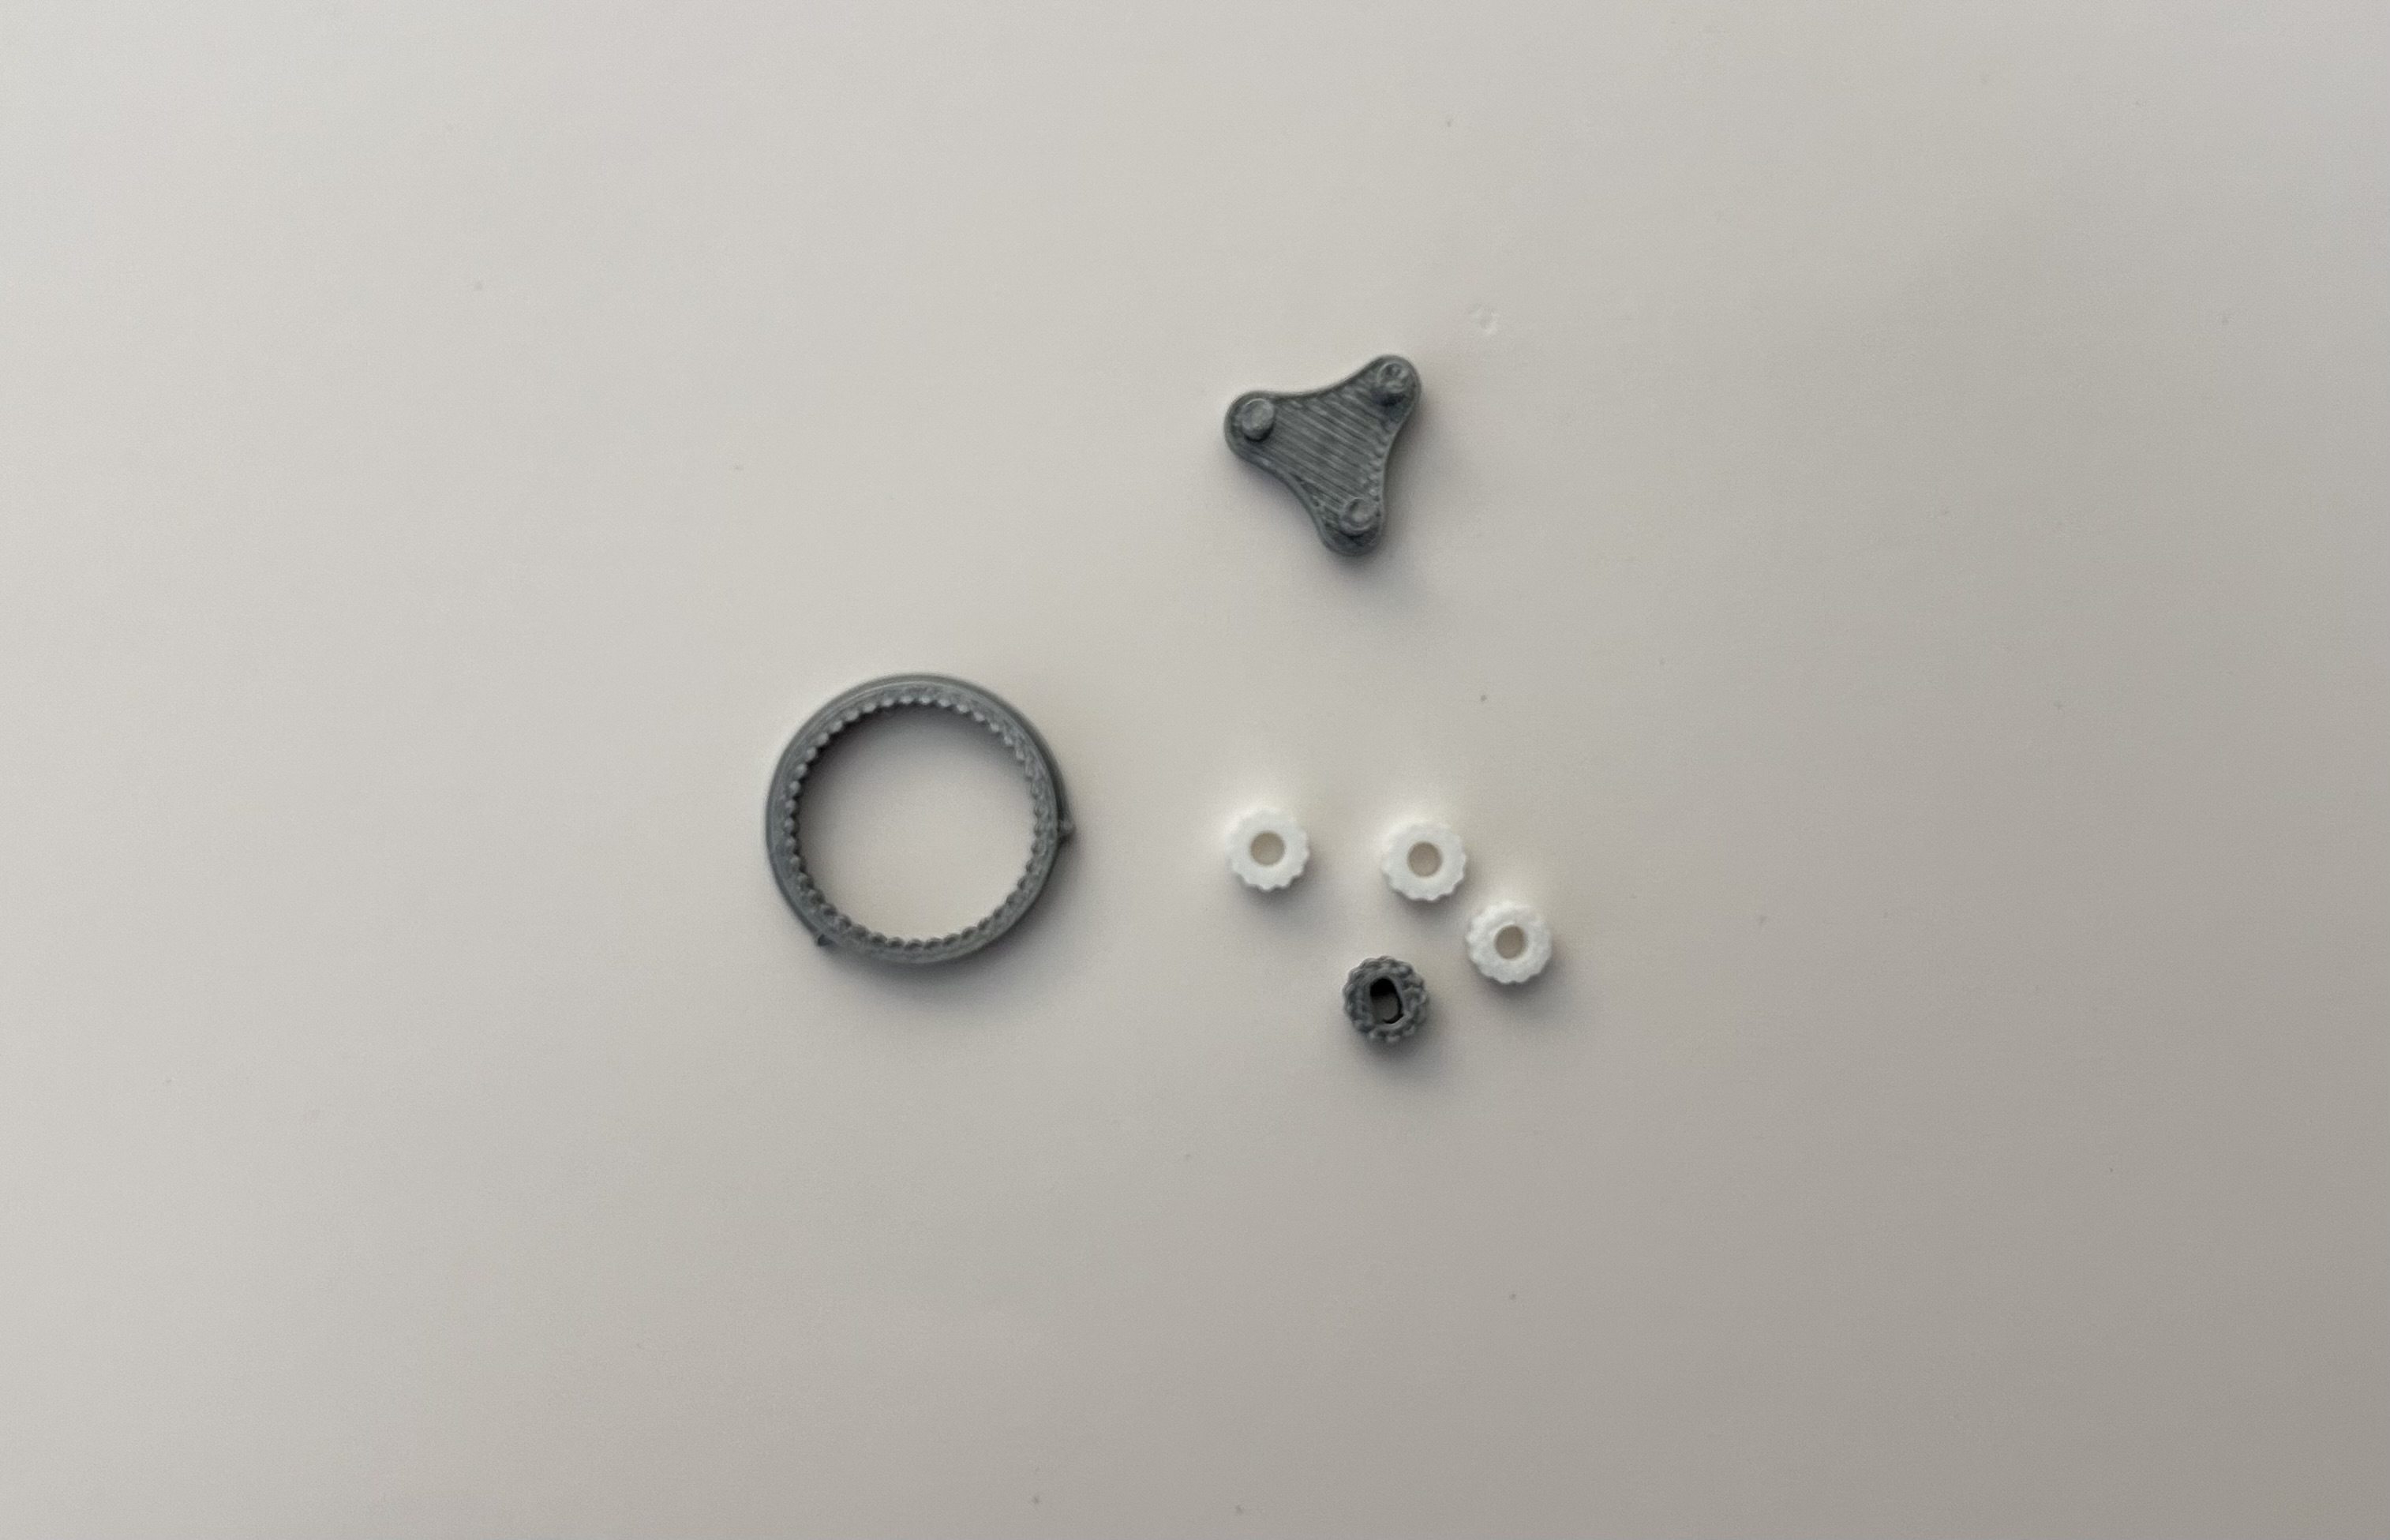
Gather the three planet gears (shown in white), the sun gear, the carrier and the outer gear.
Place the three planet gears on the carrier first, and slide the sun gear in the middle.
This is tidious but the do align. Tweezers help for easy assembly.

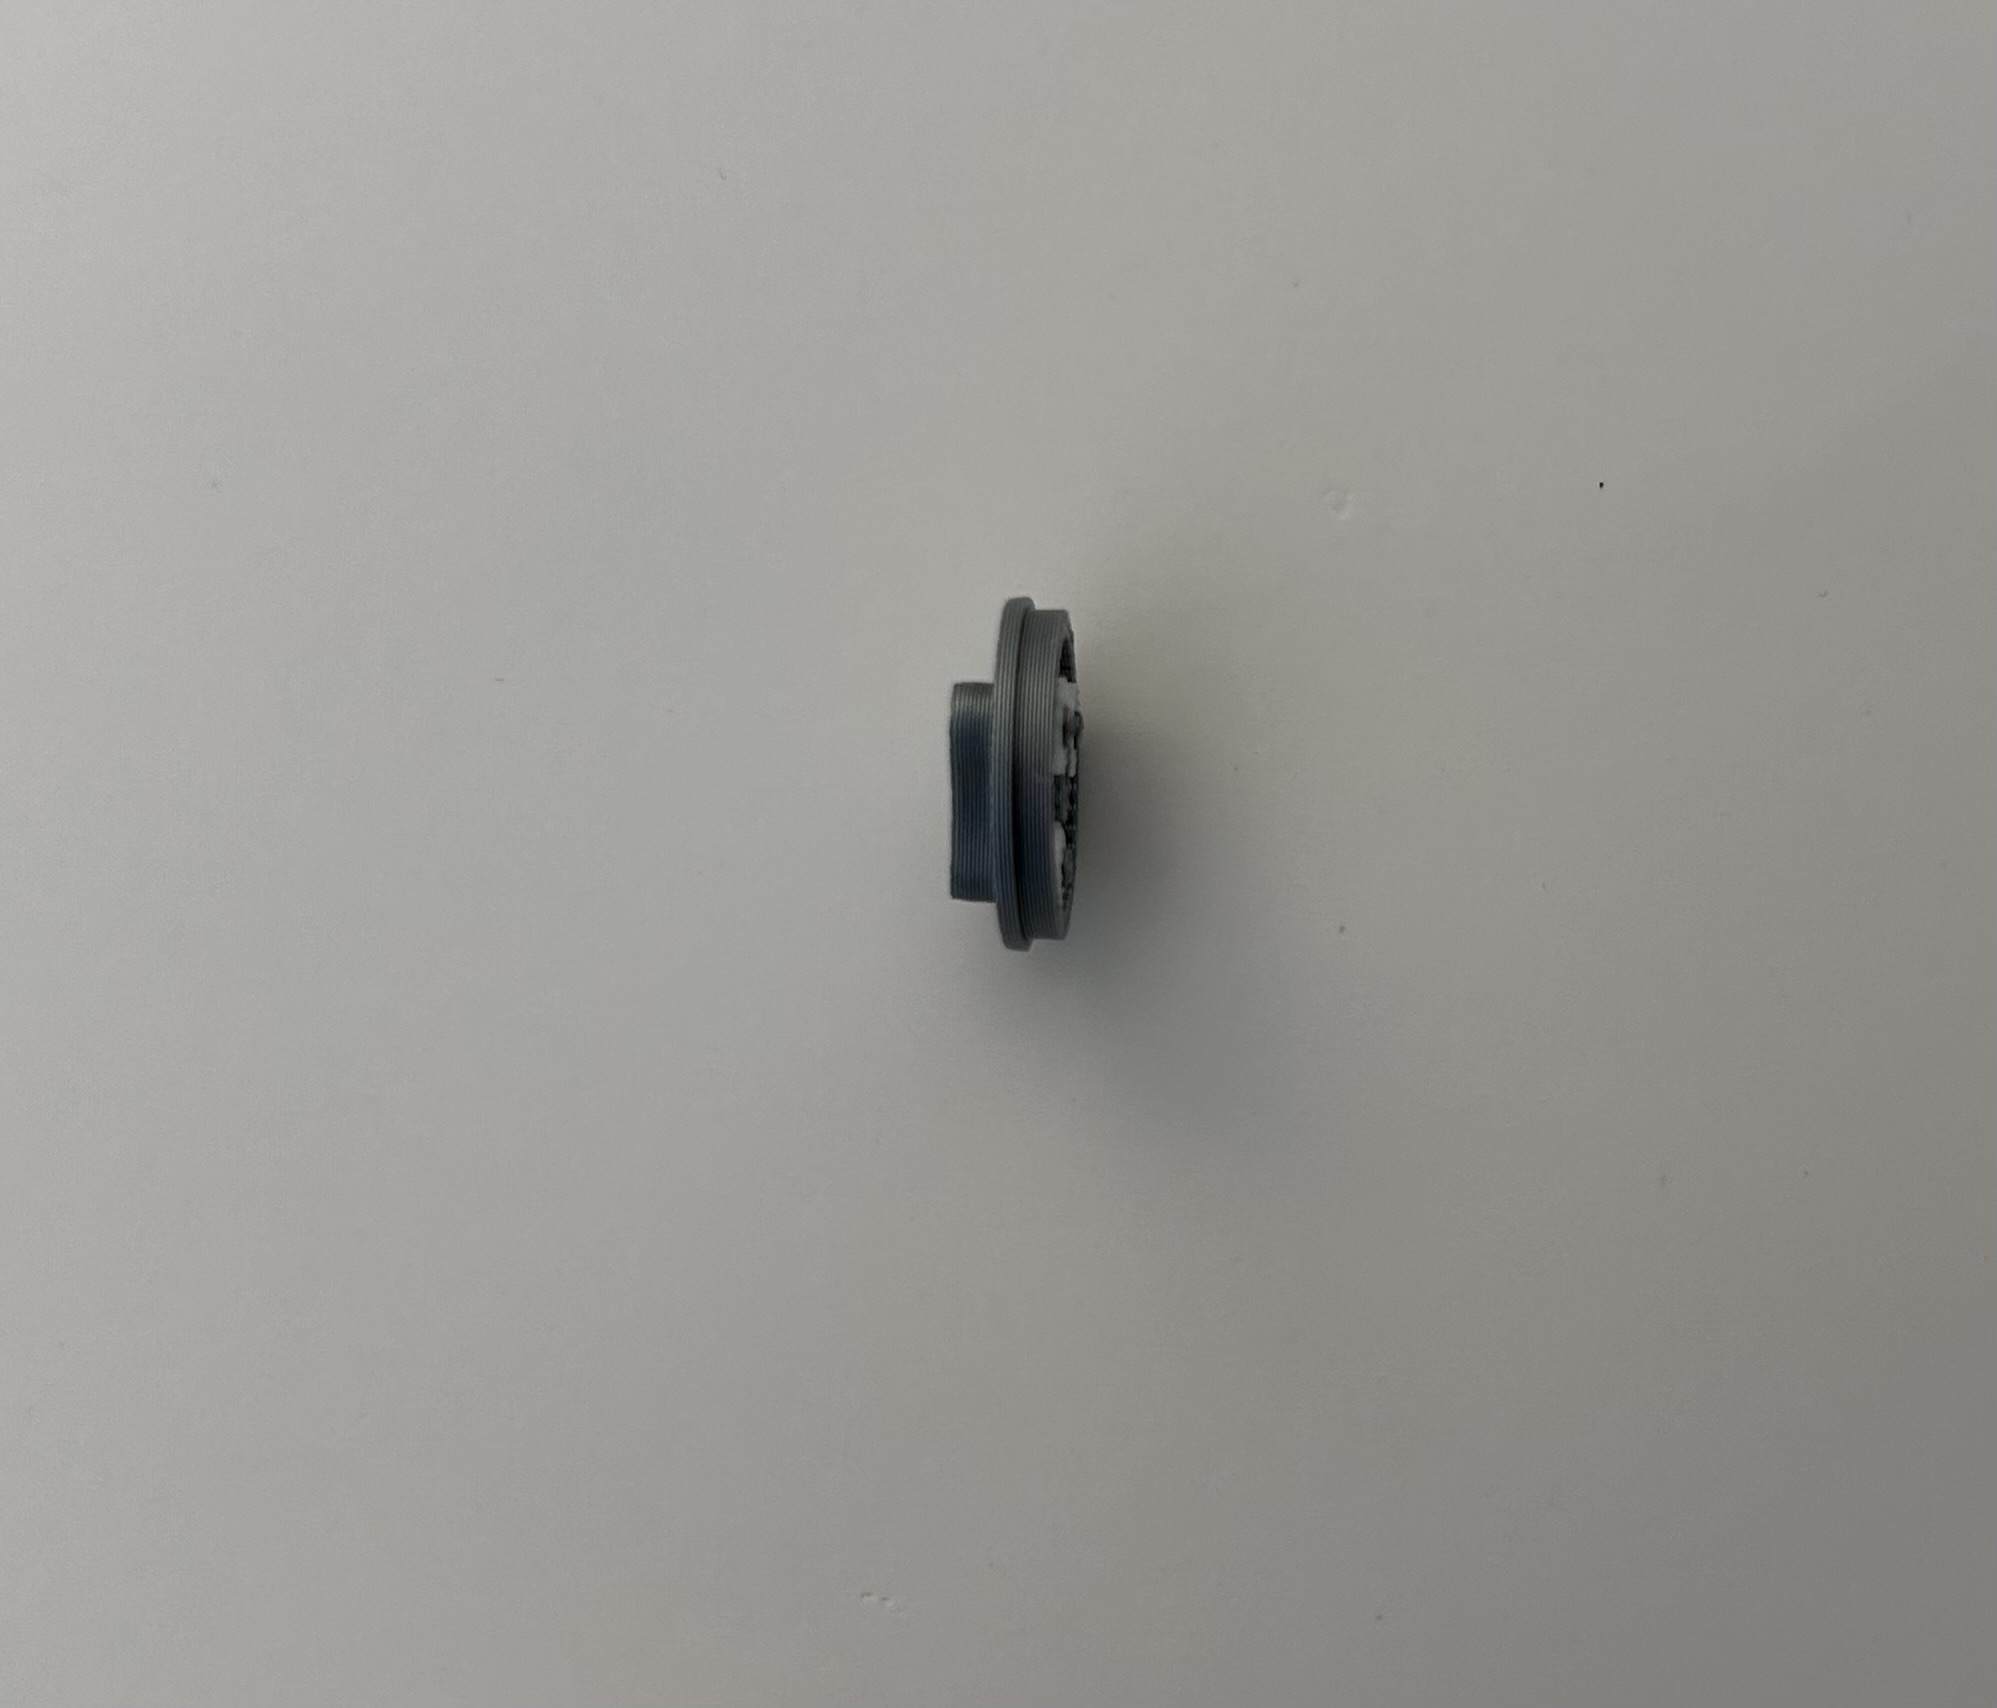
Now slide that assembly into the larger outer gear.
The carrier should face out with the notch on the outer gear as shown below.
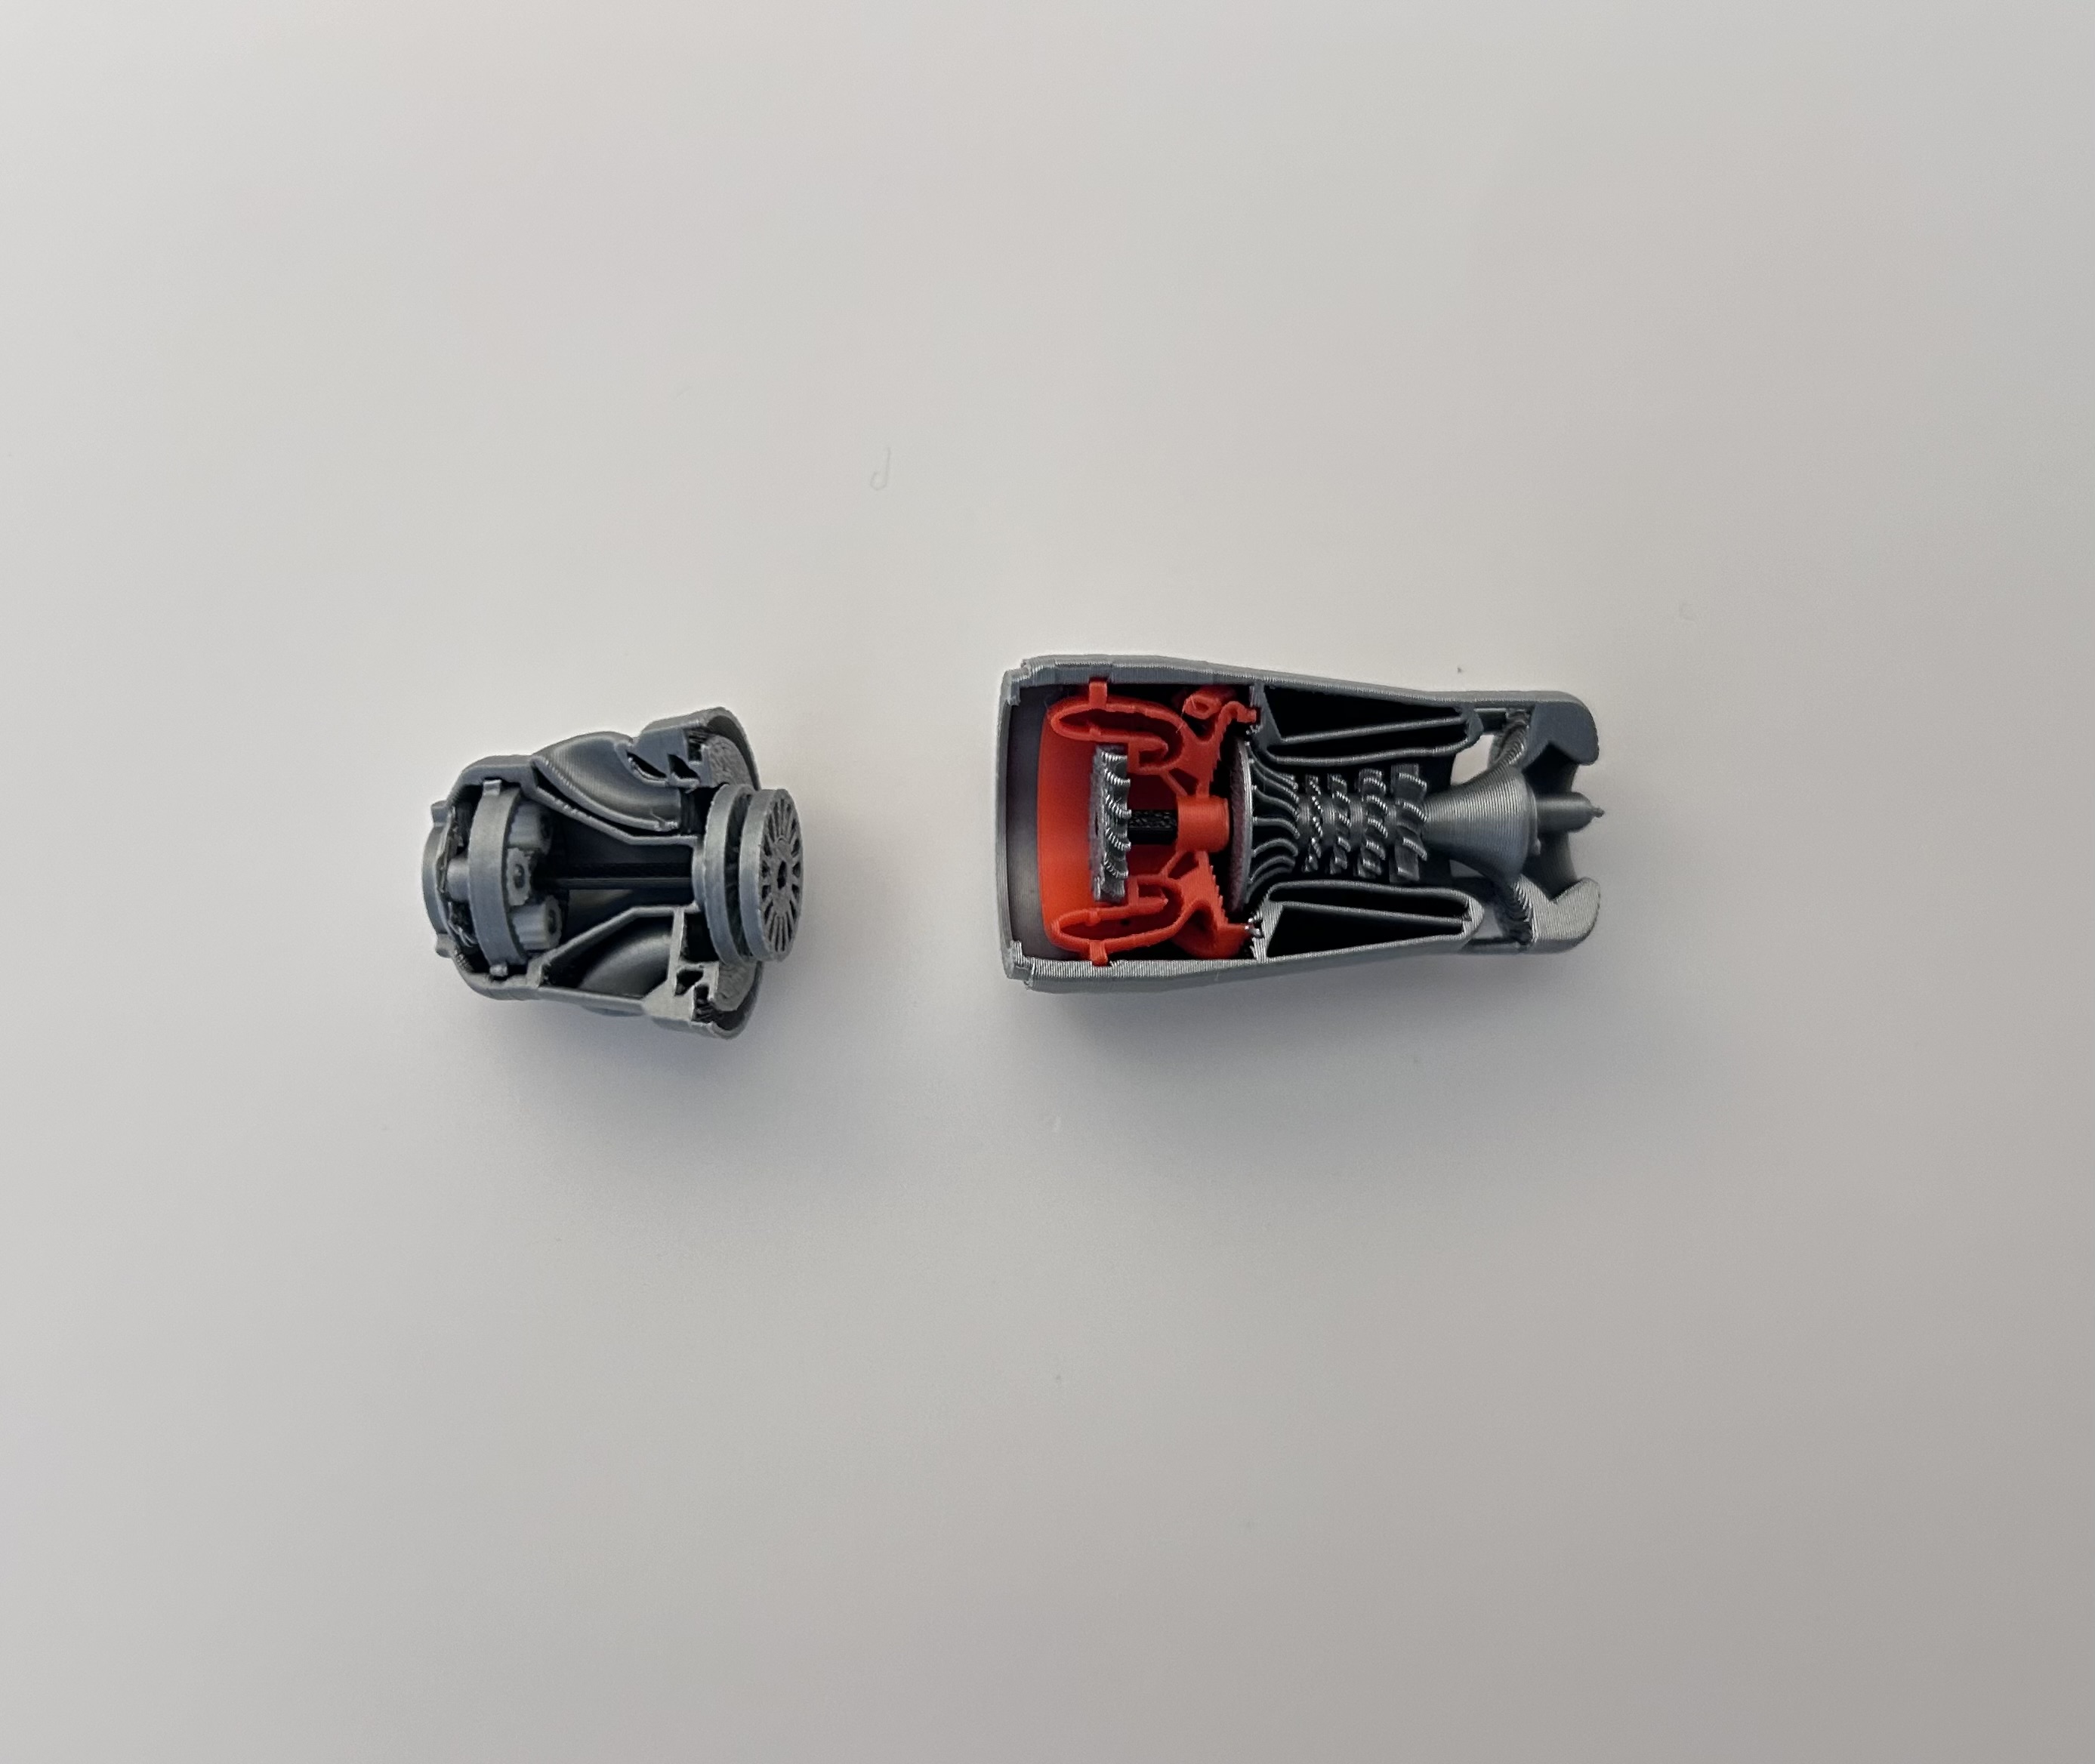
Step 5:
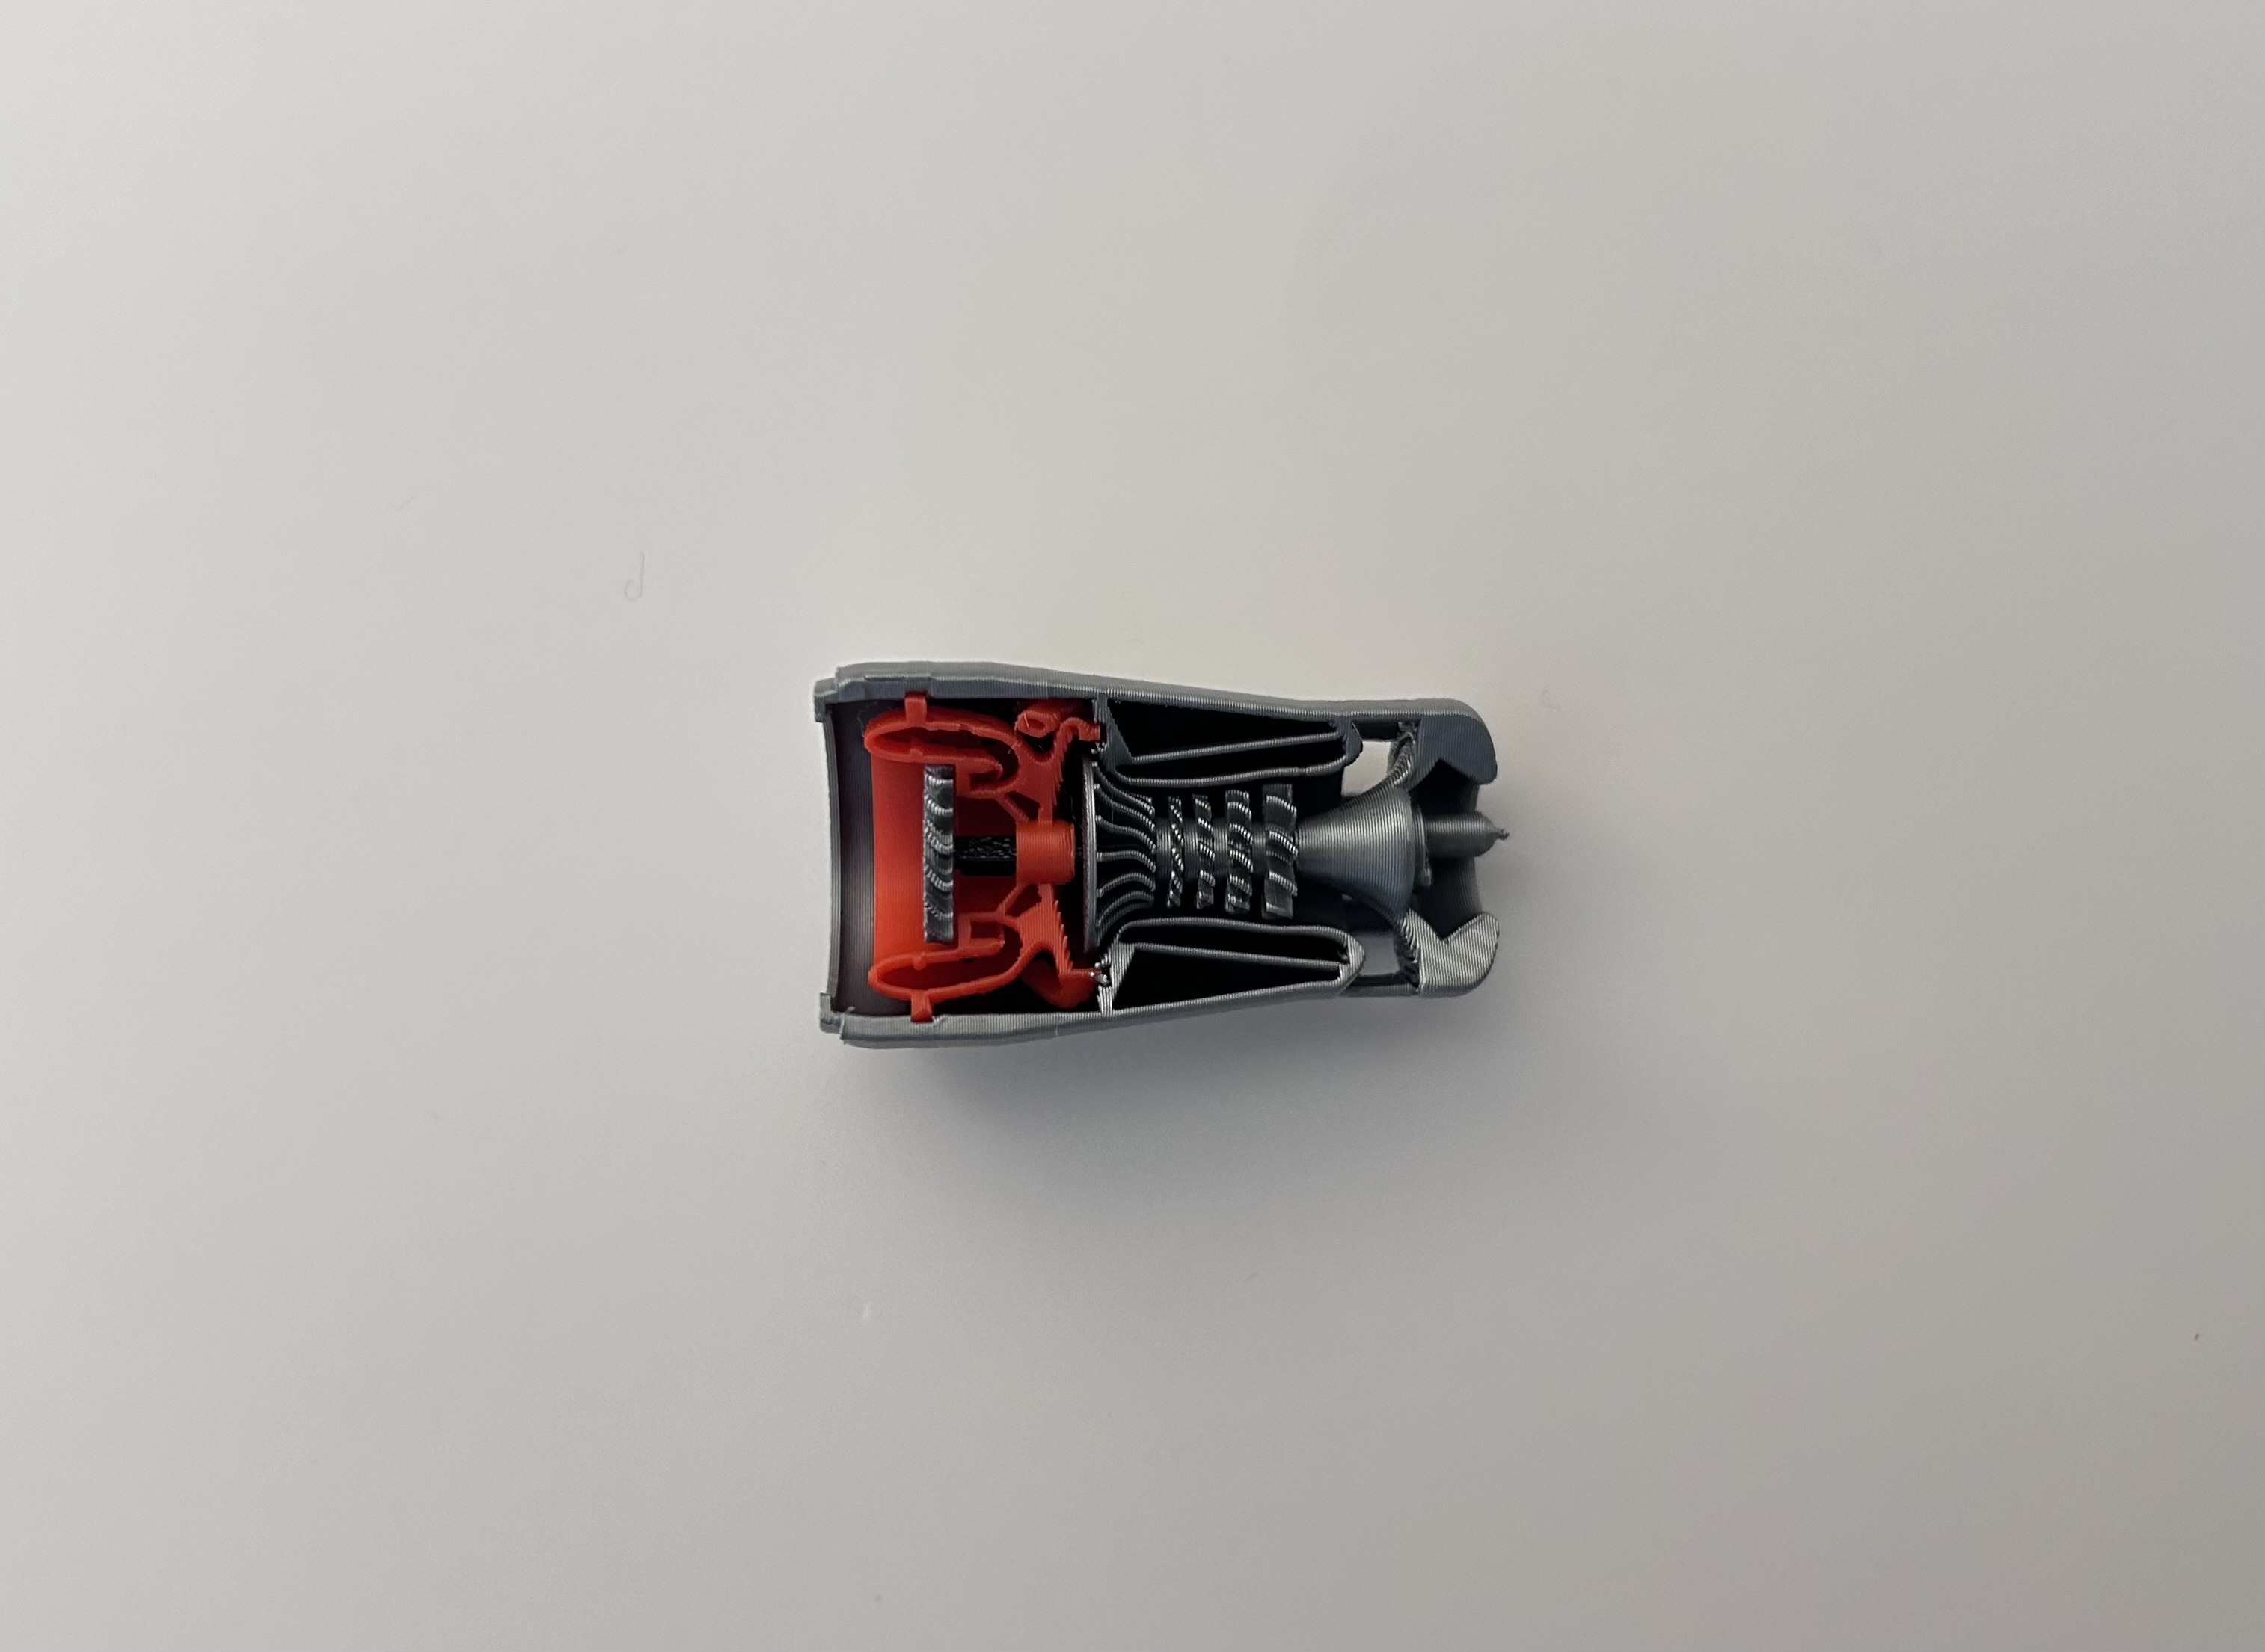
Take the result from step 1, and the back half of the body.
Insert the end of the shaft into the hole at the back of the body as shown below.
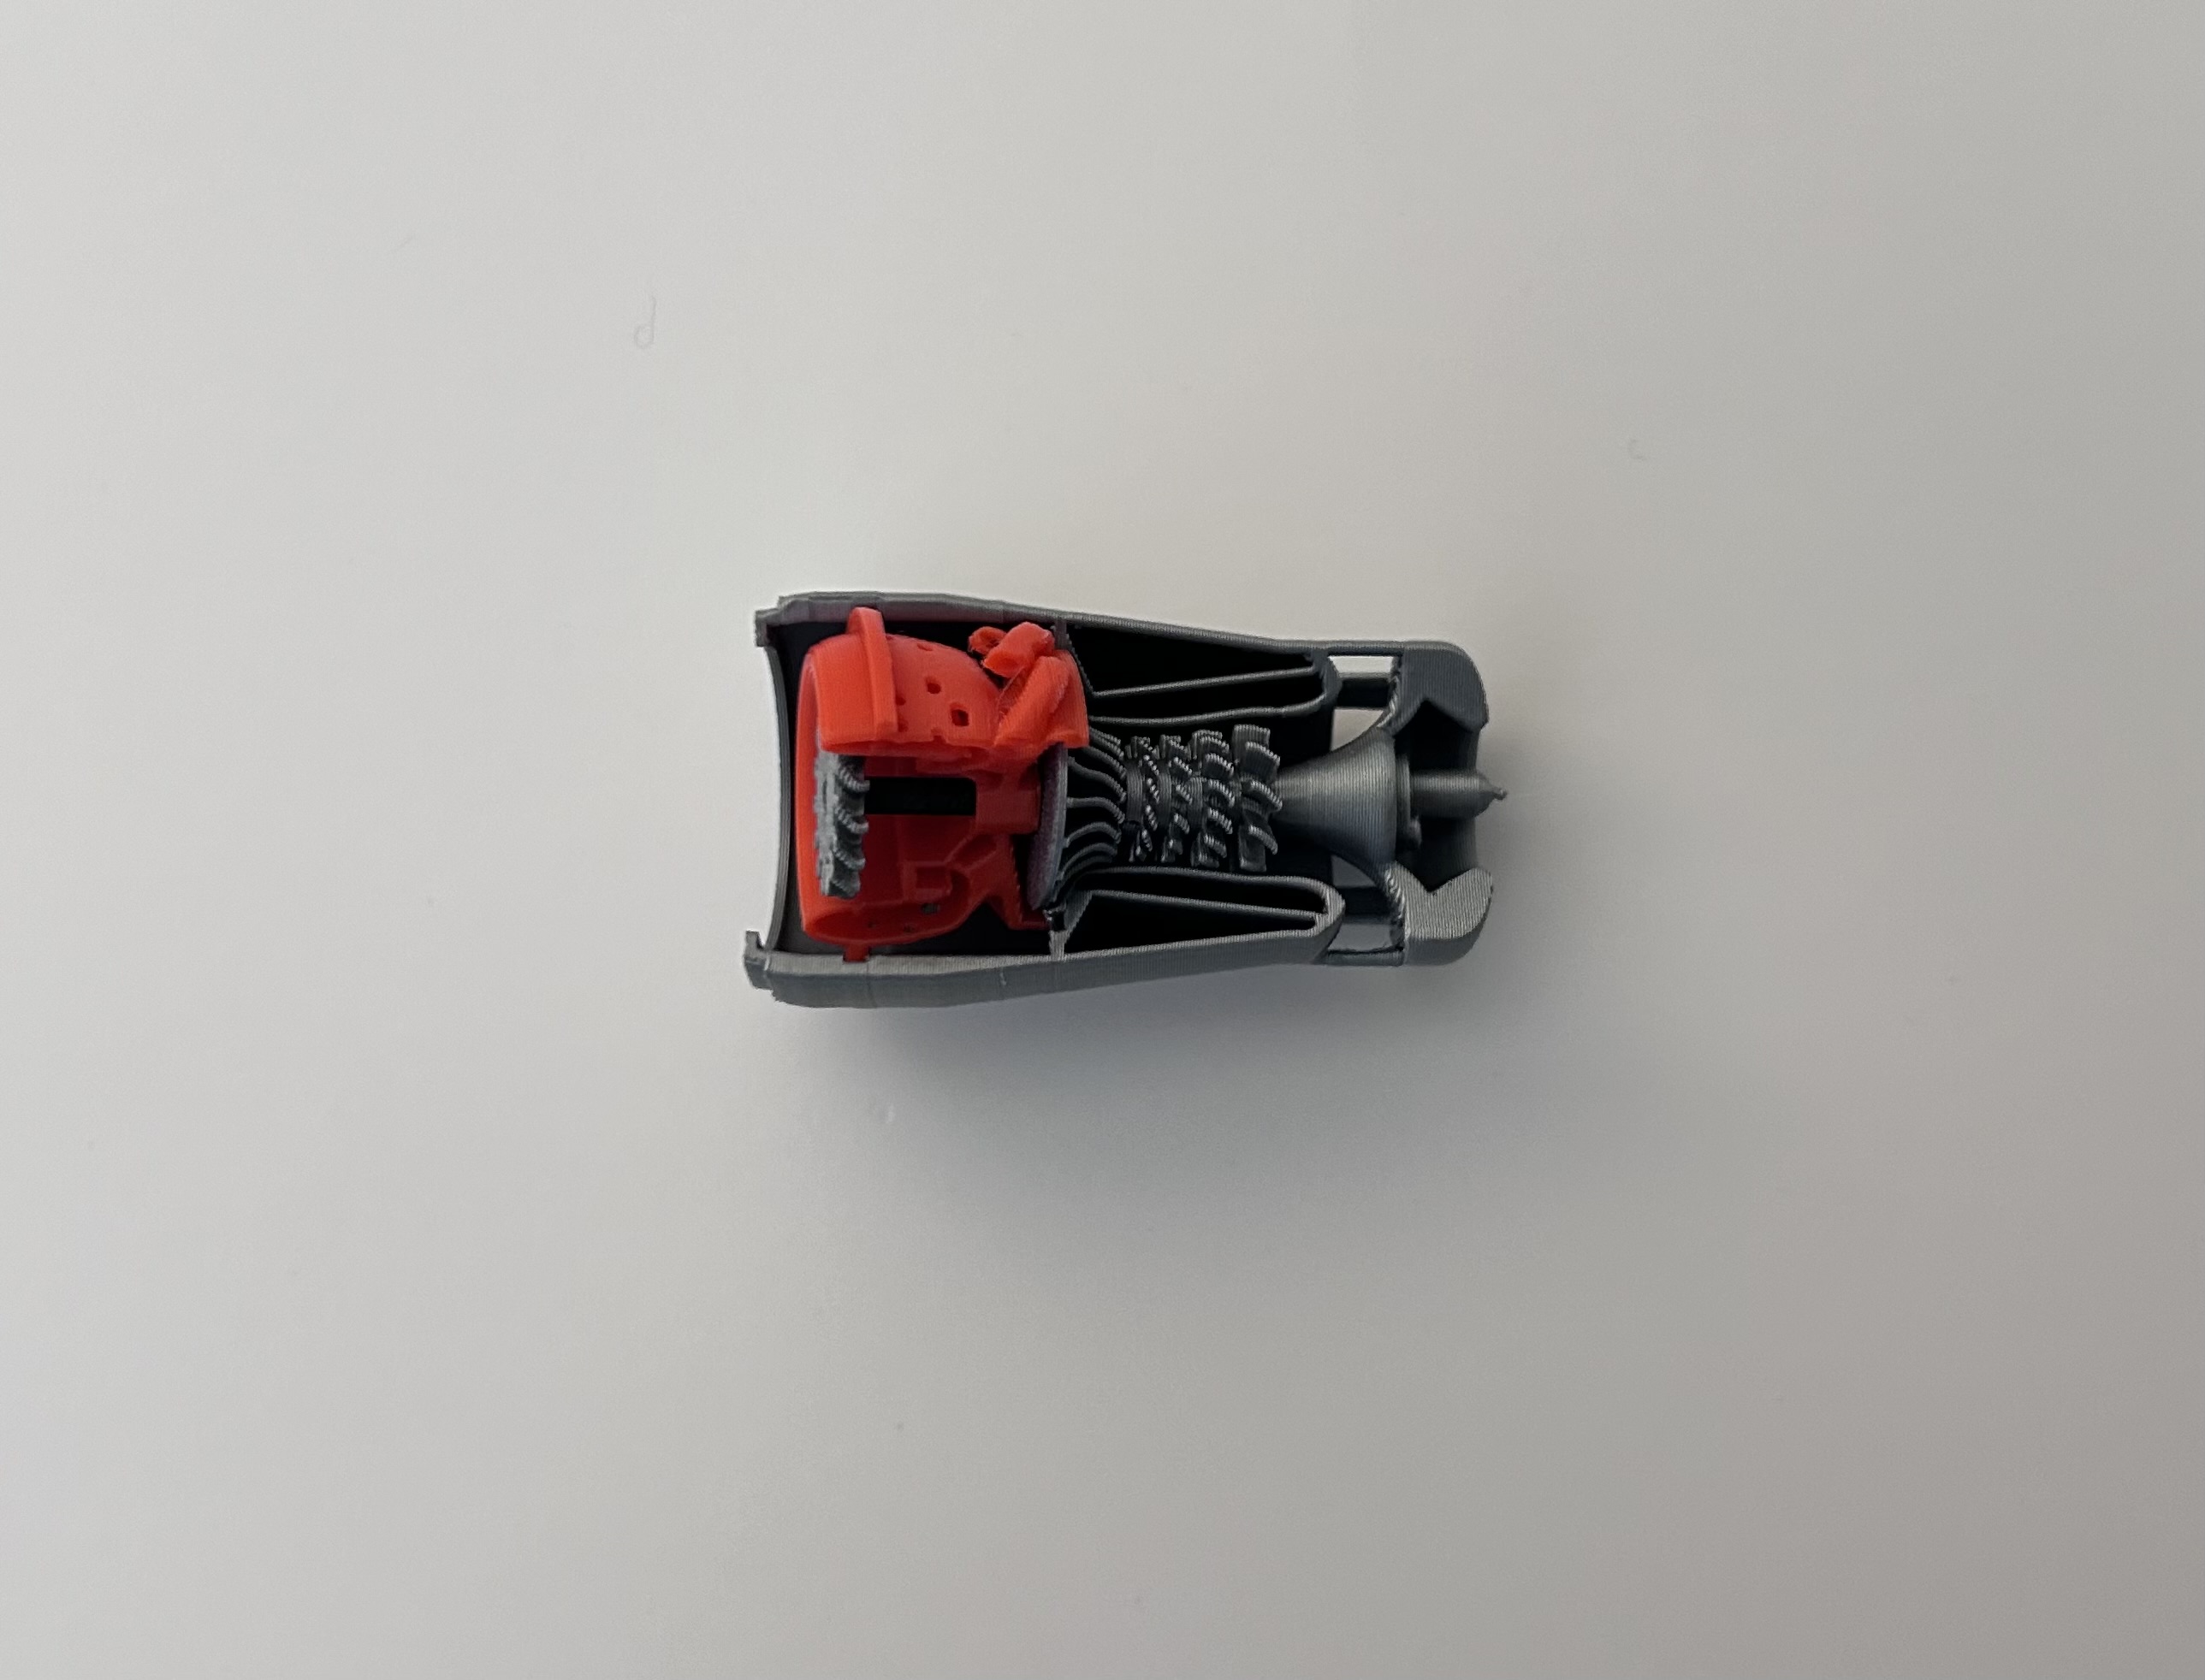
With a twisting motion and slight pressure downwards, the combustion section should snap into place and align with the notches in the body. Result is below.
Step 6:
Take the parts from the third and fourth step along with the front half of the body.
First pop the outer gear into the front of the body, the two notches on the outer gear should prevent it from rotating once inside.
The carrier gear faces the front.
Result shown below.
Lastly slide the shaft into the sun gear making sure to go through the hole in the body.
Result below.
Step 7:
Now take the front half and the back half and align the grooves on each end.
Rotates them into each other as shown below, it will take a little force but not to much.
This can be hard if the supports are not taken out fully.
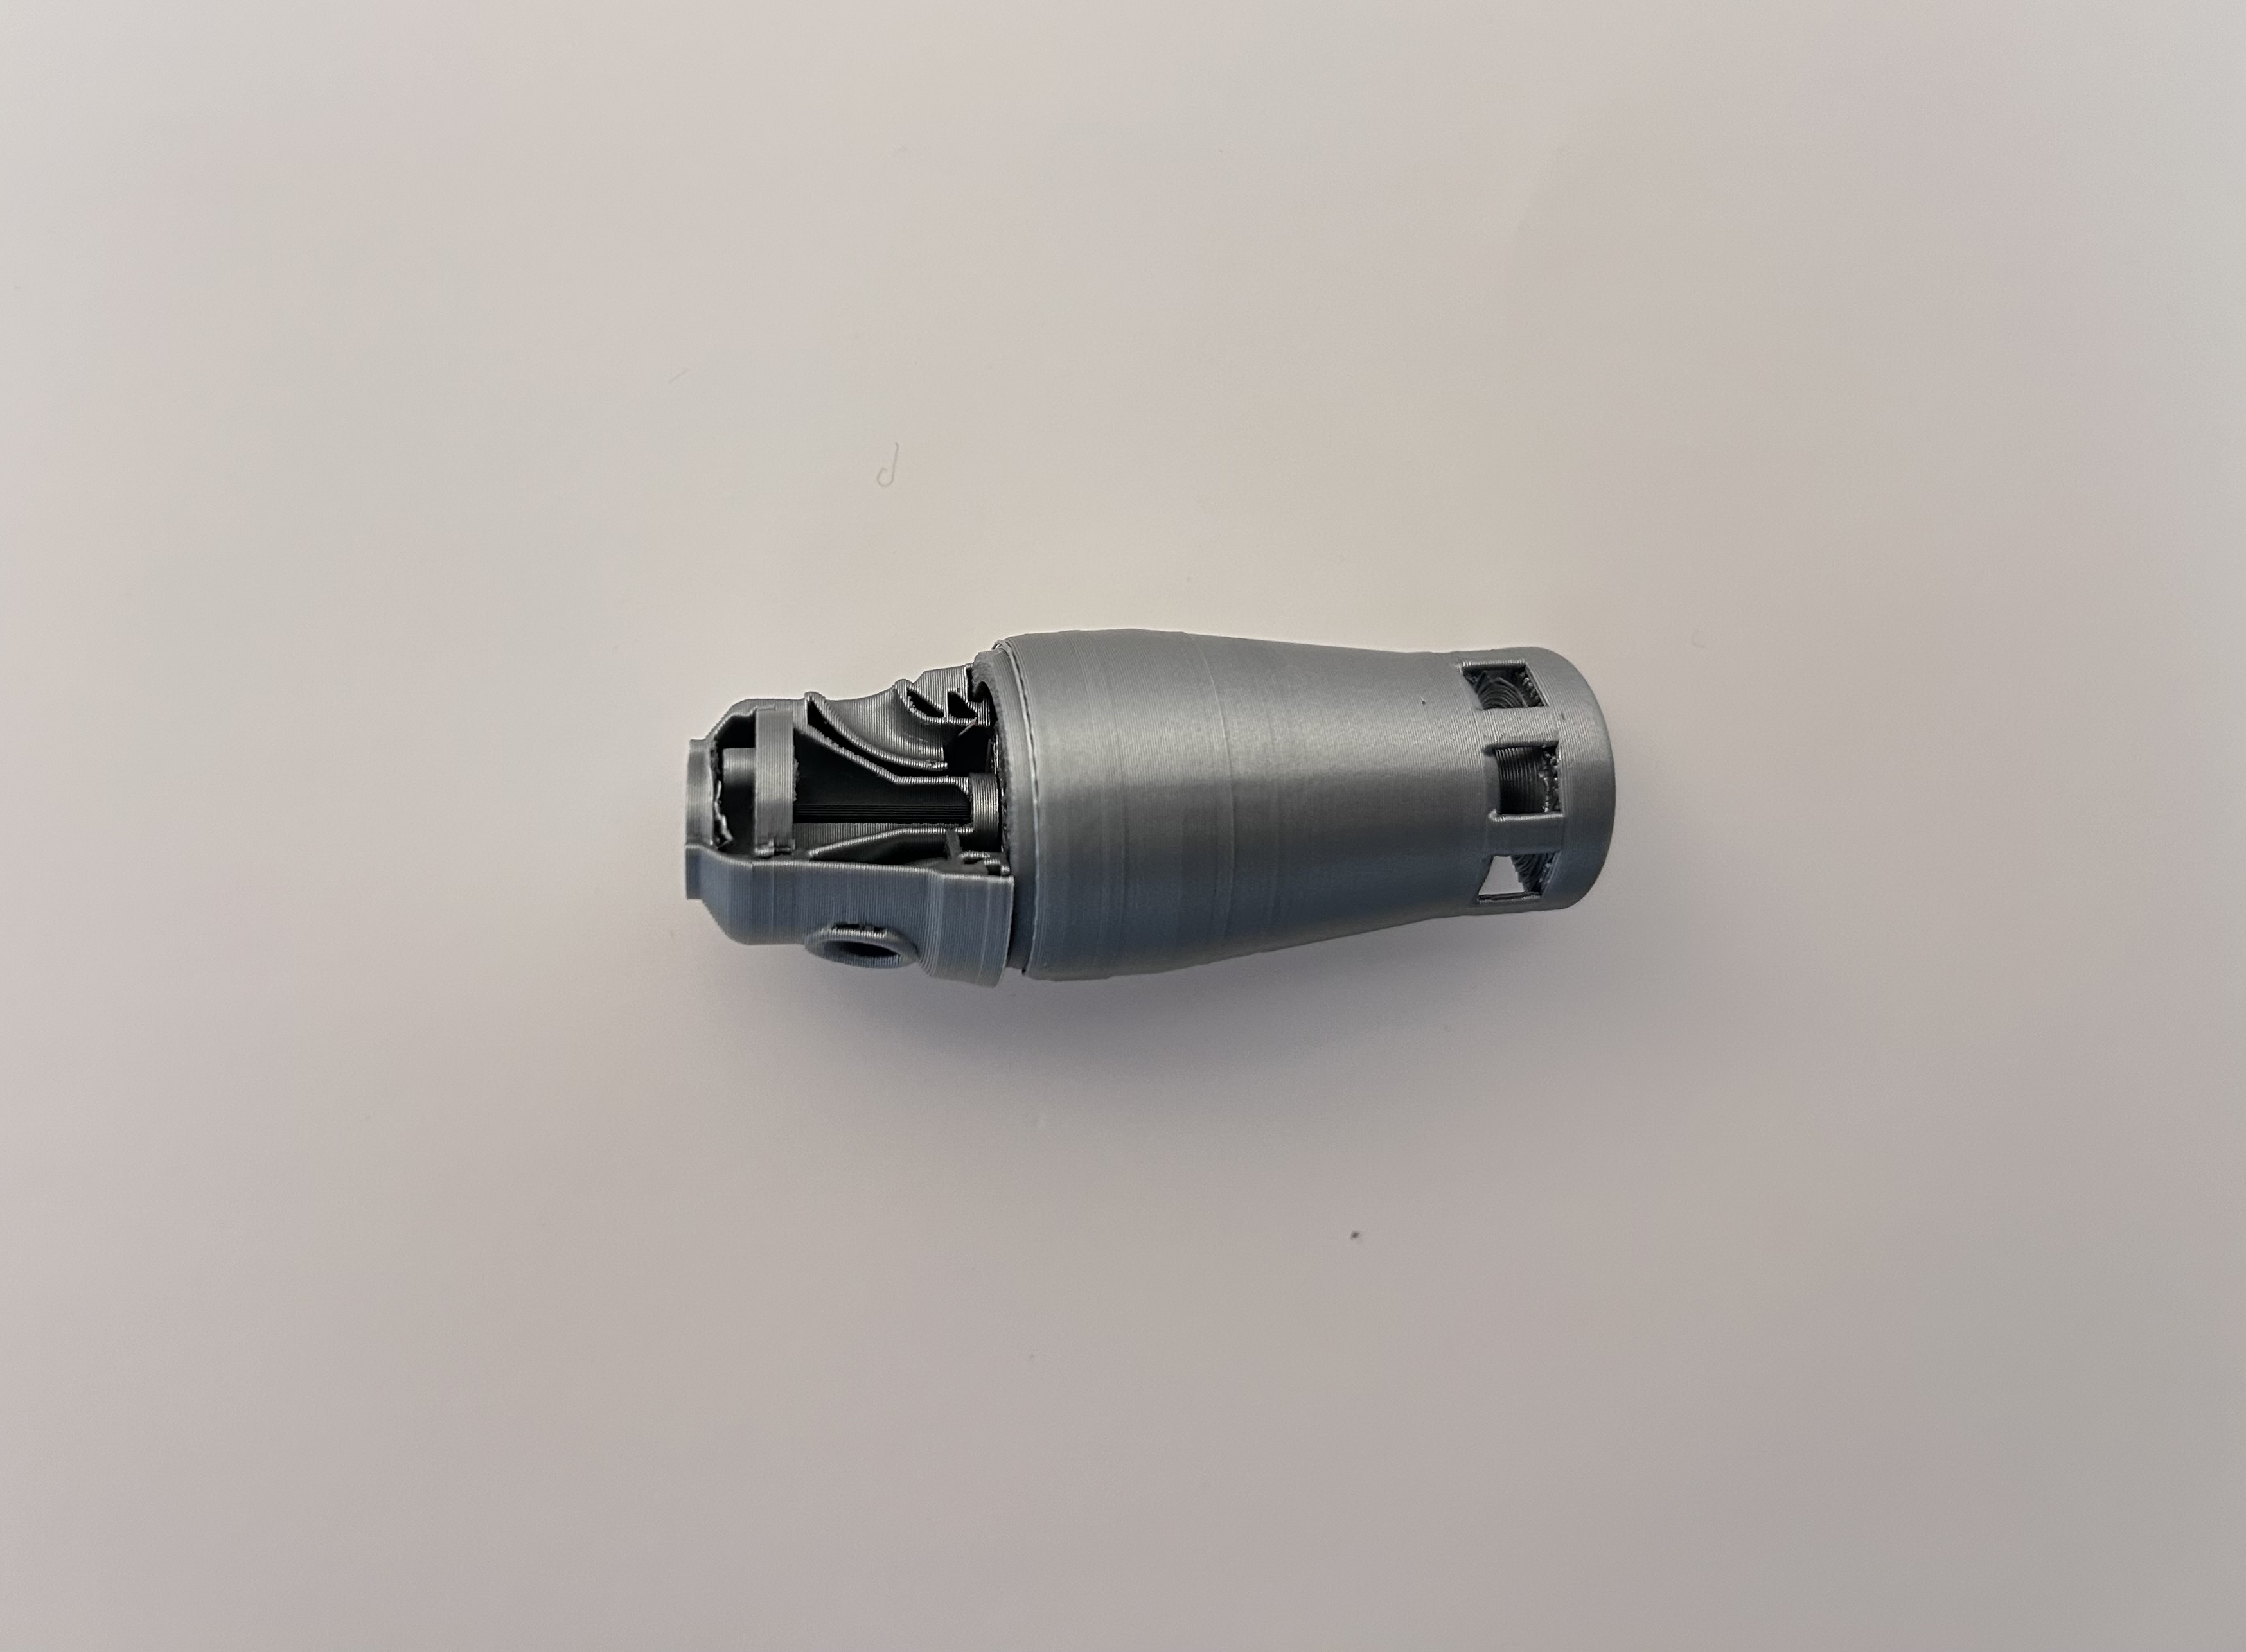
When they are fully rotated together, it should look like the picture below.

Step 8:
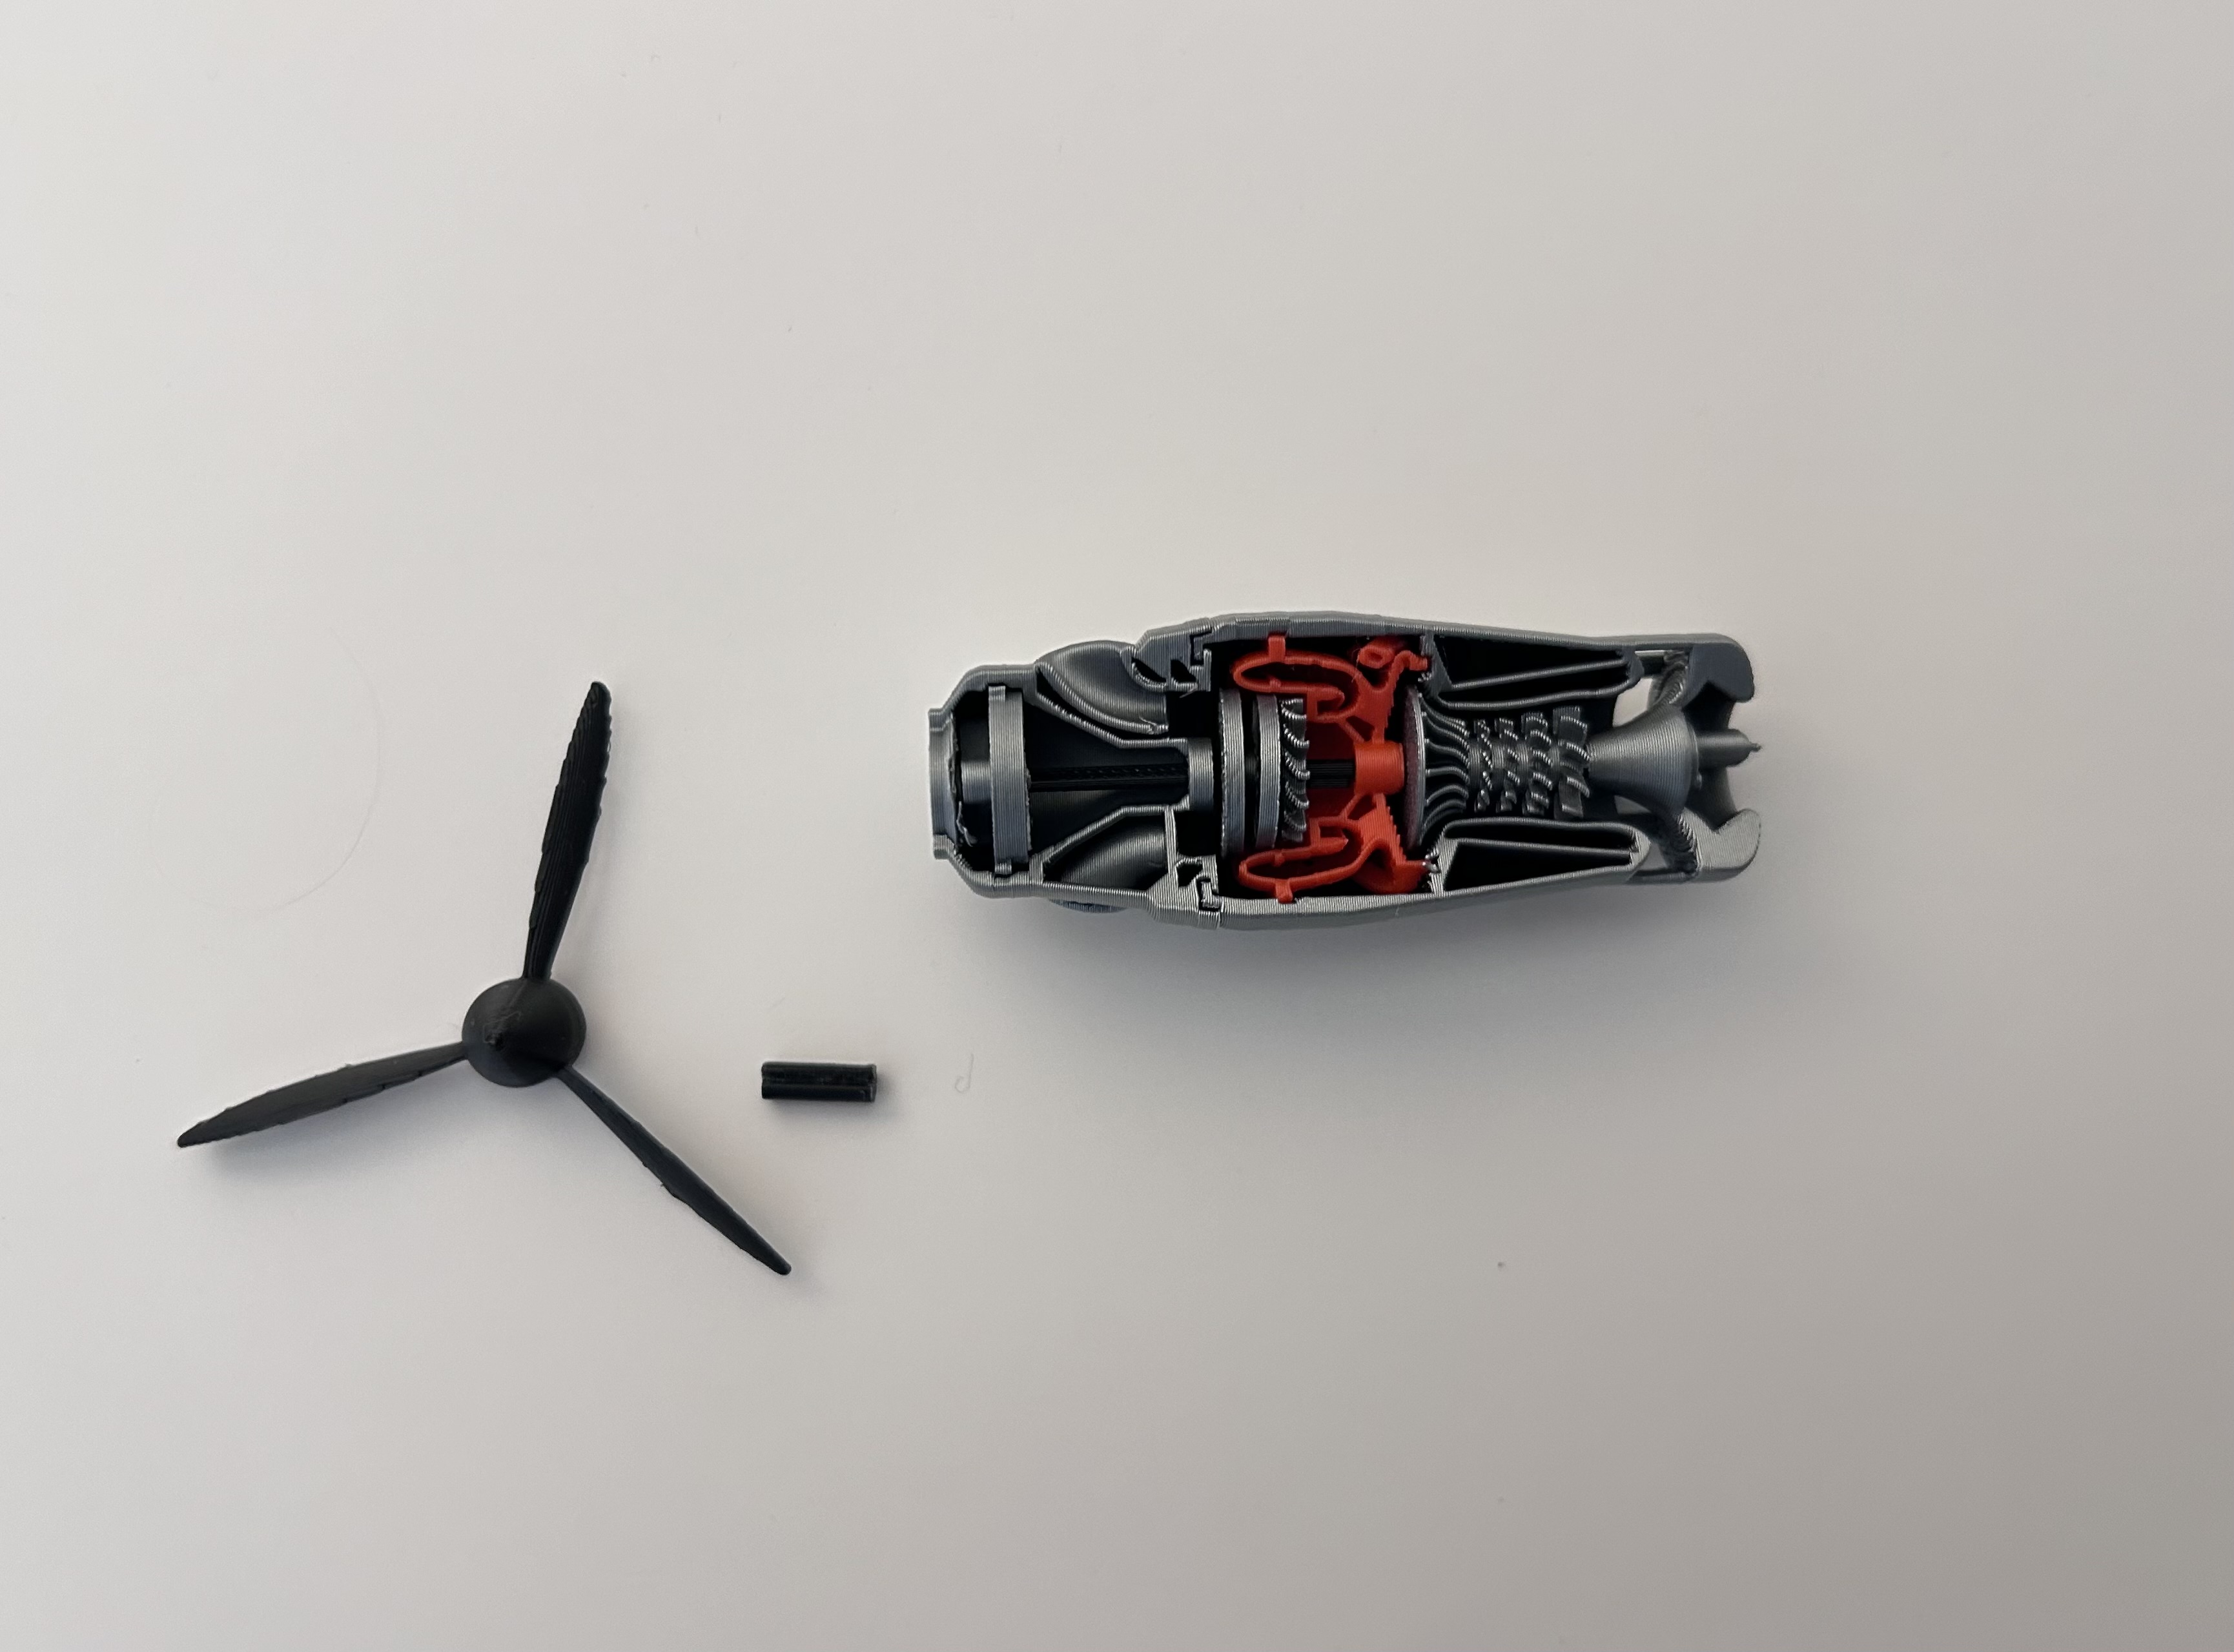
Lastly take the prop and the 3rd thicker shaft along with the body.
Insert the shaft first into the propeller as shown below and align the notch in the shaft and the prop.
Then press the shaft with the propeller into the back end of the carrier of the planetary gears making sure to align the notch.
It helps if a finger is placed on the backside of the planetary gear set to press against.
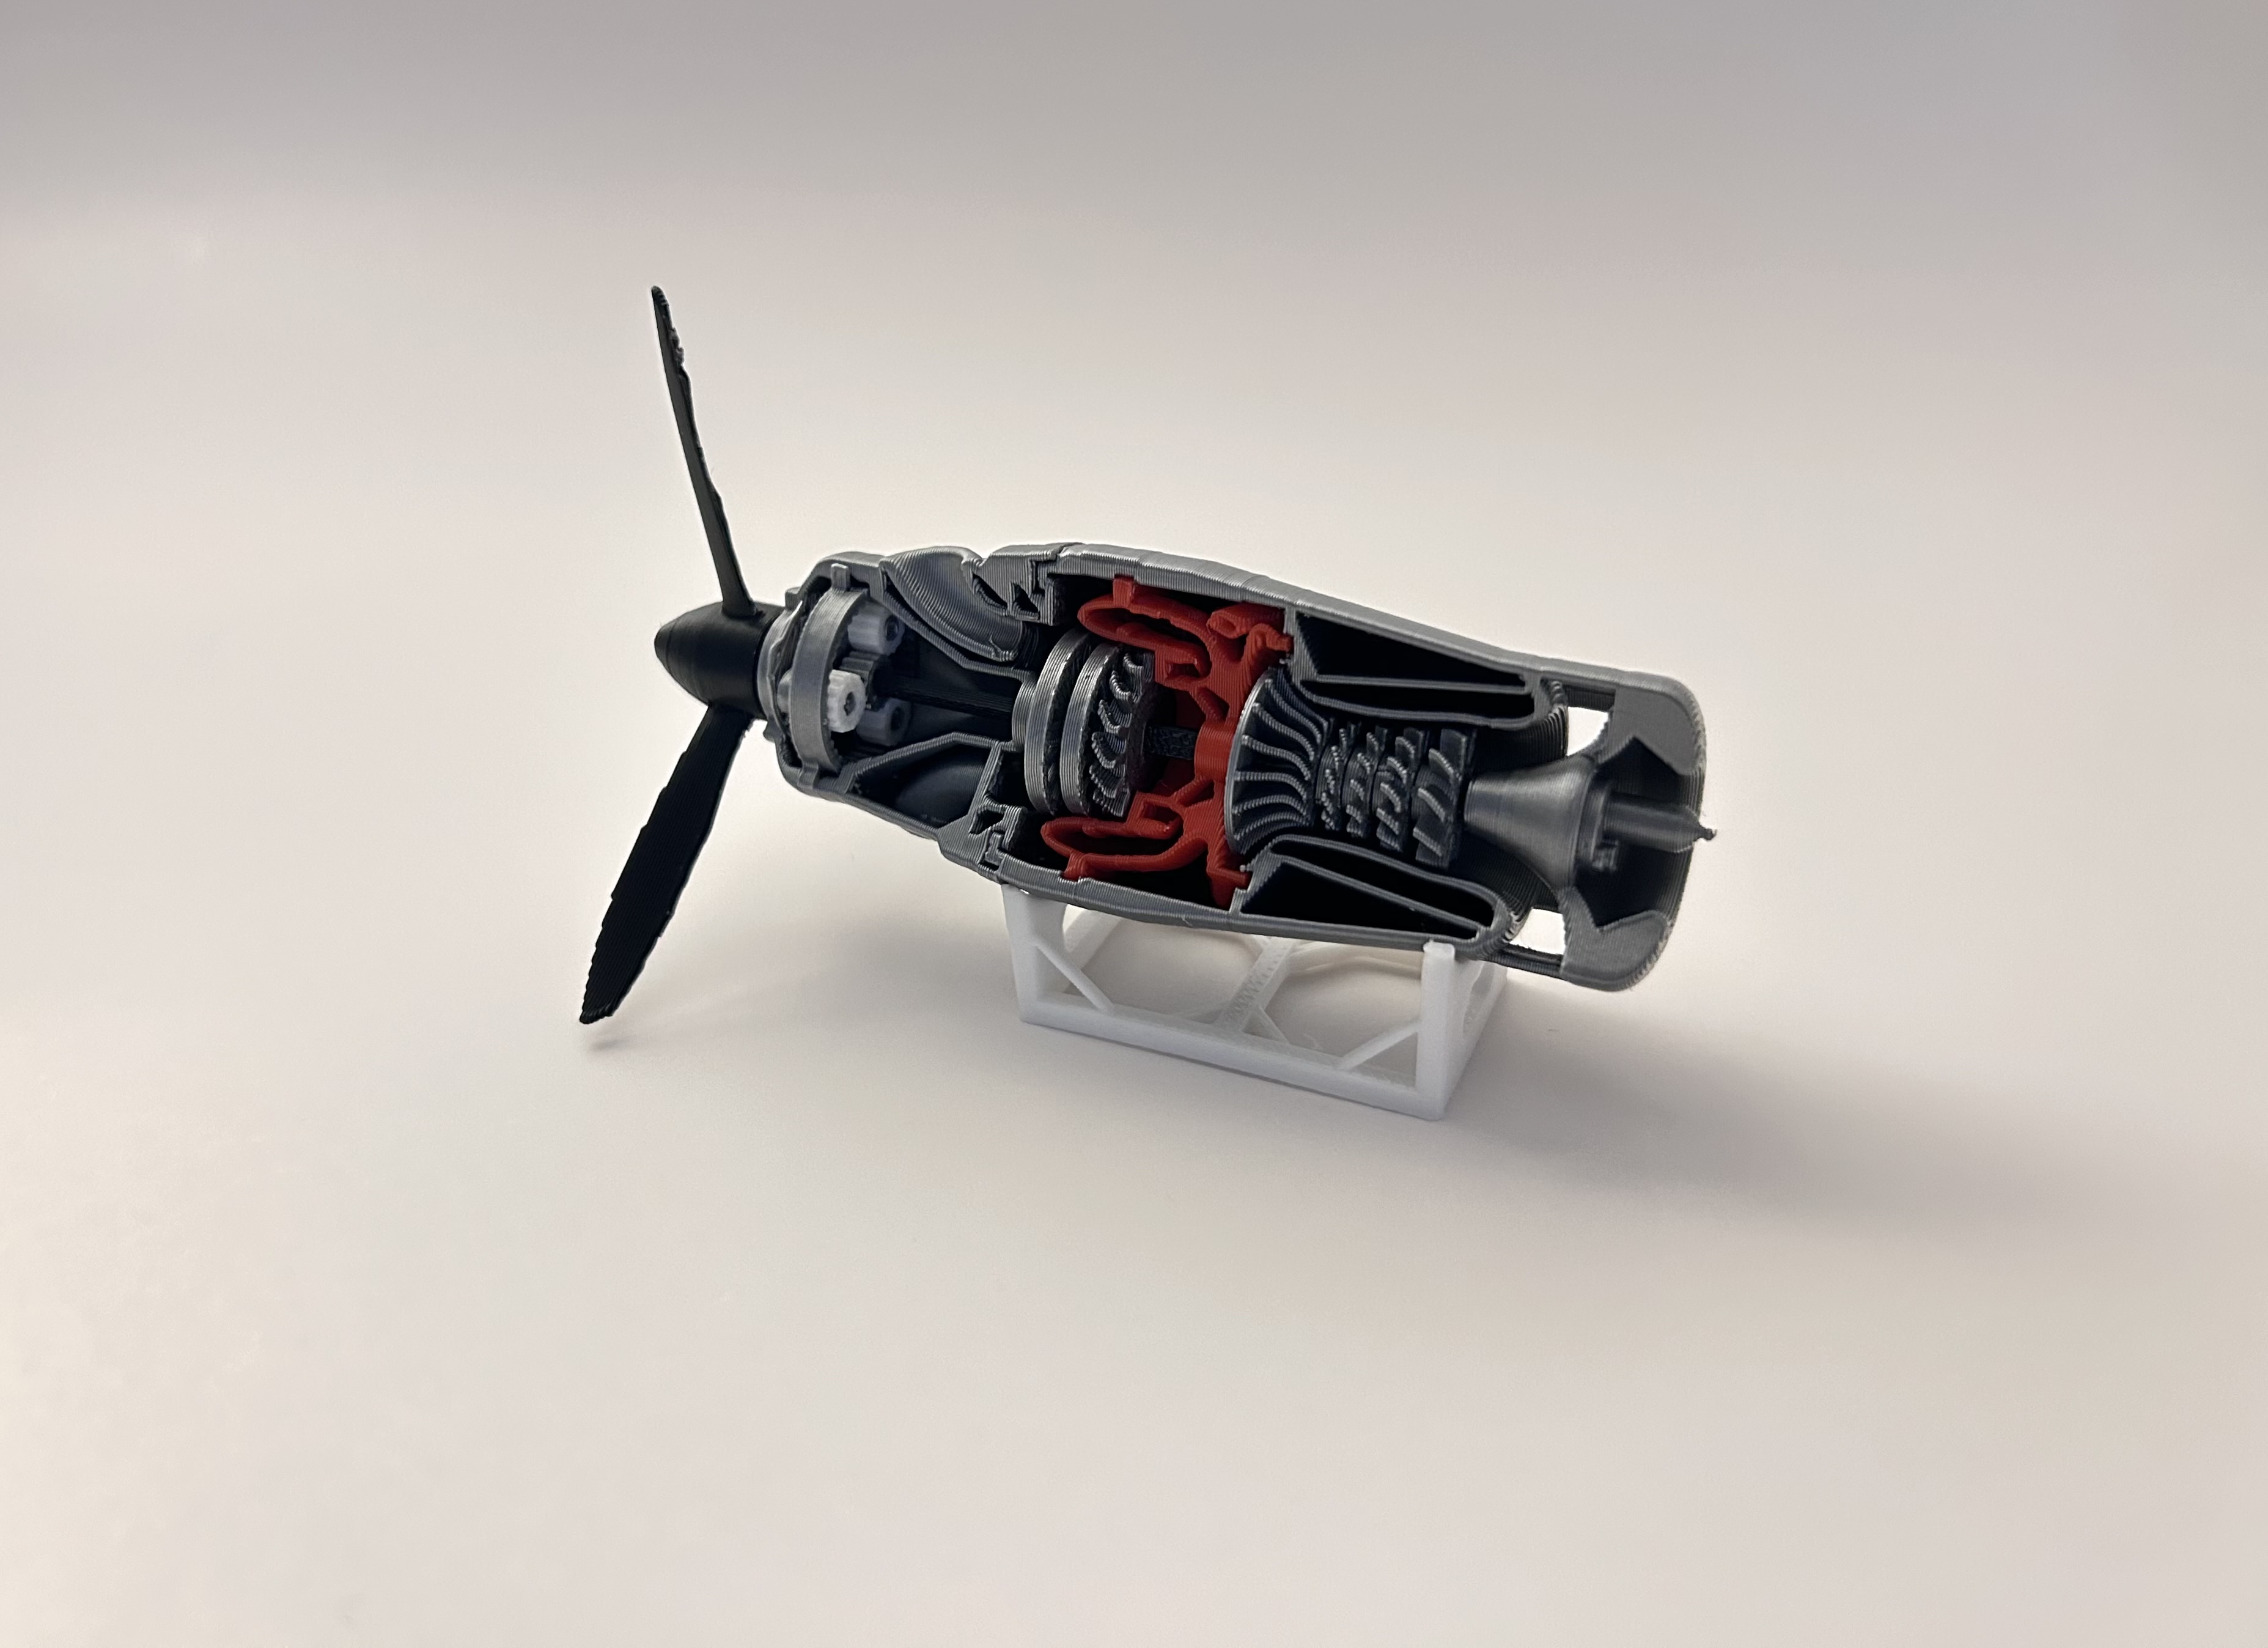
The gears can be spun by spinning the power tubrines that were placed on the second shaft.
For every 3-4 rotations of the power turbine, the propellor spins once.
