Você está no 3DFinder
Buscamos em Thingiverse, MakerWorld e Printables ao mesmo tempo para te dar o melhor de cada uma.
Descrição
A whole array of divided pegboard accessories in different sizes and configurations to create an effecient workspace organization. I took my simple rounded edge bins and added integrated dividers and split levels to organize even smaller items to keep my workspace more organized and functional, and everything within easy reach.
These bins are designed for pegboards with 1-inch (25.4 mm) hole spacing commonly sold in US hardware stores. Designed around Sy's Peglock System, both the pegboard bins and pegboard clips can be printed flat and without supports. This eliminates the weak pegs that are prone to breaking in other pegboard models because the print orientation is not optimal for the strength of the hooks, which are much stronger when the plane of the hook is parallel to the print bed.
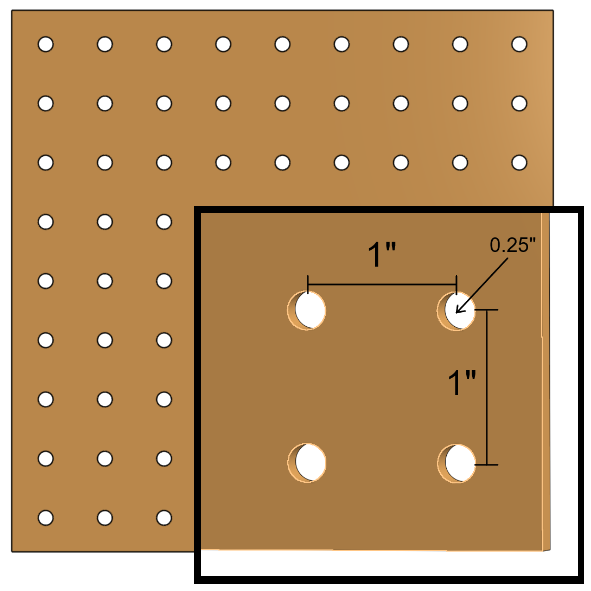
Two pegs for the typical 0.25-inch (6.35 mm) thick "Home Depot" pegboard with 0.25-inch holes are included in the files. While pegboards in the US have a standard 1" hole spacing, the actual boards can be a range of thicknesses and hole sizes. Hooks sized to fit thicker boards, result in a loose-fitting hook, on thinner boards. If you need, you can generate different sized pegs from this Onshape project.
Multiple Sizes:
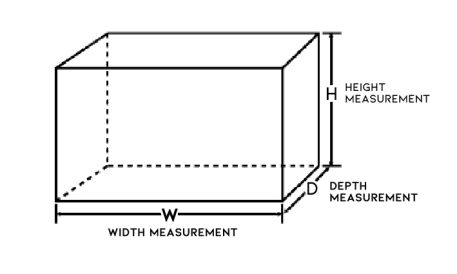
Bins are grouped into print profiles by width (side-to-side) and depth (front to back dimension). Within each print profile are a set of multiple height bins with multiple divider combinations. Bins are named by approximate OUTSIDE measurements (in inches) and then by height and divider arrangement. For example: ‘3Wx3D - 4 and 2 (split)’ would be a bin that is 3-inches wide and 3-inches deep with a 4-inch high rear section and a 2-inch high divided front section.
Links for other styles of pegboard organizers I have created can be found here: Pegboard Organization for pegboards with 1" hole spacing.
Printing:
I've printed in both PETG and PLA with the 0.20mm standard settings in Bambu Studio. Since multiple bins are grouped together on the build plates, make sure to select the bin configuration you want from the “objects” along with TWO peglock pegboard clips.
Assembly:
To mount, fold each "peglock pegboard clip" with the flat printed sides together. Insert it into the pegboard so the triangular surfaces point up spaced to match the slots on the bin, then slide the bin down over top. It should securely fit into place compressing the bin against the board and preventing accidental movement.

Gostou deste modelo? Crie uma conta grátis para salvar seus favoritos e voltar a eles depois.
Criar conta