Você está no 3DFinder
Buscamos em Thingiverse, MakerWorld e Printables ao mesmo tempo para te dar o melhor de cada uma.
Descrição
Iron Weaver
A Four-Legged Battle Bot for 3D Printing Enthusiasts
Introducing Iron Weaver, a battle bot. This design is all about versatility and creativity. Each part is completely modular and interchangeable, so you can experiment ( yes, you can double the leg length ) to suit your own style.
What's in the Print?
- Leg Assembly:
• 1x4 lower leg pieces
• 1x4 upper leg pieces - Core Components:
• 1 head
• 1 torso
• 1 rocket launcher (weapon) - Joints & Articulation:
• 20 total joints (10 ball joints and 10 corresponding sockets)
• Two sizes provided: 4.15mm and 4.2mm (to tackle any clearance quirks) (BallItself4_15 and BallItself42 accordingly )
• Improved, sturdy joints that are easy to swap around and hold their position
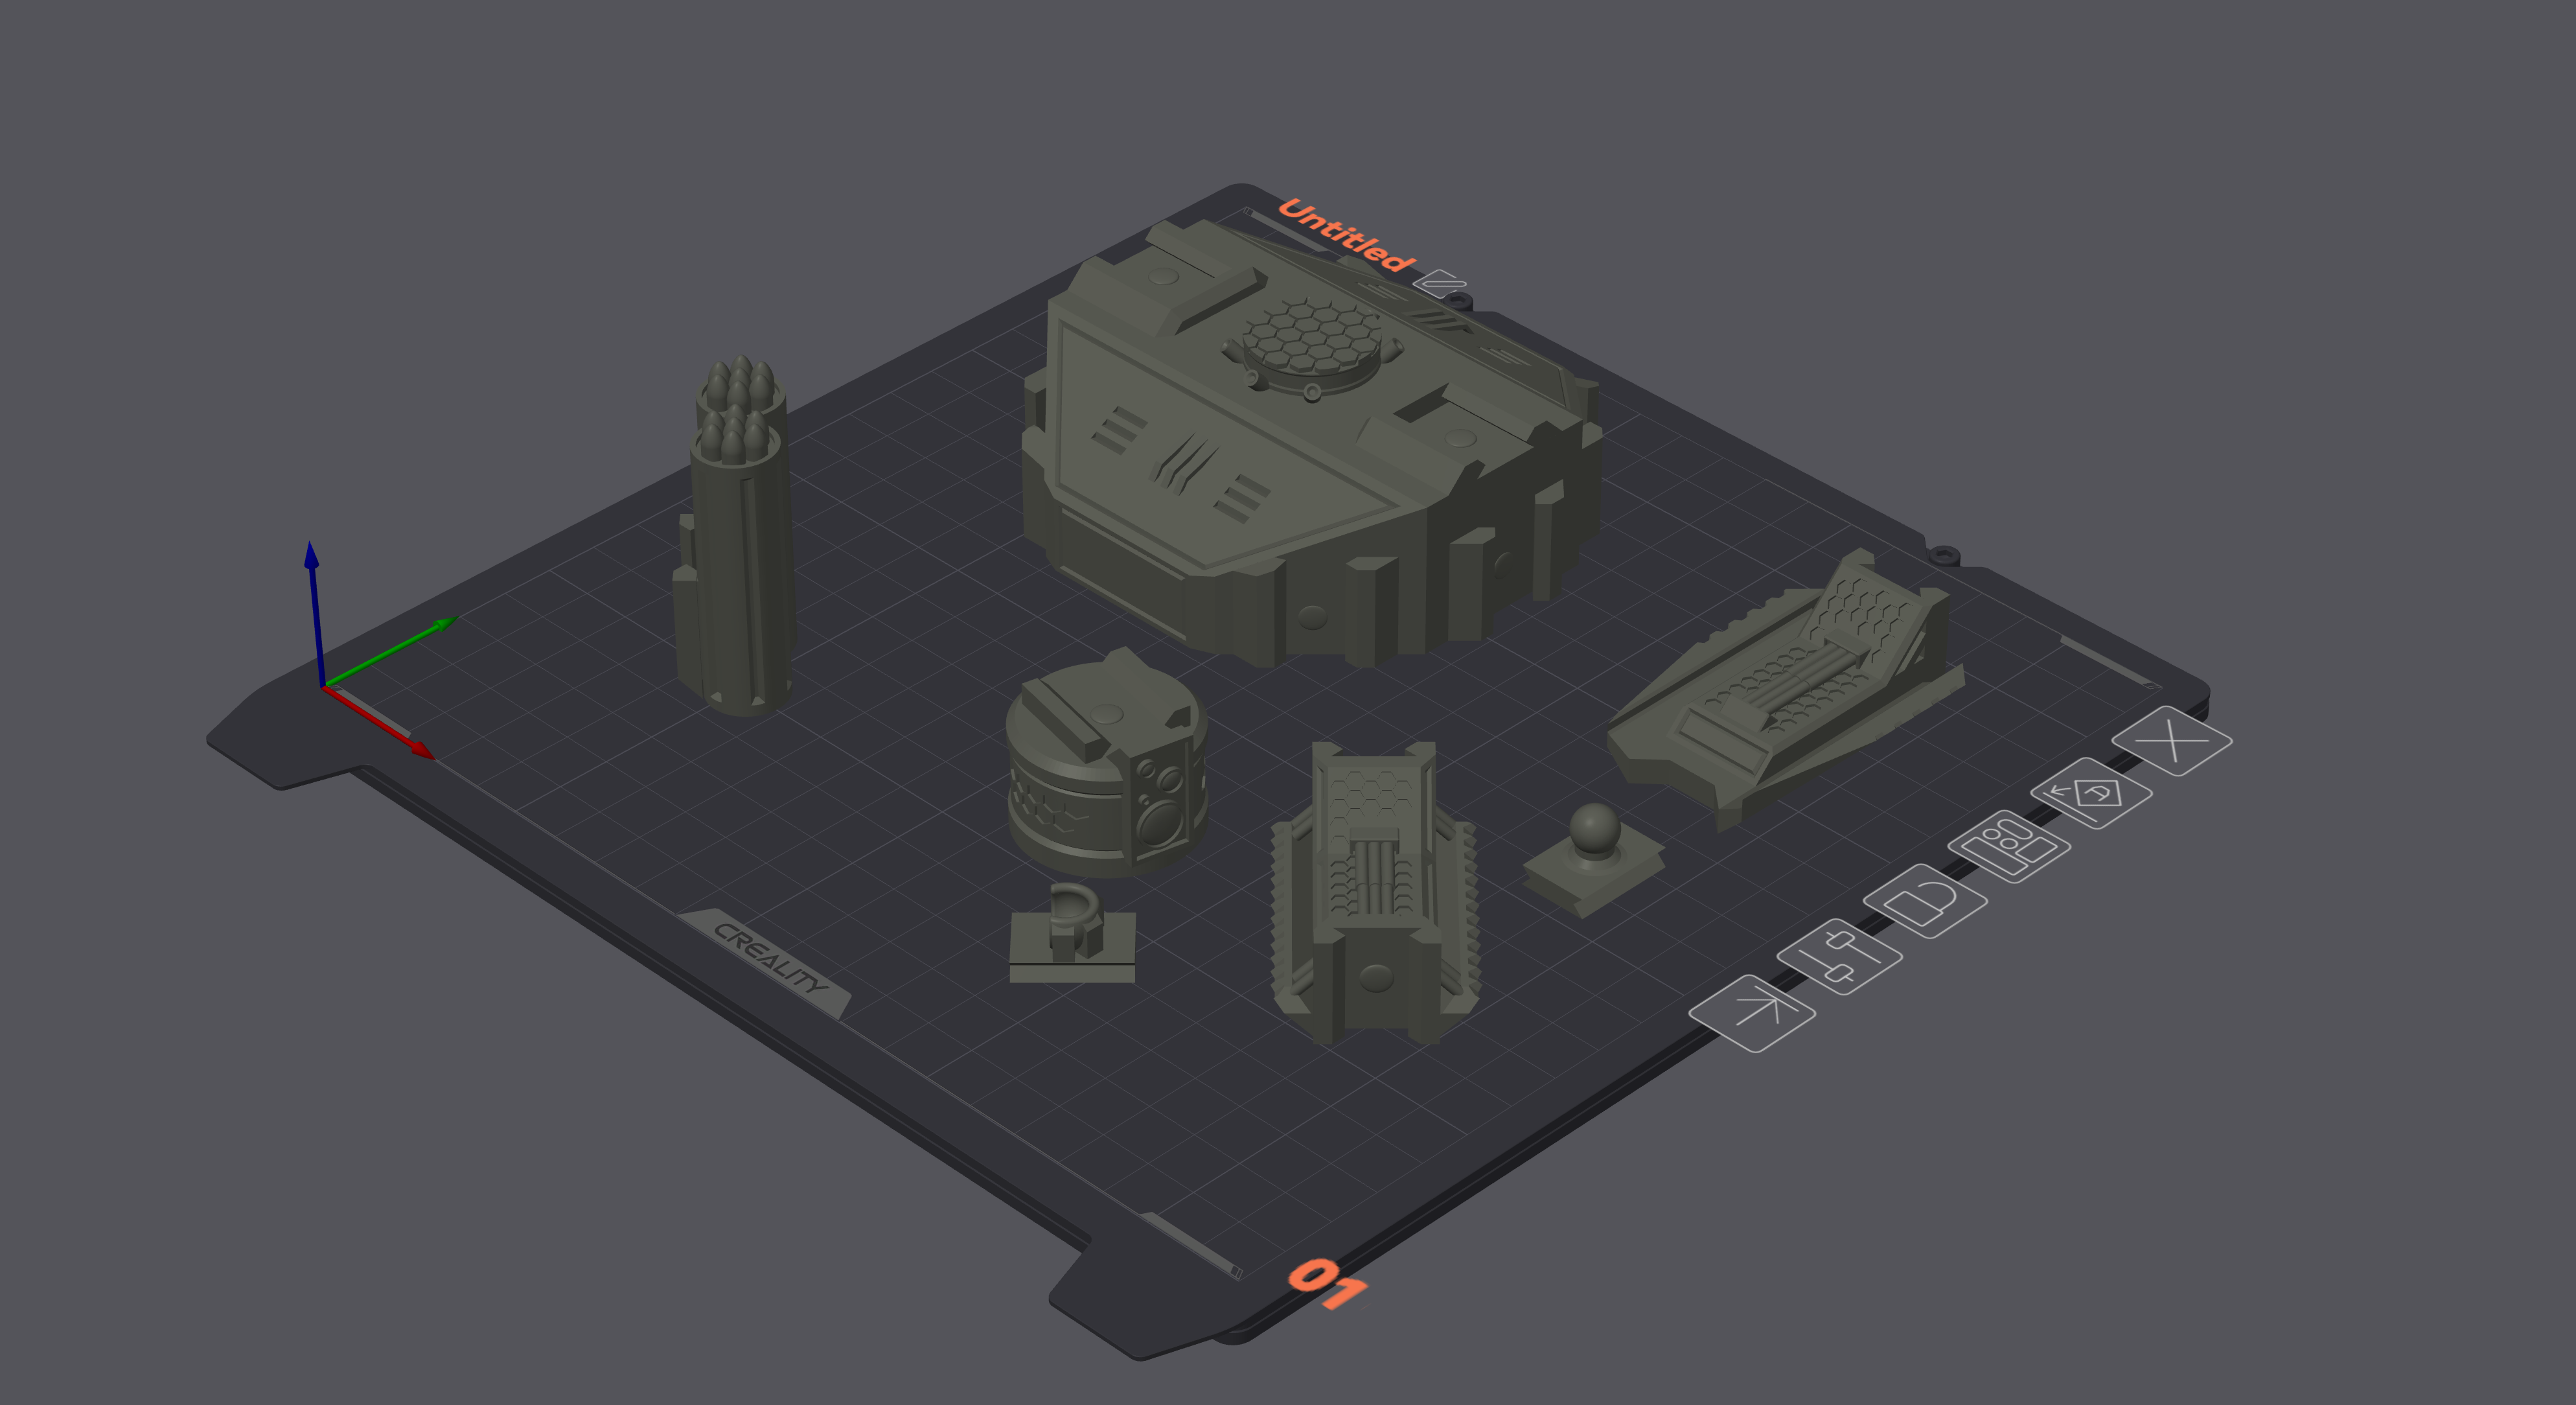
Printing Tips & Multi-Plate Strategy
To unlock the full visual flair of Iron Weaver, I recommend a three-plate printing approach—even without a multi-color AMS setup for Bambu printers, you can achieve amazing color variety with a little manual intervention:
- Plate 1 – Joints:
Print all the joints here in black. This ensures a solid, uniform foundation for all moving parts. - Plate 2 – Head, Legs, & Weapon:
• Print the head and both upper & lower leg pieces on this plate.
• Insert a pause around the 2nd–3rd layer (depending on your layer height) to swap the filament manually—start with yellow for the initial layers and switch to gray for the rest.
• The weapon (rocket launcher) is also printed on this plate. If you orient it vertically, add an extra pause during the “warheads” printing to switch back to yellow, creating a striking color accent. - Plate 3 – Torso/Main Body:
The torso, with its elevated hexagon pattern, benefits from a manual filament change too. For a standout finish, try using transparent blue for the top two layers—this adds a unique glow to the main body.
Pro Tip: If you’re using a Bambu printer and aren’t sure how to insert a pause, check out this forum post for guidance (click the plus next to the vertical slider): Pause at Height Guide.
Assembling tips:
- Everything is easy. Click, clack, and done. Ball joints go into the sockets, and sockets slide into rails.
Material & Finishing
- Material: It is tested with PETG for extra durability, though PETG might be a bit trickier to paint compared to PLA (which hasn’t been tested yet).
- Layer Height: A 0.1mm setting is ideal for capturing all the fine details of this design.
Happy printing and customizing!
P.S. Parts orientation: