Você está no 3DFinder
Buscamos em Thingiverse, MakerWorld e Printables ao mesmo tempo para te dar o melhor de cada uma.
Descrição
Update - Aug 25
After some thought and finding a new chip (AS5600) I have changed my approach. Instead of trying to obtain the amount of filament used via my own mechanism, I am instead using the extruder wheel. This reduces the complexity and also reduces friction. I am still in the early stages with hardware now complete and I am now working on the software.
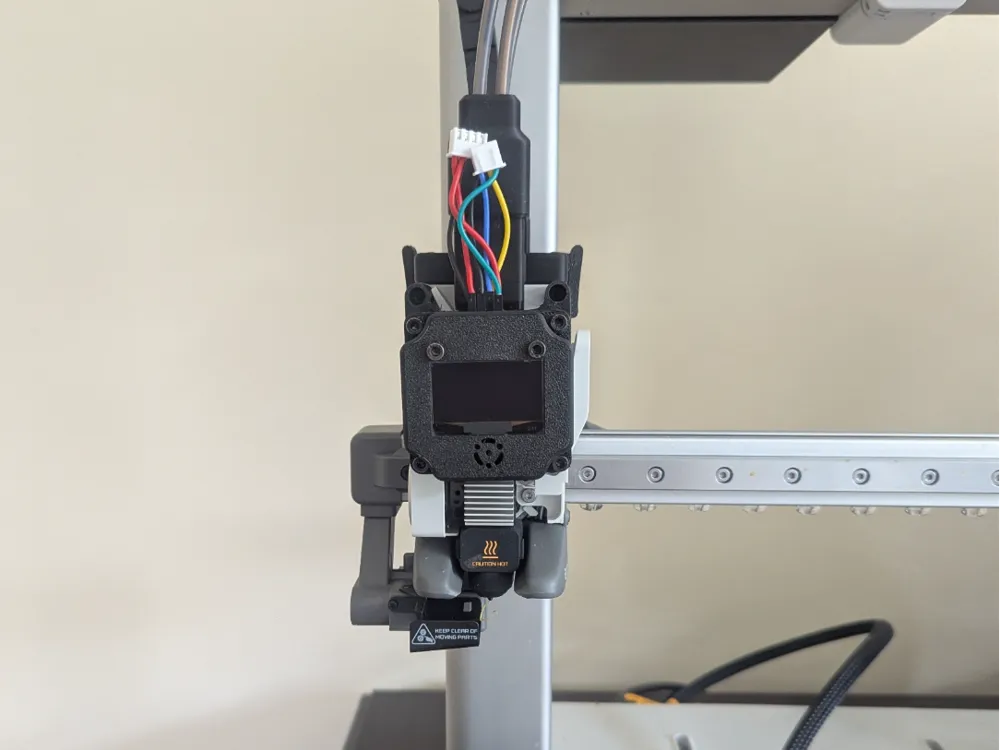
Link Here
Background
The current problem with the bambu printers is that there is no easy way to track filament usage. Current solutions include making logs using the amount the slicer estimates or weighing the spool. Both methods have their downsides either in accuracy, availability of information, or the amount of effort required to track and log. If you have an AMS, the filament tracker functionality is lost if you use 3rd party spools.
This solution looks to address these by creating an automatic solution that will track filament usage real-time providing accurate up-to-date information on the amount of filament left on each spool.
In its current version it will only provide real-time information on the amount of filament used on one spool. But as the roadmap below shows, it will eventually include a virtual record of the amount of filament left on multiple spools with a web interface. This current version is very basic but functionality and usability will increase over time.
The device tracks the amount of filament passing the counter and converts that into grams. It also provides a visual indication via the LED ring on the percentage used (going from green to red as filament is used). Note in the current version it has no memory if power is lost, this will be updated with future updates.
This project is still in the early phases and it will become more accurate and functional over time. Please support in the early phases of this project so I can continue to continue to upgrade and improve.
Future Updates Roadmap
Notes: The hardware will not change between sub-versions e.g. between v1.0 and v1.2. Instead hardware may only be changed between major version updates e.g. v1.2 and v2.1. This reduces the amount of reprinting required.
I am relatively new to C++ coding and I am learning as I go. I have tried my best to follow good practice and also explain what I have done. If you see something I can improve or you want something added please let me know or submit a change on Github.
Latest Update - 17th Apr 25
After a slow couple of months due to me improving my coding skills I have made a few updates. I have now organsised the code so it can be easily expanded. But more importantly I am using Blynk to have a web interface. This means you can monitor filament usage from the web. It's not ready to go live yet, but I will update when it is.
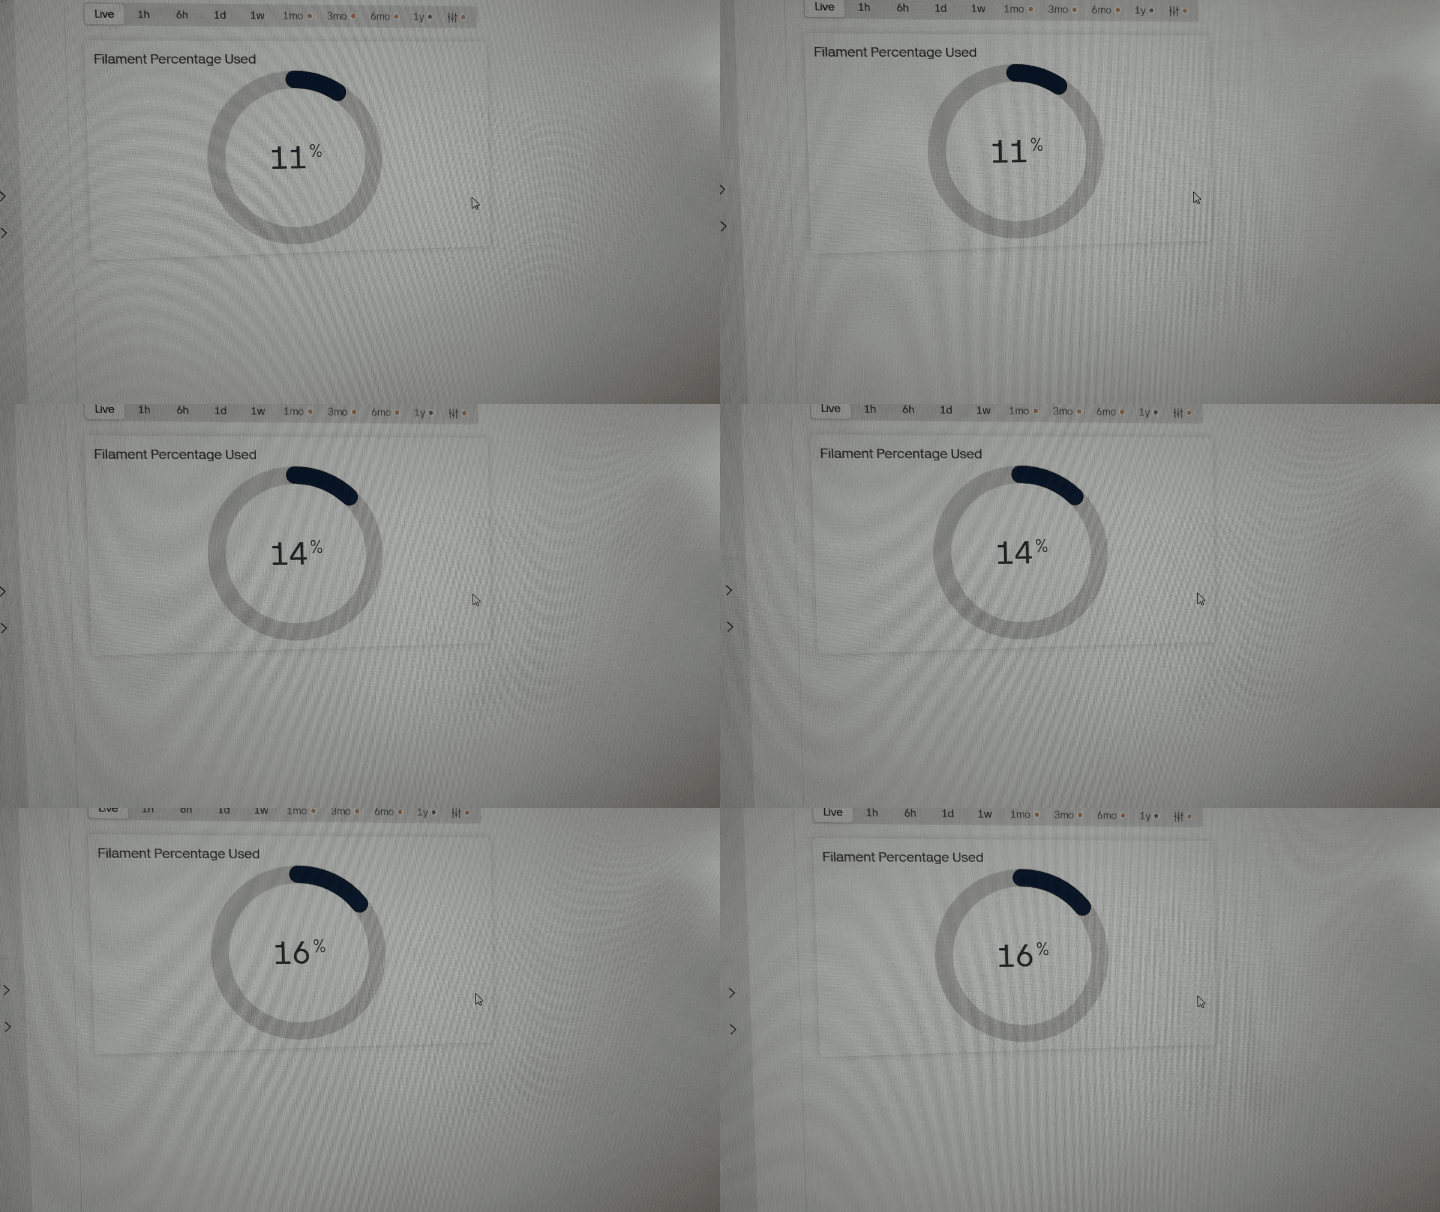
Completed
v1.1 - Counts the amount of filament that has been used and outputs a percentage as indicated by an LED strip. There is also a readout of meters of filament used in the terminal. There is no storage function so if the device is powered off then the amount of filament used is lost. Therefore, it is up to the user to keep a record of filament used.
In Progress
v1.2 - Addition of a storage function to automatically store the amount of filament used.
Future Work
v1.3 - Addition of a feature to allow the user to input the type of filament and its current length.
v1.4 - Increased accuracy when determining filament used.
v2.0 - Web interface to make it more user friendly.
v2.1 - Web interface to automatically store a record of all filaments held and the current percentage
v3.0 - Hardware change to make it more compact.
v4.0 - Integration with OpenSpool.
v5.0 - AMS version.
Bill of Materials
Note: These are the parts used for testing. Other parts may work but I cannot guarantee it.
Quantity | Name | Link | Remarks |
2 | MakersSuppy EA004 Bearings | [https://uk.store.bambulab.com/products/micro-steel-deep-groove-ball-bearings?id=41796149084220](https://uk.store.bambulab.com/products/micro-steel-deep-groove-ball-bearings?id=41796149084220) | |
4 | MakersSupply RB004 O-rings | [https://uk.store.bambulab.com/products/o-rings?id=41847902404668](https://uk.store.bambulab.com/products/o-rings?id=41847902404668) | |
1 | ESP 32 | [https://amzn.eu/d/4XxEMyR](https://amzn.eu/d/4XxEMyR) | |
2 | Rotary Encoder | [https://amzn.eu/d/8gbwNM0](https://amzn.eu/d/8gbwNM0) | |
1 | WS2812B RGB LED light ring | [https://www.ebay.co.uk/itm/375847624420?chn=ps&_ul=GB&mkevt=1&mkcid=28&google_free_listing_action=view_item](https://www.ebay.co.uk/itm/375847624420?chn=ps&_ul=GB&mkevt=1&mkcid=28&google_free_listing_action=view_item) | This may be more difficult to obtain. The counter will work without it. I will also try my best to support any equivalent lights. |
1 | Jumper Wires | [https://amzn.eu/d/hTvqhyJ](https://amzn.eu/d/hTvqhyJ) | Soldered connections are preferred but jumper wires can be used. |
4 | M2 x 6 | ||
8 | M3 Heat Inserts | ||
8 | M3 x 12 |
Assembly and Installation Guide
ESP 32 Setup
- Head to [https://app.arduino.cc/](https://app.arduino.cc/) and set up a free account.
- Create a new sketch.
- Select device “ESP32 Dev Module” - You may need to download the Arduino serial interface (you will be prompted if you do).
- Head to [https://github.com/scales95/Filament-Counter/blob/7eb63a7cfd4b971189c538a84047ab6ea7ad362f/v1.1](https://github.com/scales95/Filament-Counter/blob/7eb63a7cfd4b971189c538a84047ab6ea7ad362f/v1.1) and copy the code into the arduino sketch.
- To communicate with the device you may need to download a specific driver from [https://www.silabs.com/developer-tools/usb-to-uart-bridge-vcp-drivers?tab=downloads](https://www.silabs.com/developer-tools/usb-to-uart-bridge-vcp-drivers?tab=downloads)
- Click upload and monitor filament usage on the Serial Monitor.
Wiring Guide
On the ESP32 board connect the wires up using the diagram below:
Note: The connections work better soldered but jumper wires will work.
The wiring is pretty intuitive but if you have any problems please let me know.
Code Setup
The code is ready to go as is. But if you want to adjust it for your own personal needs there is some explanation below. The snippets of code below are those that I recommend changing to suit your needs, the rest I would leave unchanged to avoid issues with code. I have tried to comment an explanation of the code in the Github repository so people can attempt to understand it.
Note: Most of these will be easier to change in future versions.
Filament Length Adjustment
This can be changed for differing filaments; it is estimated that this is around 320m for a 1kg spool of PLA. I am hoping as more users start using this system we can look to build a database.
This also should be changed if you are using a used spool.
Filament Offset
Designed so that the user can easily adjust the offset to ensure more accurate readings of filament.
Percentage Readout
This can be changed depending on preference. I have it set at 16 to match with the corresponding number of LEDs. But set it to 11, to give readout in 10% increments.
Filament Usage Tracking Device - Version 1
Publicado em 31 de jan de 2025
Gostou deste modelo? Crie uma conta grátis para salvar seus favoritos e voltar a eles depois.
Criar conta