Você está no 3DFinder
Buscamos em Thingiverse, MakerWorld e Printables ao mesmo tempo para te dar o melhor de cada uma.
Descrição
Hey everyone!
I'm thrilled to finally share something I’ve been working on for a while—the new AMS Riser. If you’ve been frustrated with long print times and how much material other models waste, trust me, I've been there too. The new AMS Riser is all about speed, efficiency, and cutting down on wasted material. I’ve fine-tuned the design to make sure it delivers enough sturdines with way less material and made much faster, while still looking good. You can choose to glue it together, or use 6 screws, totaly up to you. If you choose to use screws, you can disassemble it anytime you want.
I recommend printing in PETG and you will need a little under 2kg. There are also seals made from TPU, but you can use some foam sealing tape with maximum thickness under 3mm instead. Total print time is around 2days 14hours.
There is also a place to store up to 3 plates and slot for the glass panel. The glass is at an angle to make sute it wont fall out when the printer shakes rapidly. It is used when printing for example PLA which does not like high temp inside the printer.
Worth mentioning is the rear radius. It is too big to be printed without supports, so the surface quality is little rough, but since is from the backside, I think its not that big of a deal.
Assembly procces:
There are 4 quarter body panels:
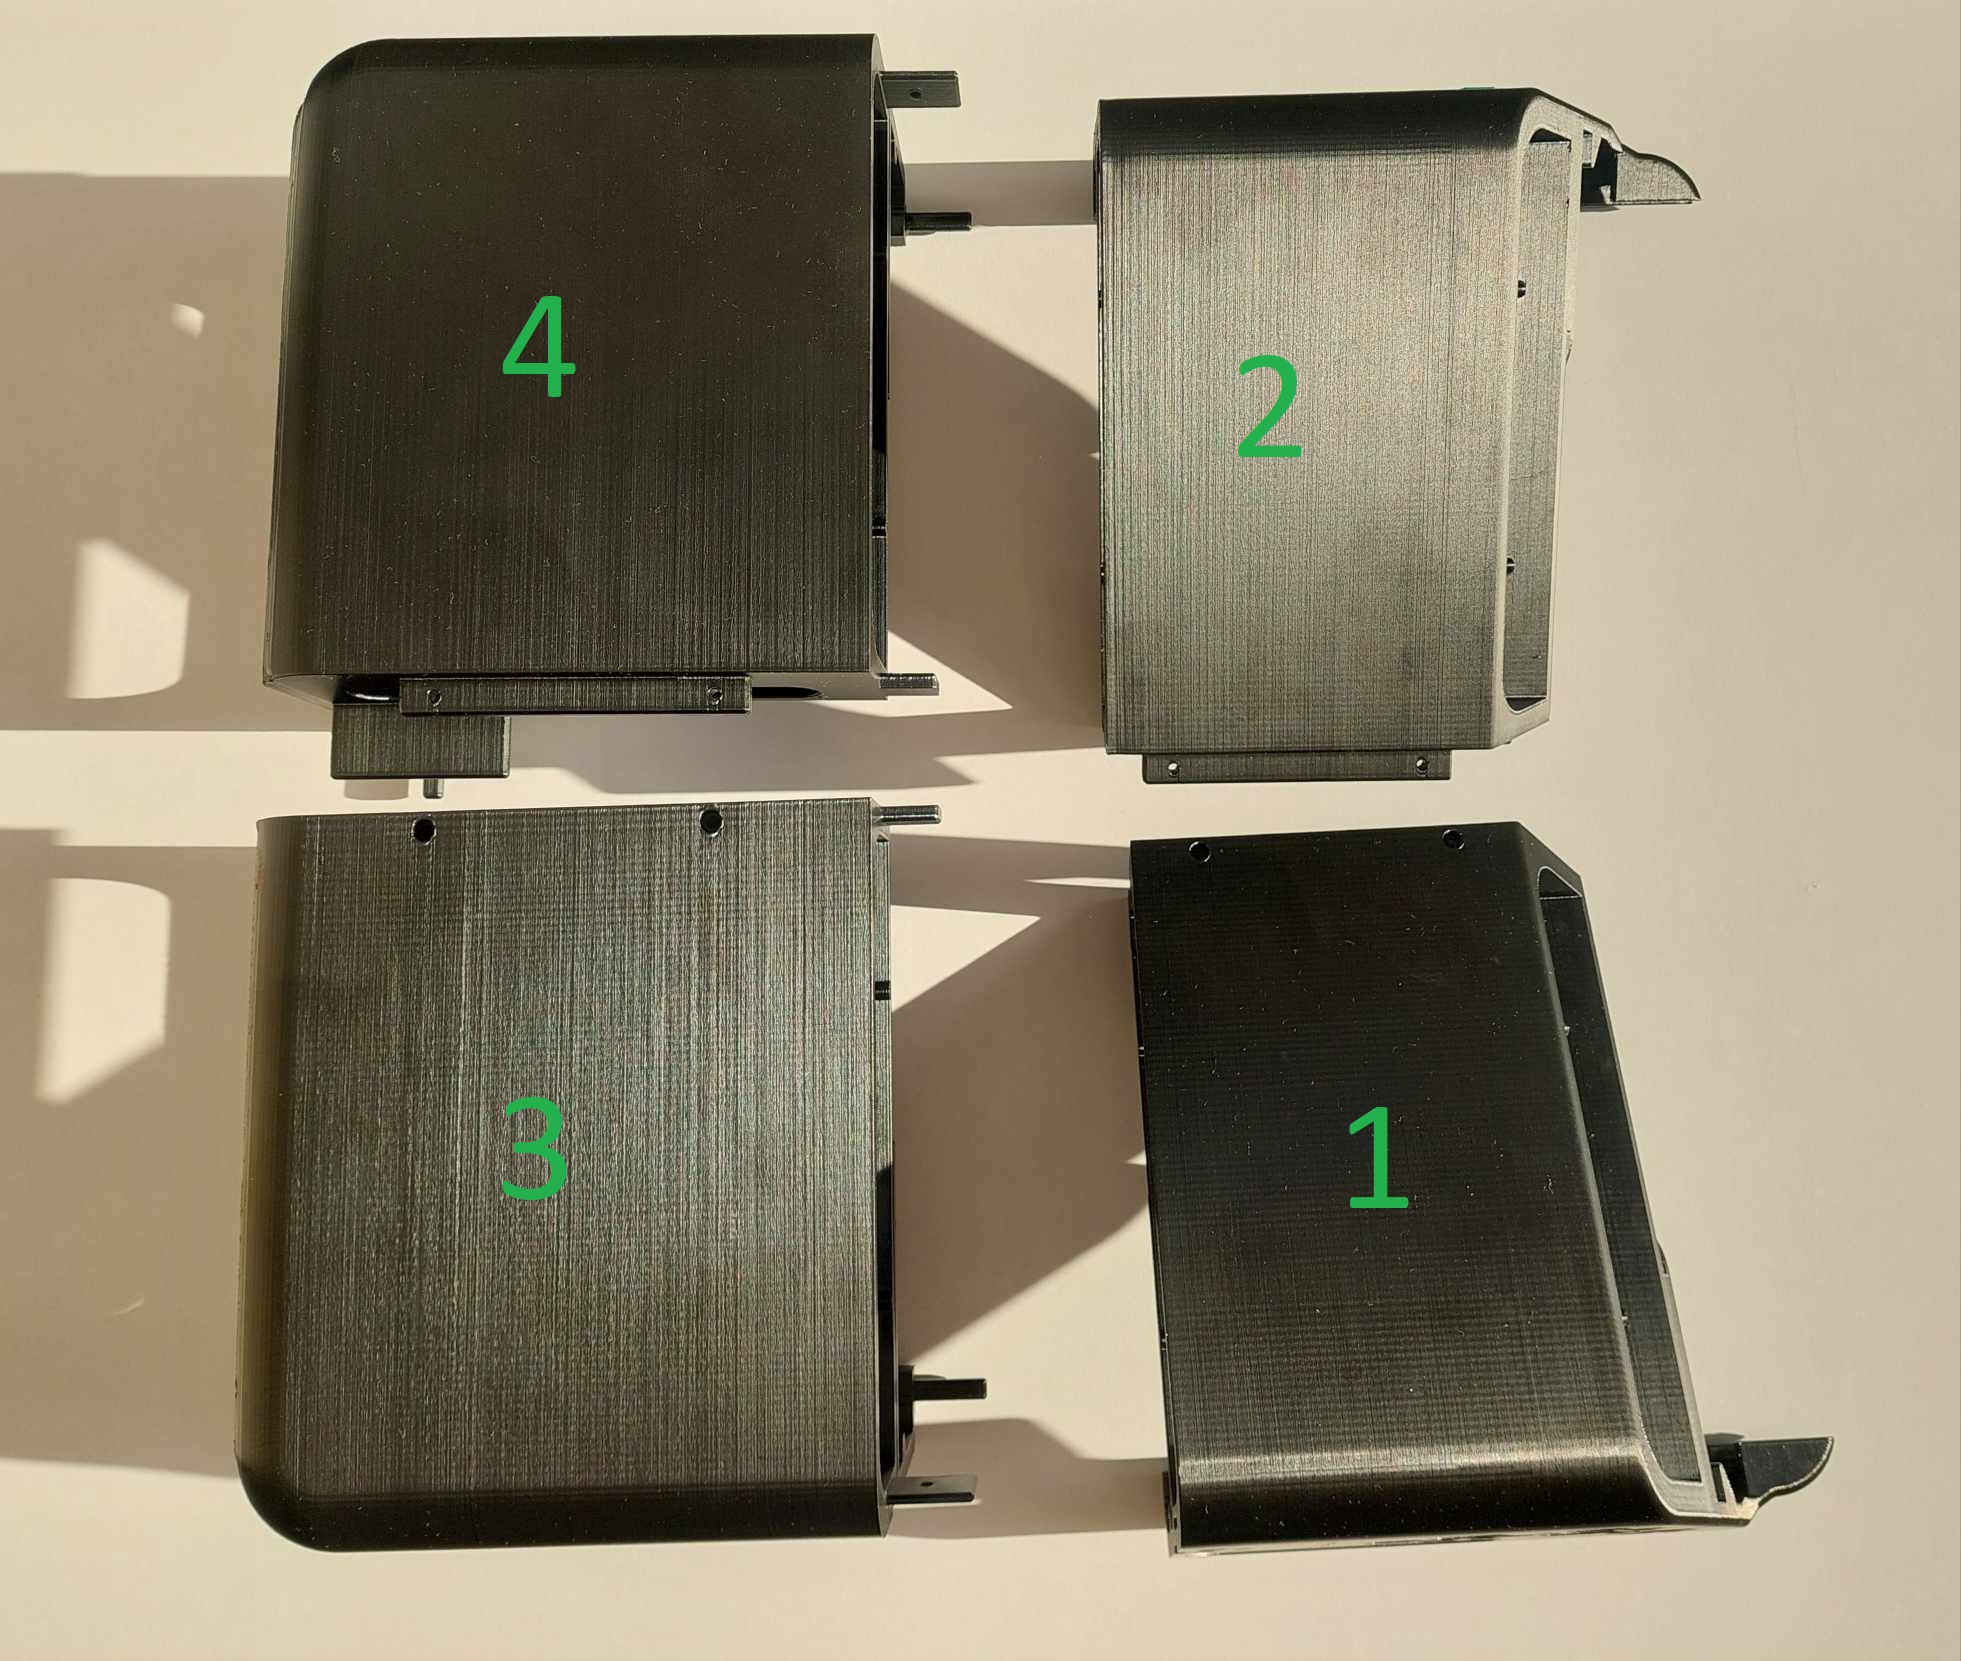
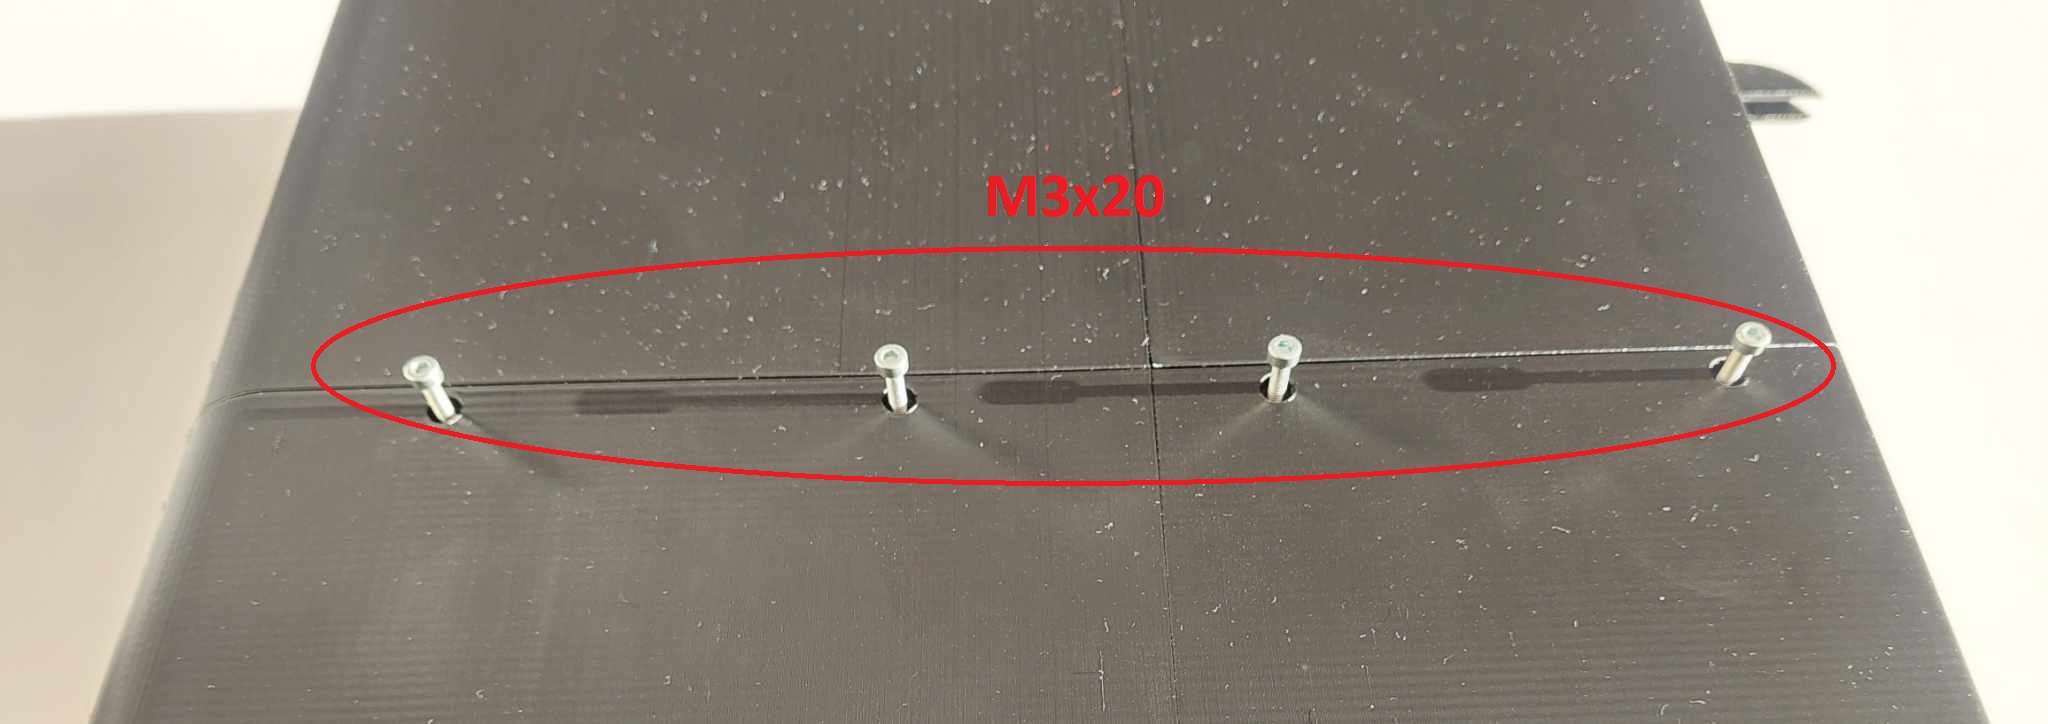
- Put together pieces 1 & 2, then 3 & 4, then secure with screw (M3x20) or glue it toghether if you dont want to use screws.
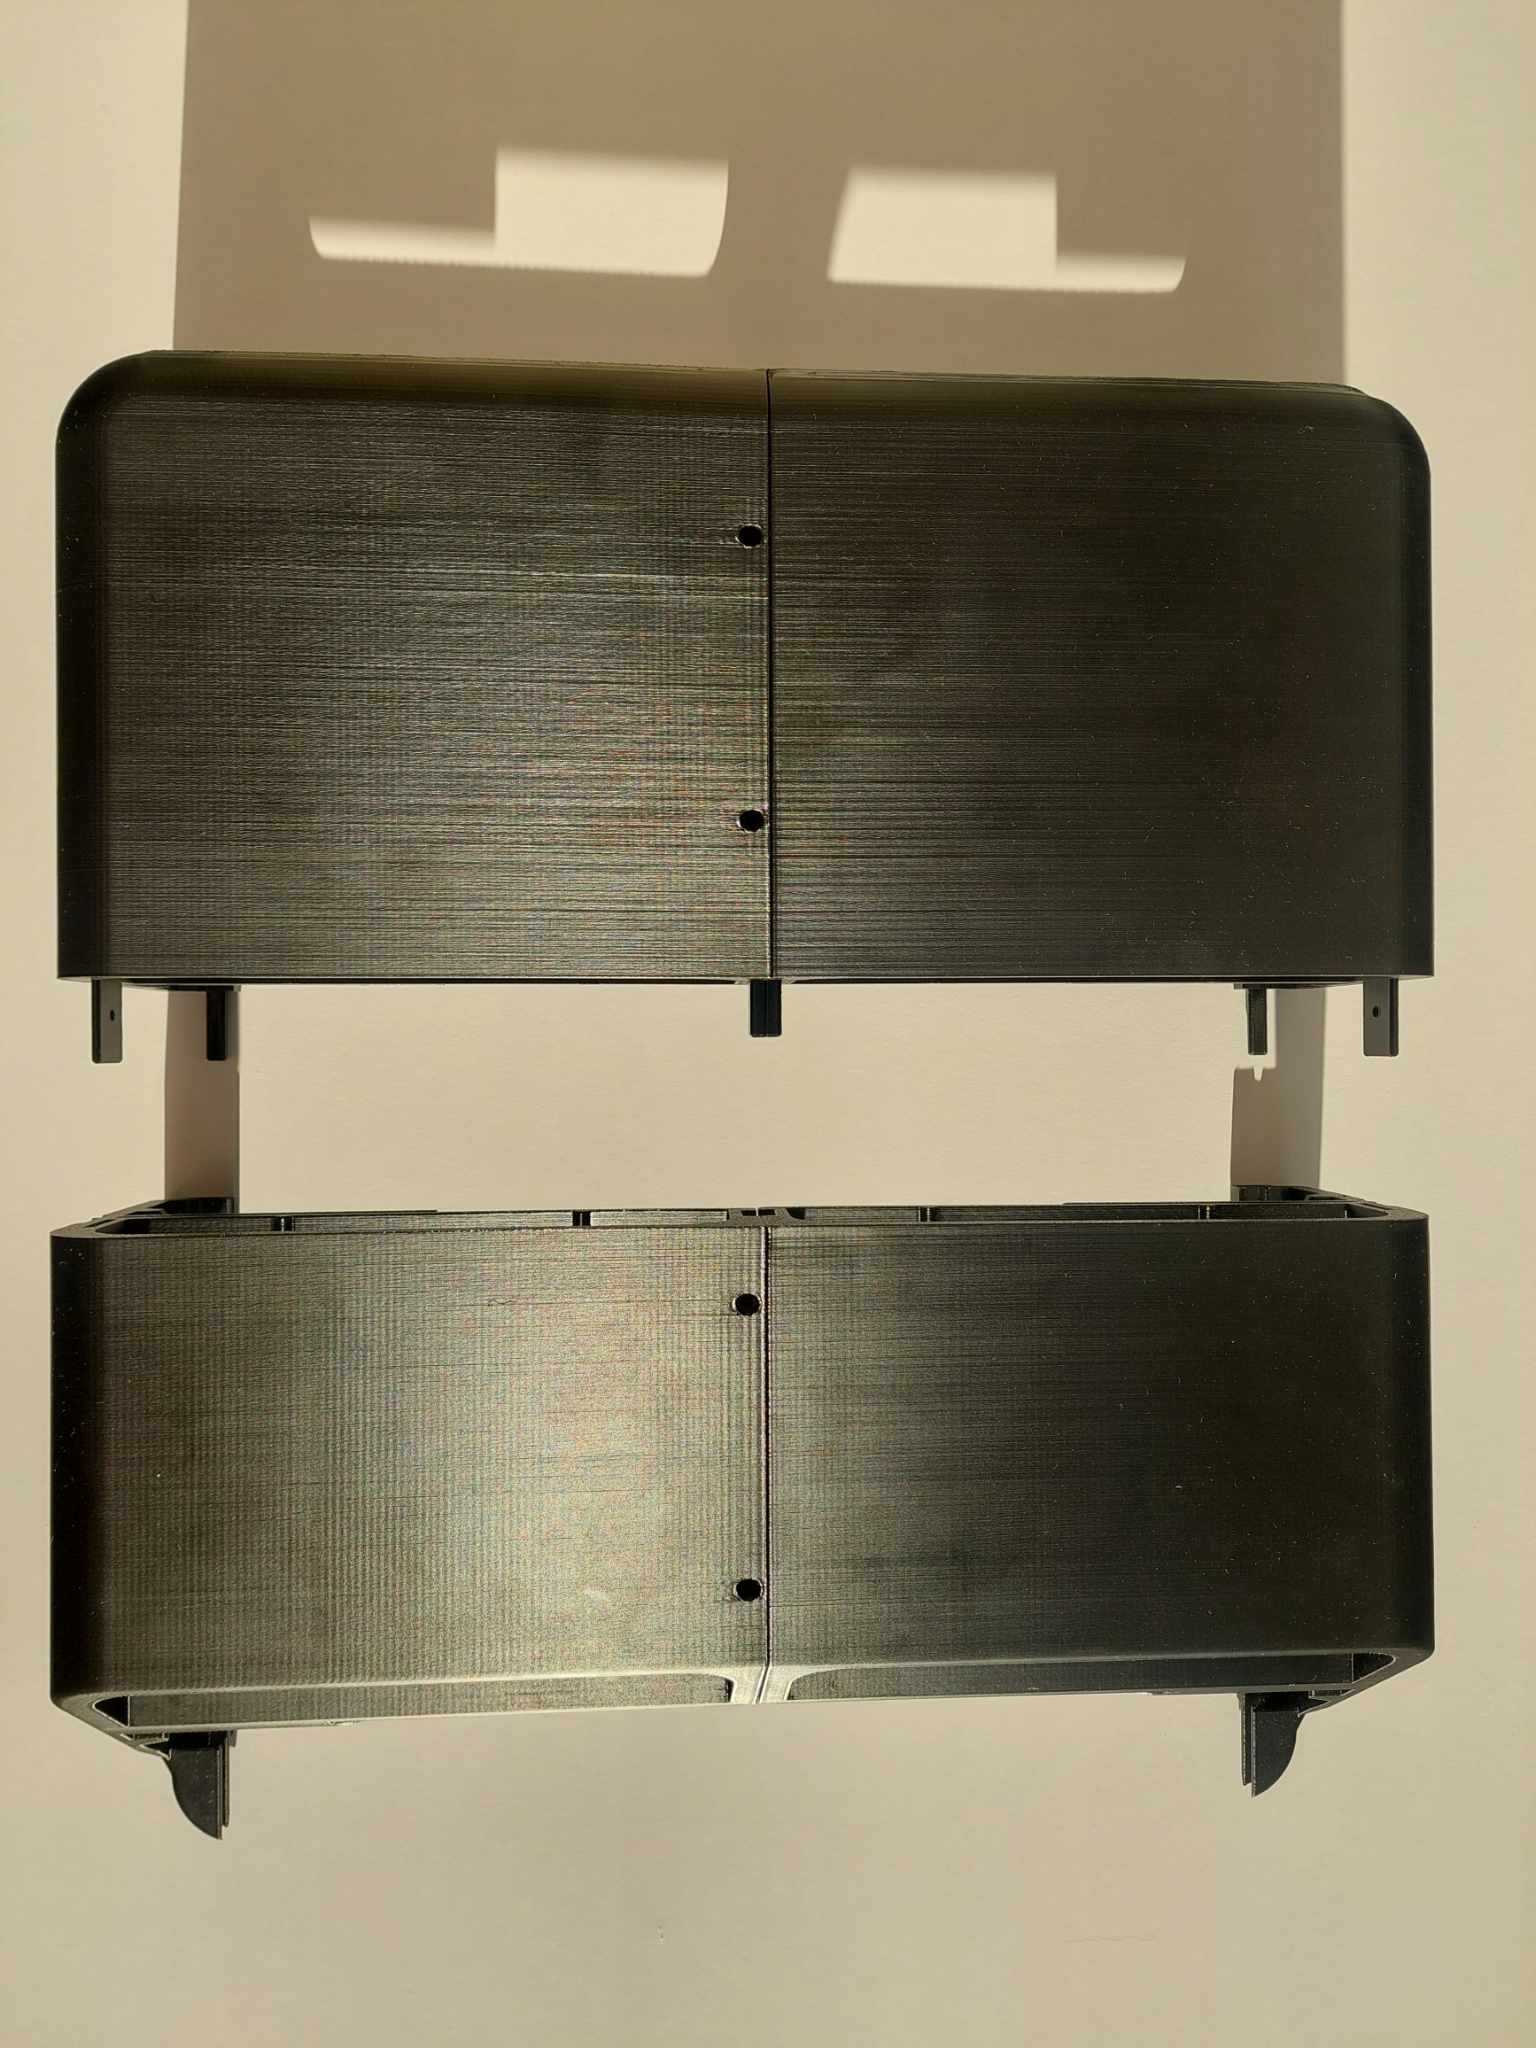
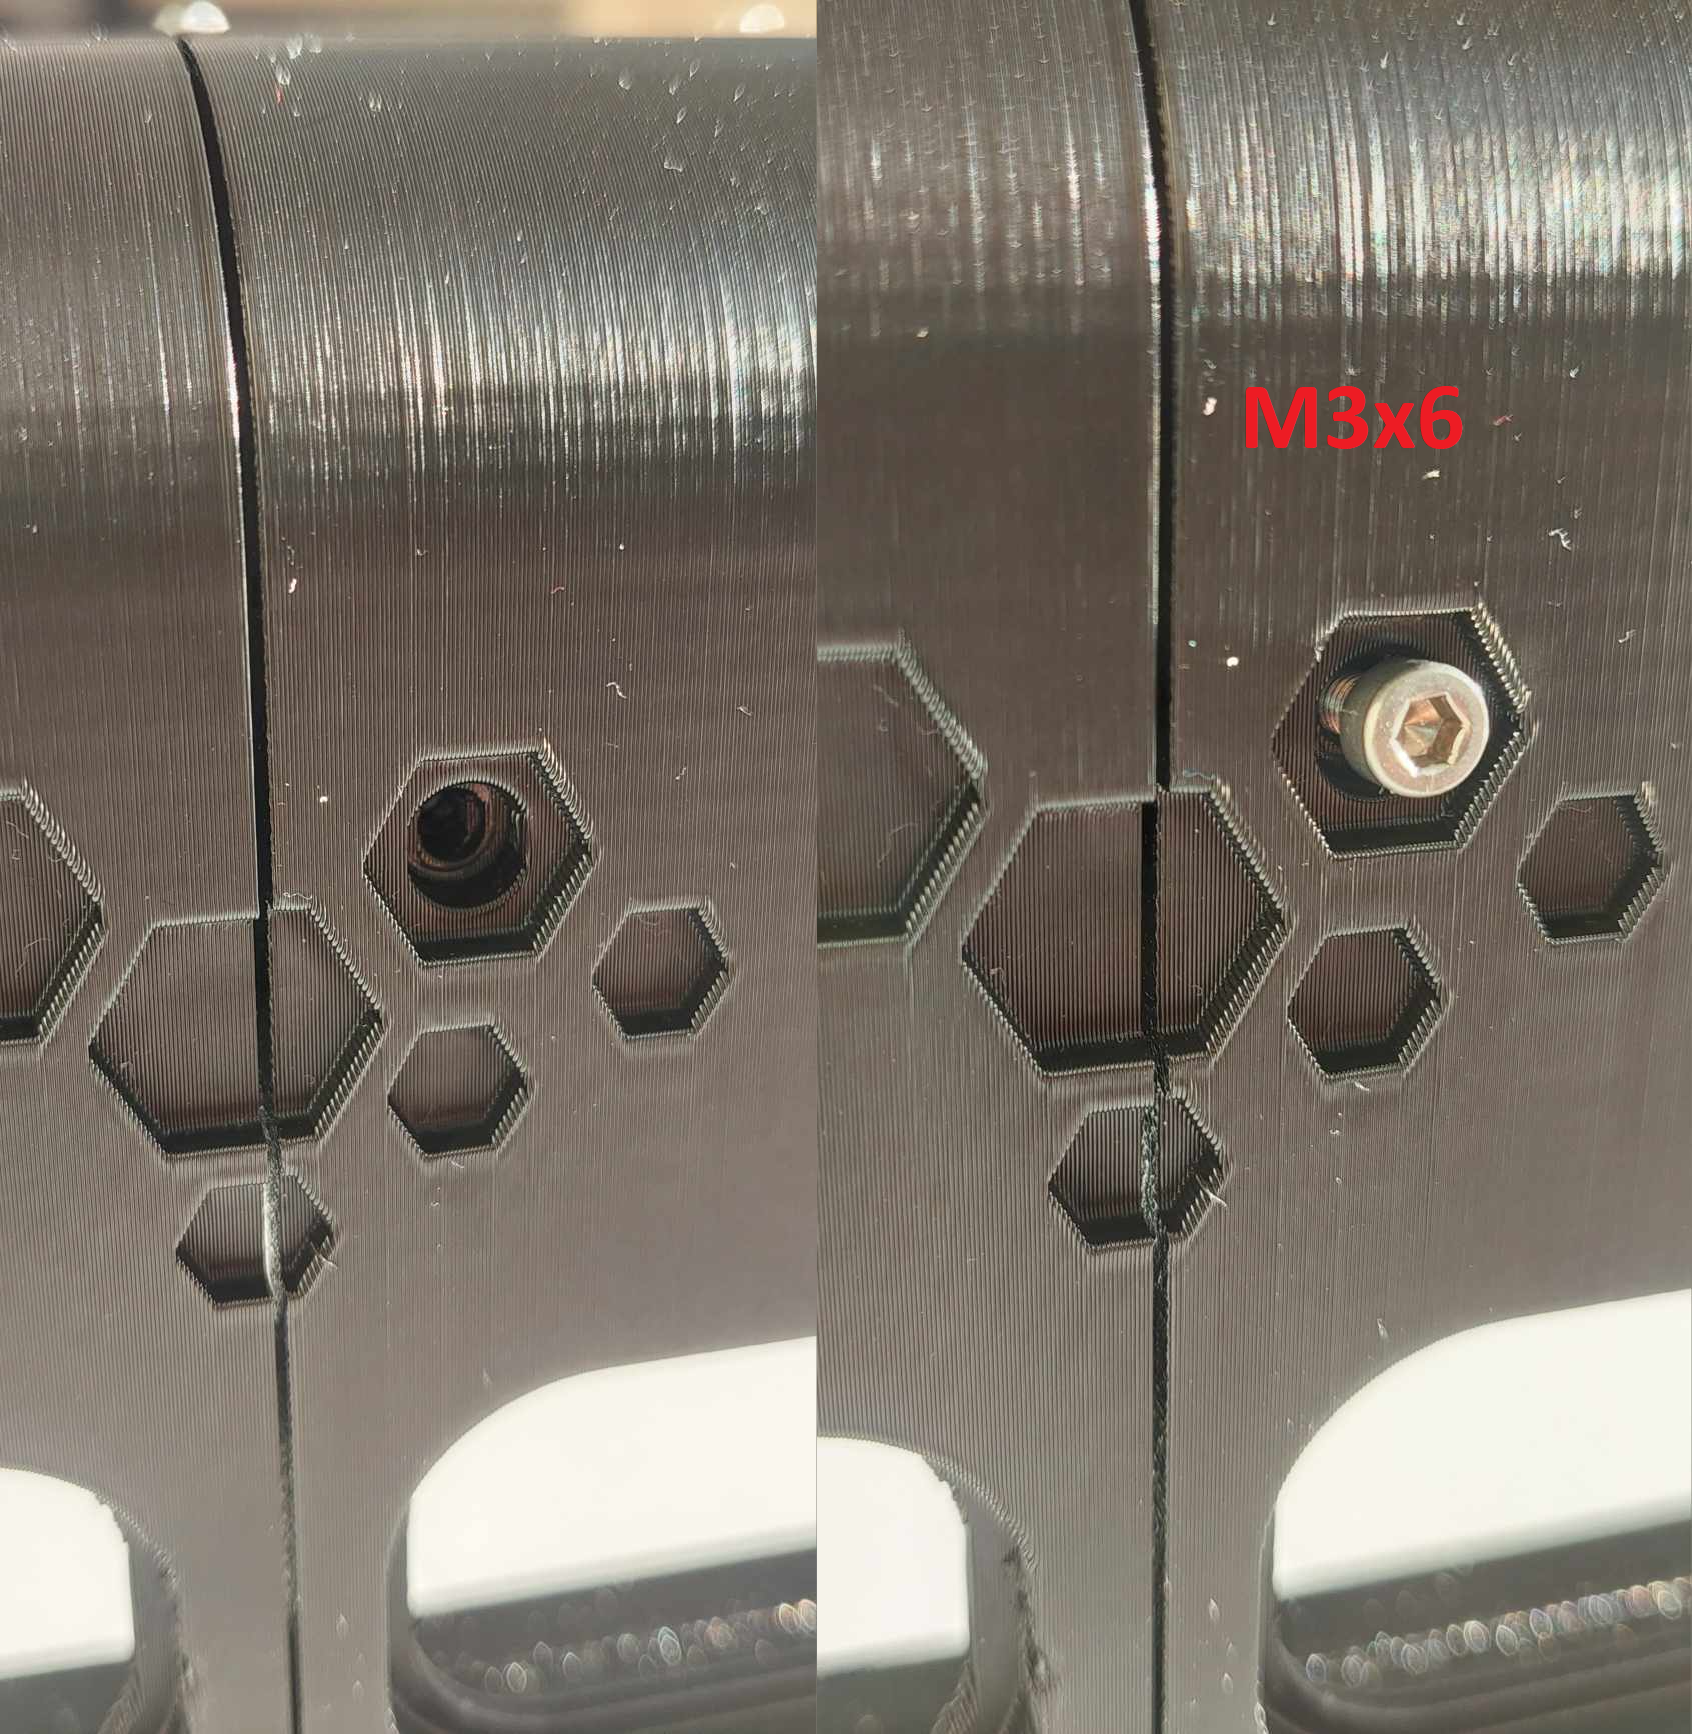
2. Then put both halves together and seruce them with screws (M3x6)/or use glue as shown in picture.
3. Assemble the buttons and cover them with cover. It should click in place. Then put the halves of the front panel together and slide them into the body. You can aslo glue everything together with superglue but it is not necessary, it holds together just fine.
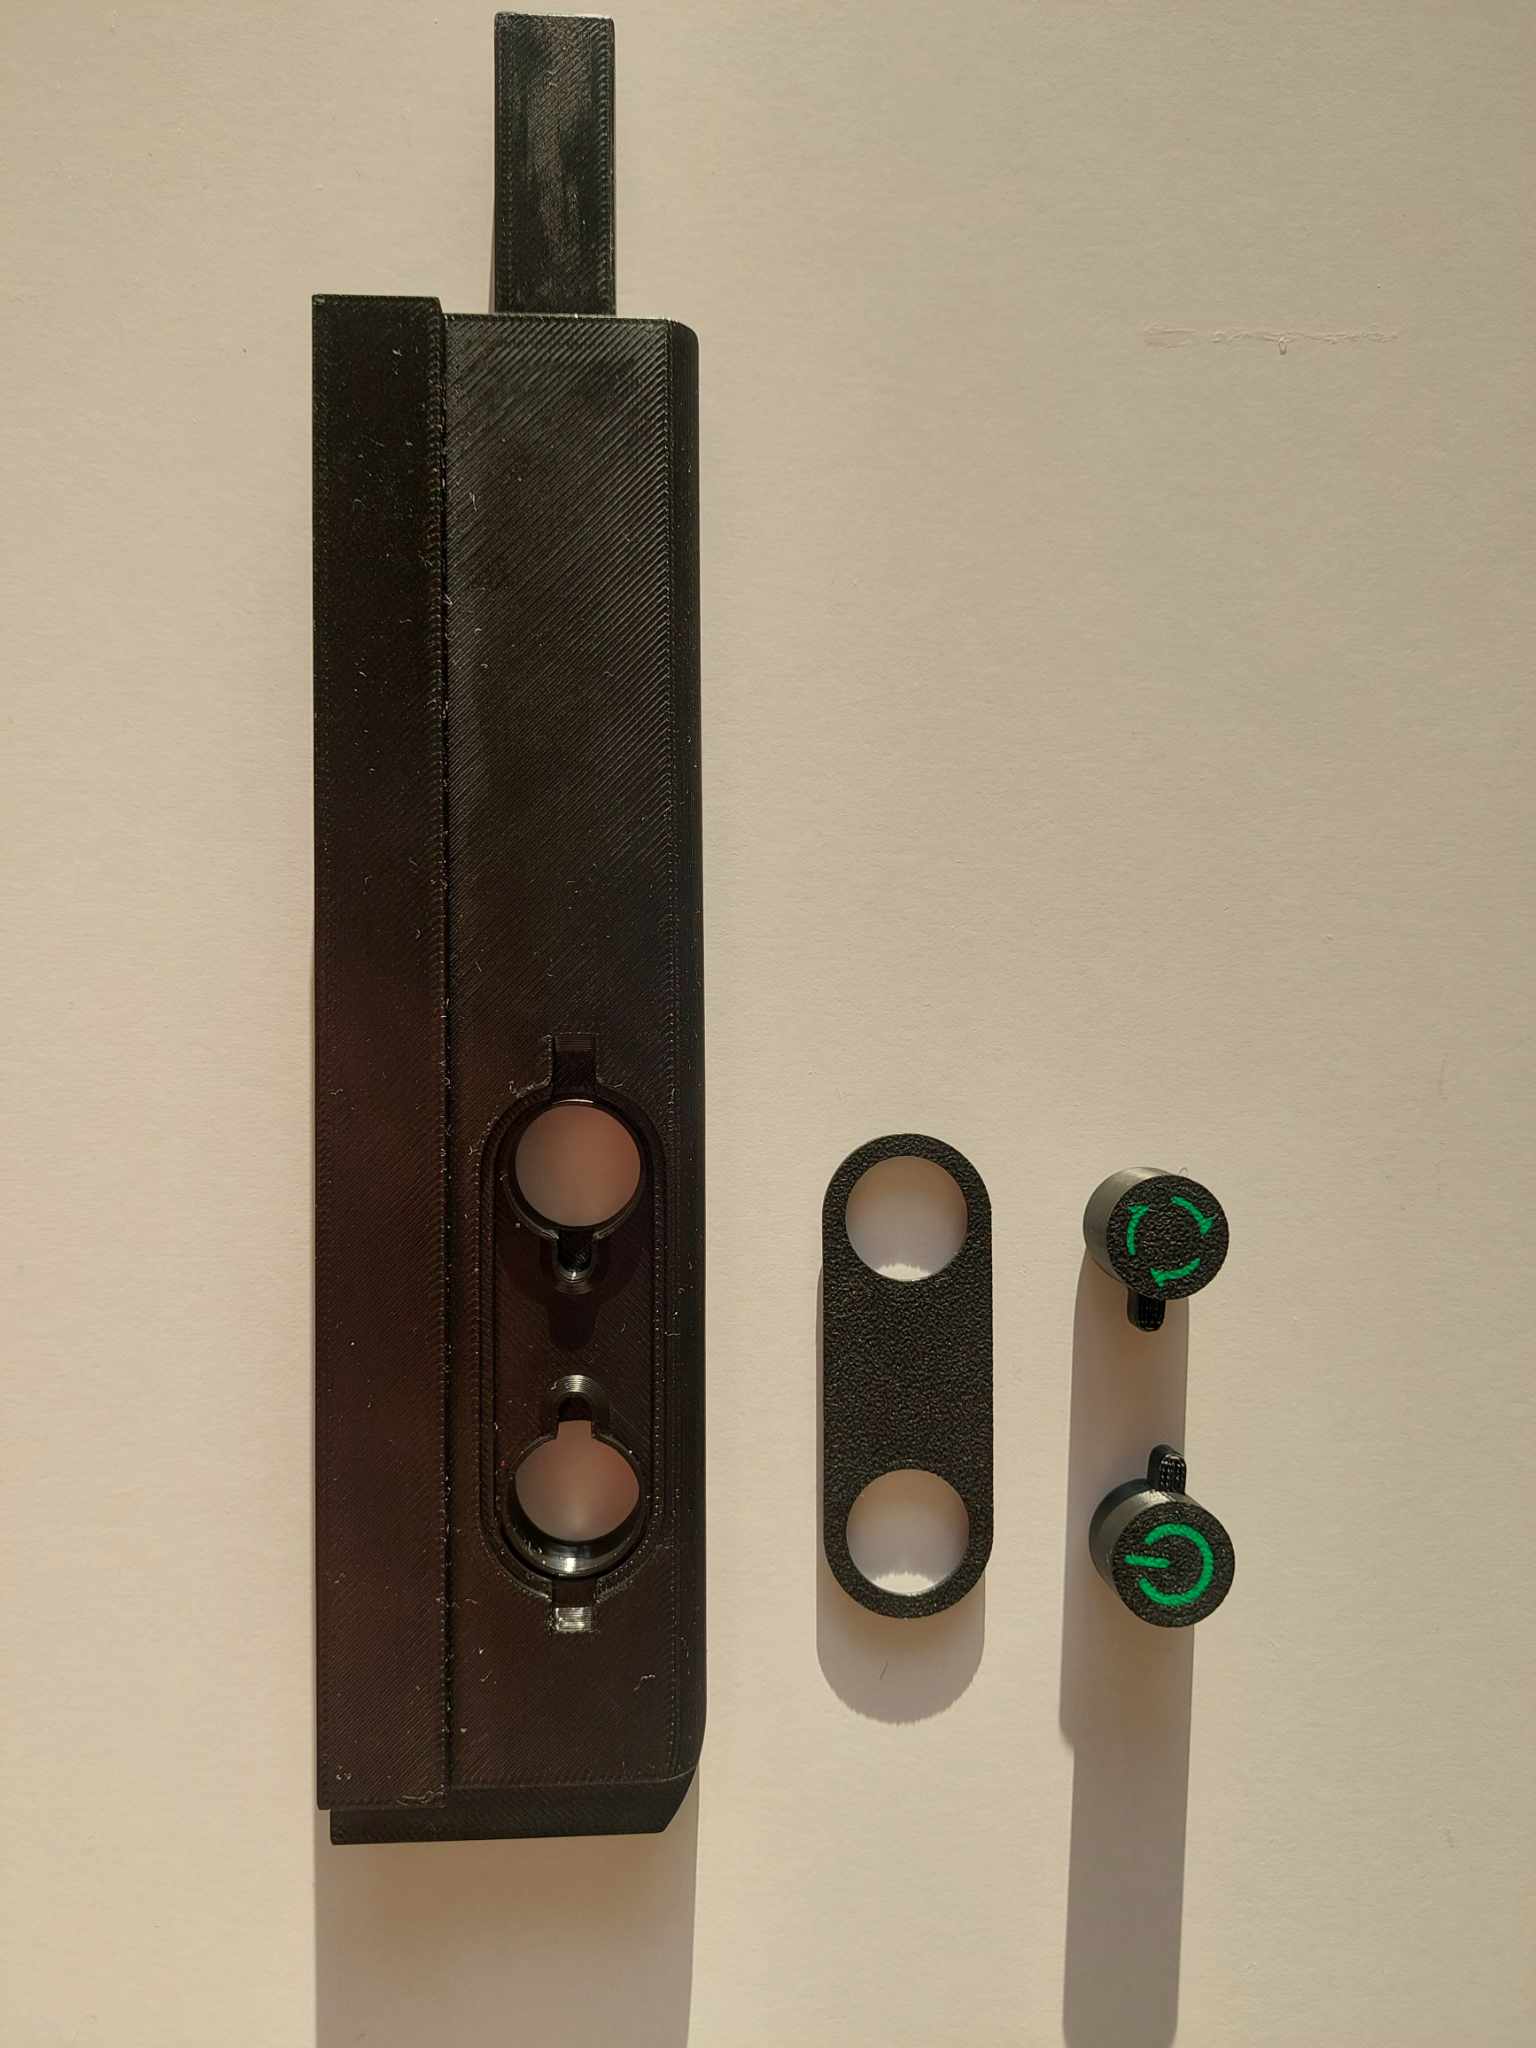
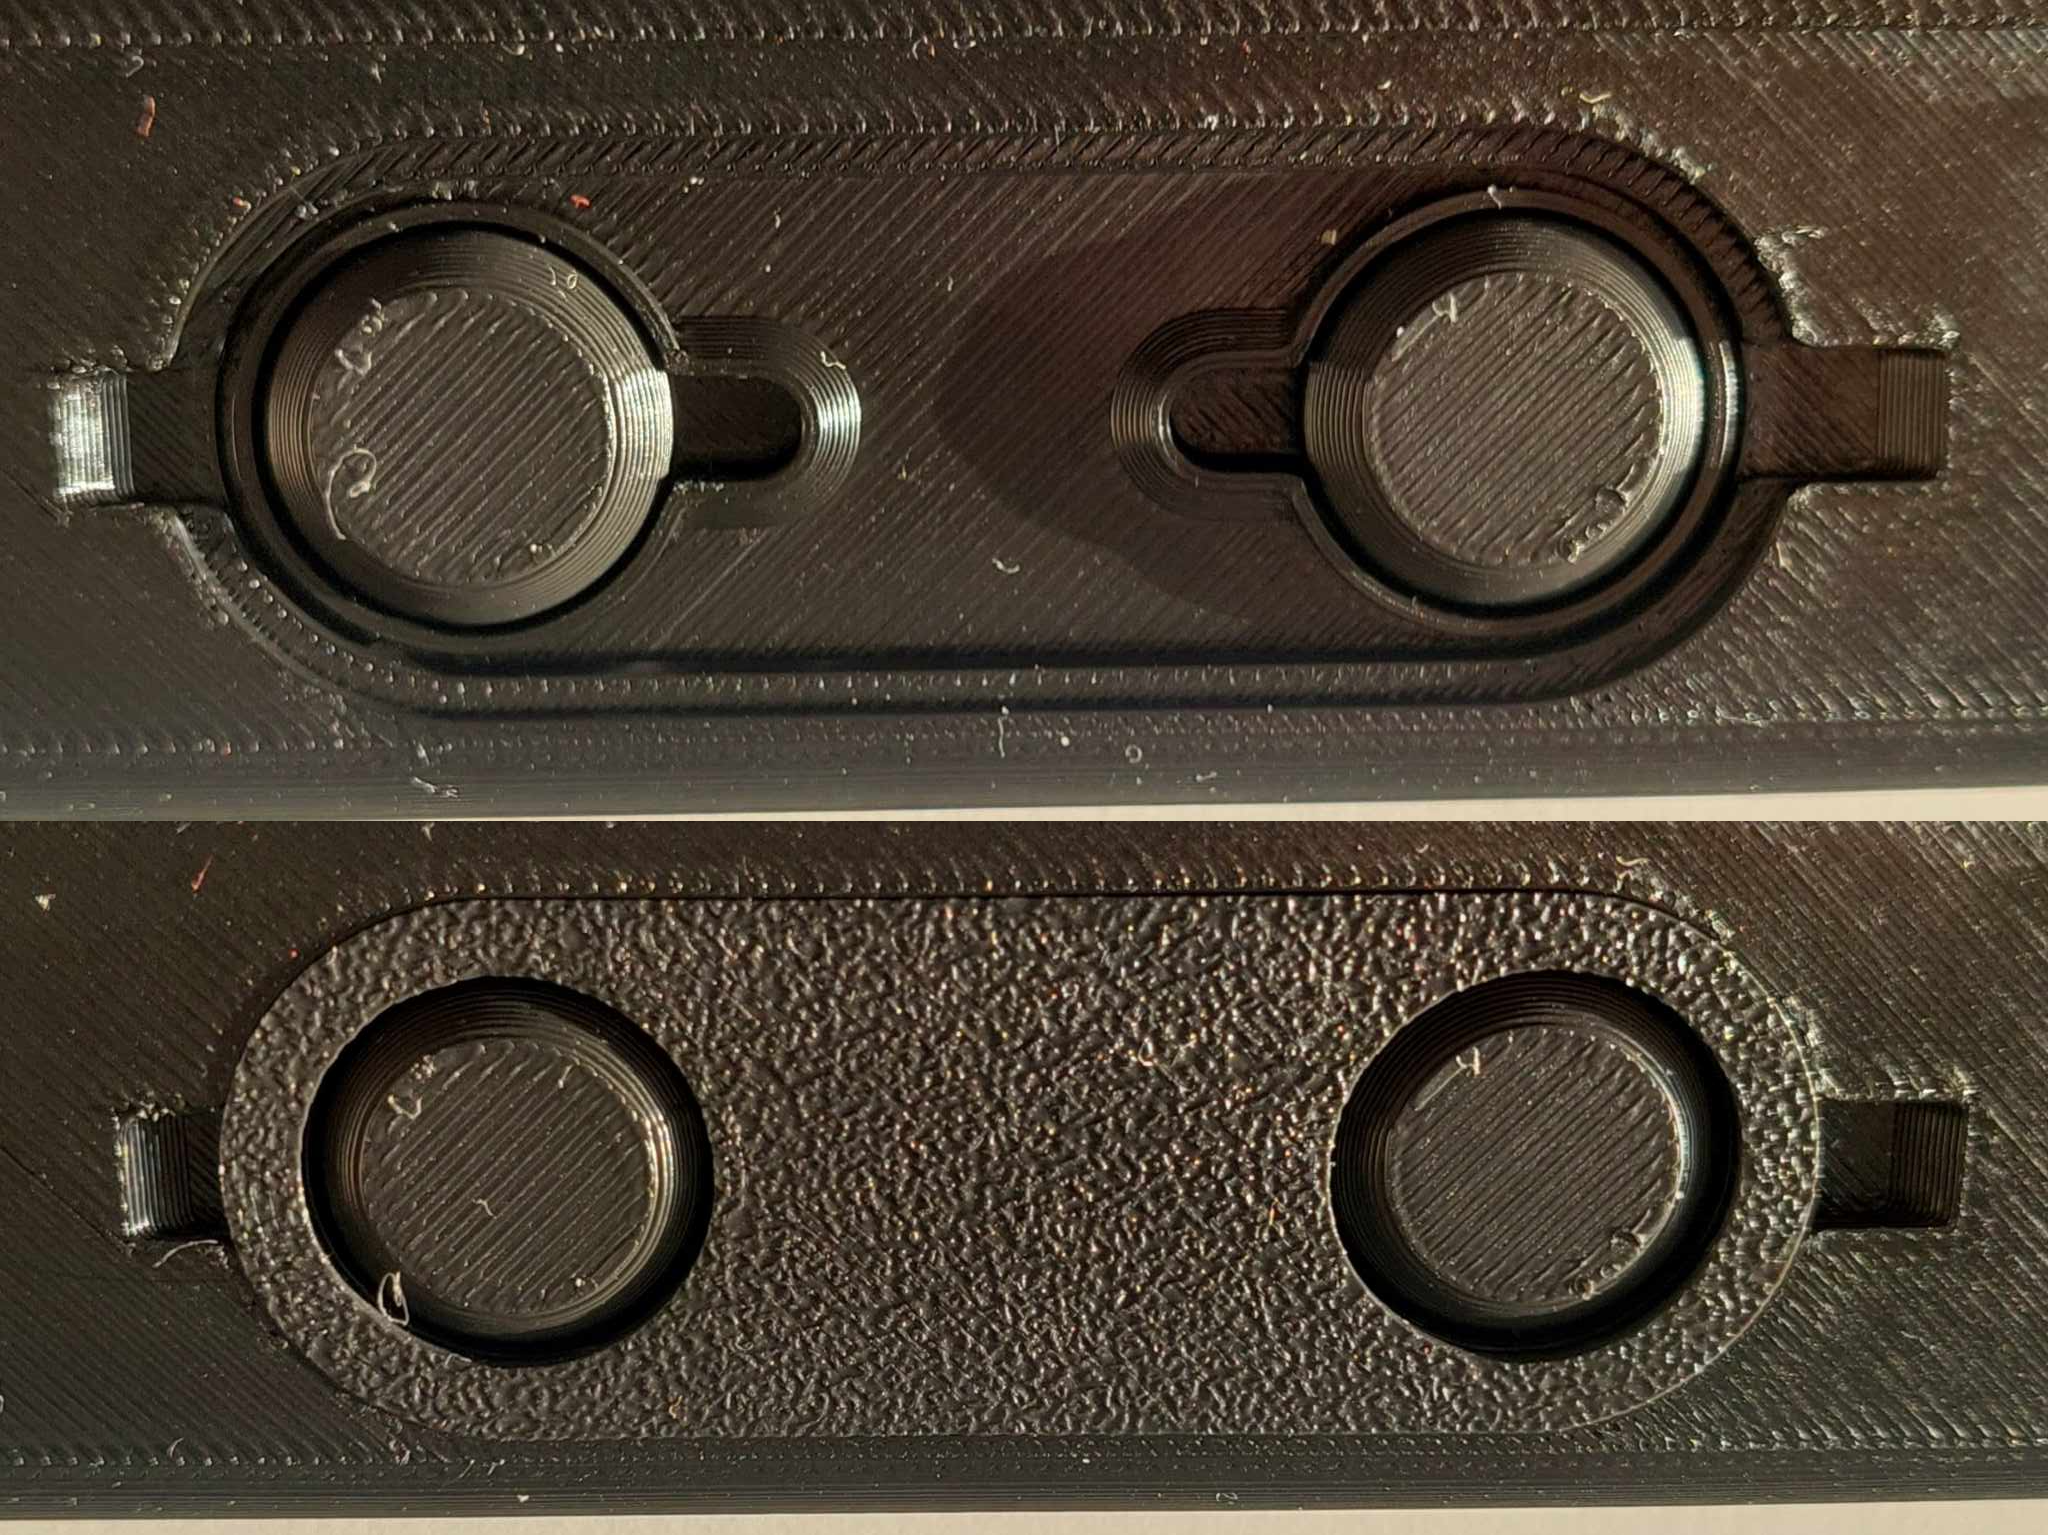
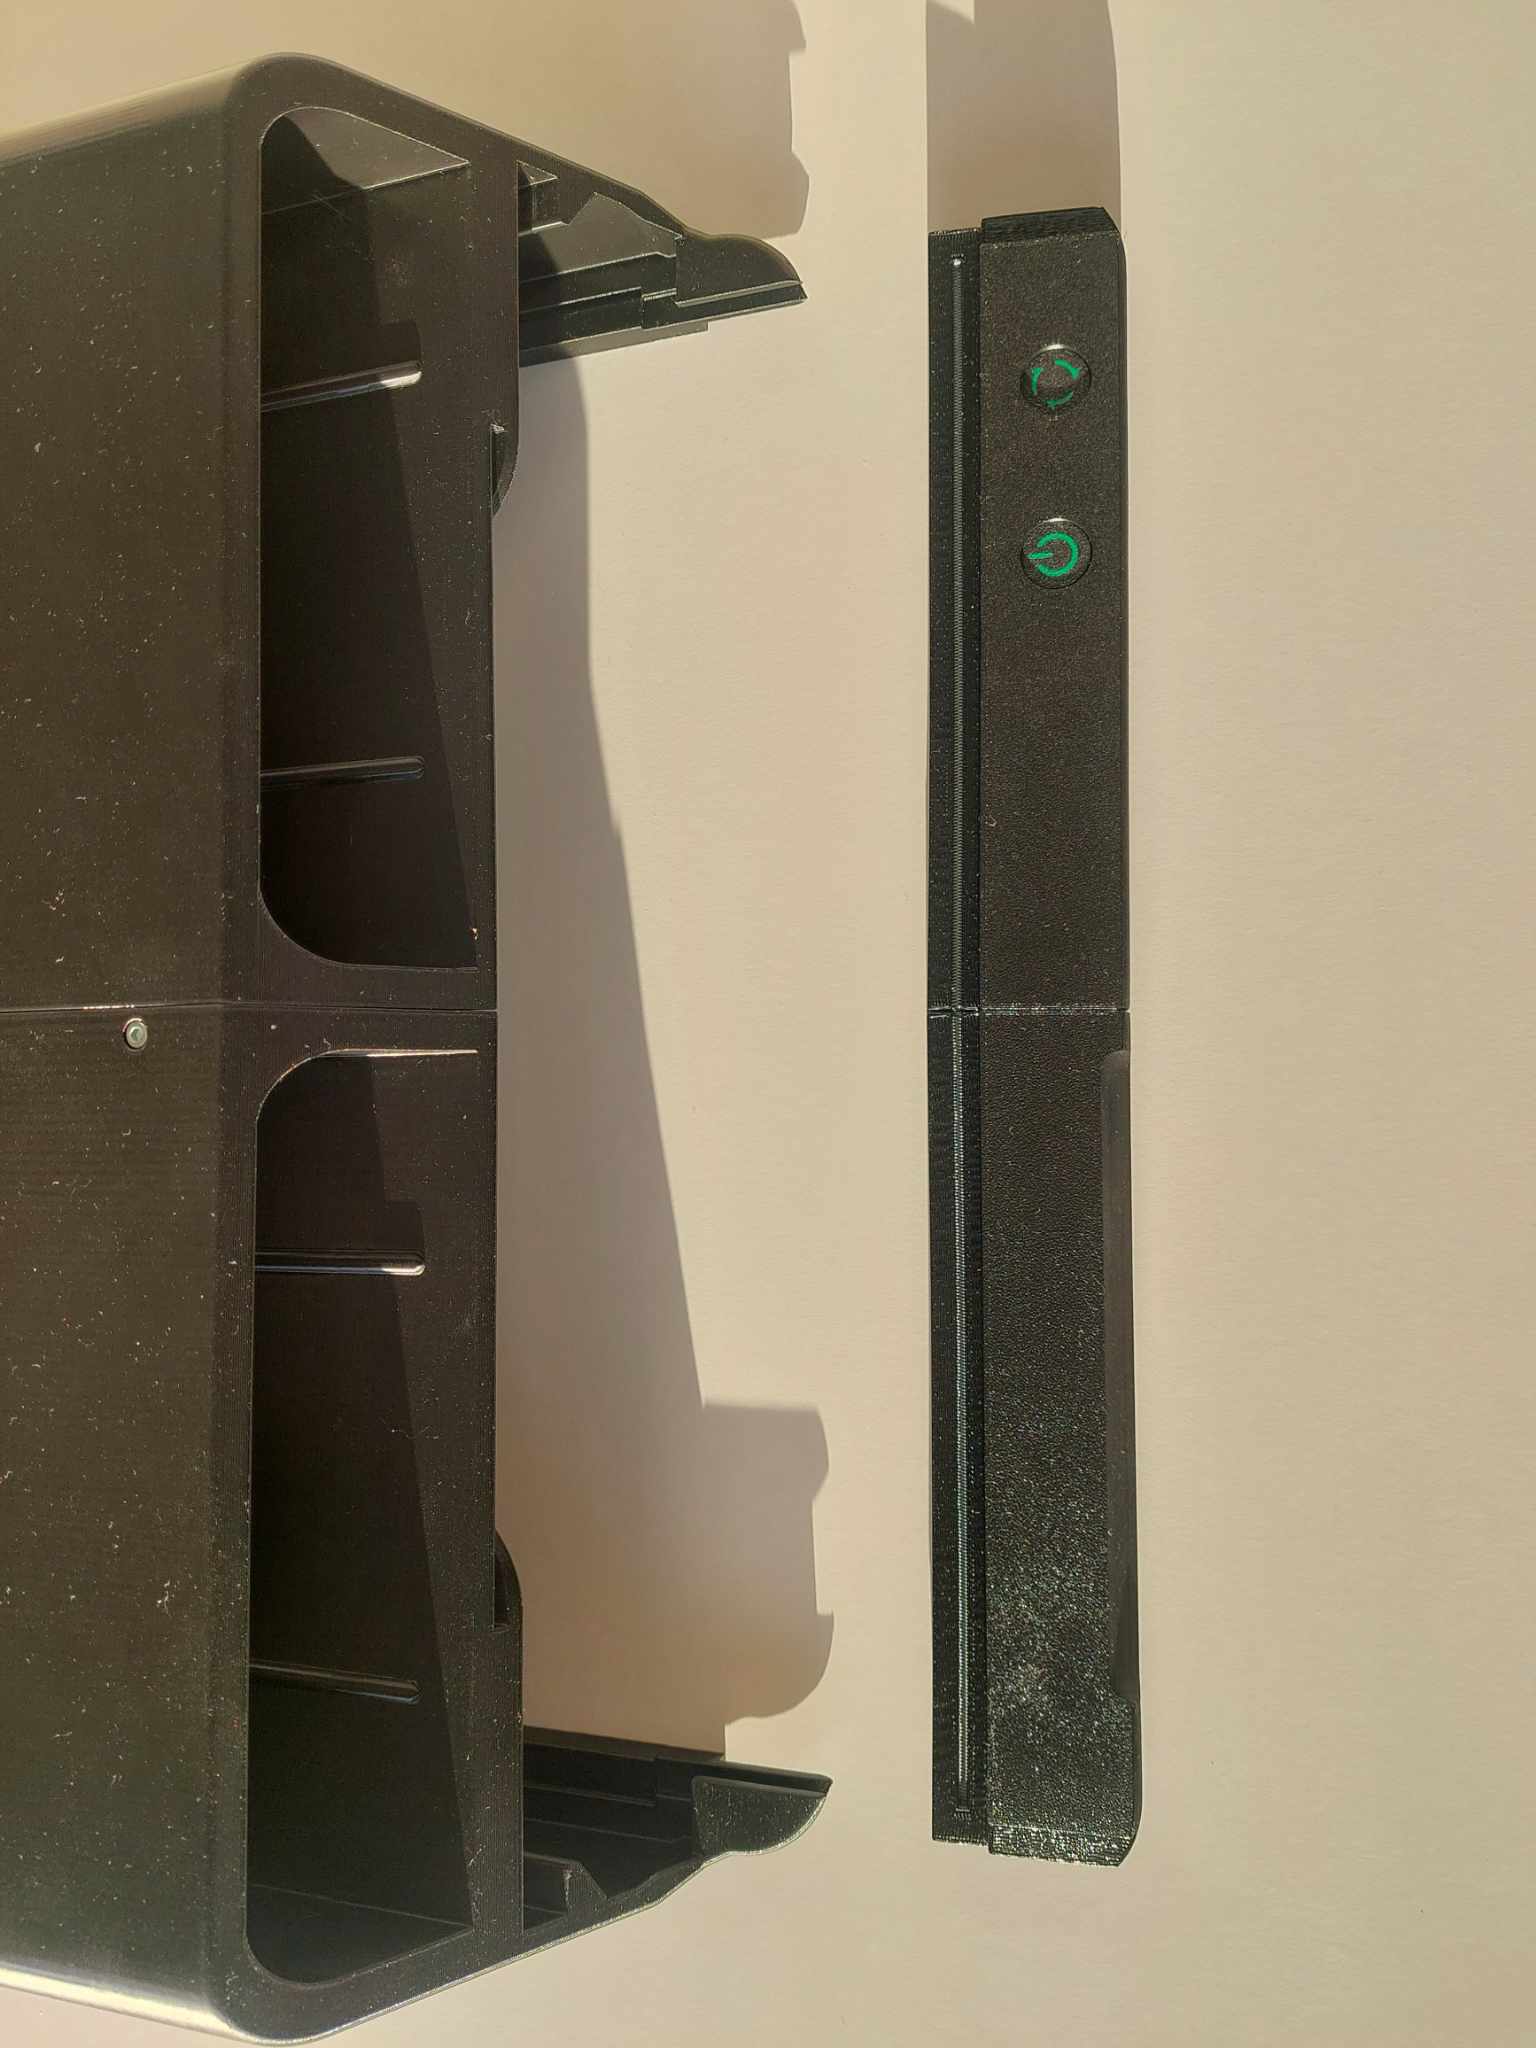
4. Glue the hexagonal patterns on the sides and on the drawers.
5. Put the vents in place. They should click easily. Make sure you cleaned all supports, otherwise they won't go in place.
6. Put the drawers inside. It can be a bit difficult first couple of times but then it works and clicks in place just as it should.
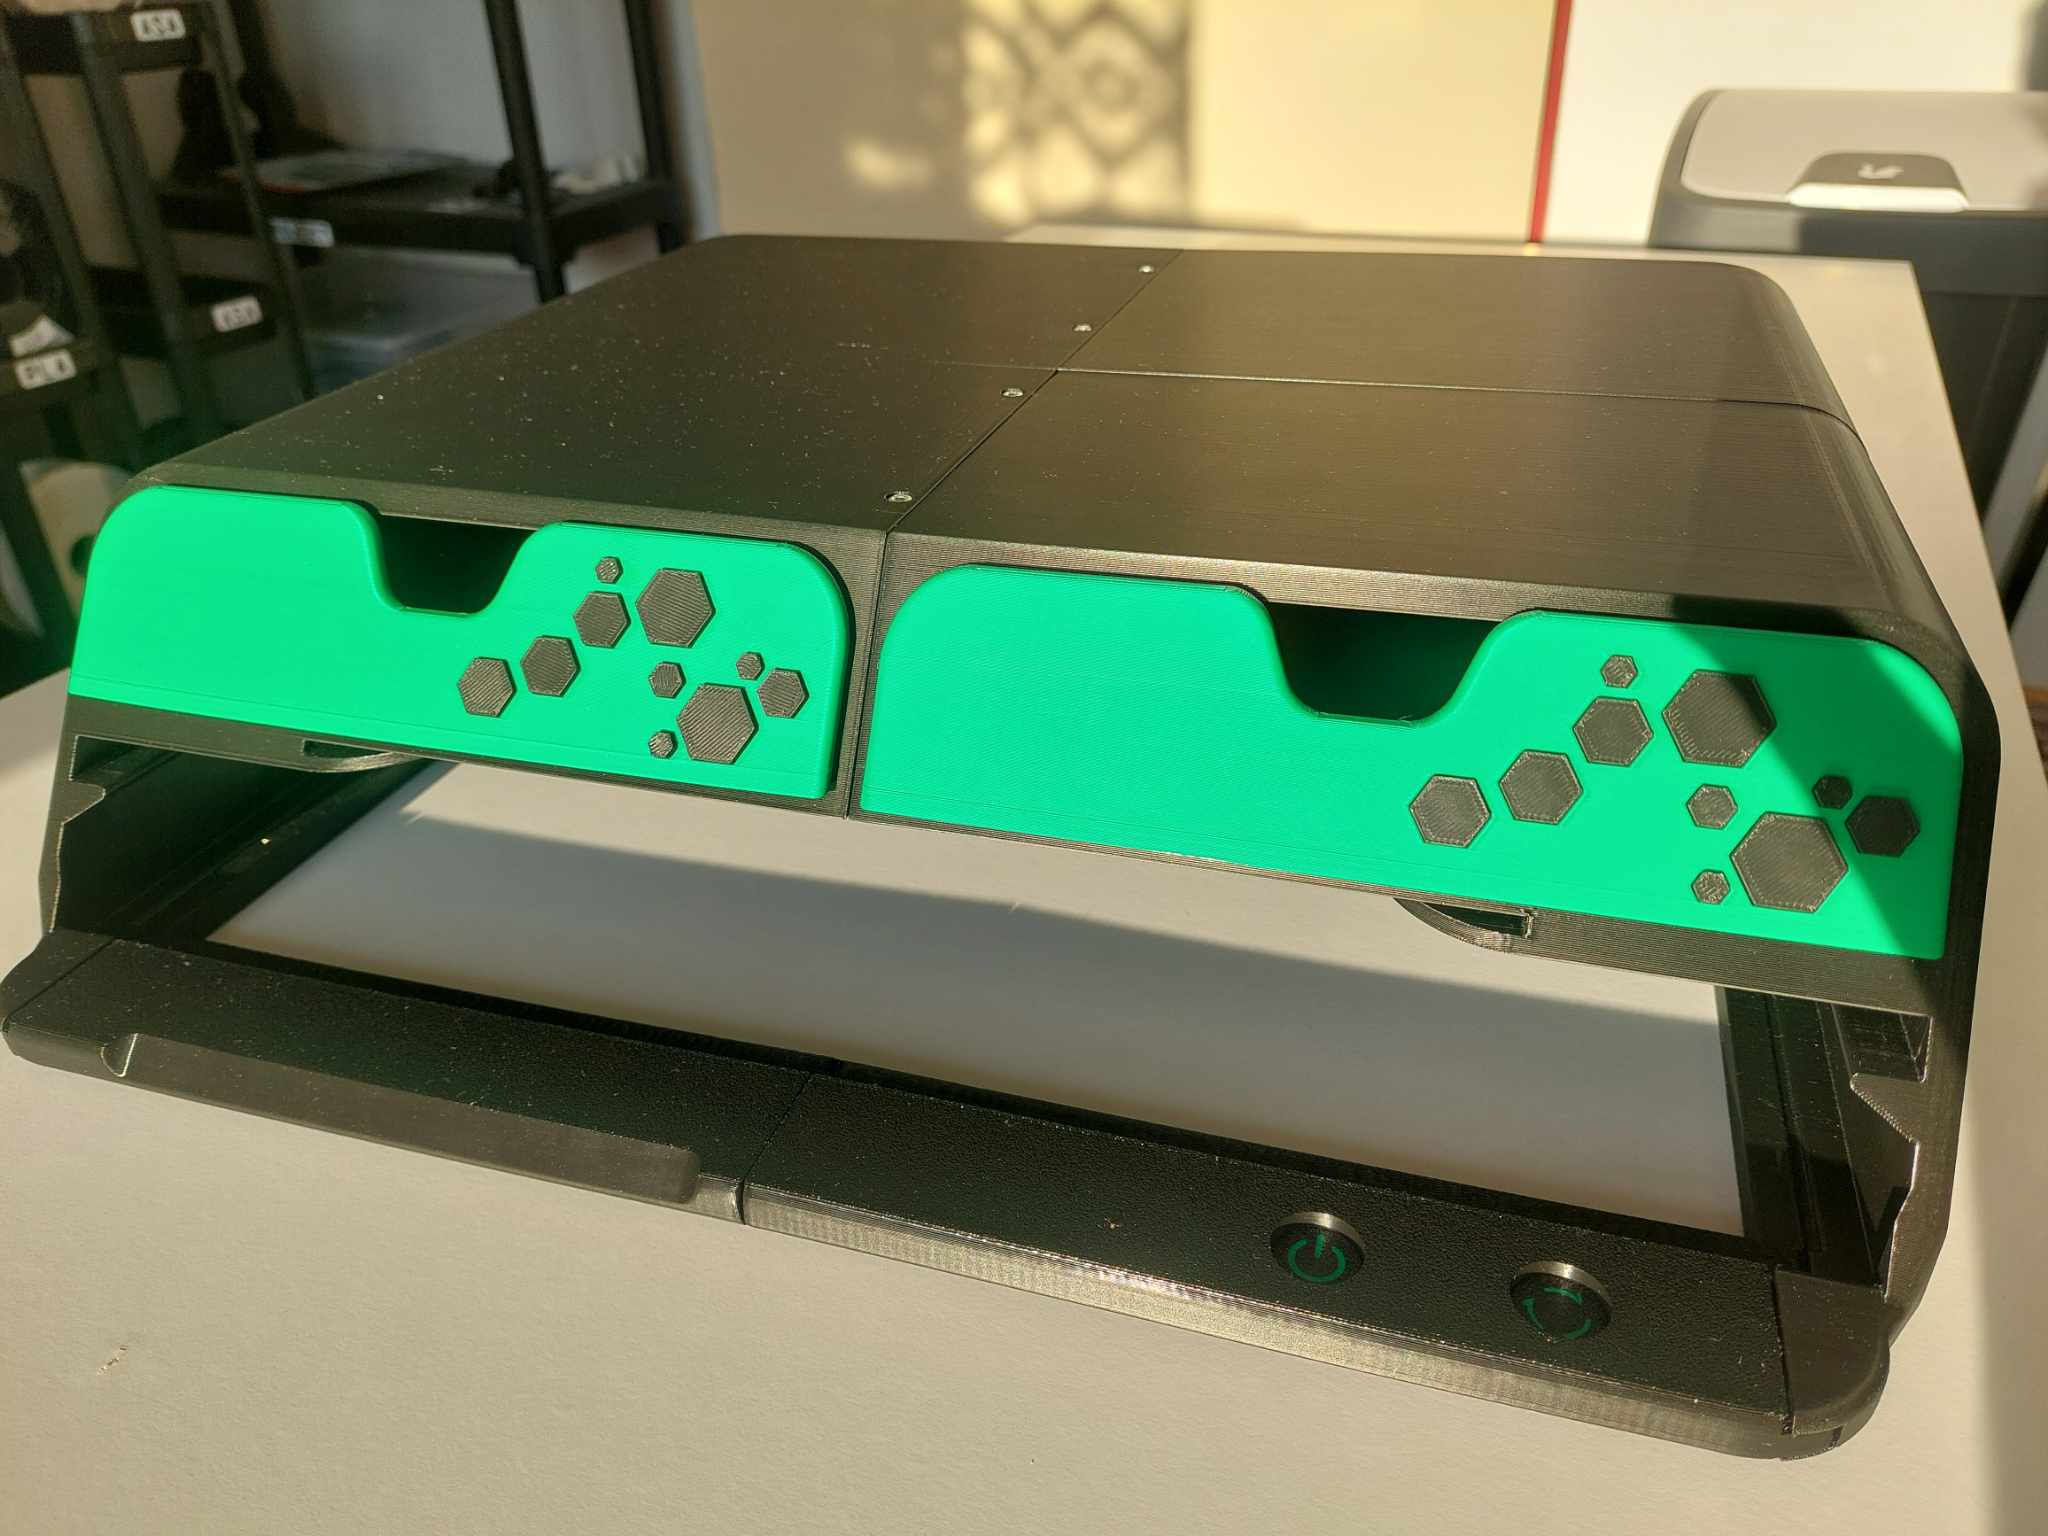
When putting on the printer, make sure you aling the riser buttons with the printer, because it has some play to make sure it fits all printers.

Gostou deste modelo? Crie uma conta grátis para salvar seus favoritos e voltar a eles depois.
Criar conta