Você está no 3DFinder
Buscamos em Thingiverse, MakerWorld e Printables ao mesmo tempo para te dar o melhor de cada uma.
Descrição
Patreon : If you would like to support my work I now have a patreon here
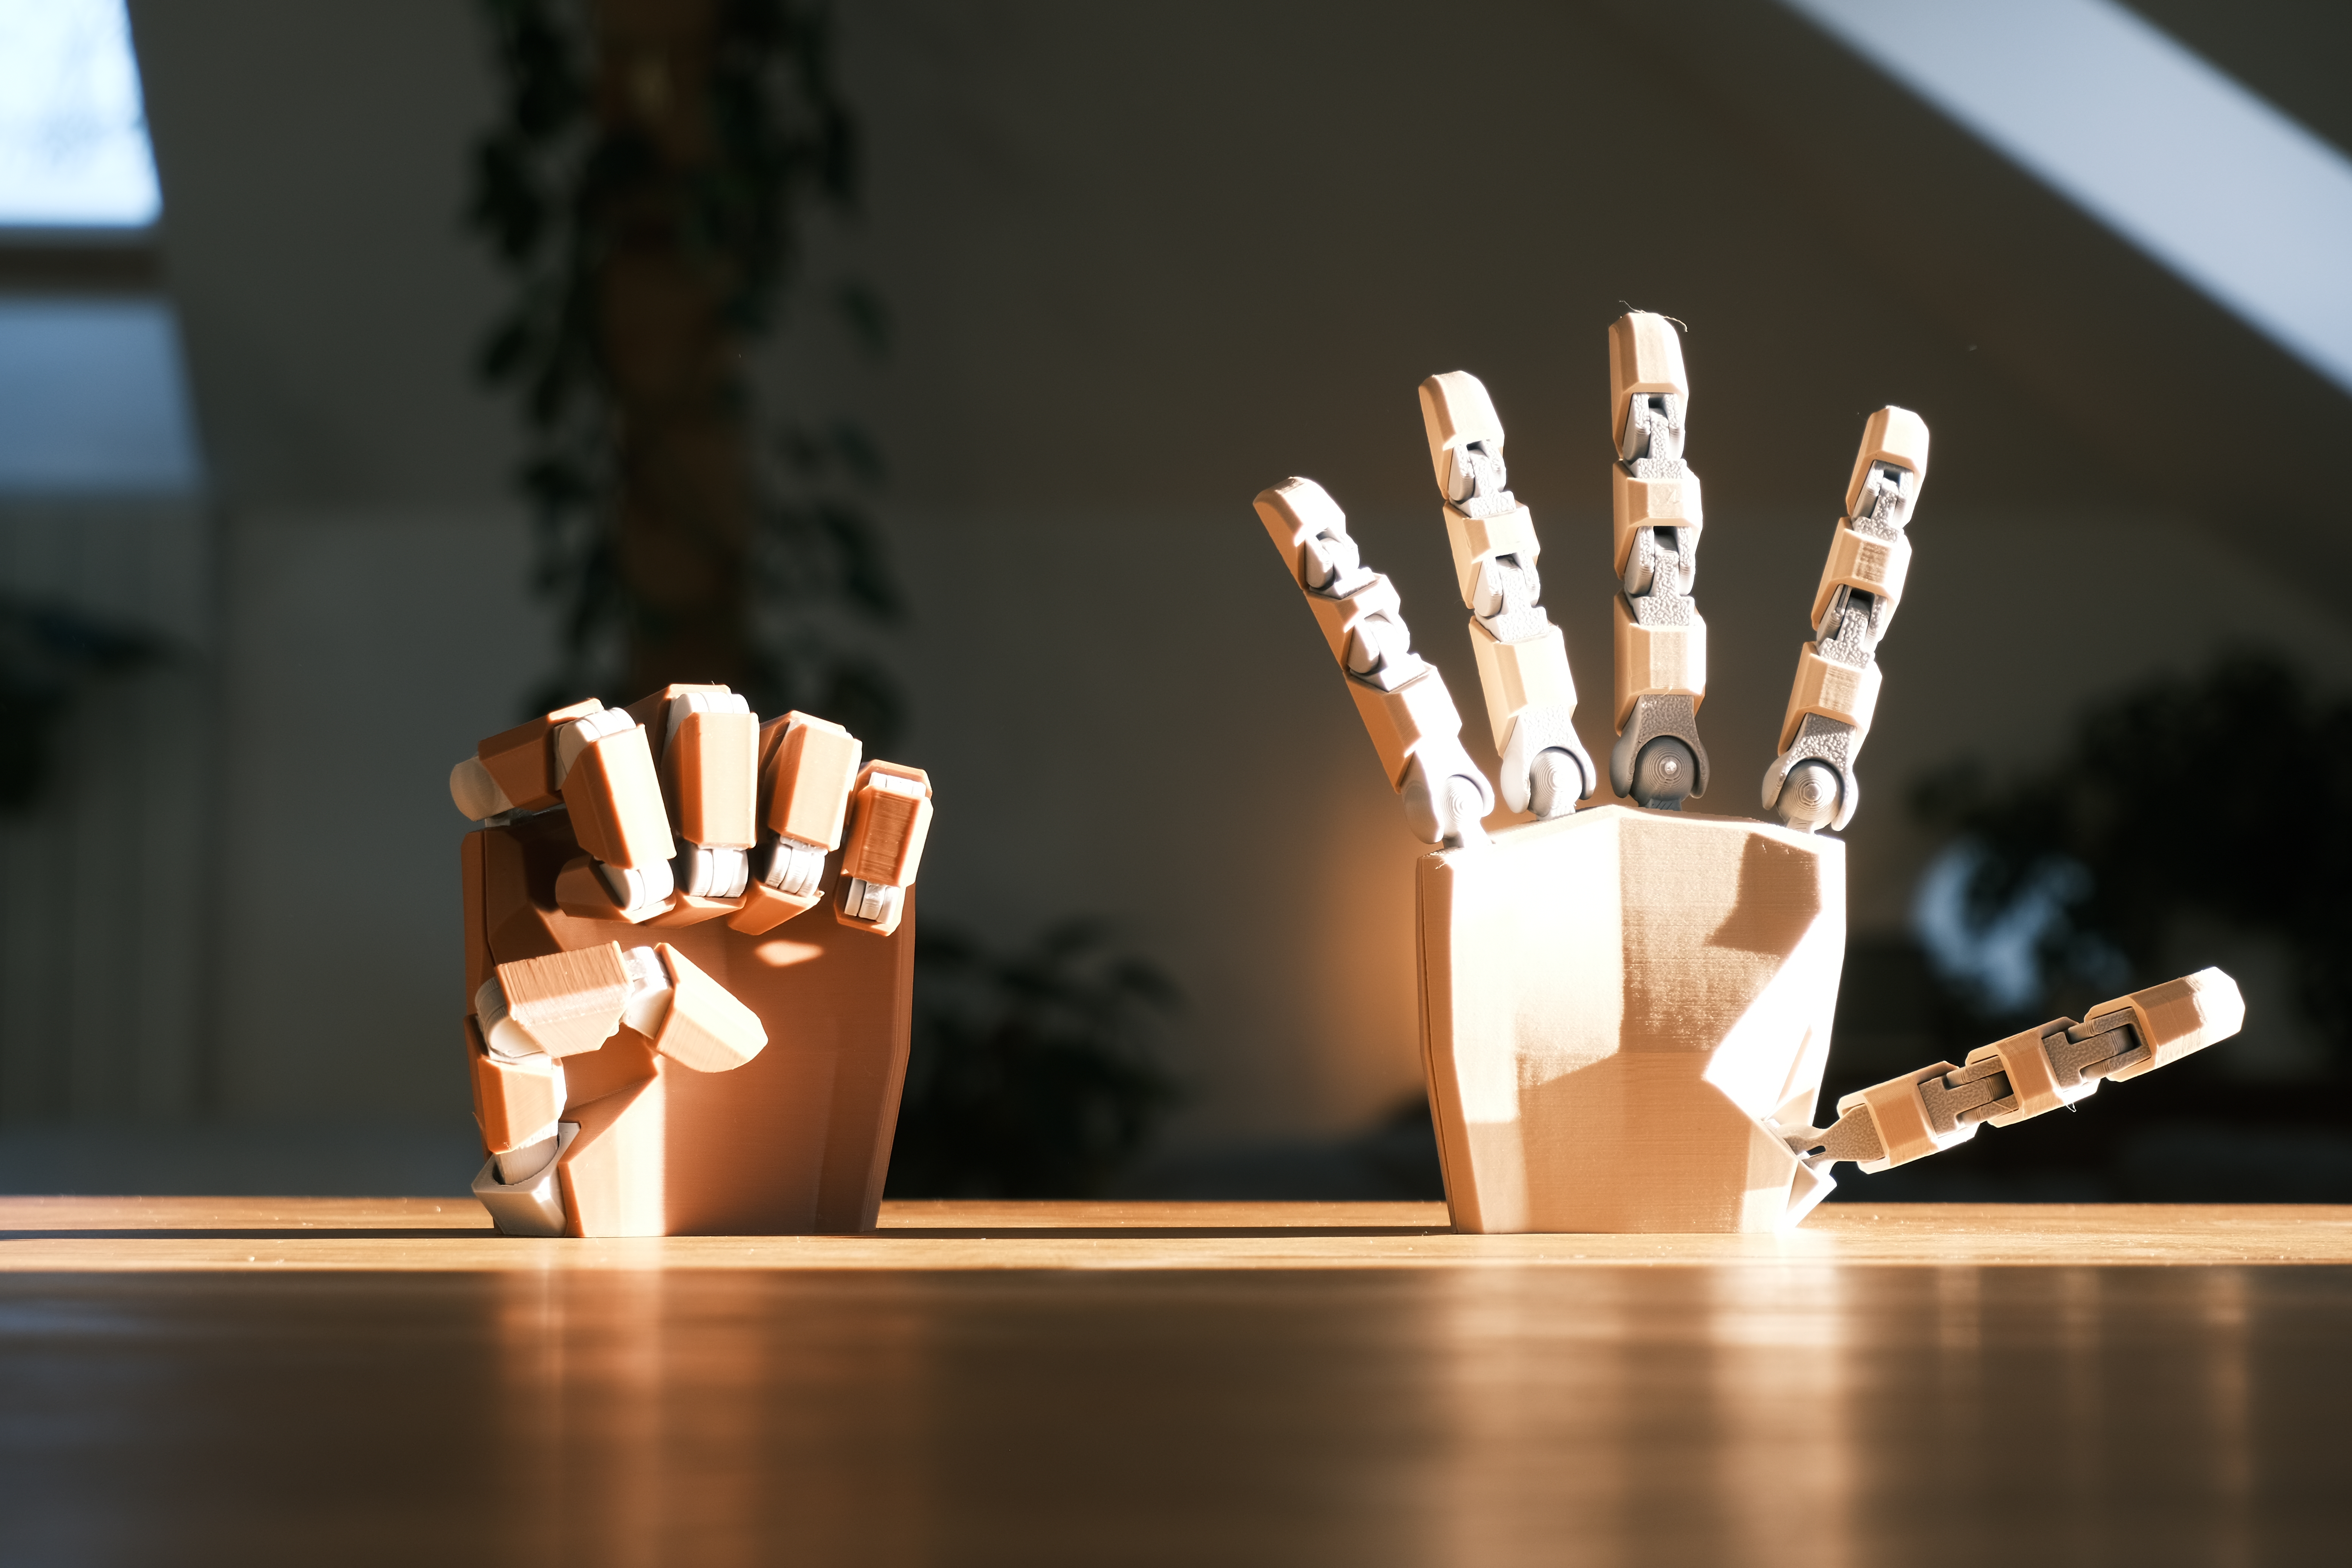
Drawing inspiration from Soozafone's Dummy13, I thought it would be exciting to adapt the concept to a hand by constructing a skeleton layered with armored elements.
The outcome is a visually striking hand, featuring a biologically accurate skeleton beneath the surface.
Printing tips
Material
The skeleton should be printed in PETG or a similar material, as PLA is unsuitable due to the risk of the joints loosening over time. The skin parts, however, can be printed using any material.
Layer height
I used 0.2mm layers for all my tests, but you can probably use a lower layer height.
Assembly instructions :
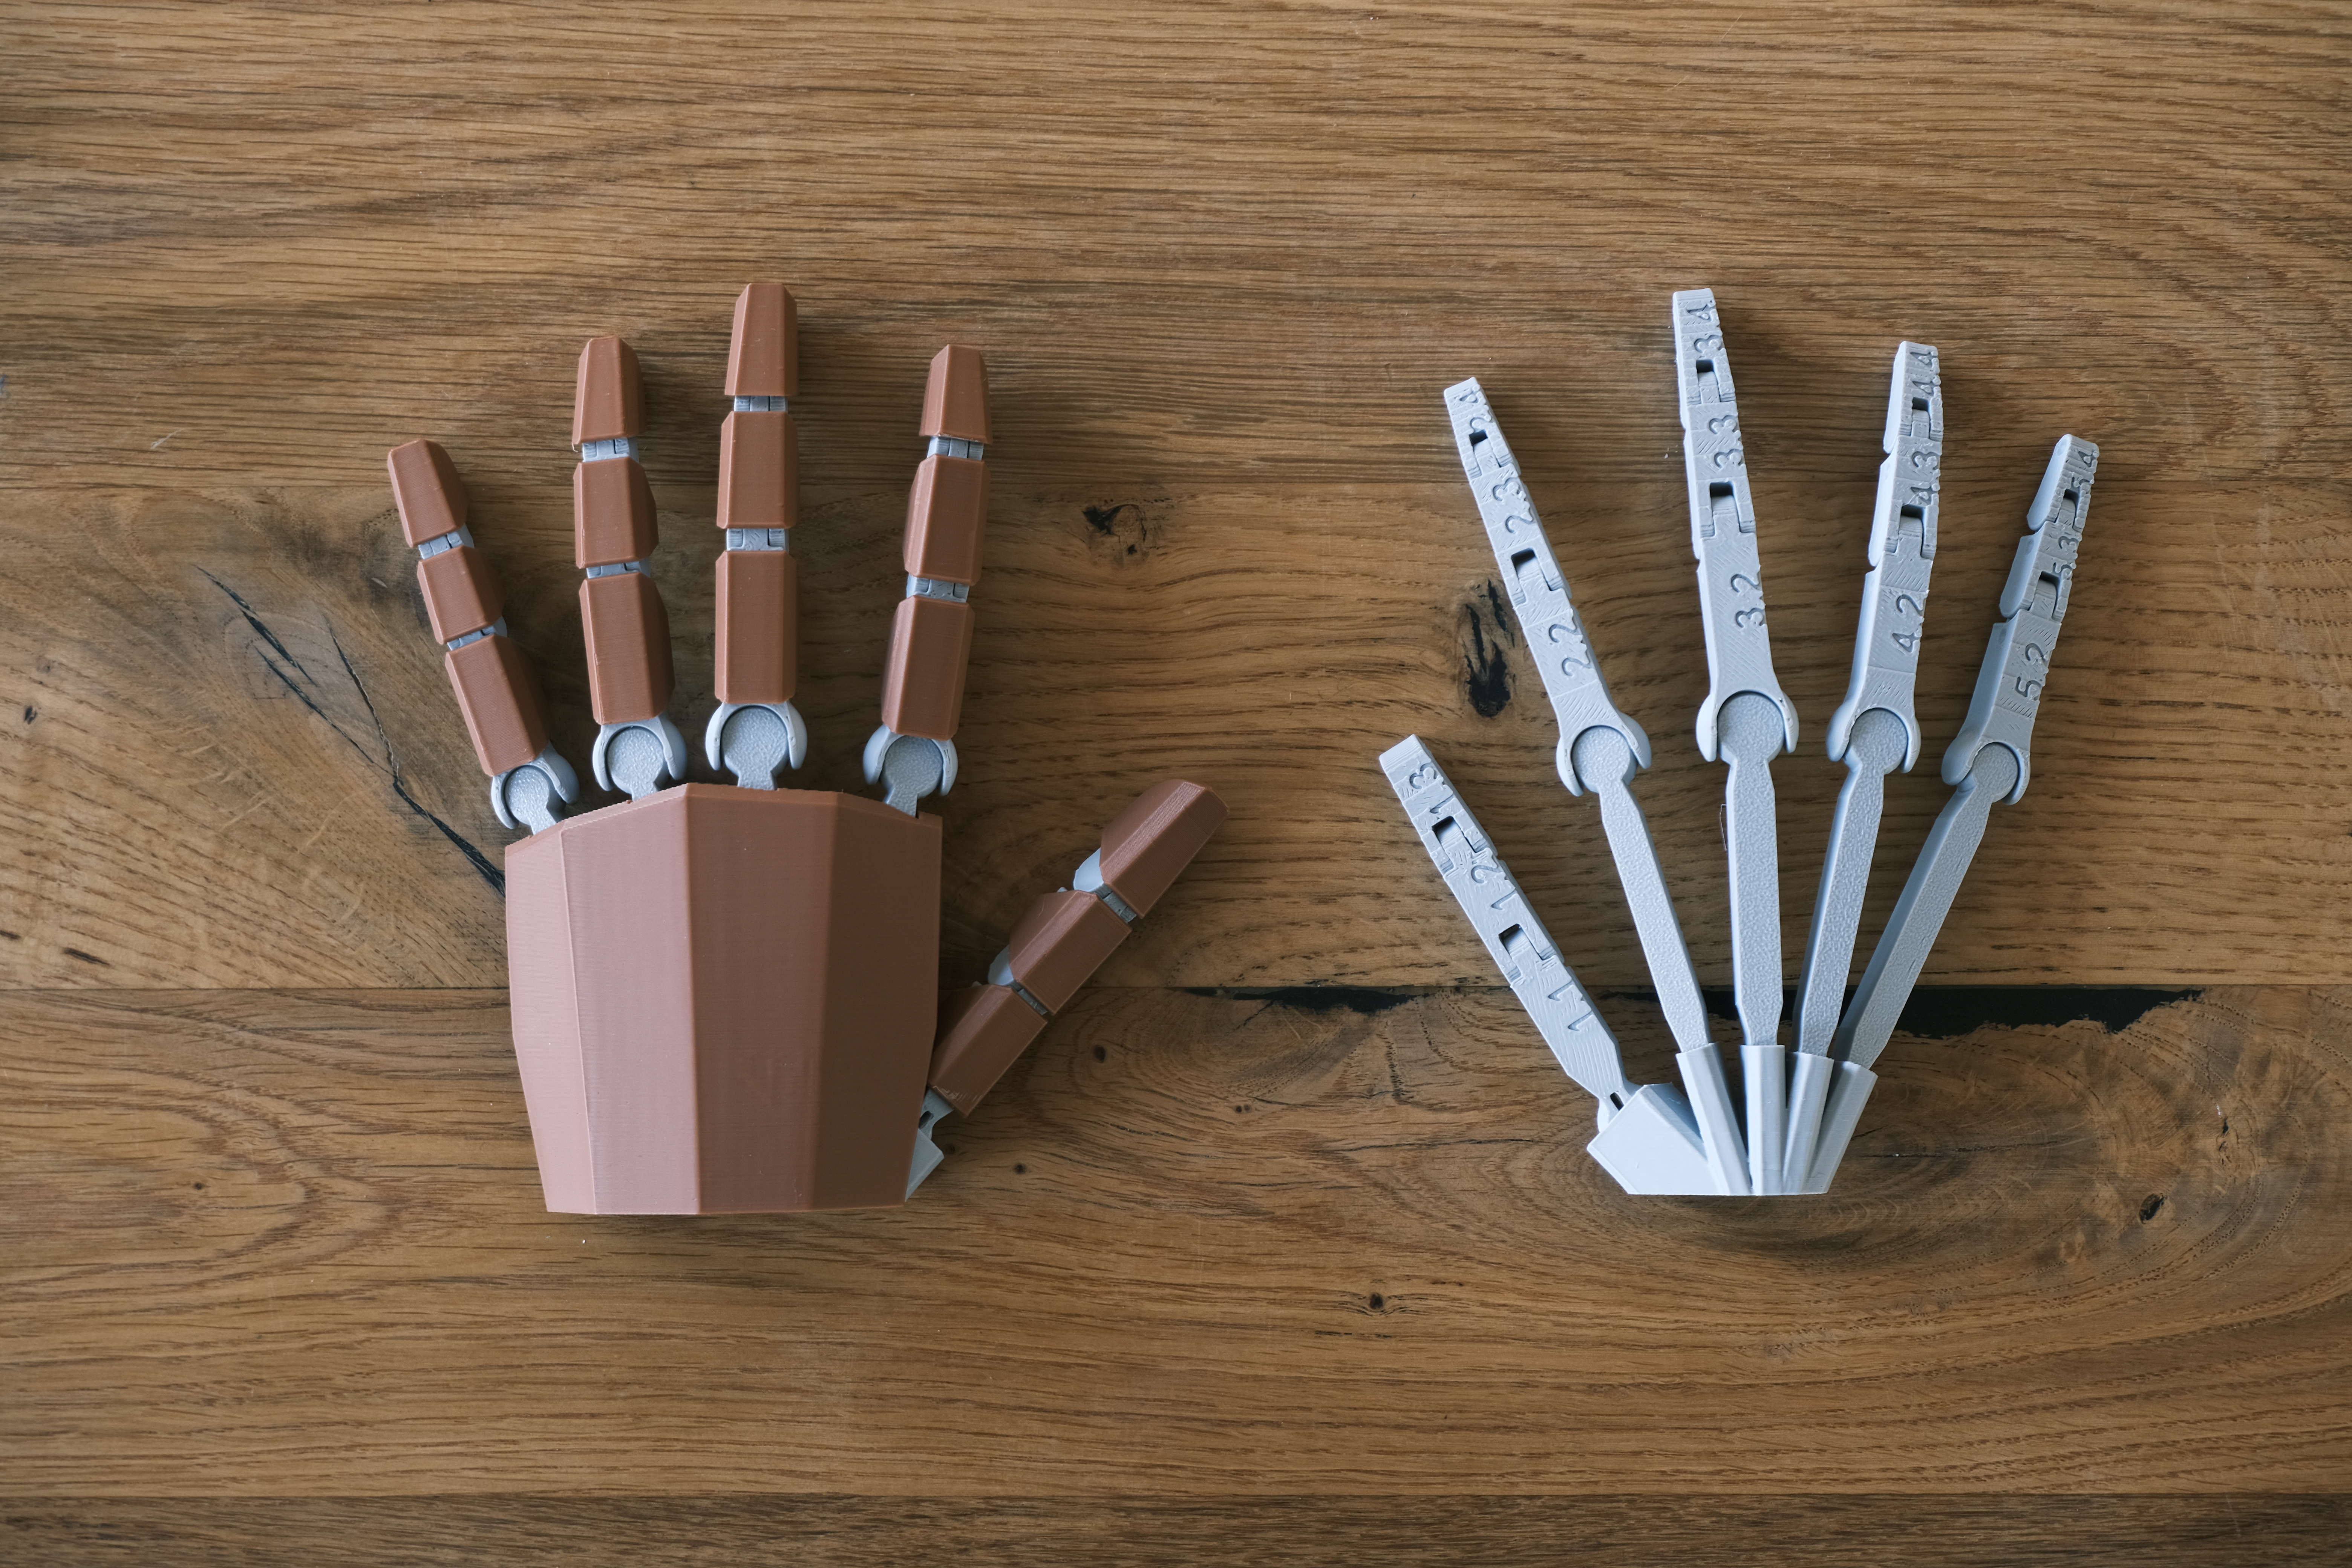
Once all the pieces are printed, you'll notice that almost all of them are numbered (except for the wrist and the two parts of the palm, which are easily recognizable).
 | 
|
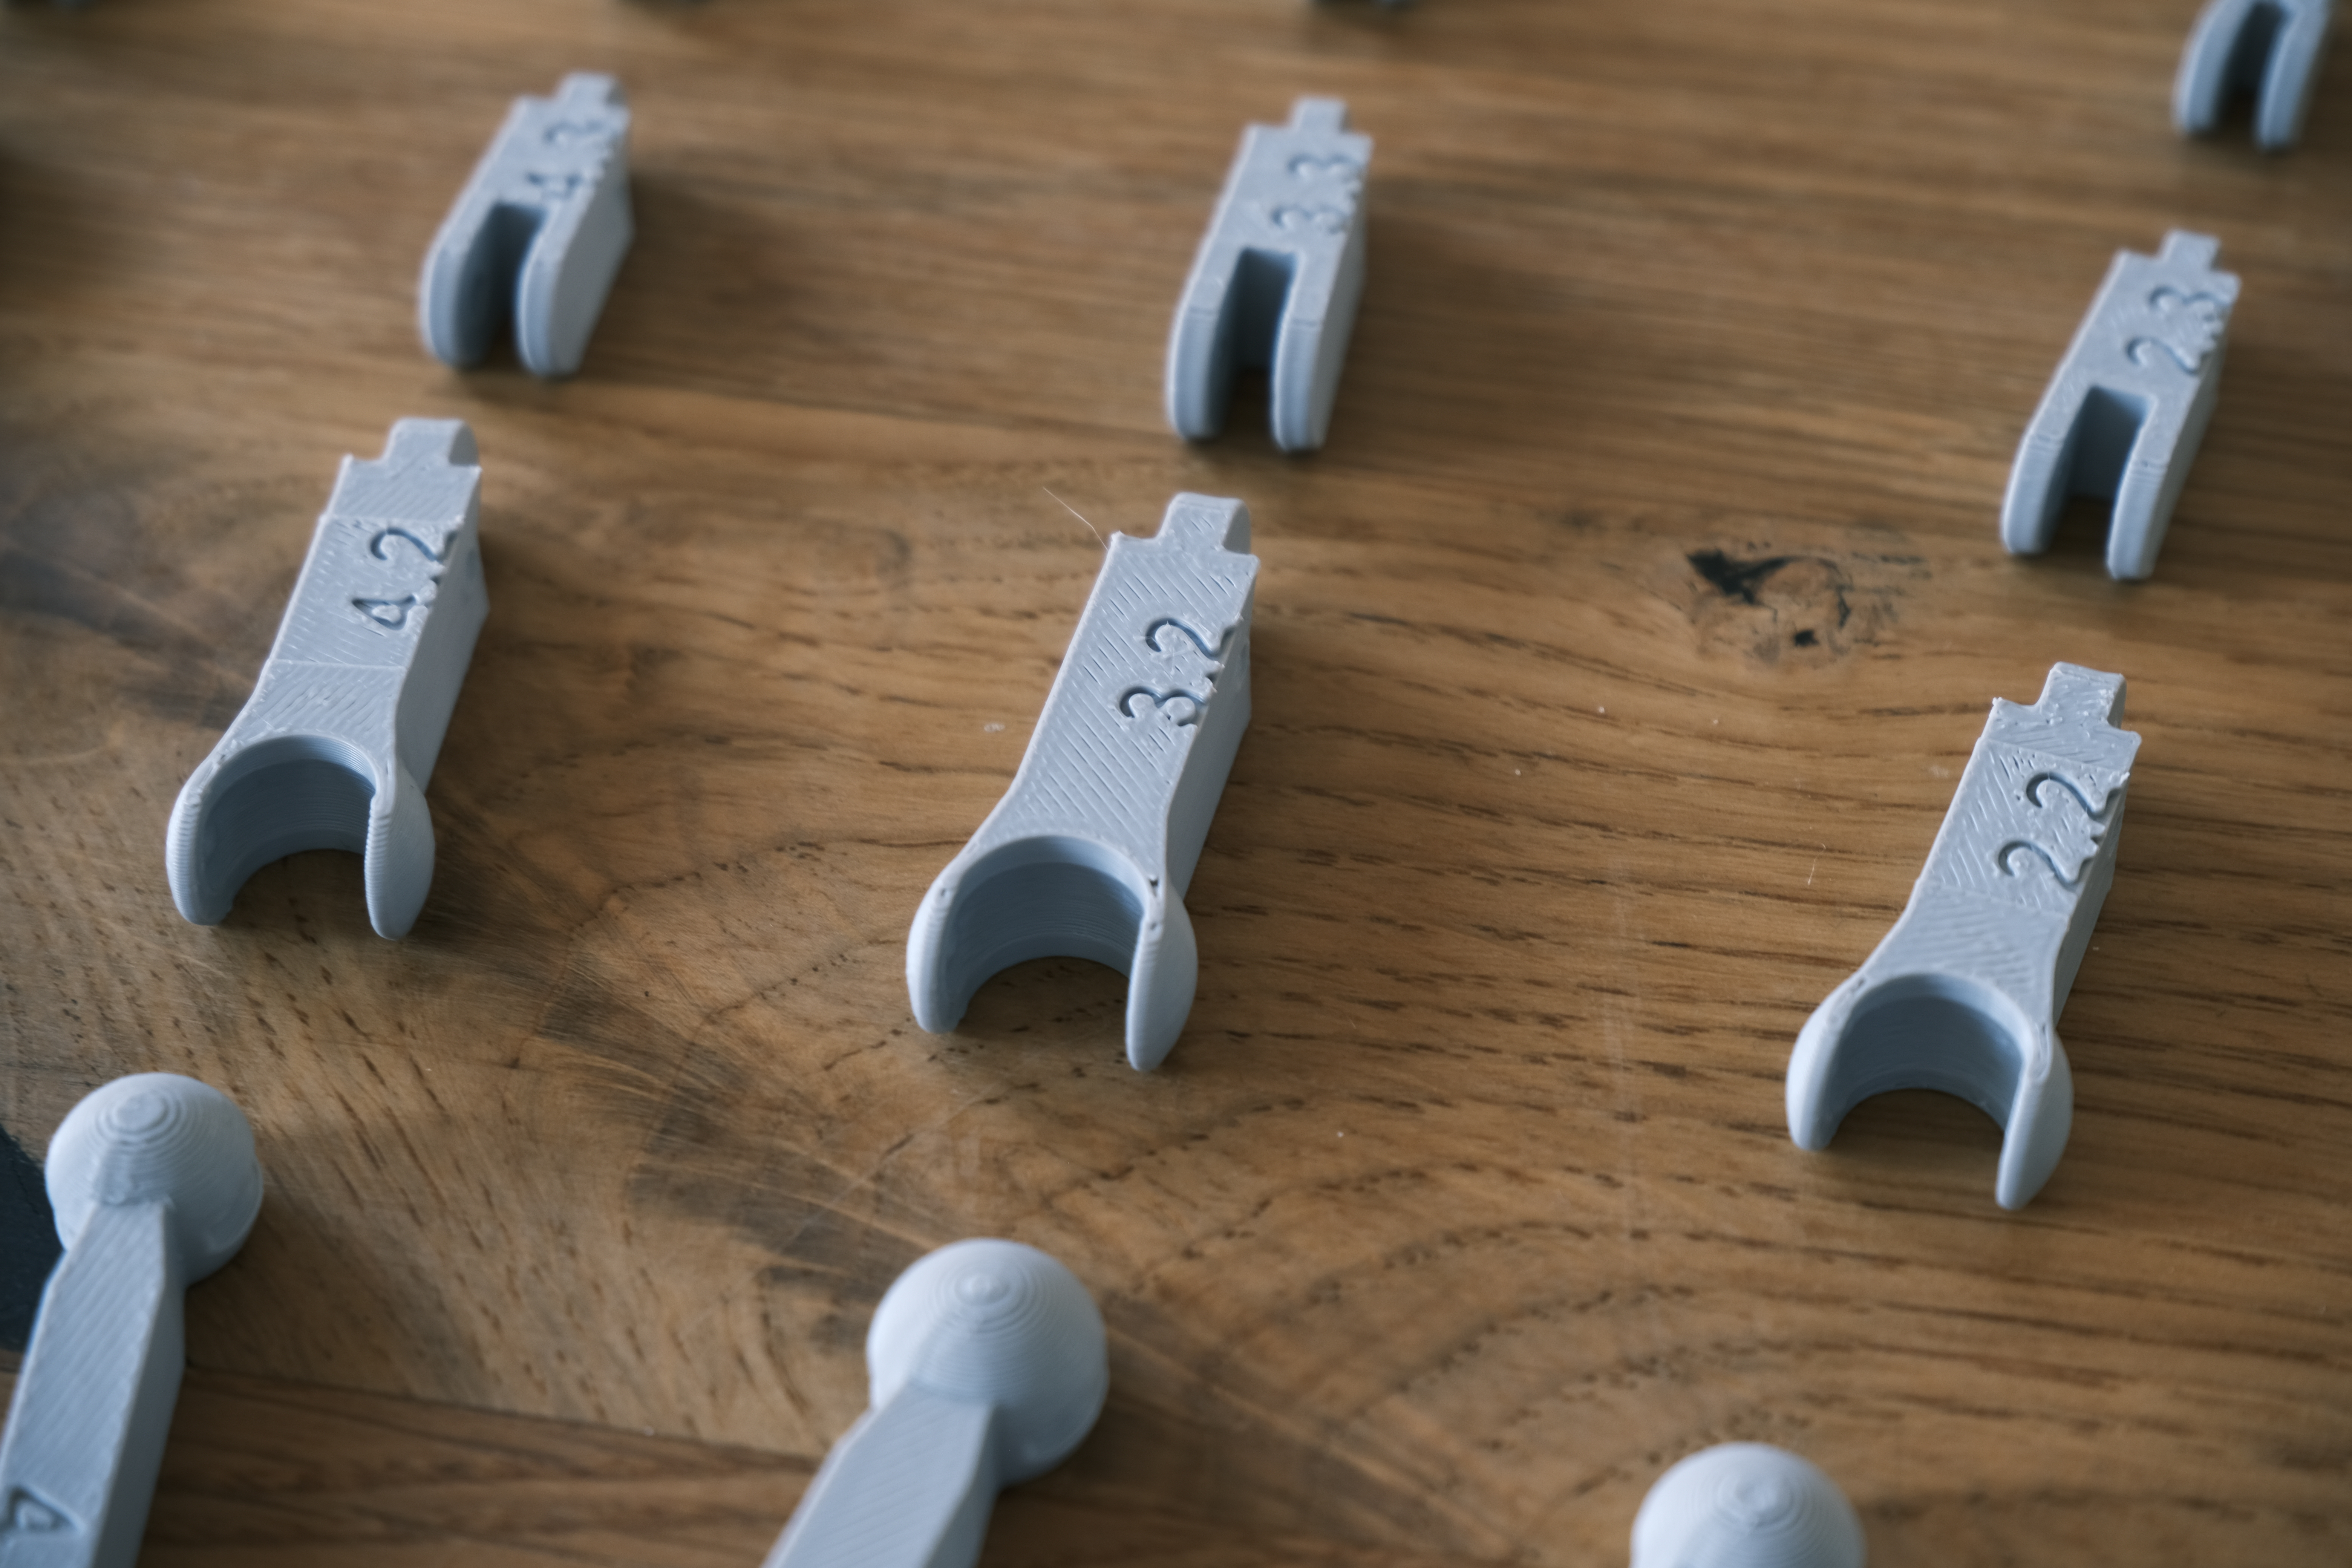
The first number corresponds to the finger (ranging from 1 to 5, starting with the thumb), while the second number indicates the specific phalange of that finger.
For example, the part numbered 2.2 corresponds to the second phalange of the second finger wich is the index.
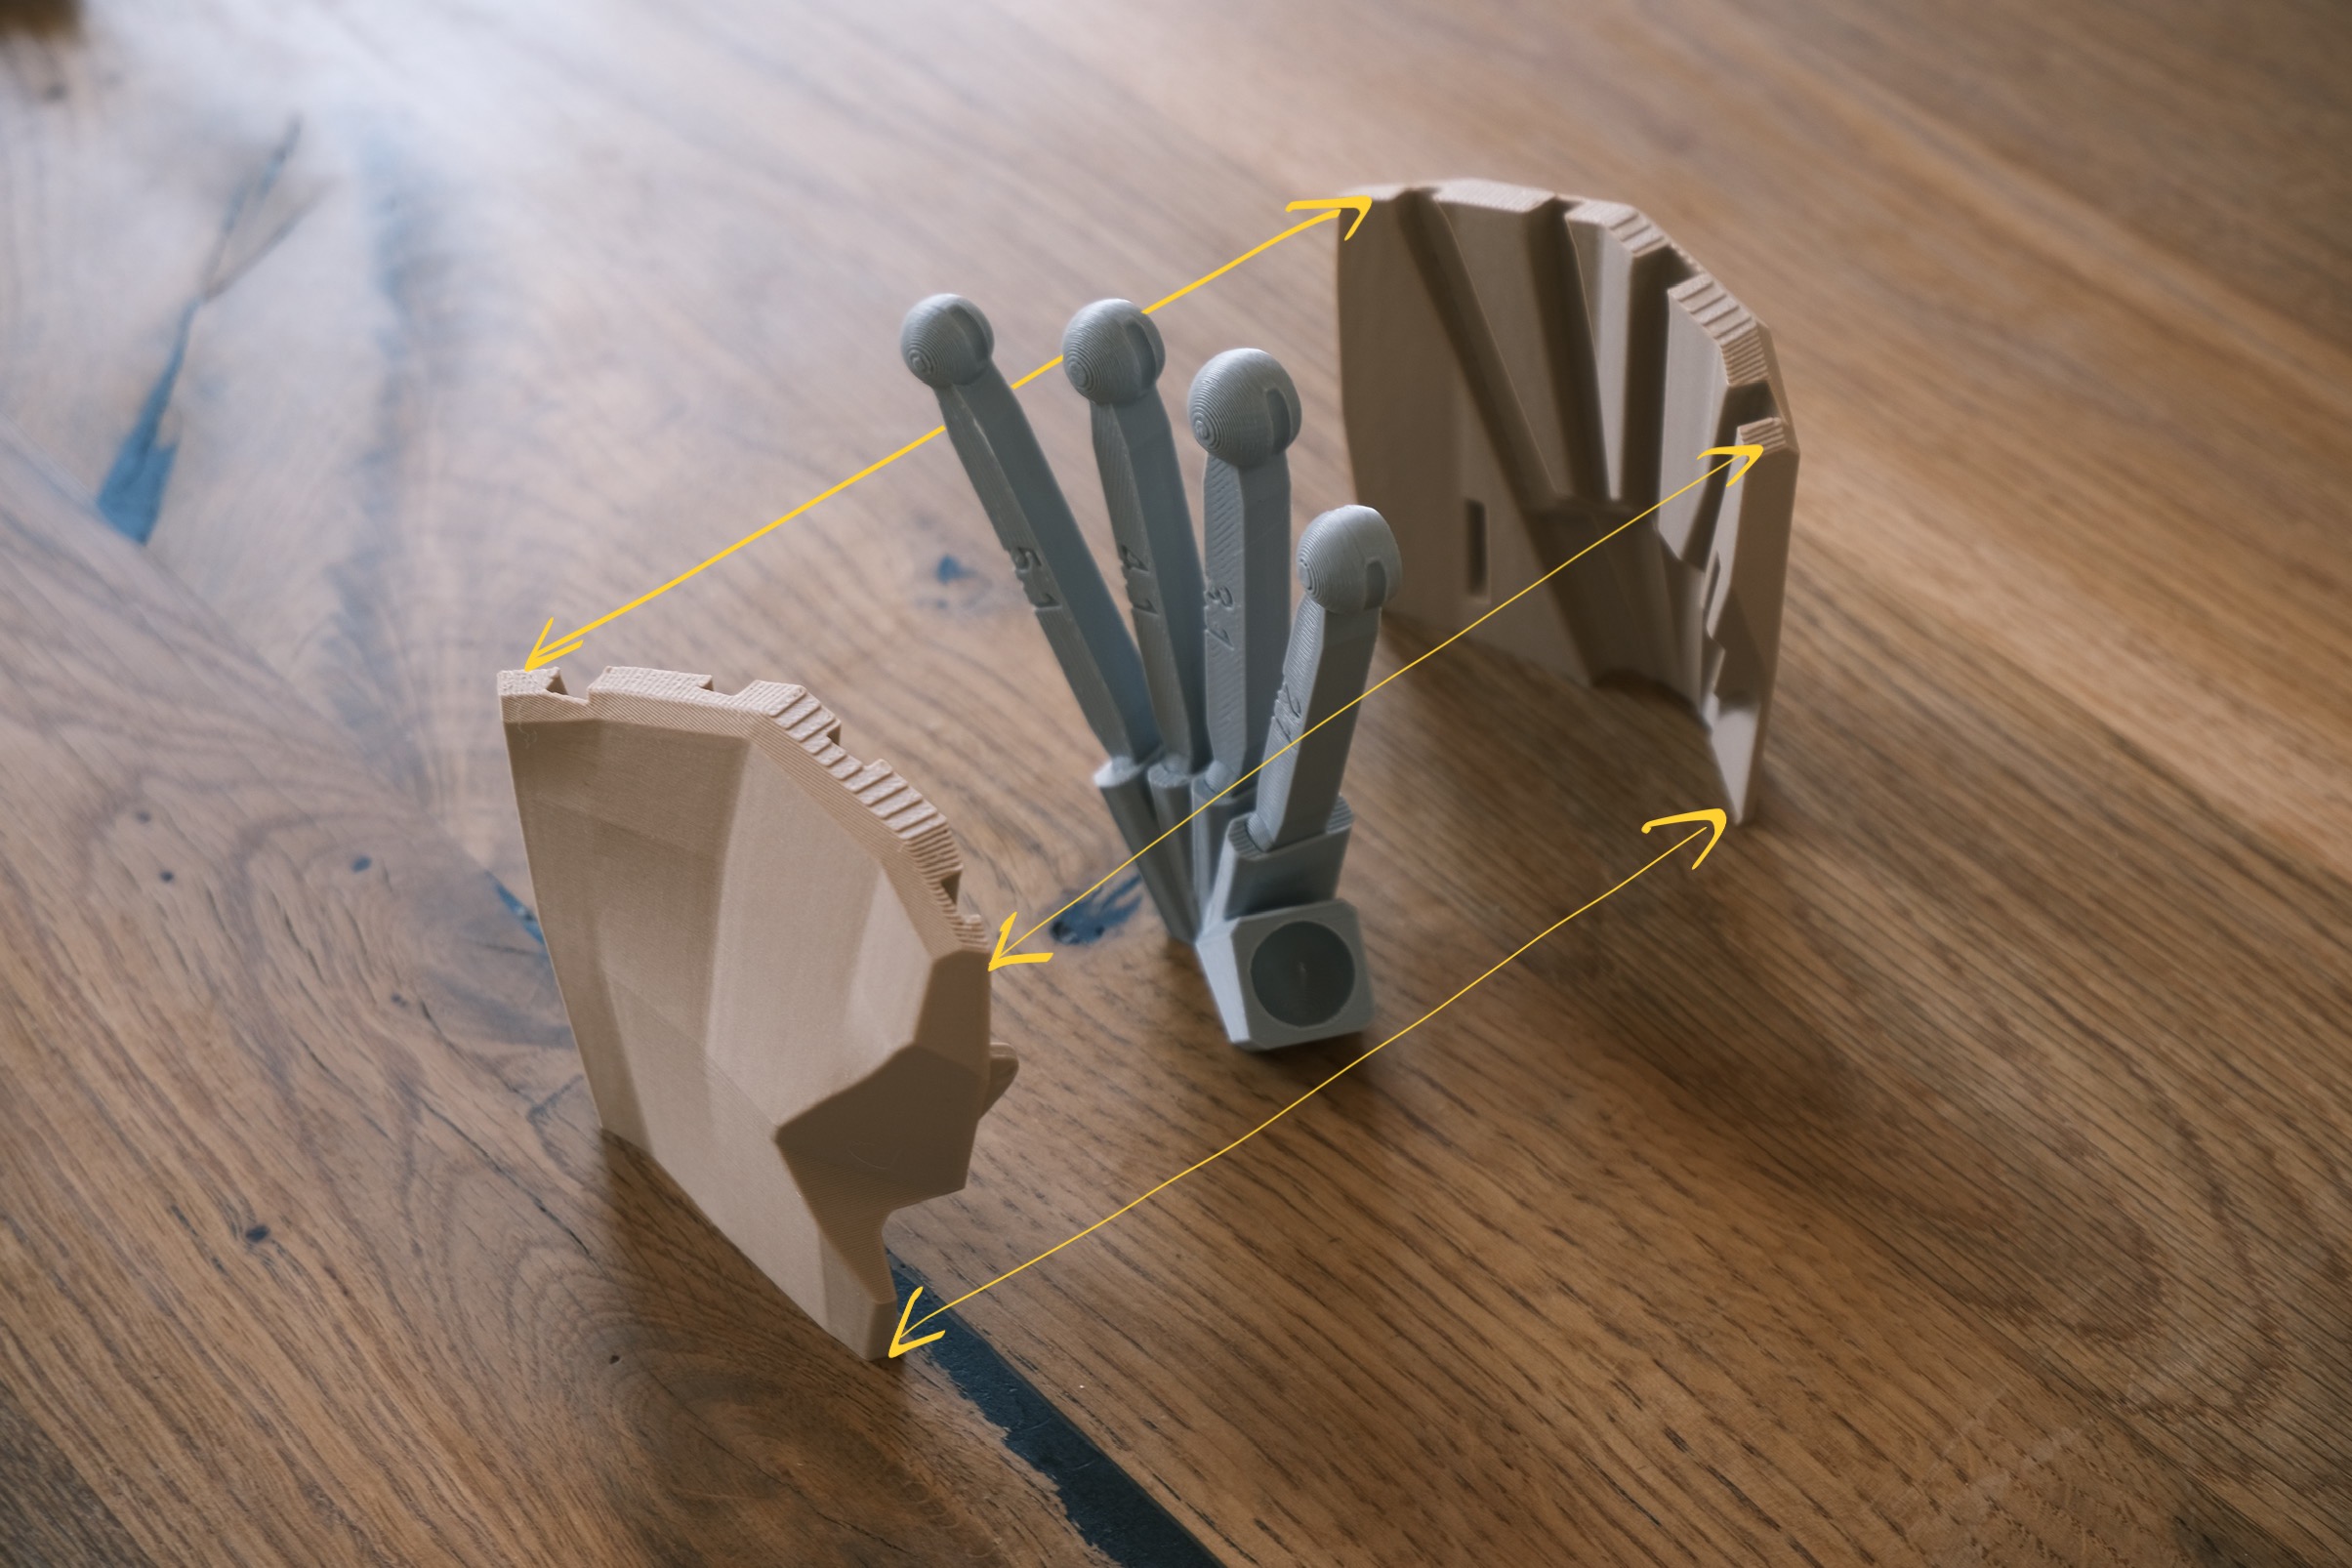
Palm assembly :
Attach the first phalange of each finger (except the thumb) to the wrist, ensuring the numbers face the inside of the palm. Next, connect both sides of the palm around the wrist and fingers as shown. The pieces should snap together seamlessly.

Finger assembly
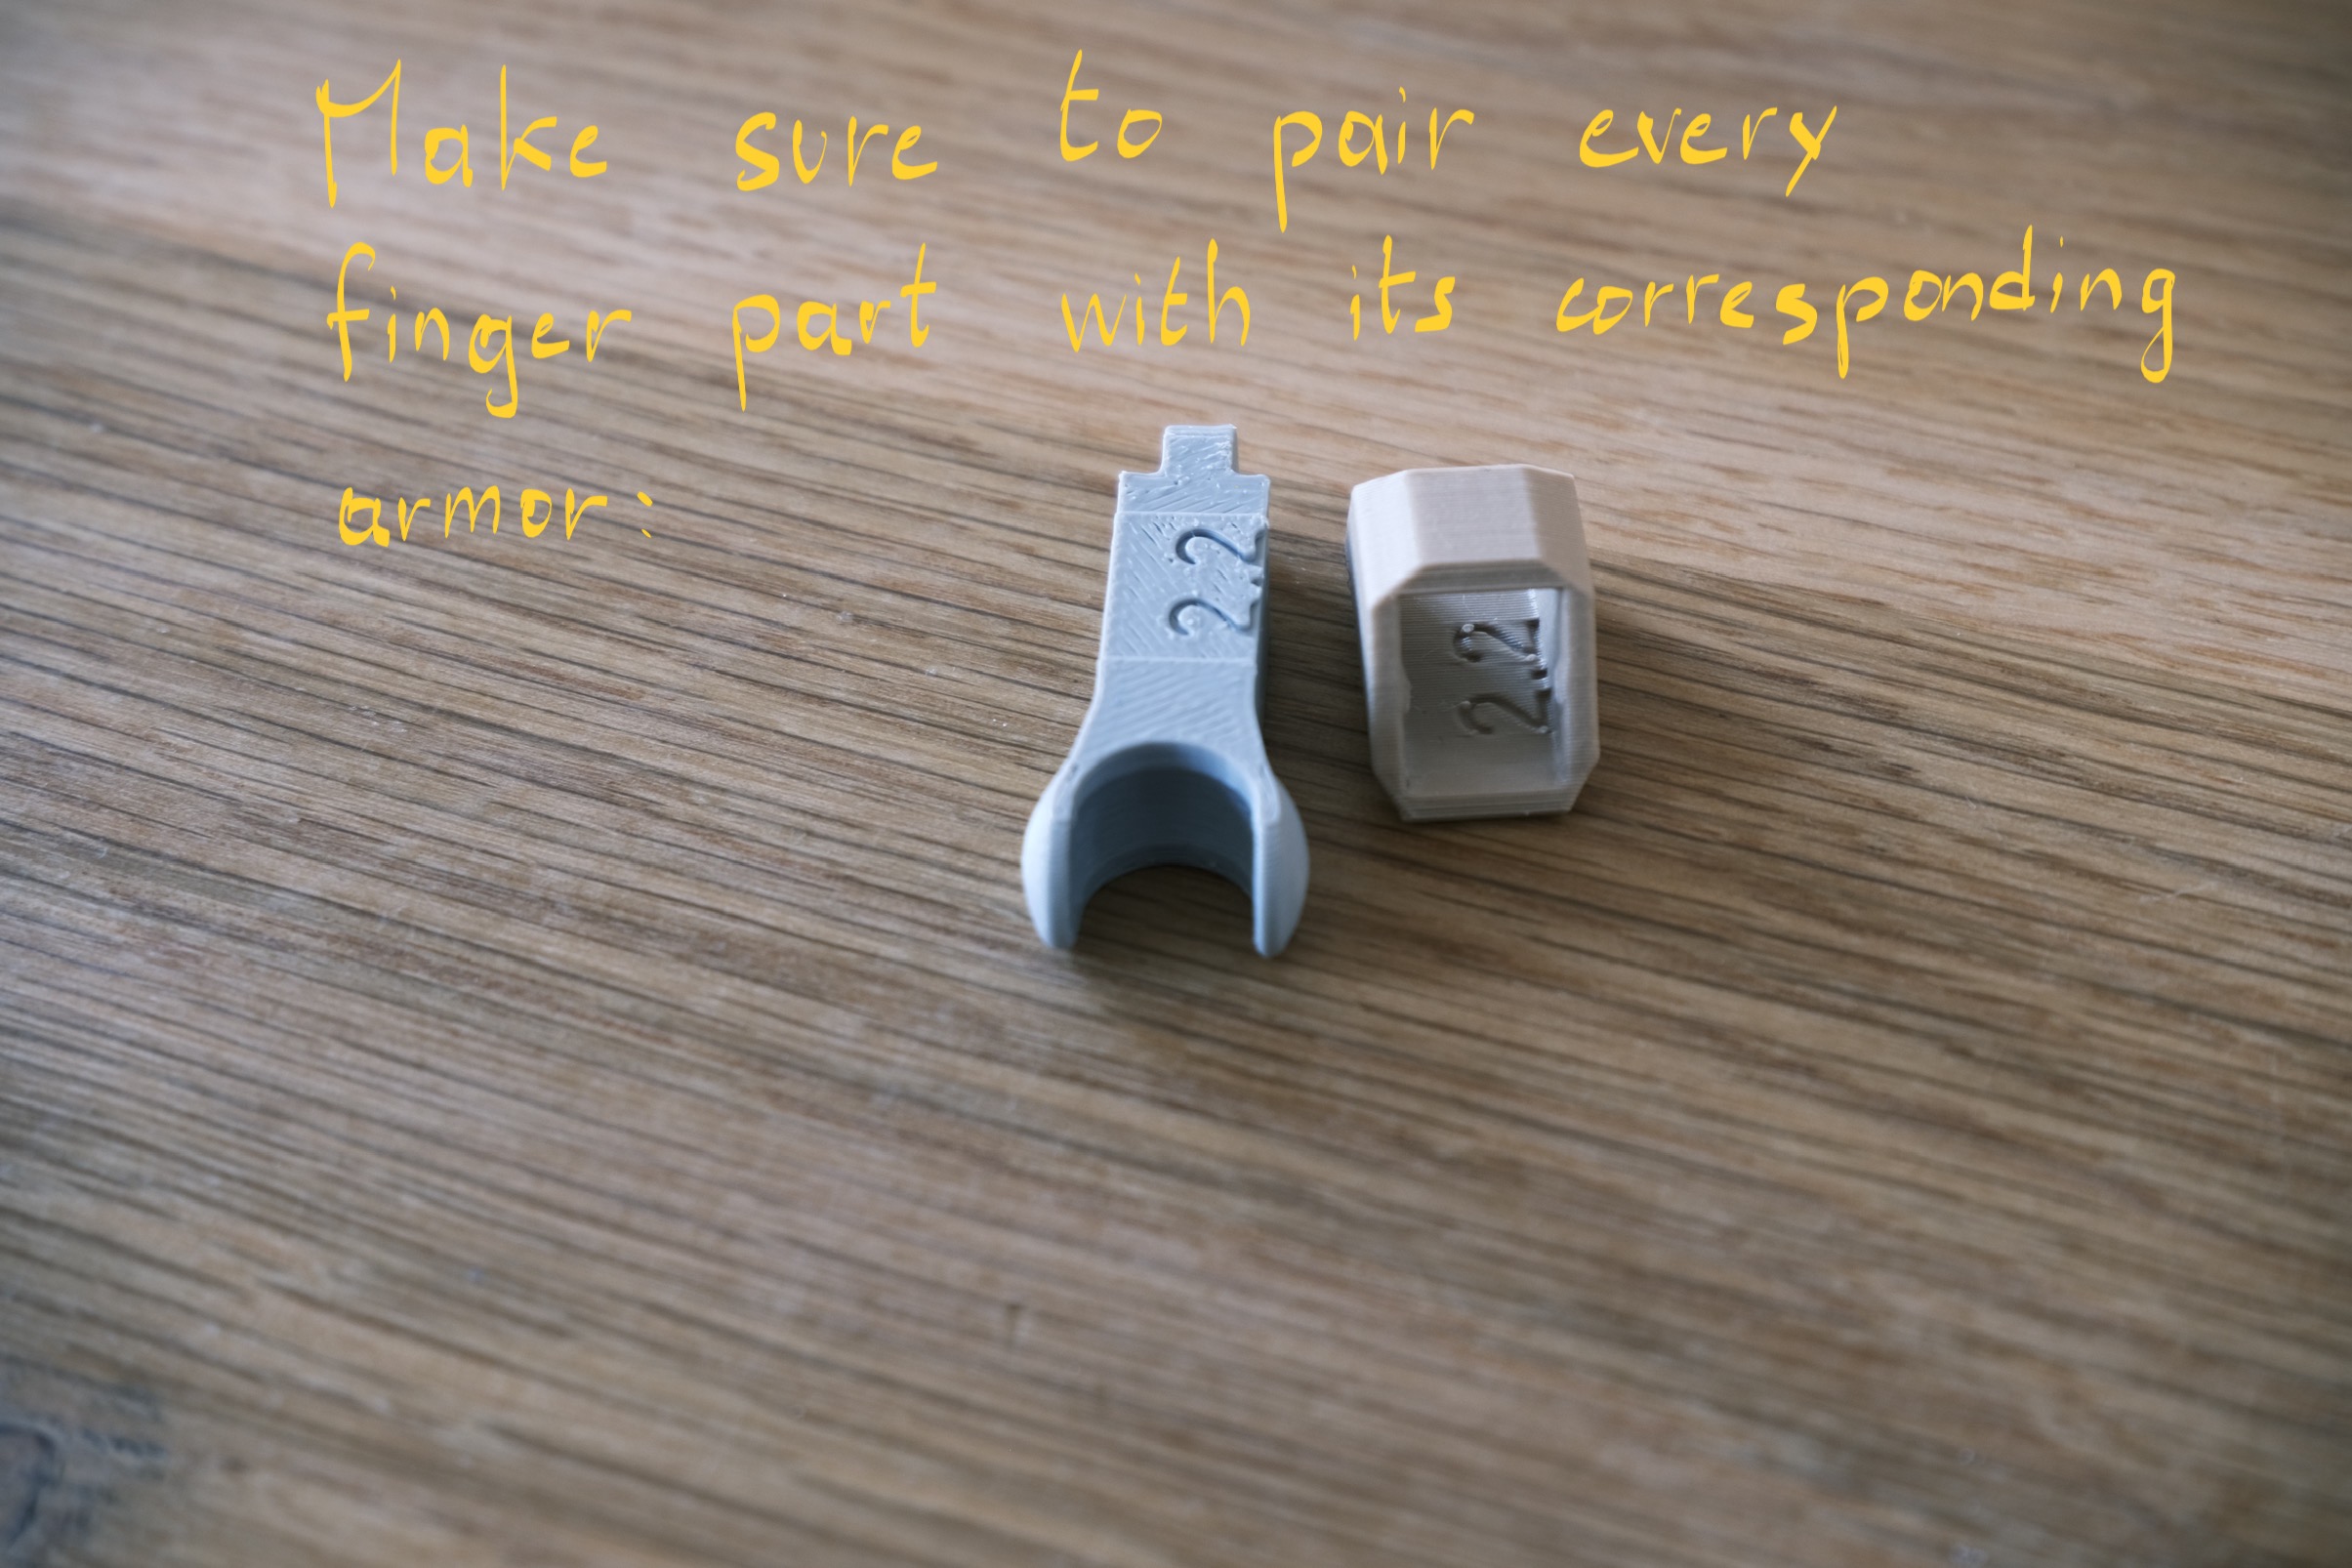
Pair each finger with its corresponding skin part :
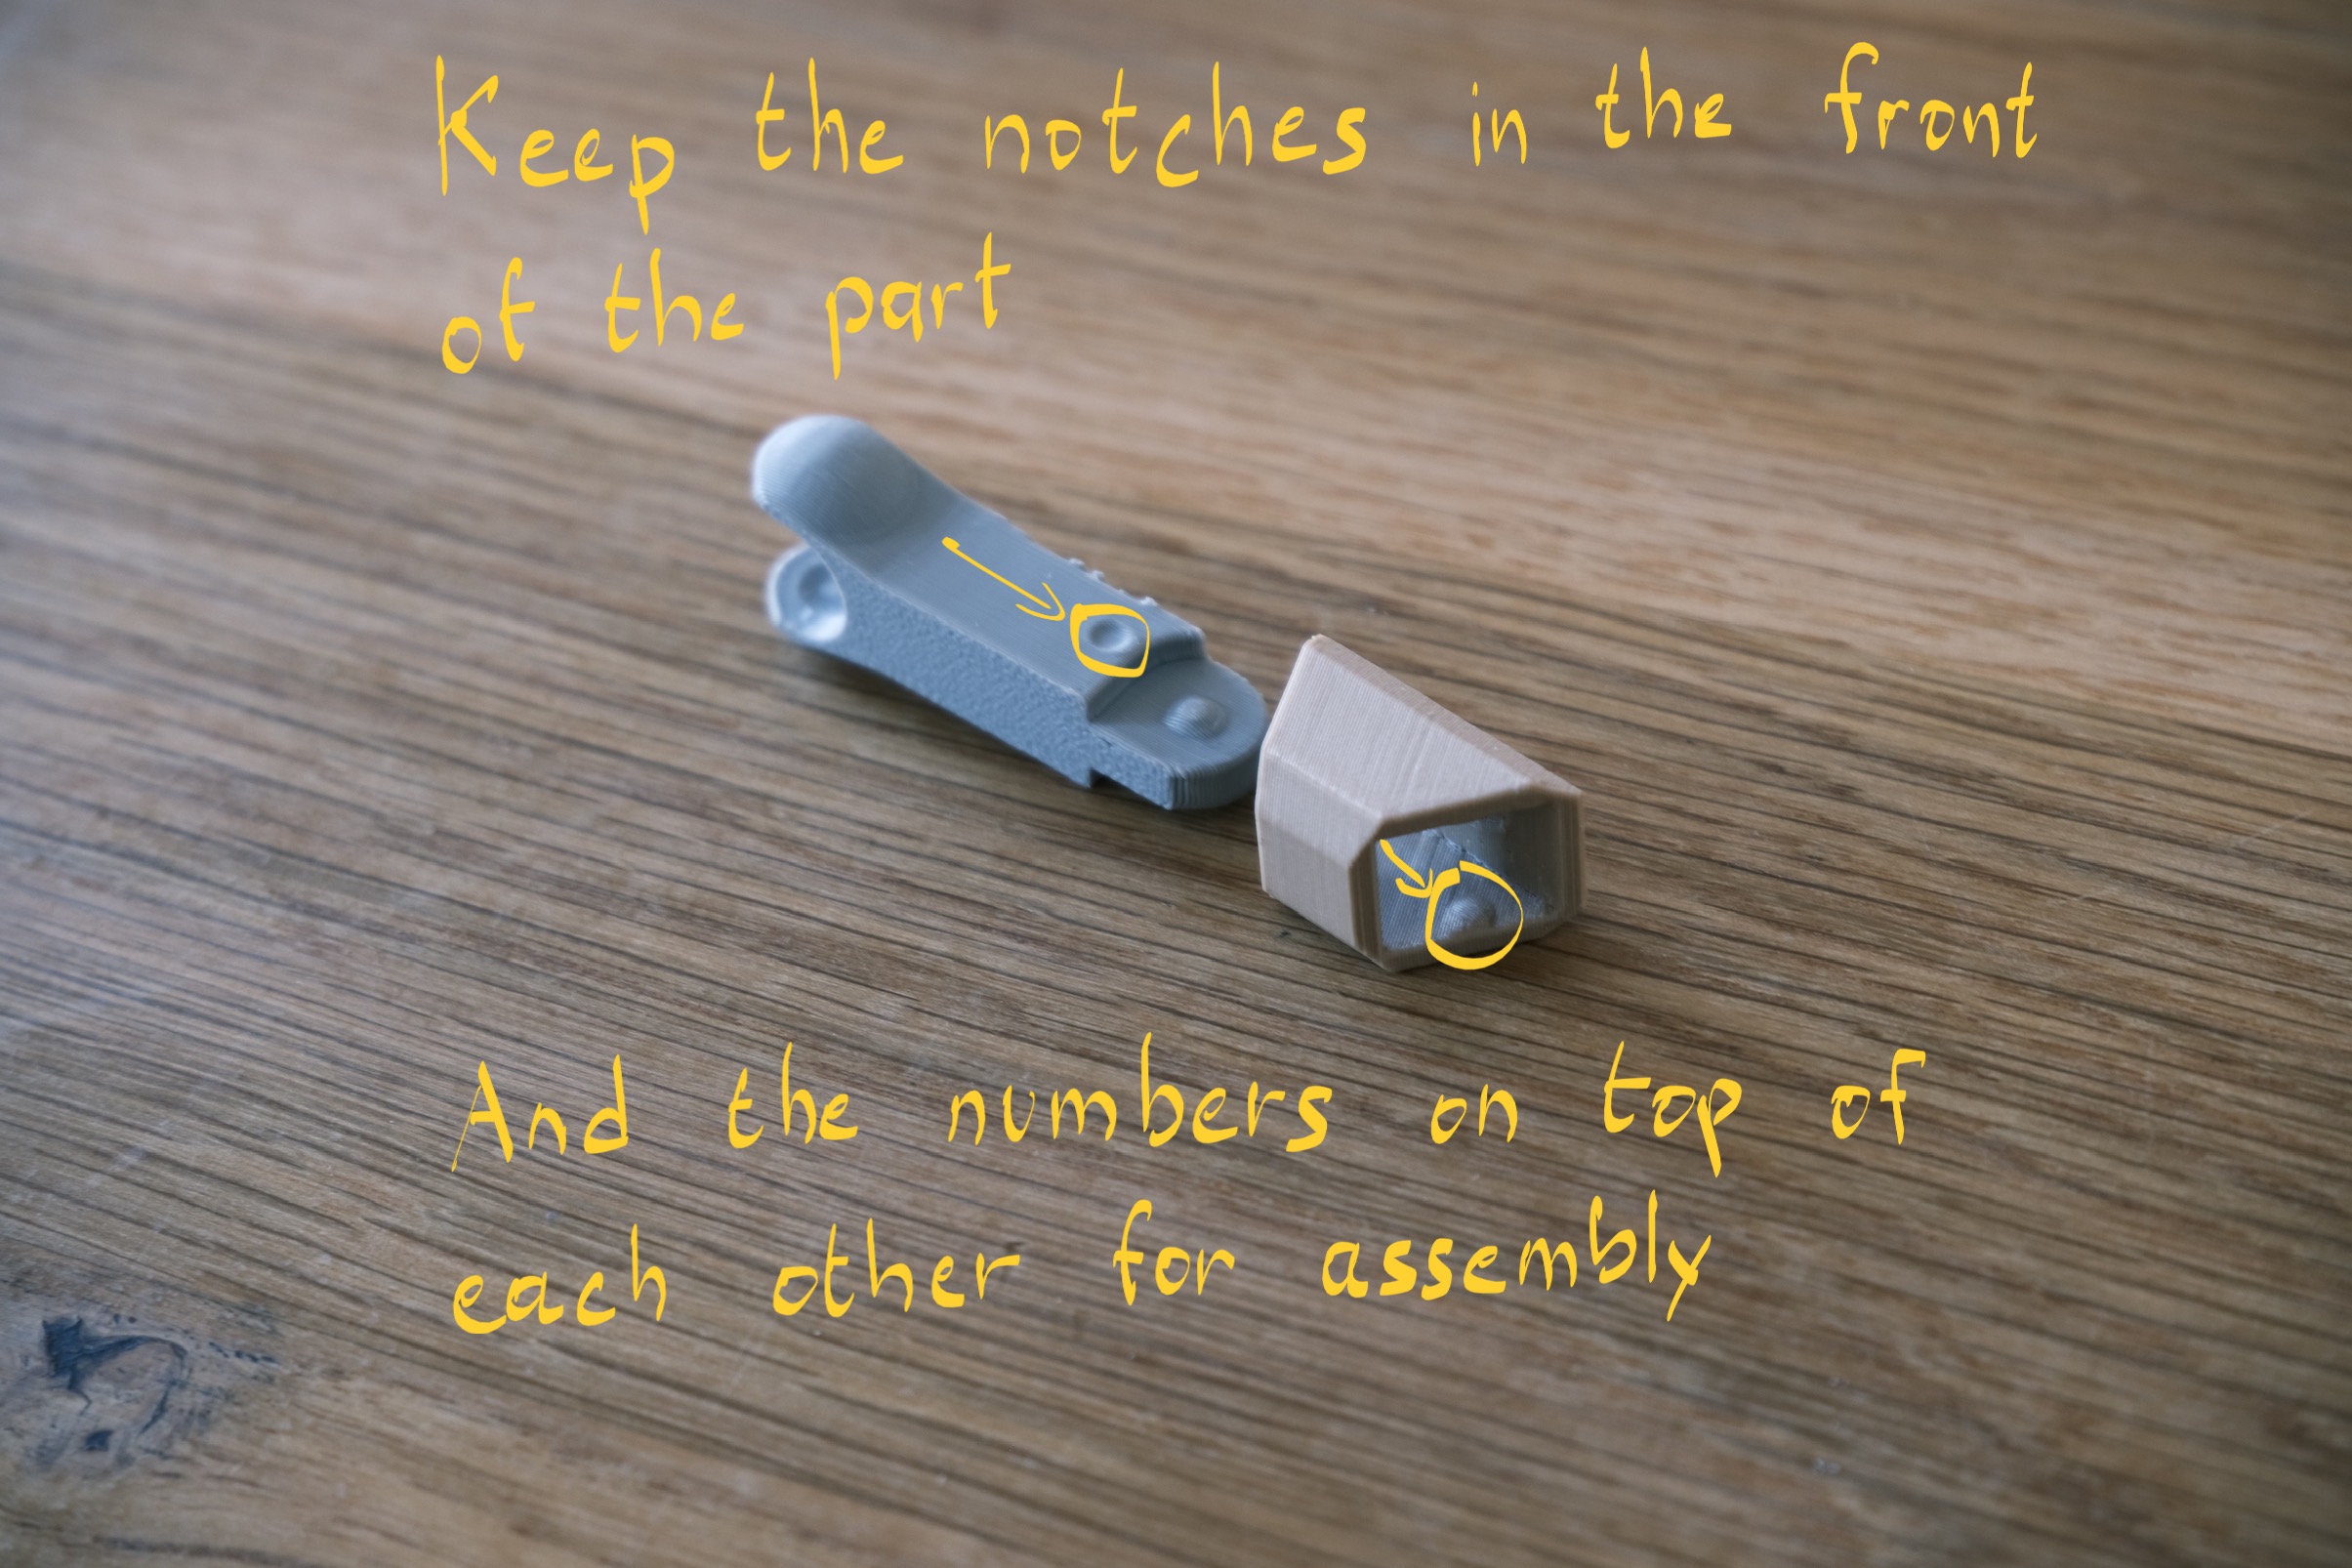
Next, connect the fingers and their skin parts, following these rules:
- The numbers should align, sitting directly on top of each other.
- The notch and its corresponding bump must be on the same side to snap together securely.
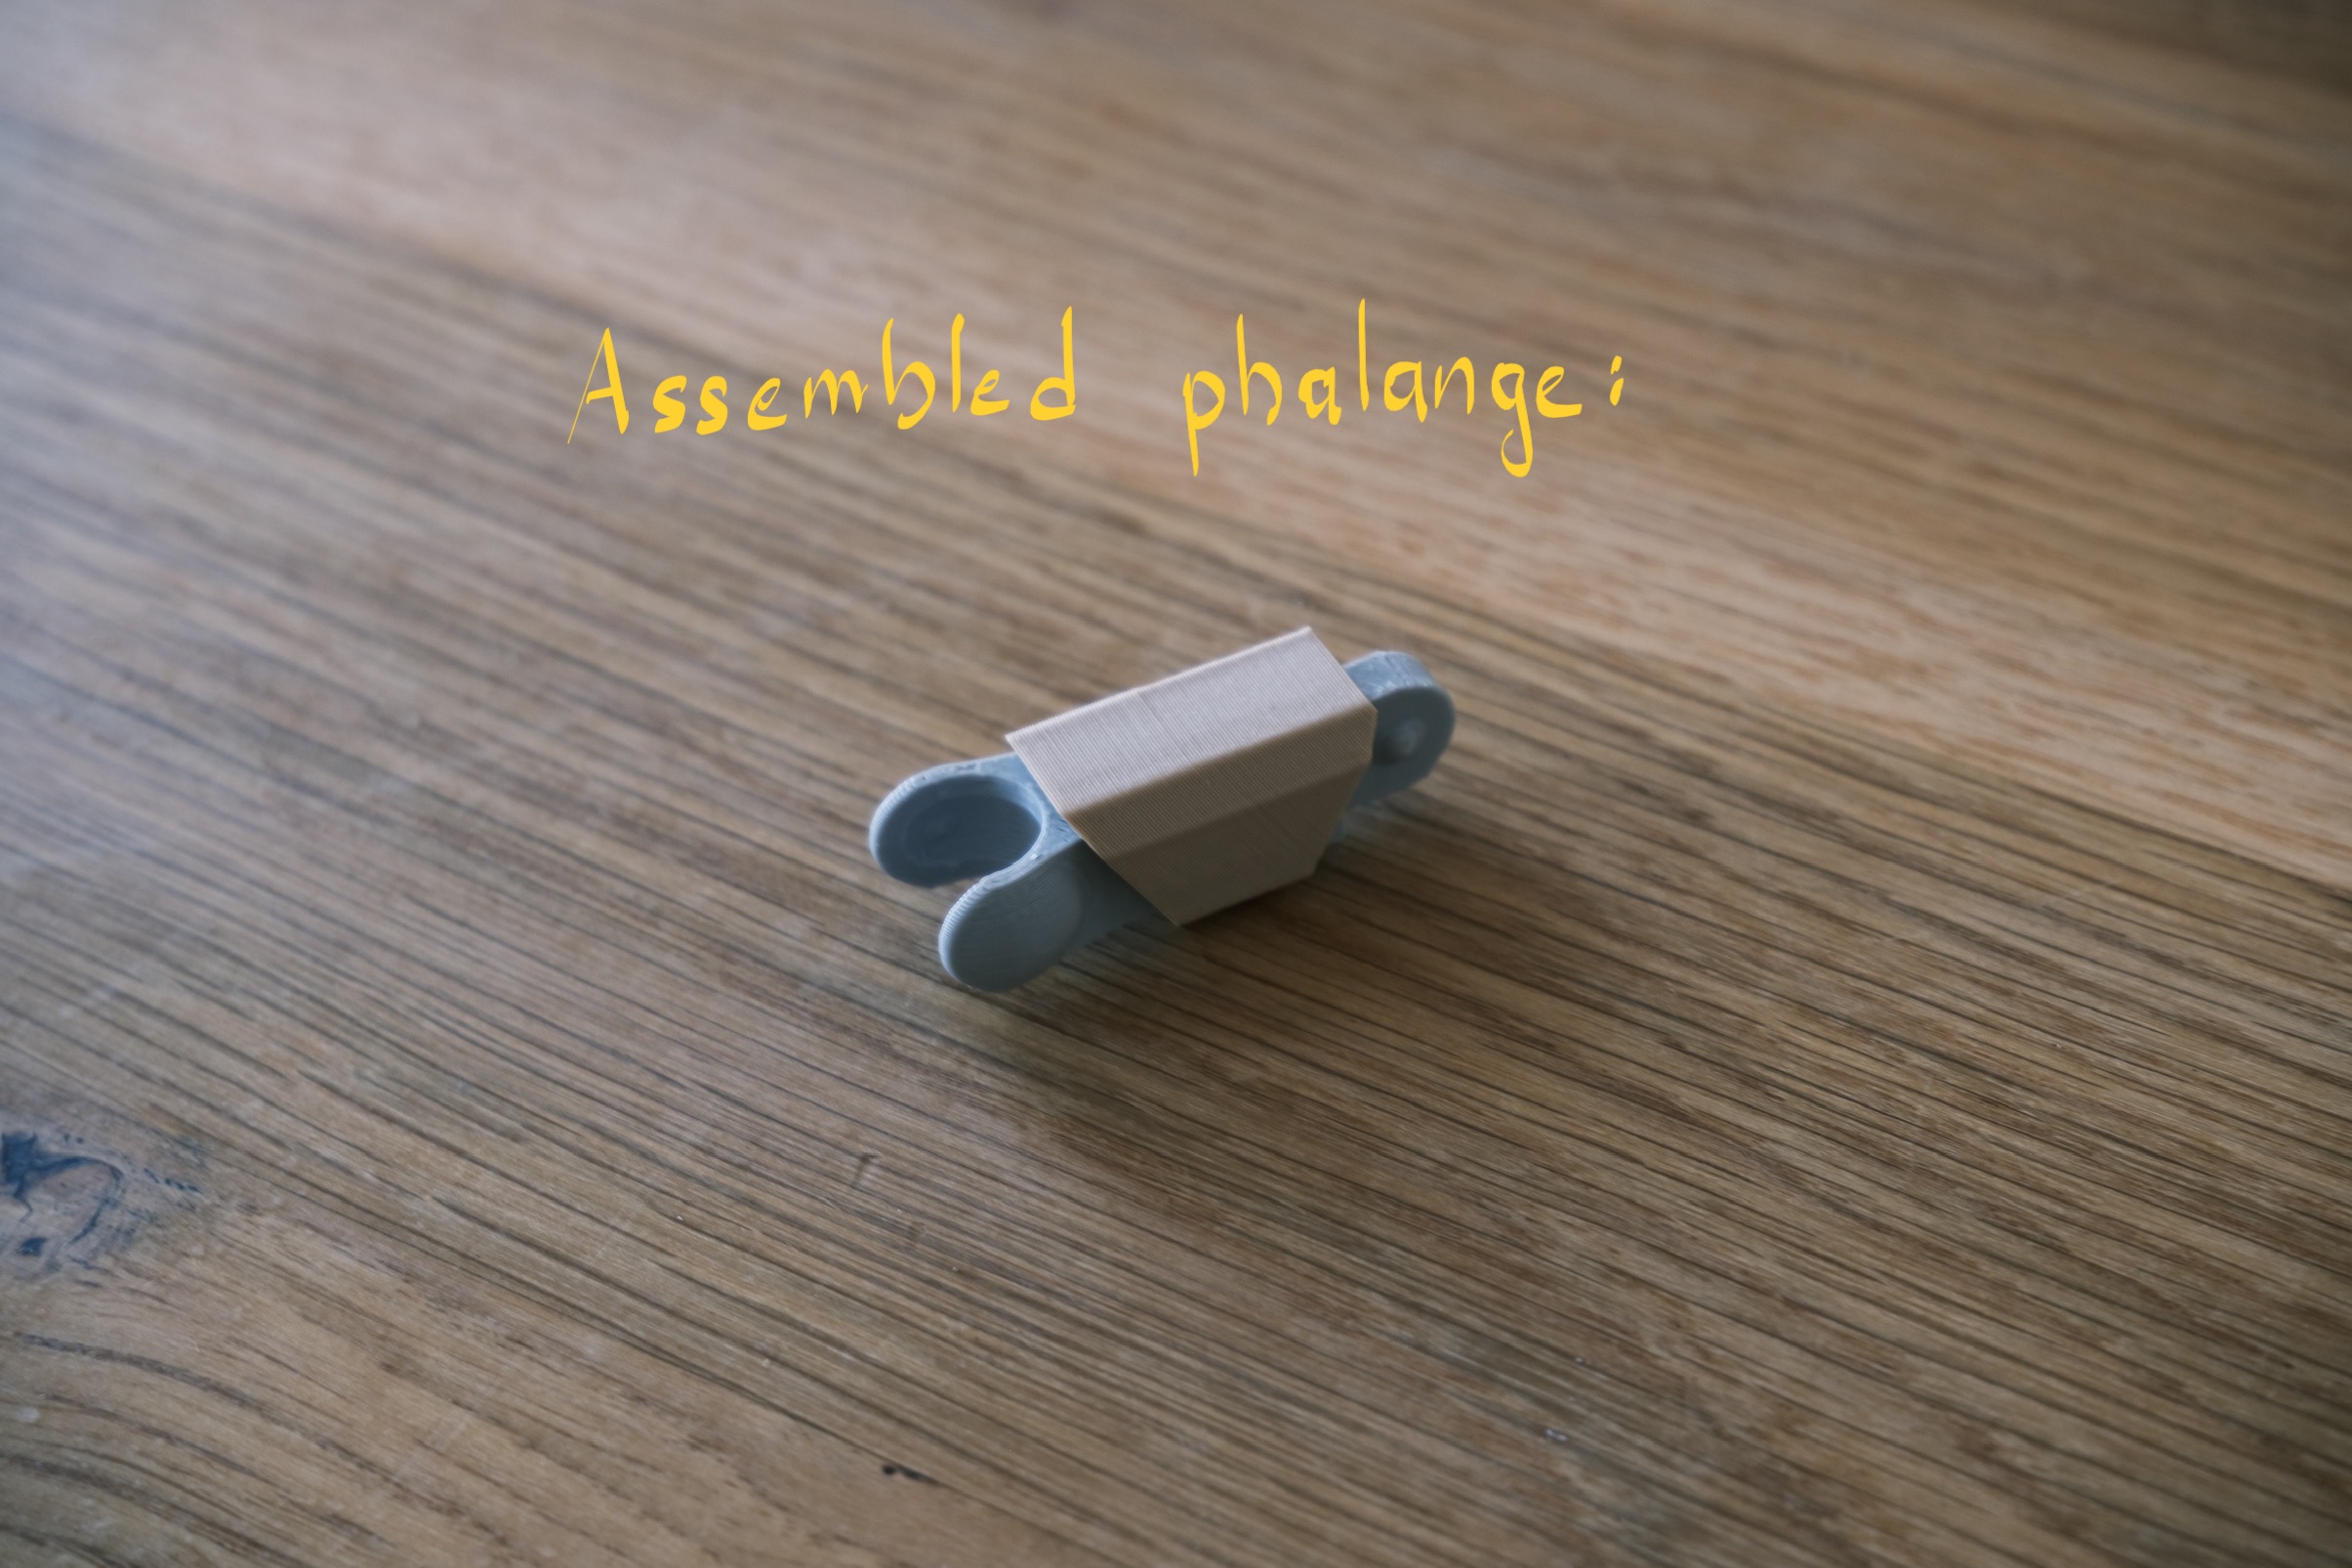
The parts should click together. Ensure that the fingertips are snapped together securely (this may require a bit of force).
Remember the placement of each finger part, as the numbers will be hidden once assembled.
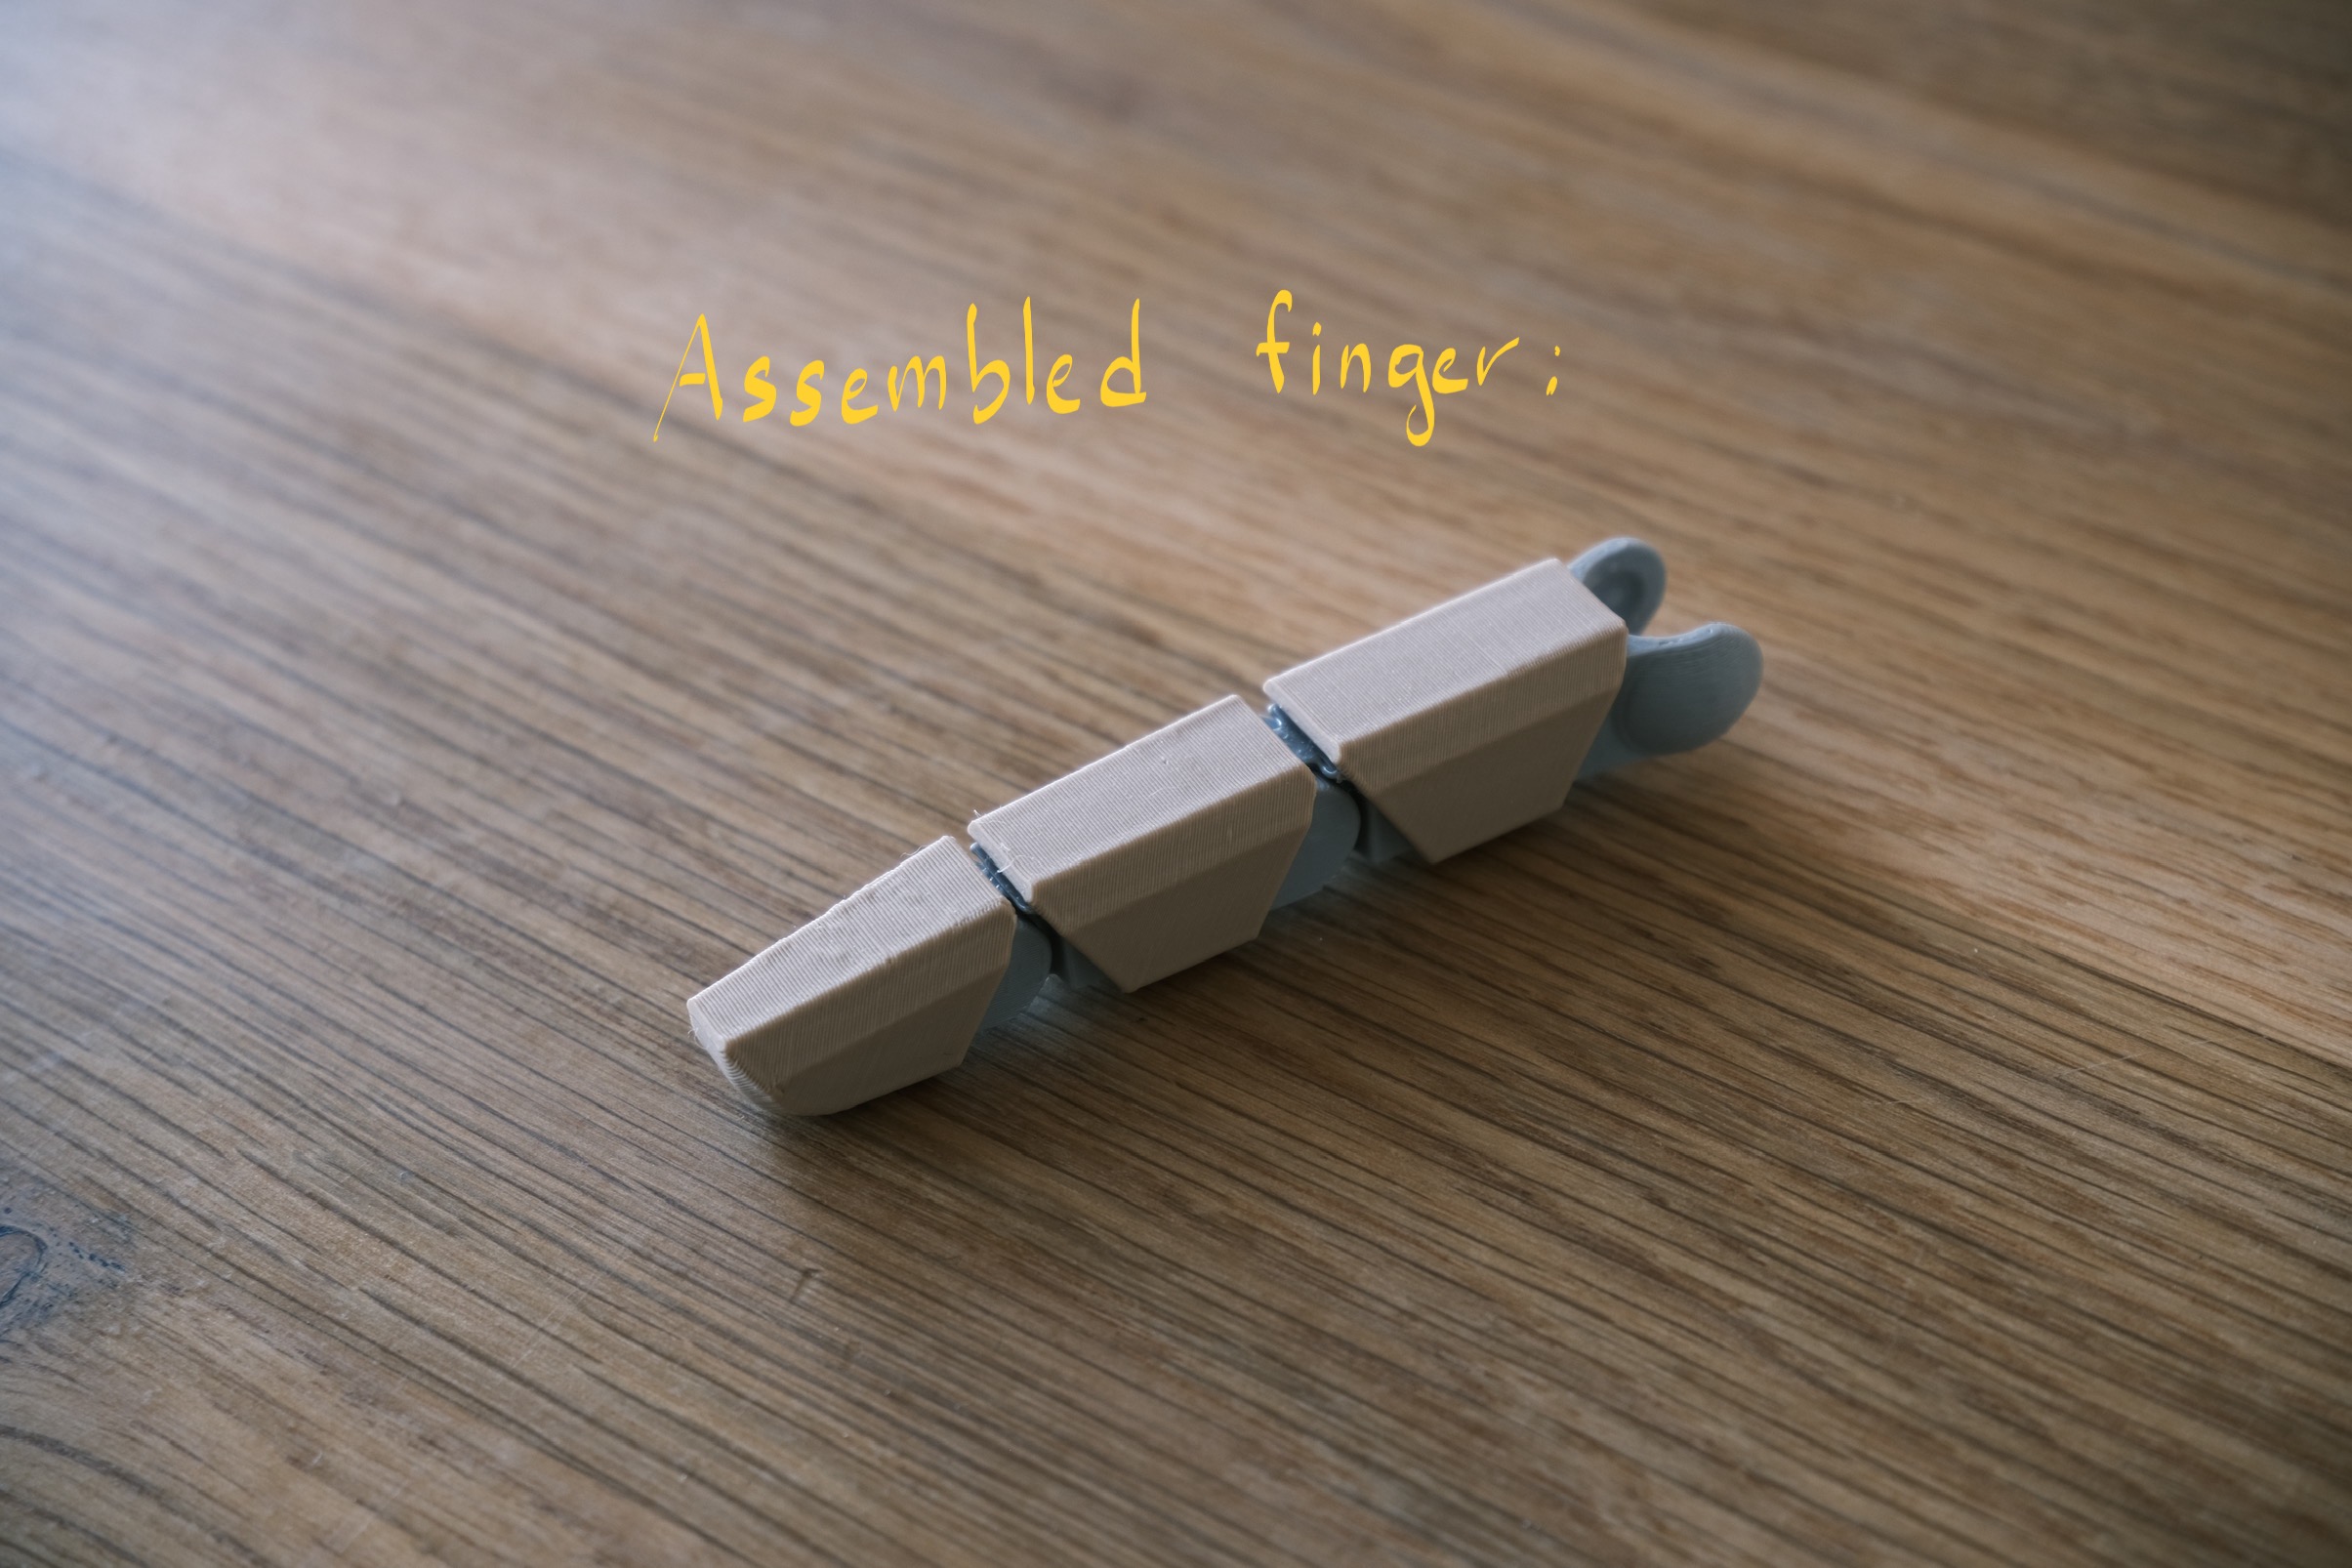
Do this for every phalange and assemble every finger like this :
Final assembly
Connect every finger to the palm and enjoy !
Left hand
There is a separate print profile for the left hand. It is essentially the same as the right hand, except the wrist, the front palm, and the back of the palm, which are mirrored.
Update
I plan to create a stand for the hand to sit on, allowing it to be displayed at more angles than just upright. The wrist already has a hole for this purpose.
