Você está no 3DFinder
Buscamos em Thingiverse, MakerWorld e Printables ao mesmo tempo para te dar o melhor de cada uma.
Descrição
At the beginning of 2023,
I got my first 3D printer,
Prusa MK3S.
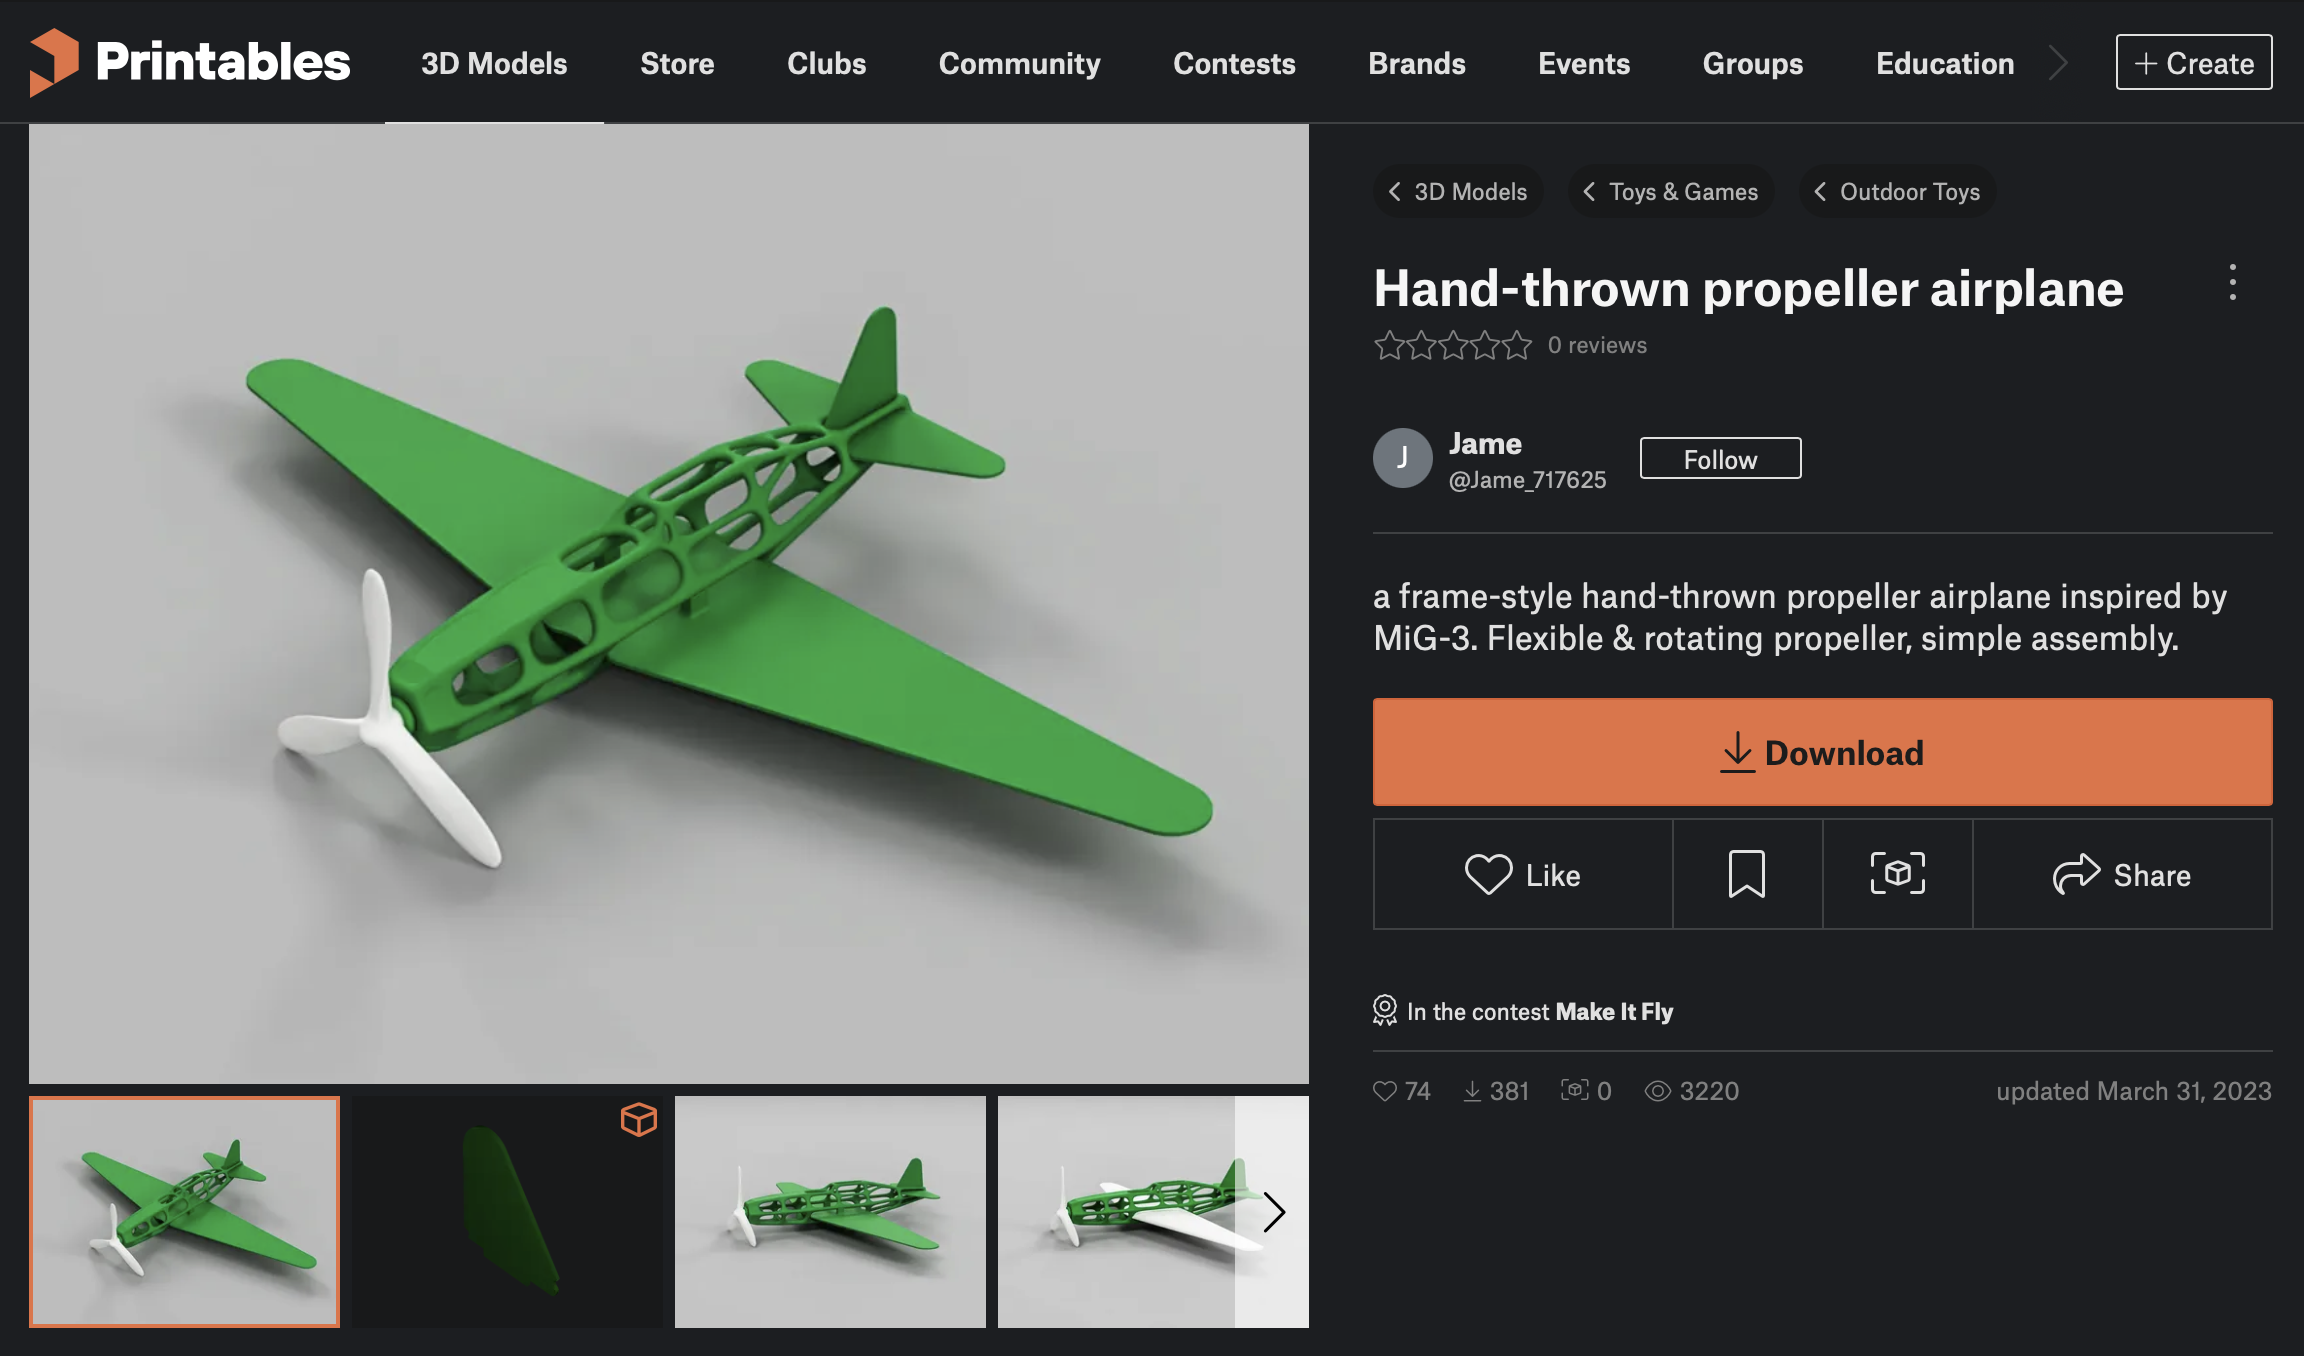
March 31, 2023
I published my 3D printing debut
"Hand-thrown Propeller Plane"
on Printables.
Since the flight effect was far from what I expected,
I gave up.
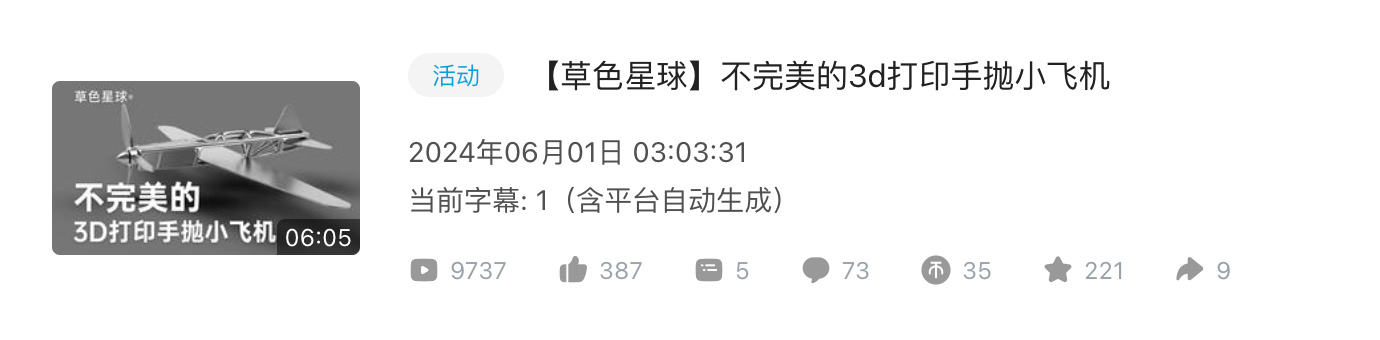
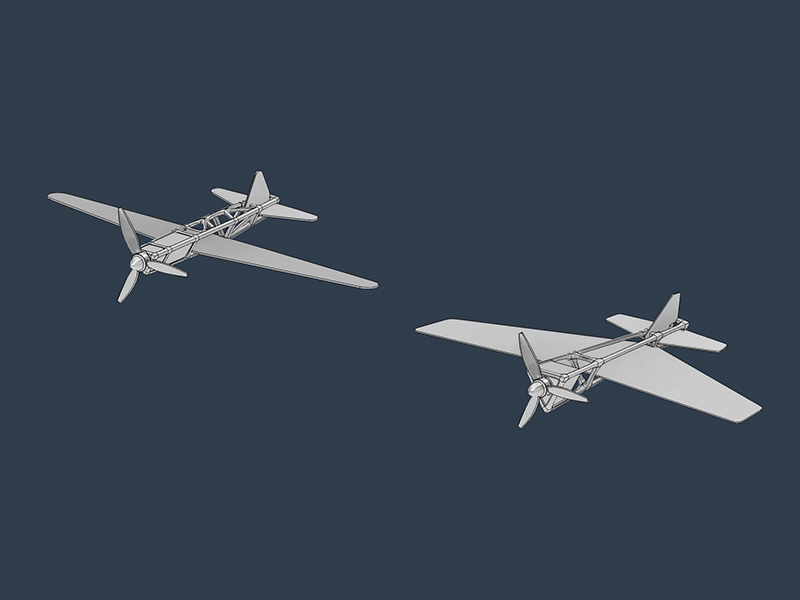
June 1, 2024
I released its second version on Bilibili
"Imperfect 3D Printed Hand-Thrown Airplane"
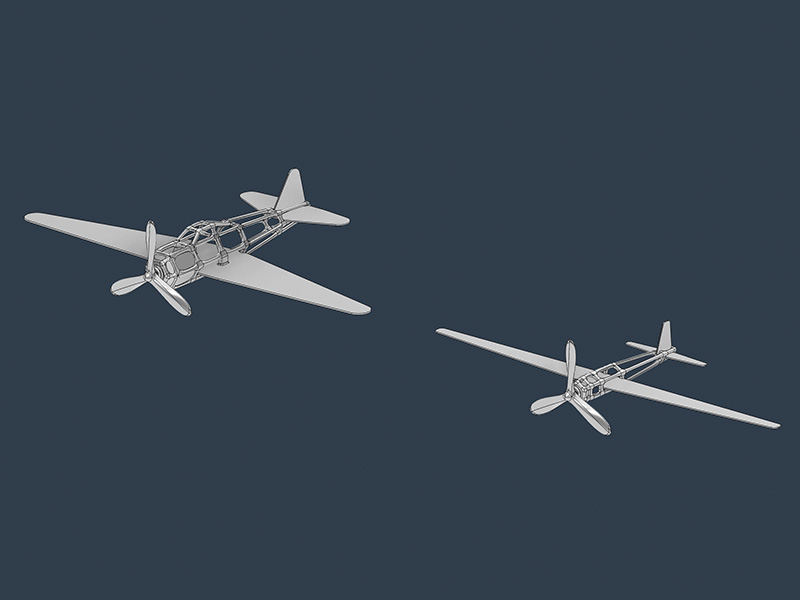
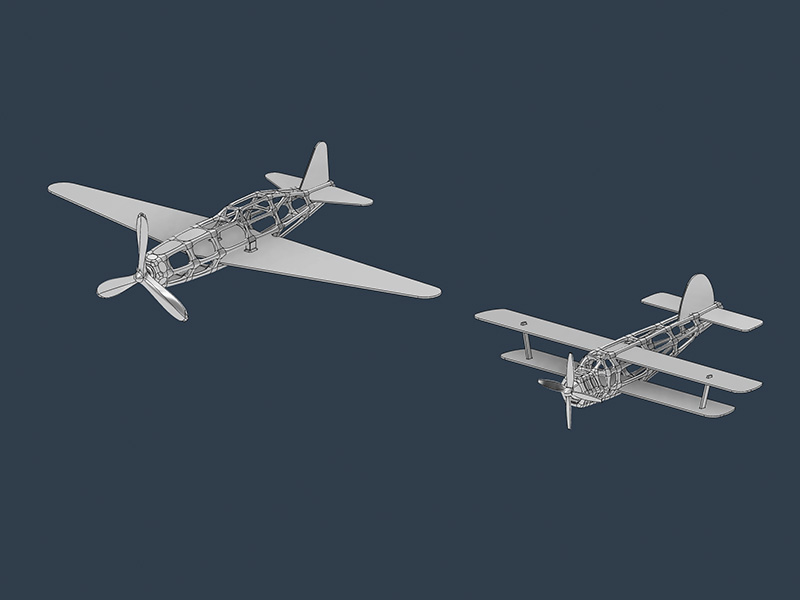
I tried some different models
June 15, 2024
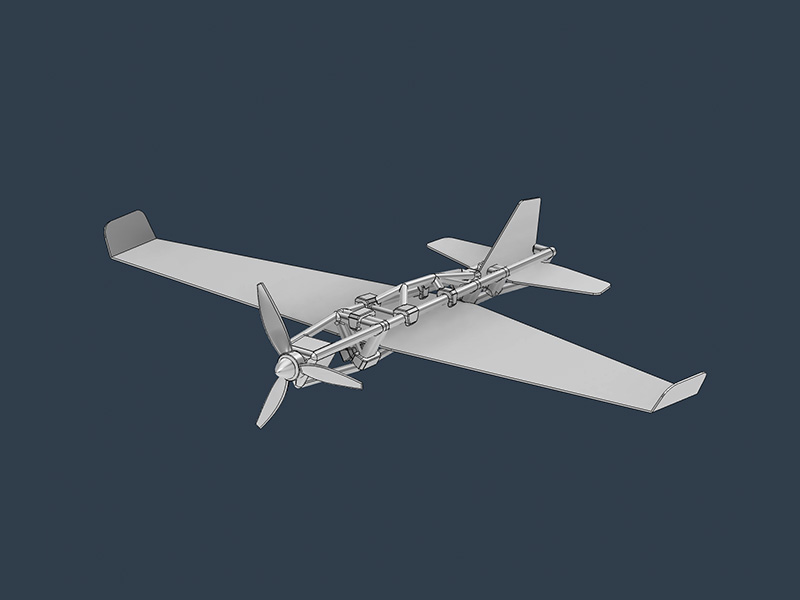
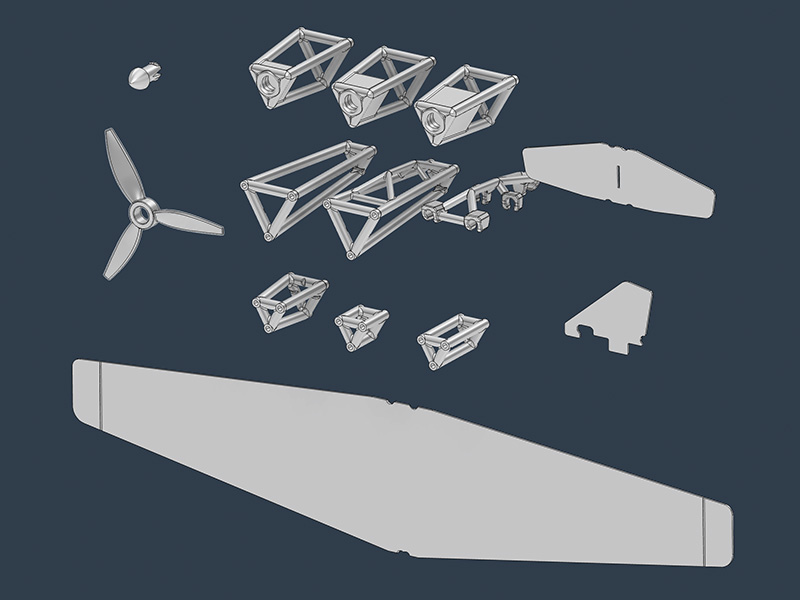
With the help of netizens from Bilibili
upgraded to the third version
"Imperfect 3D Printed Assembled Airplane"
You can try to improve the impact on flight in sections
July 27, 2024
Under the encouragement of netizens on Bilibili
A catapult was added and some minor upgrades were made to the airplane
The fourth version was launched
"Imperfect 3D Printed Catapult Airplane"
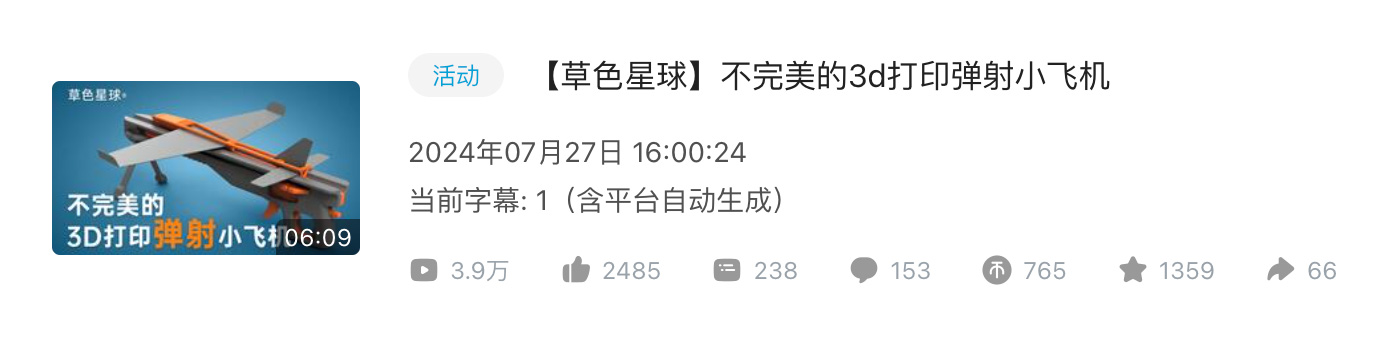
I have tried and failed along the way.
Every time I have made a little progress,
but I can never achieve what I imagined.
Therefore,
I have created this "imperfect little plane" series.
Now my printer has been changed to A1.
Let's continue the challenge here
and see what it will eventually become.
Let's fly farther and farther.
This is the 草色星球.
See you next time.
Assembly Instructions:
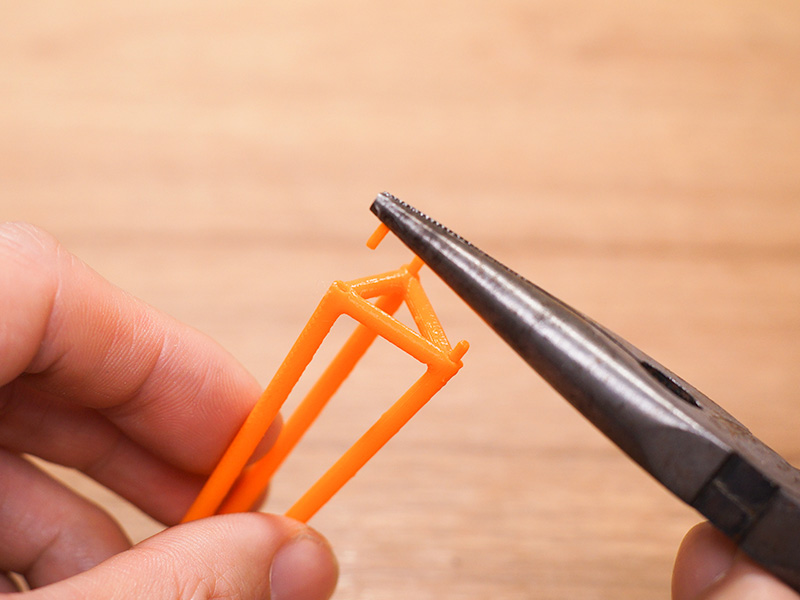
Use pliers to insert the connecting rod into the hole
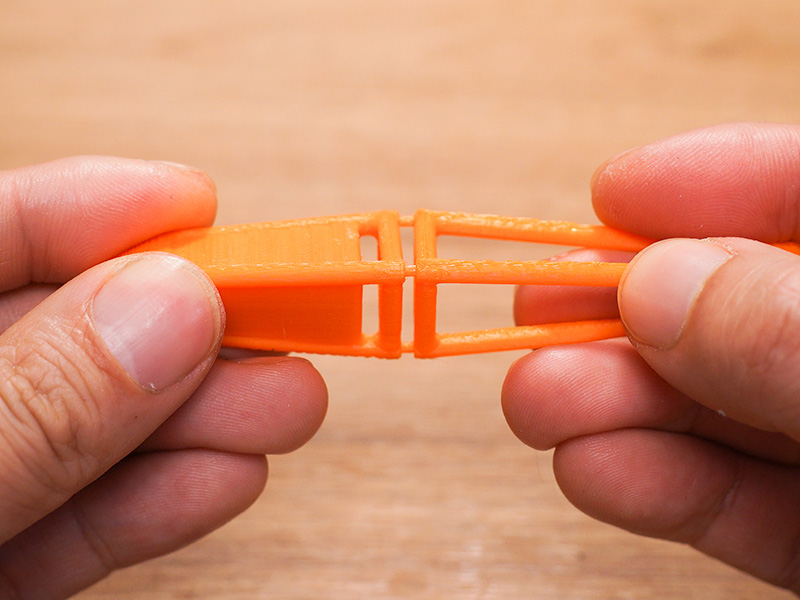
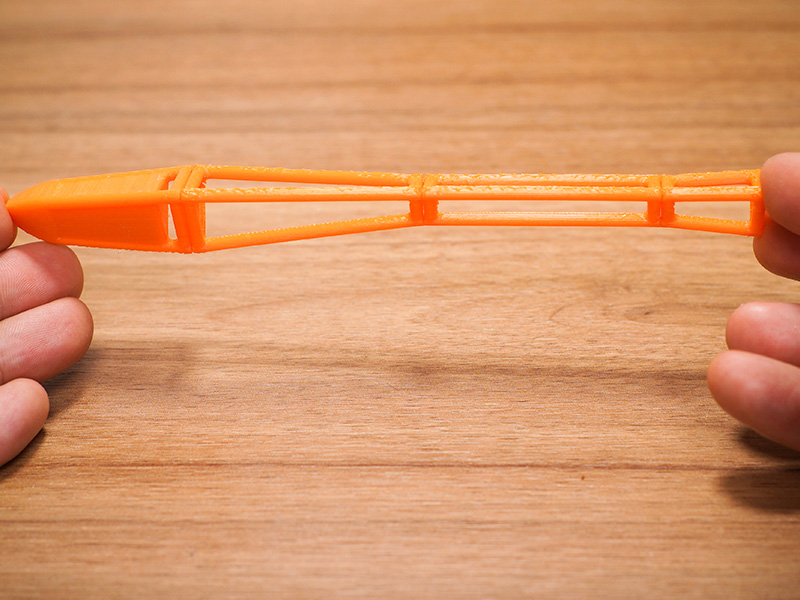
Bend the wing tips upward along the wire groove
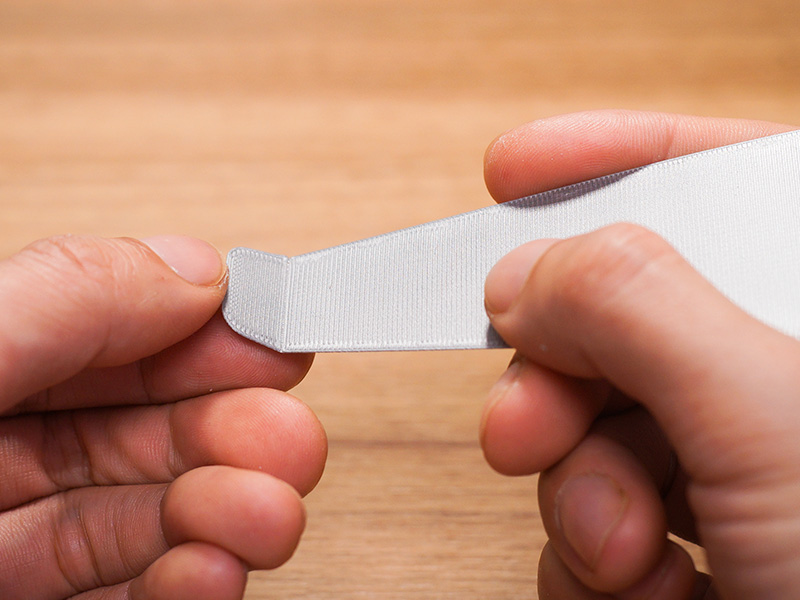
Bend the wing tips upward along the wire groove
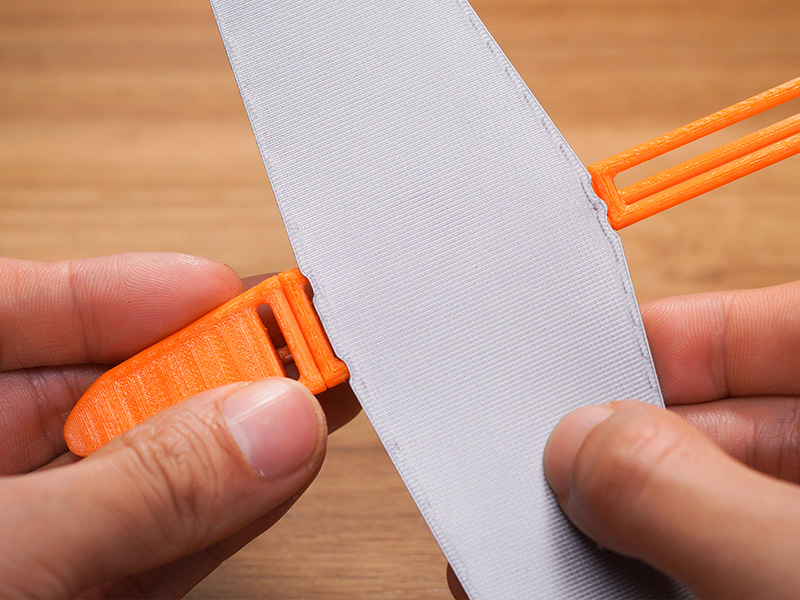
Confirm the direction of the wing, the one with the longer notch is the front
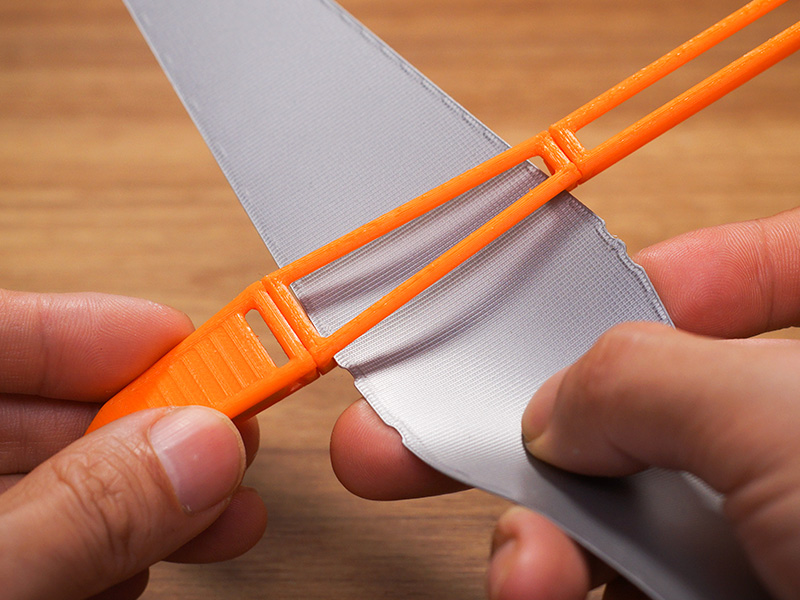
Bend the wing slightly to insert it into the fuselage frame
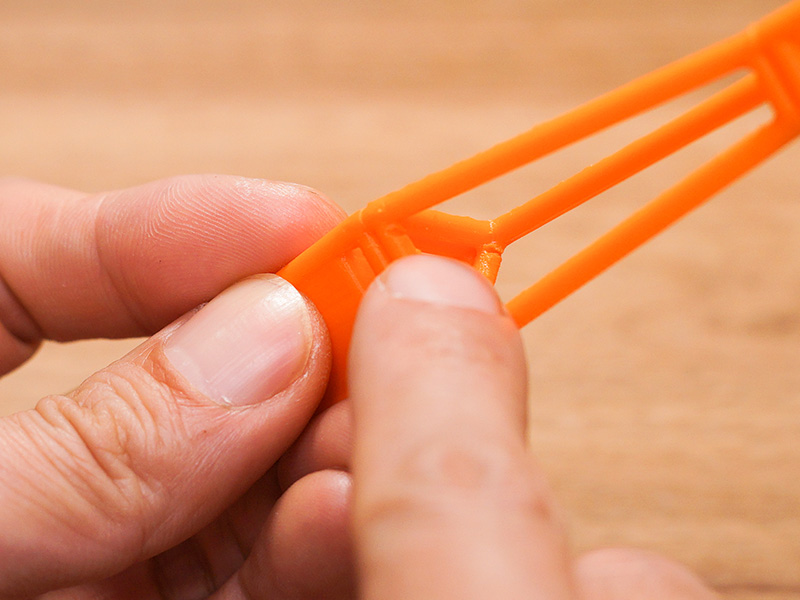
Note the slot position of the fuselage frame and insert the wing into it
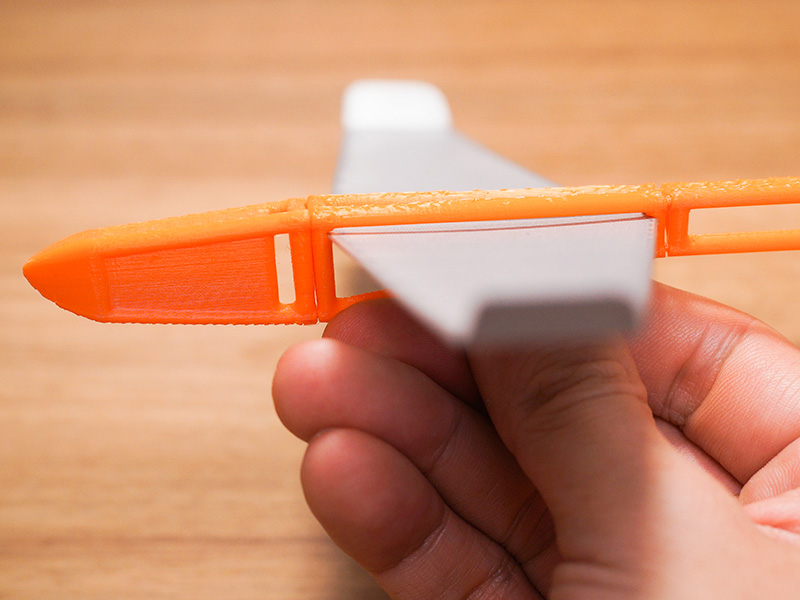
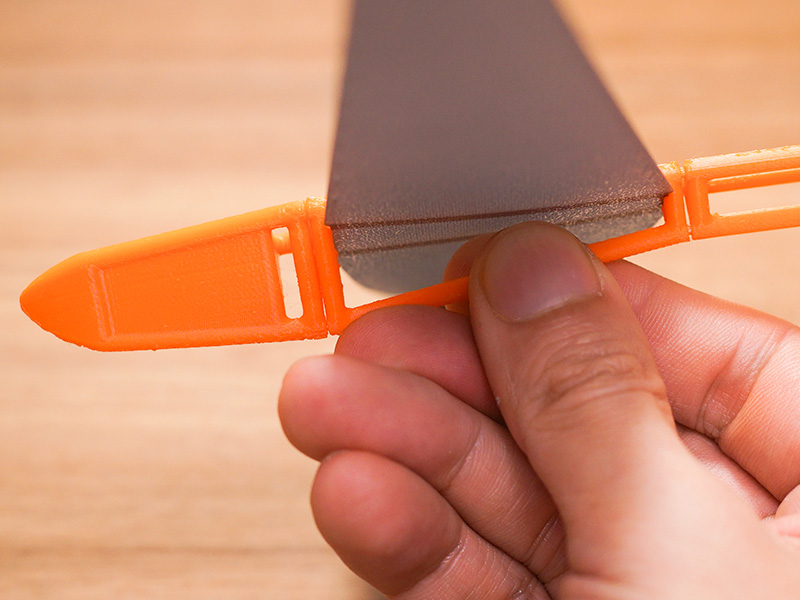
The wing should be straight after it is inserted in place
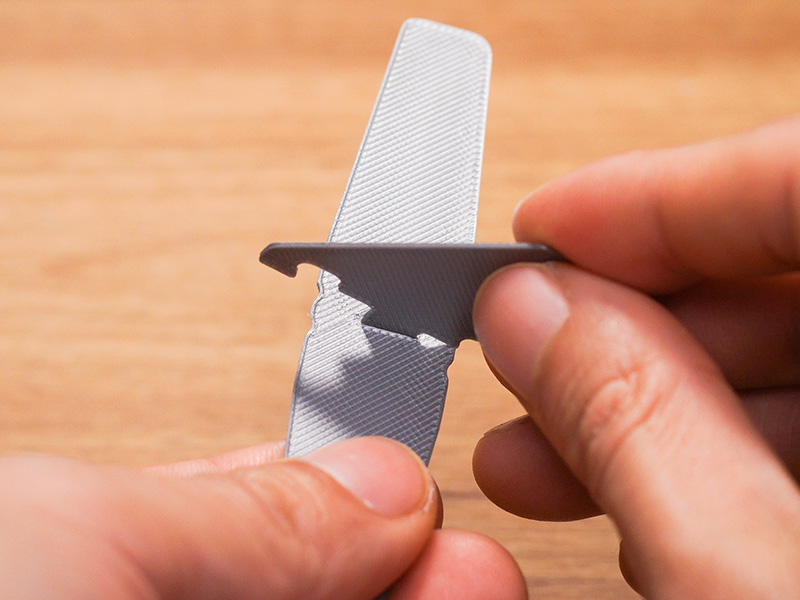
Insert the vertical tail into the hole of the horizontal tail to test it
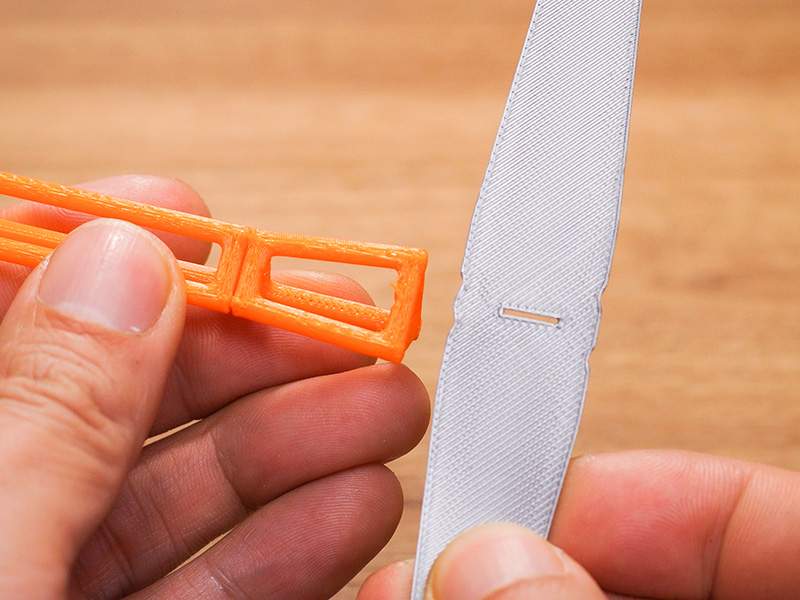
Confirm the direction of the horizontal tail, with the short notch facing forward
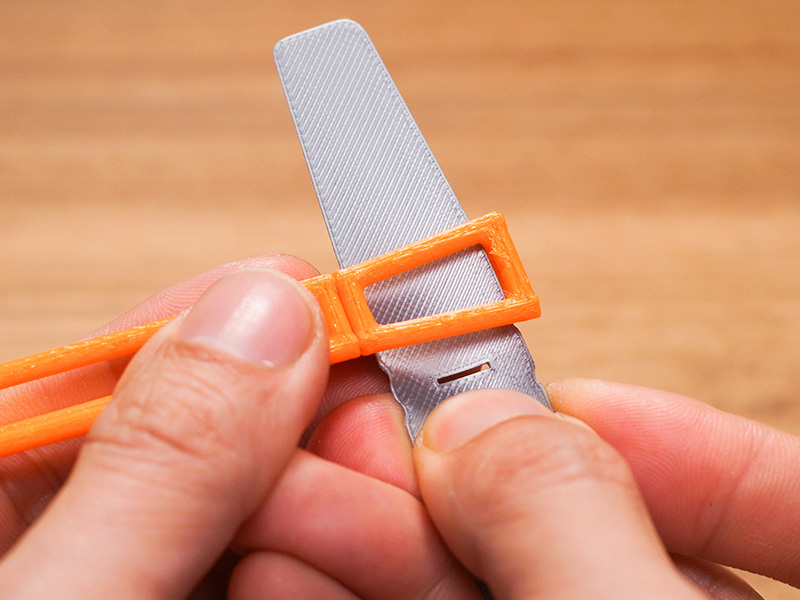
Bend the horizontal tail downward to insert it into the end frame of the fuselage
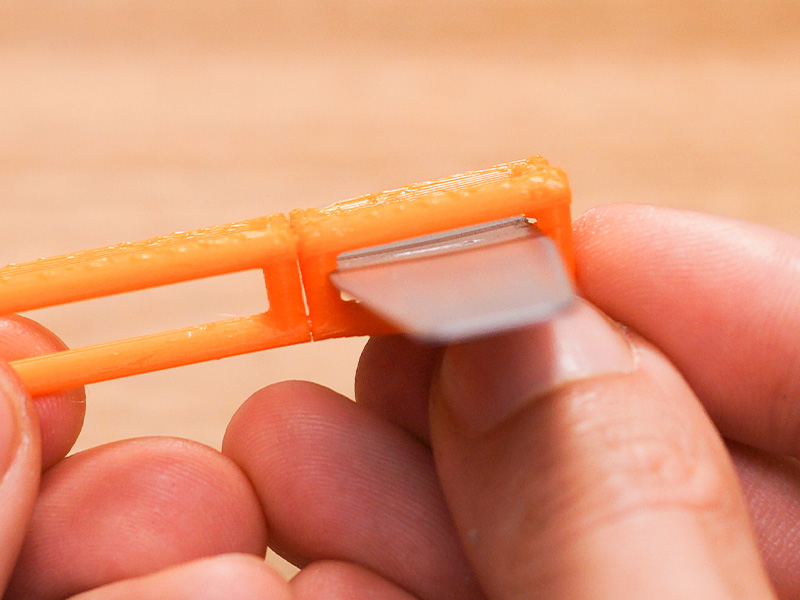
Note the slot position of the fuselage frame and insert the horizontal tail into it to ensure that the tail is straight
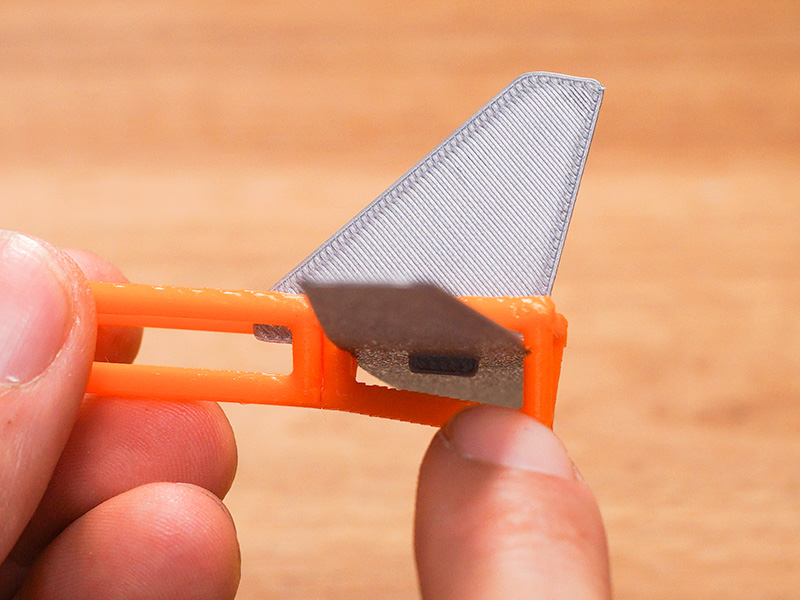
Insert the vertical tail downward into the hole
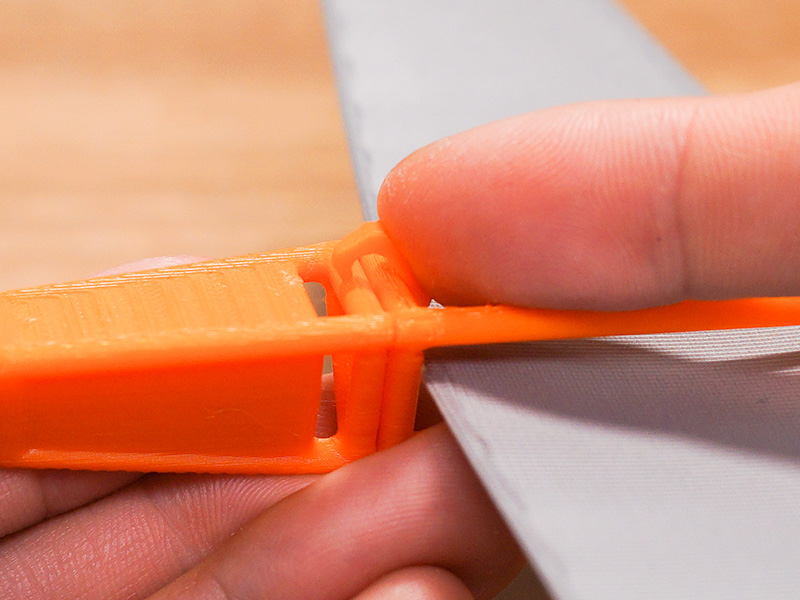
Put the connecting clip close to the frame
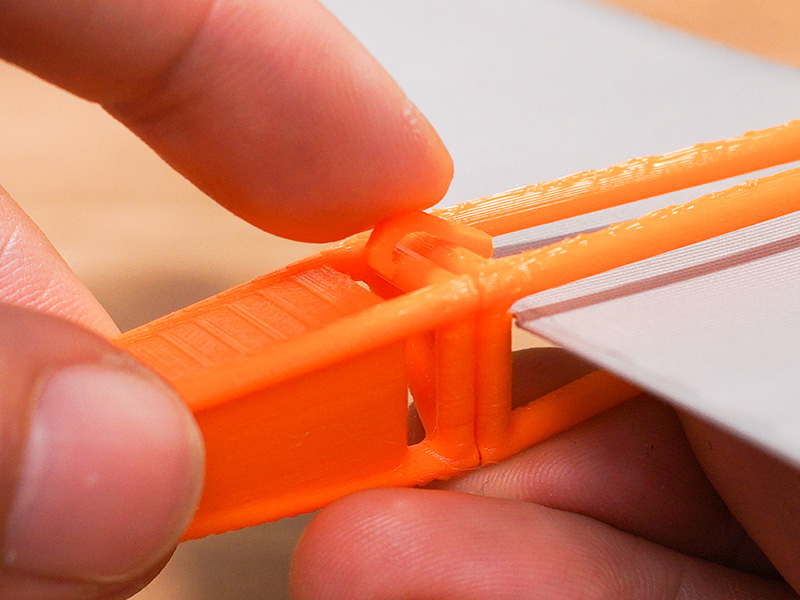
Press down to buckle it
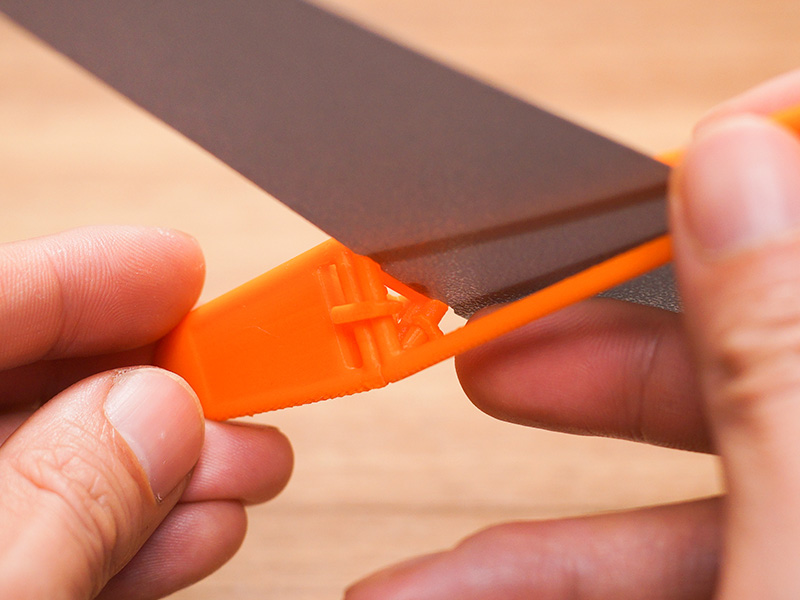
The first and second sections of the fuselage require three connecting clips, these are the two below

The connection parts of the second and third sections of the fuselage are small and can only hold two clips
It is recommended to install it below to maintain the left-right balance
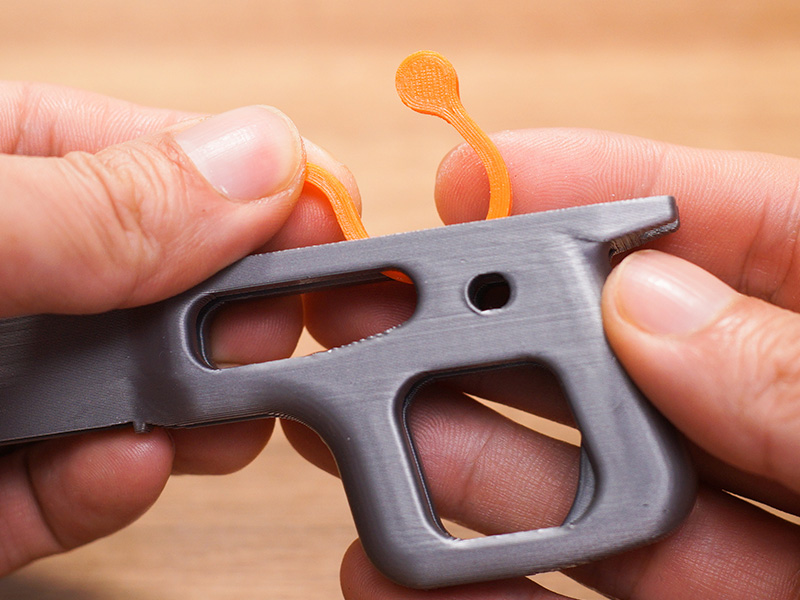
Put the trigger spring into the catapult grip
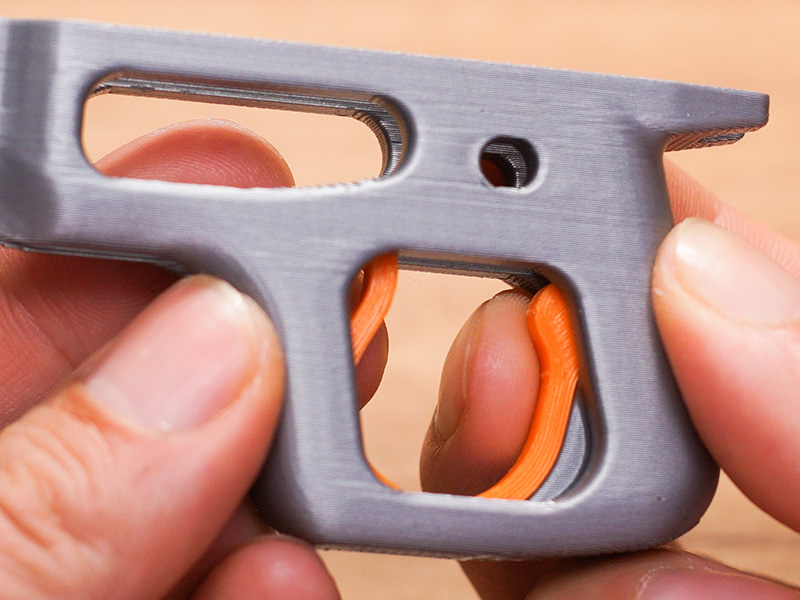
Press it into place with your fingers
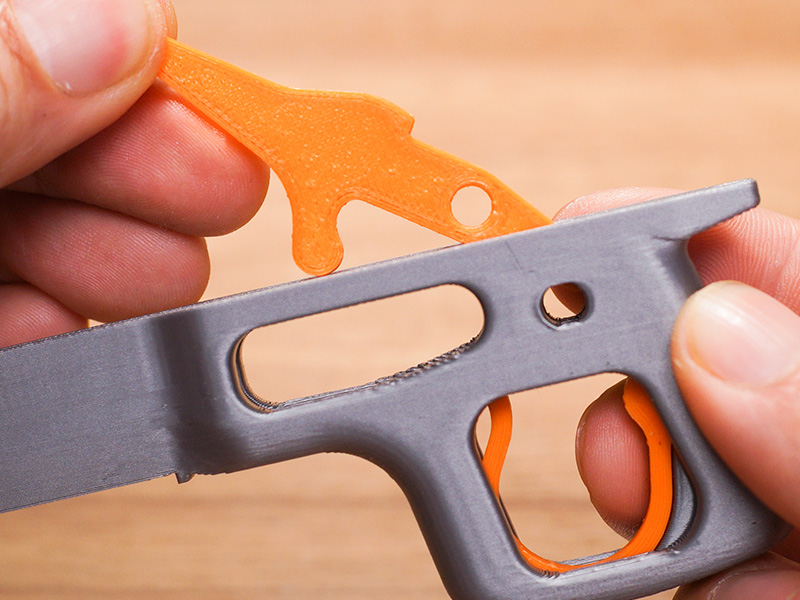
Put in the trigger lever
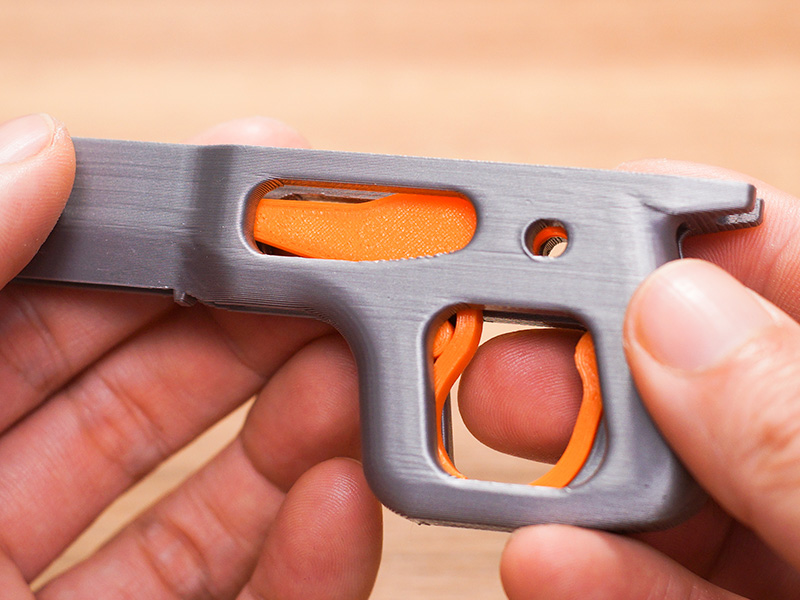
Align its hole position with the hole position on the catapult grip
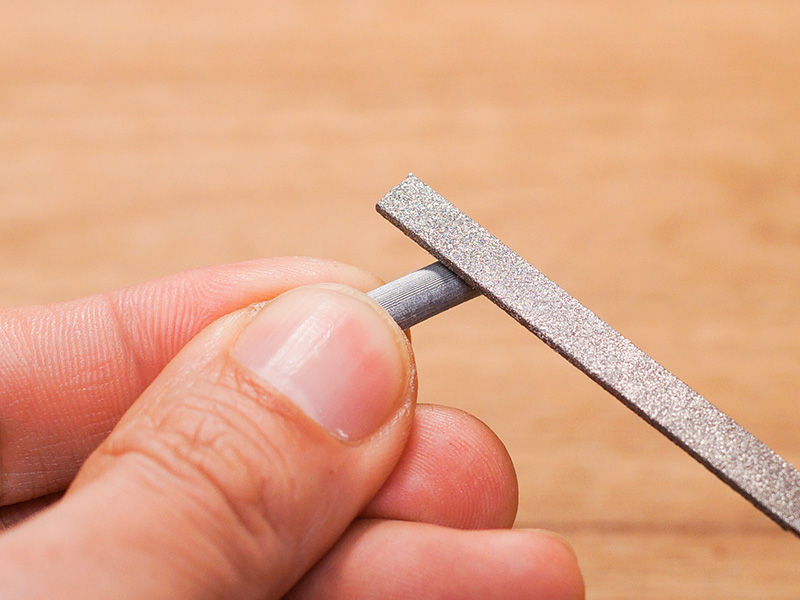
Slightly grind the horizontally printed rotating shaft
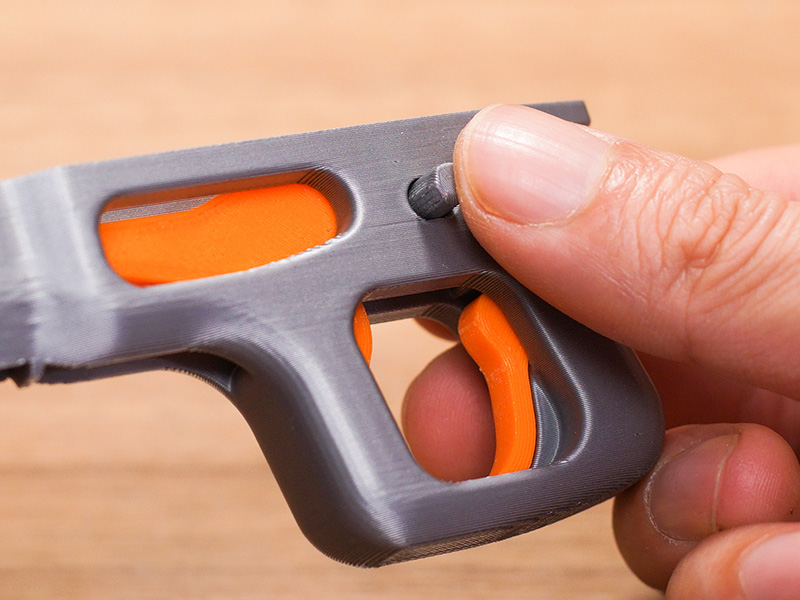
Insert it into the hole
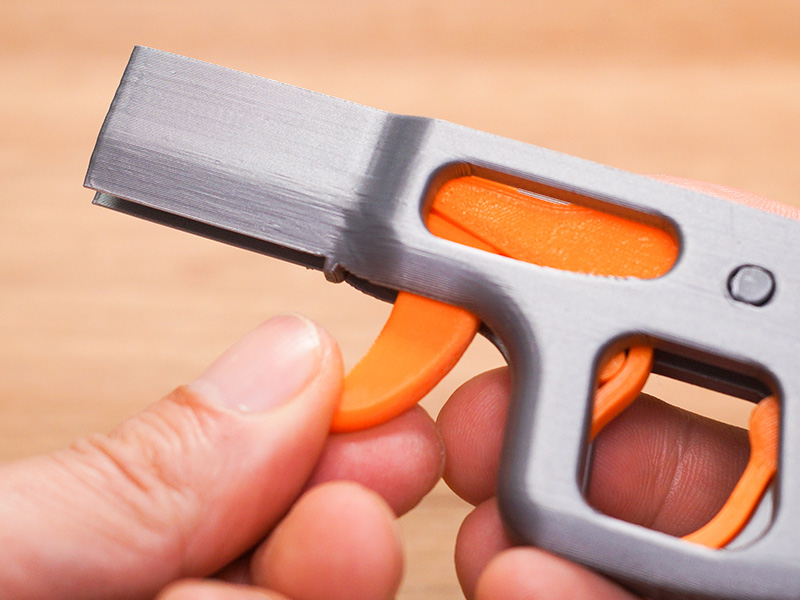
Install the trigger
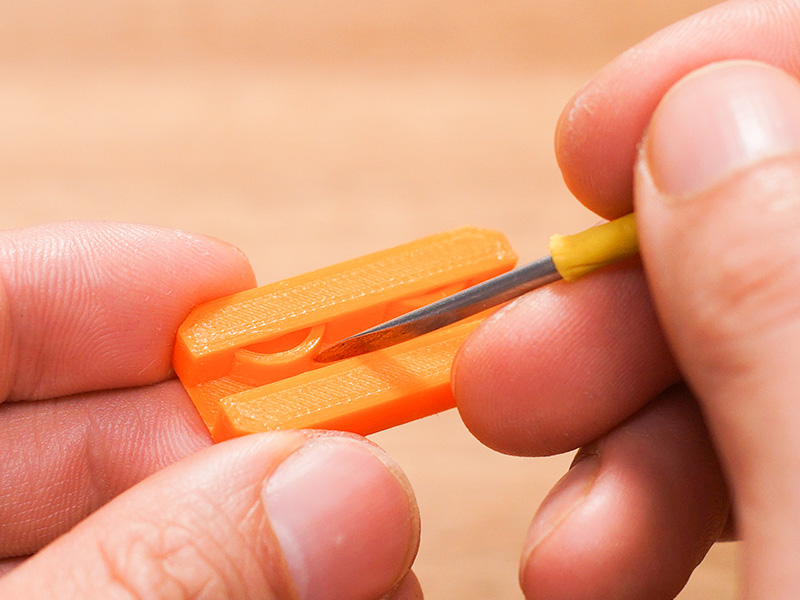
Insert the 4 springs into the reducer
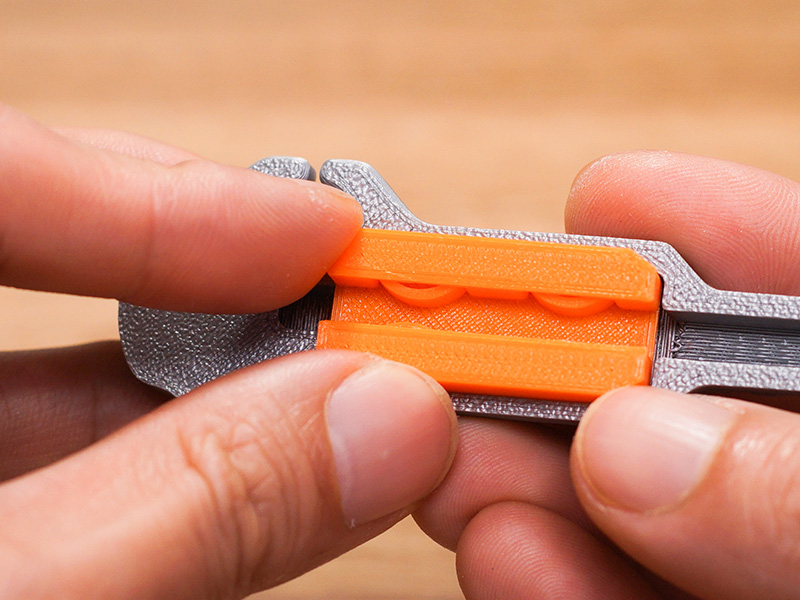
Put the reducer into the front of the catapult, with the springs with the smallest spacing in front
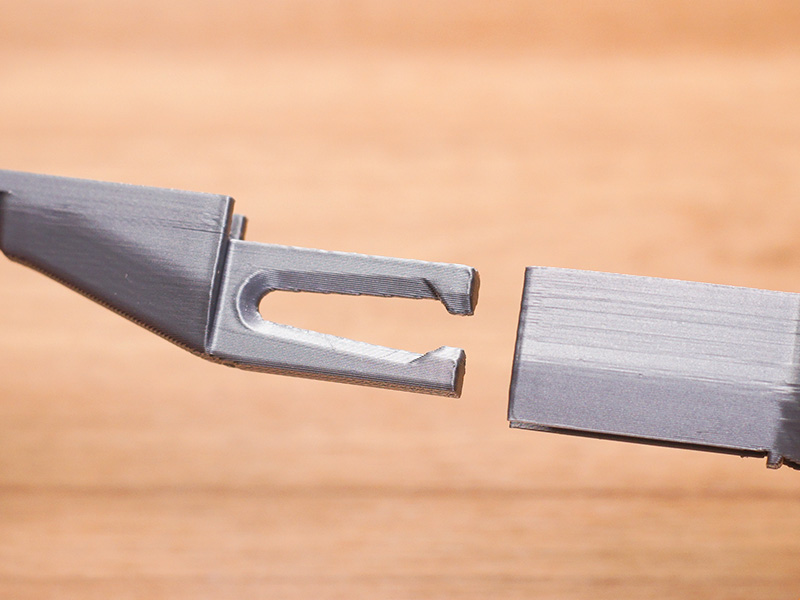
Connect the front and rear parts of the catapult
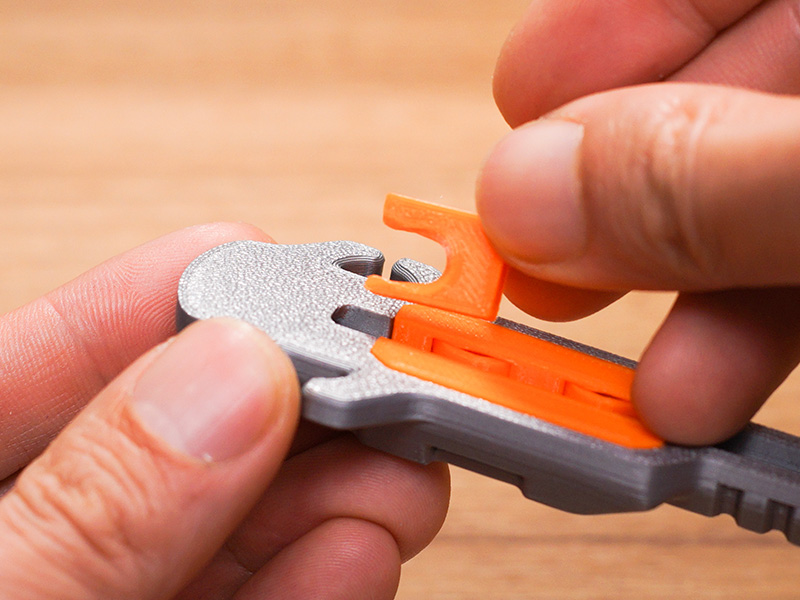
Insert the front snap into the front of the catapult in advance
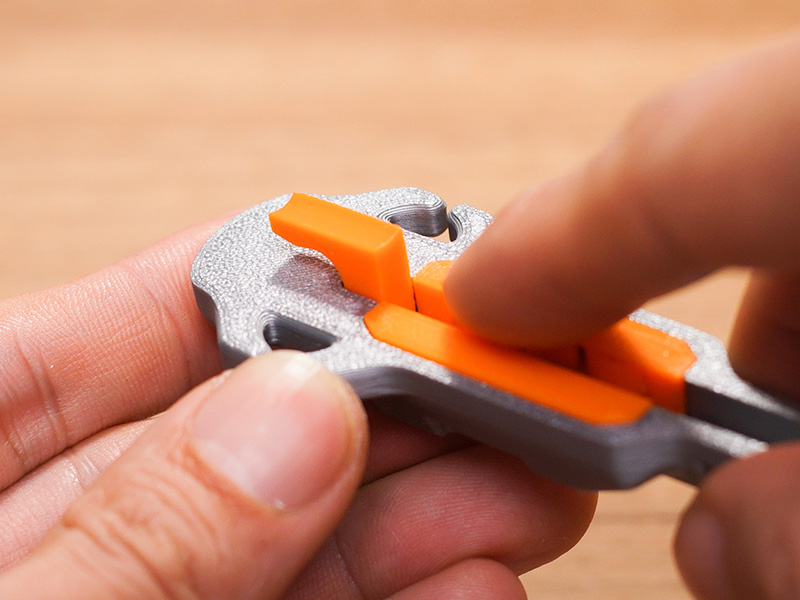
Push it forward to put it in place
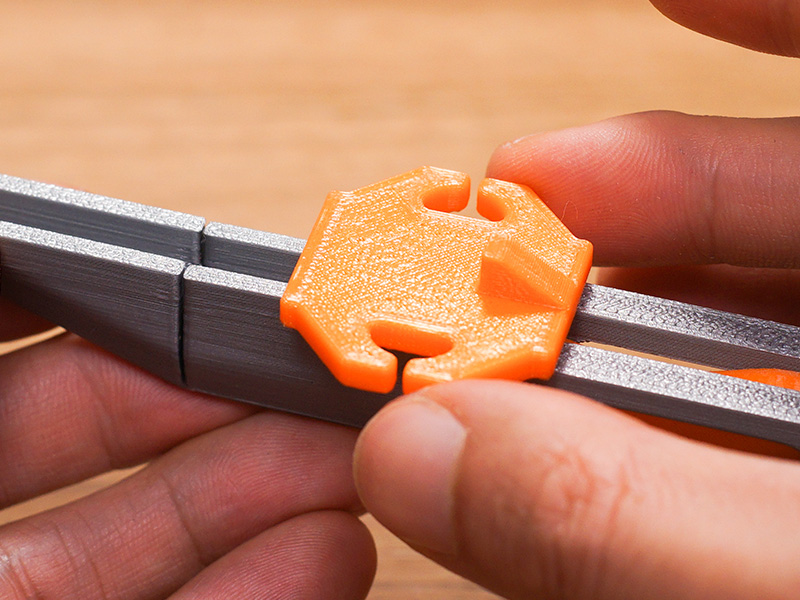
Put the ejection slide into the slide of the catapult
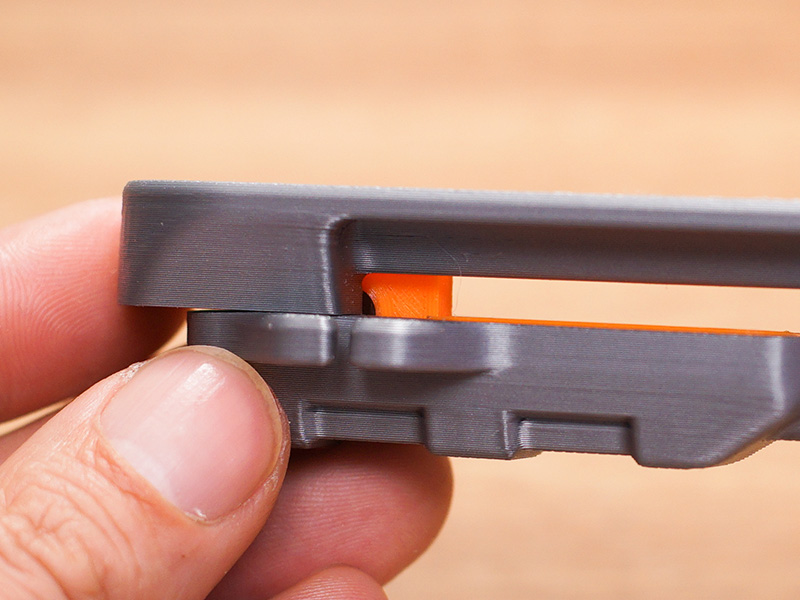
Push the upper part of the catapult from the front to lock the front snap
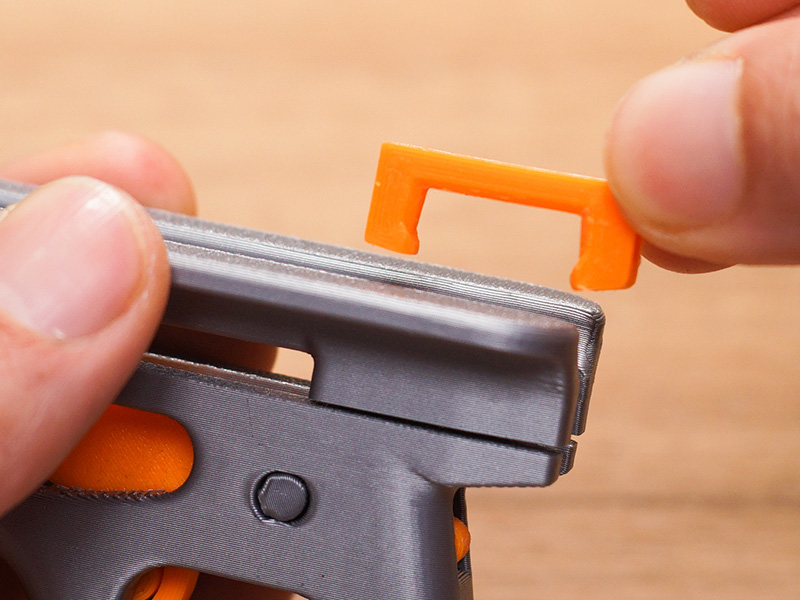
Insert the rear snap vertically downwards
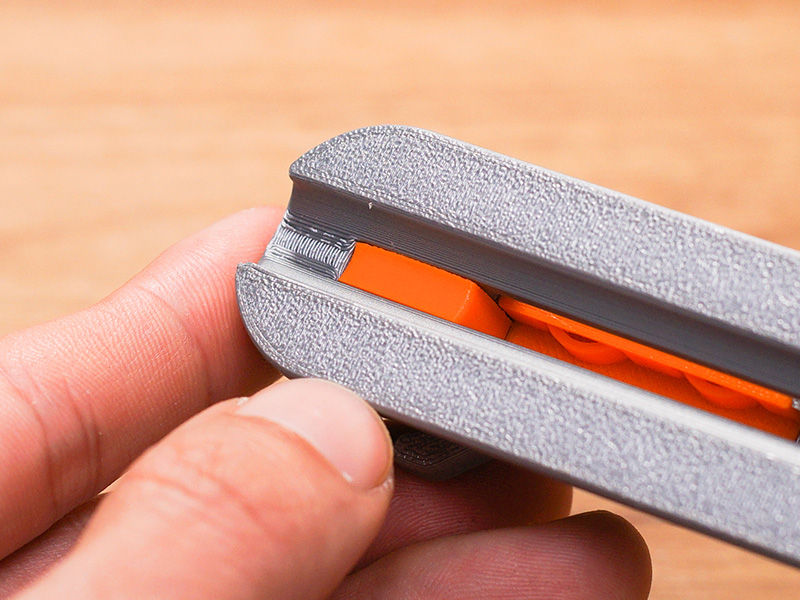
Locked front snap
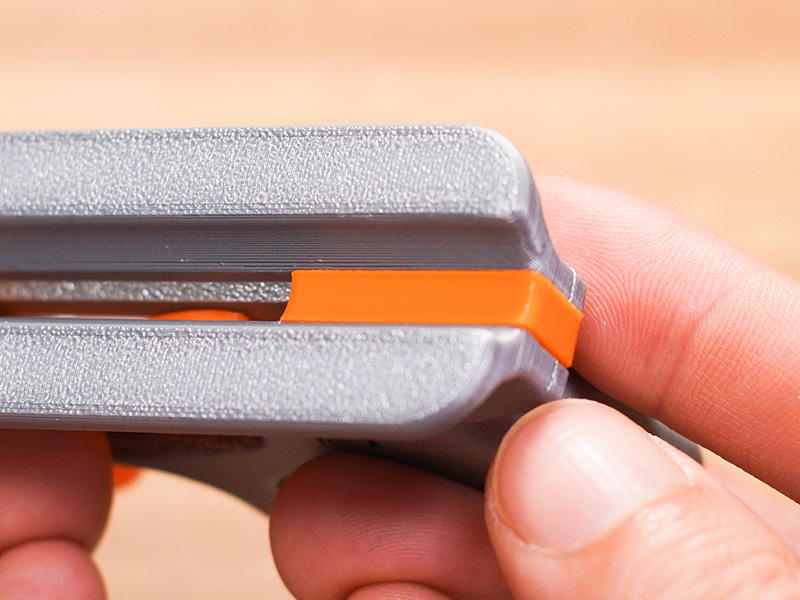
Locked rear snap
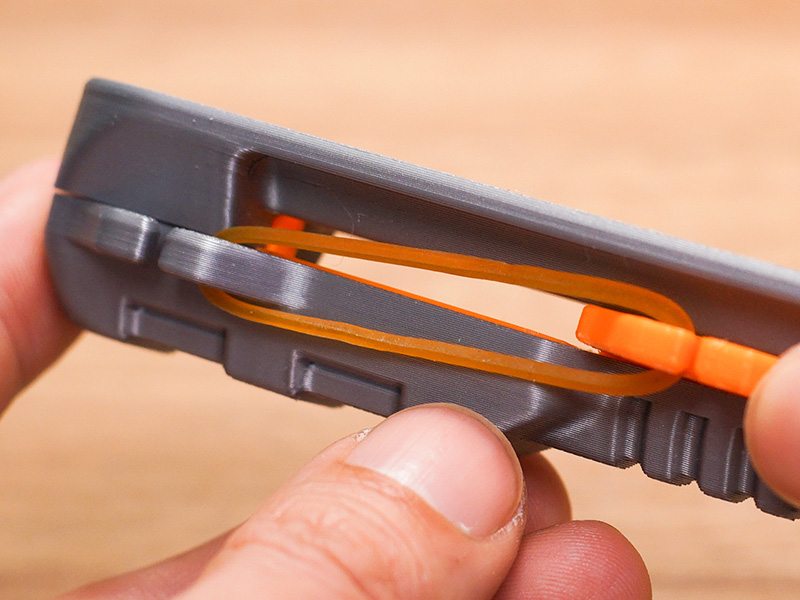
Install the rubber band
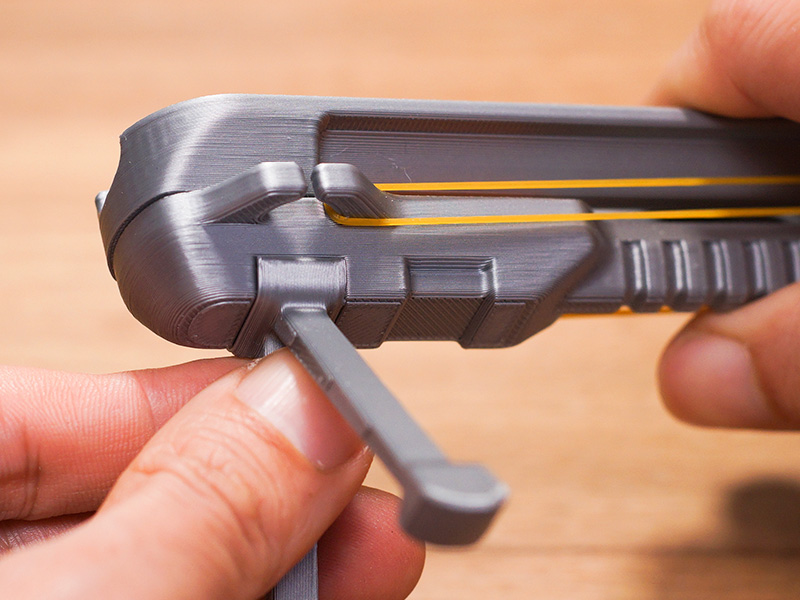
Install the bracket (optional, only for ground ejection)
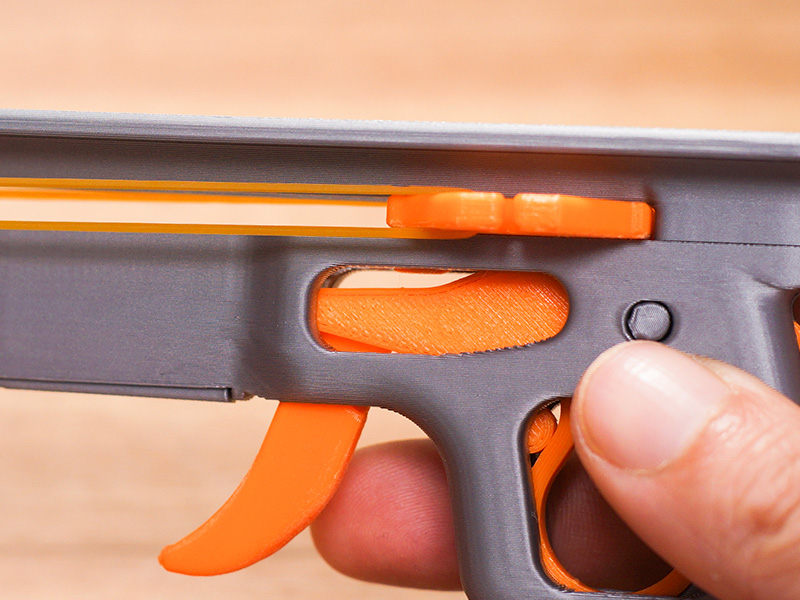
Pull the ejection slide to the end
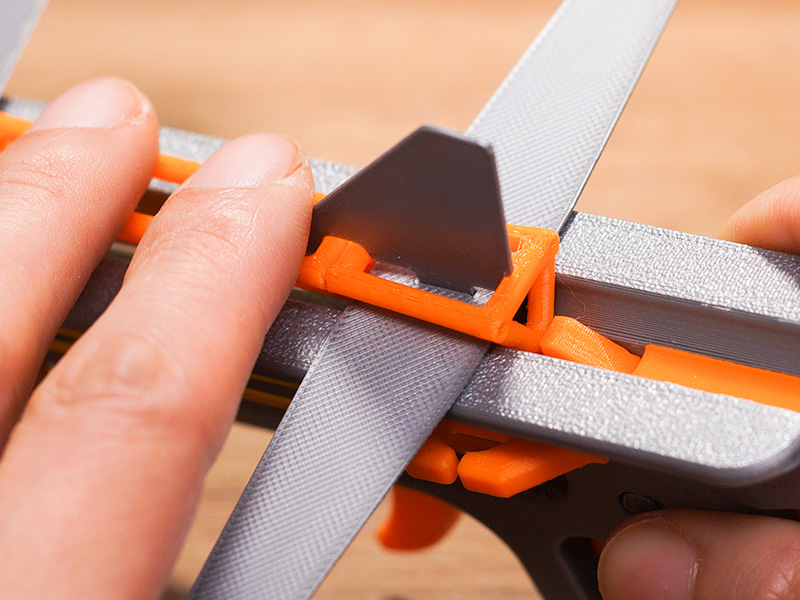
Place the end of the aircraft against the slide
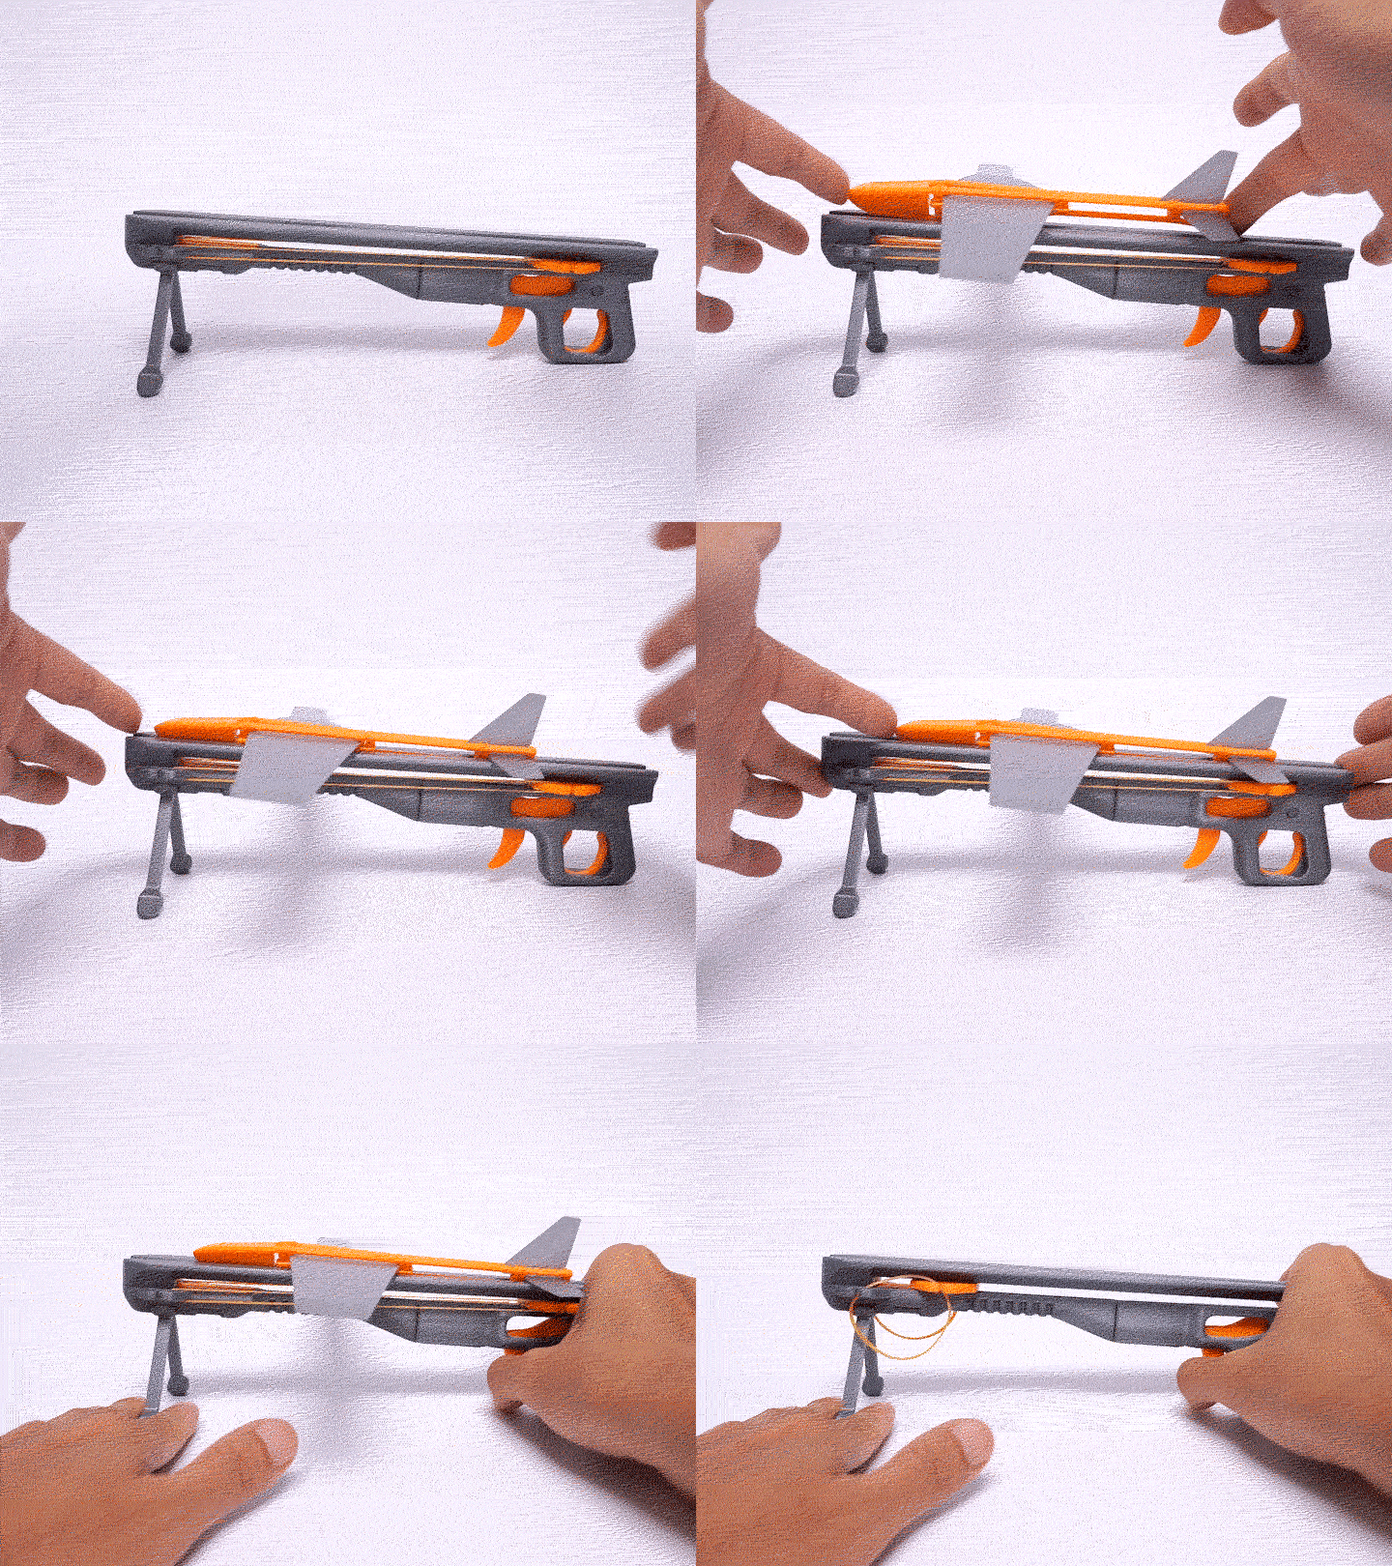
Launch!
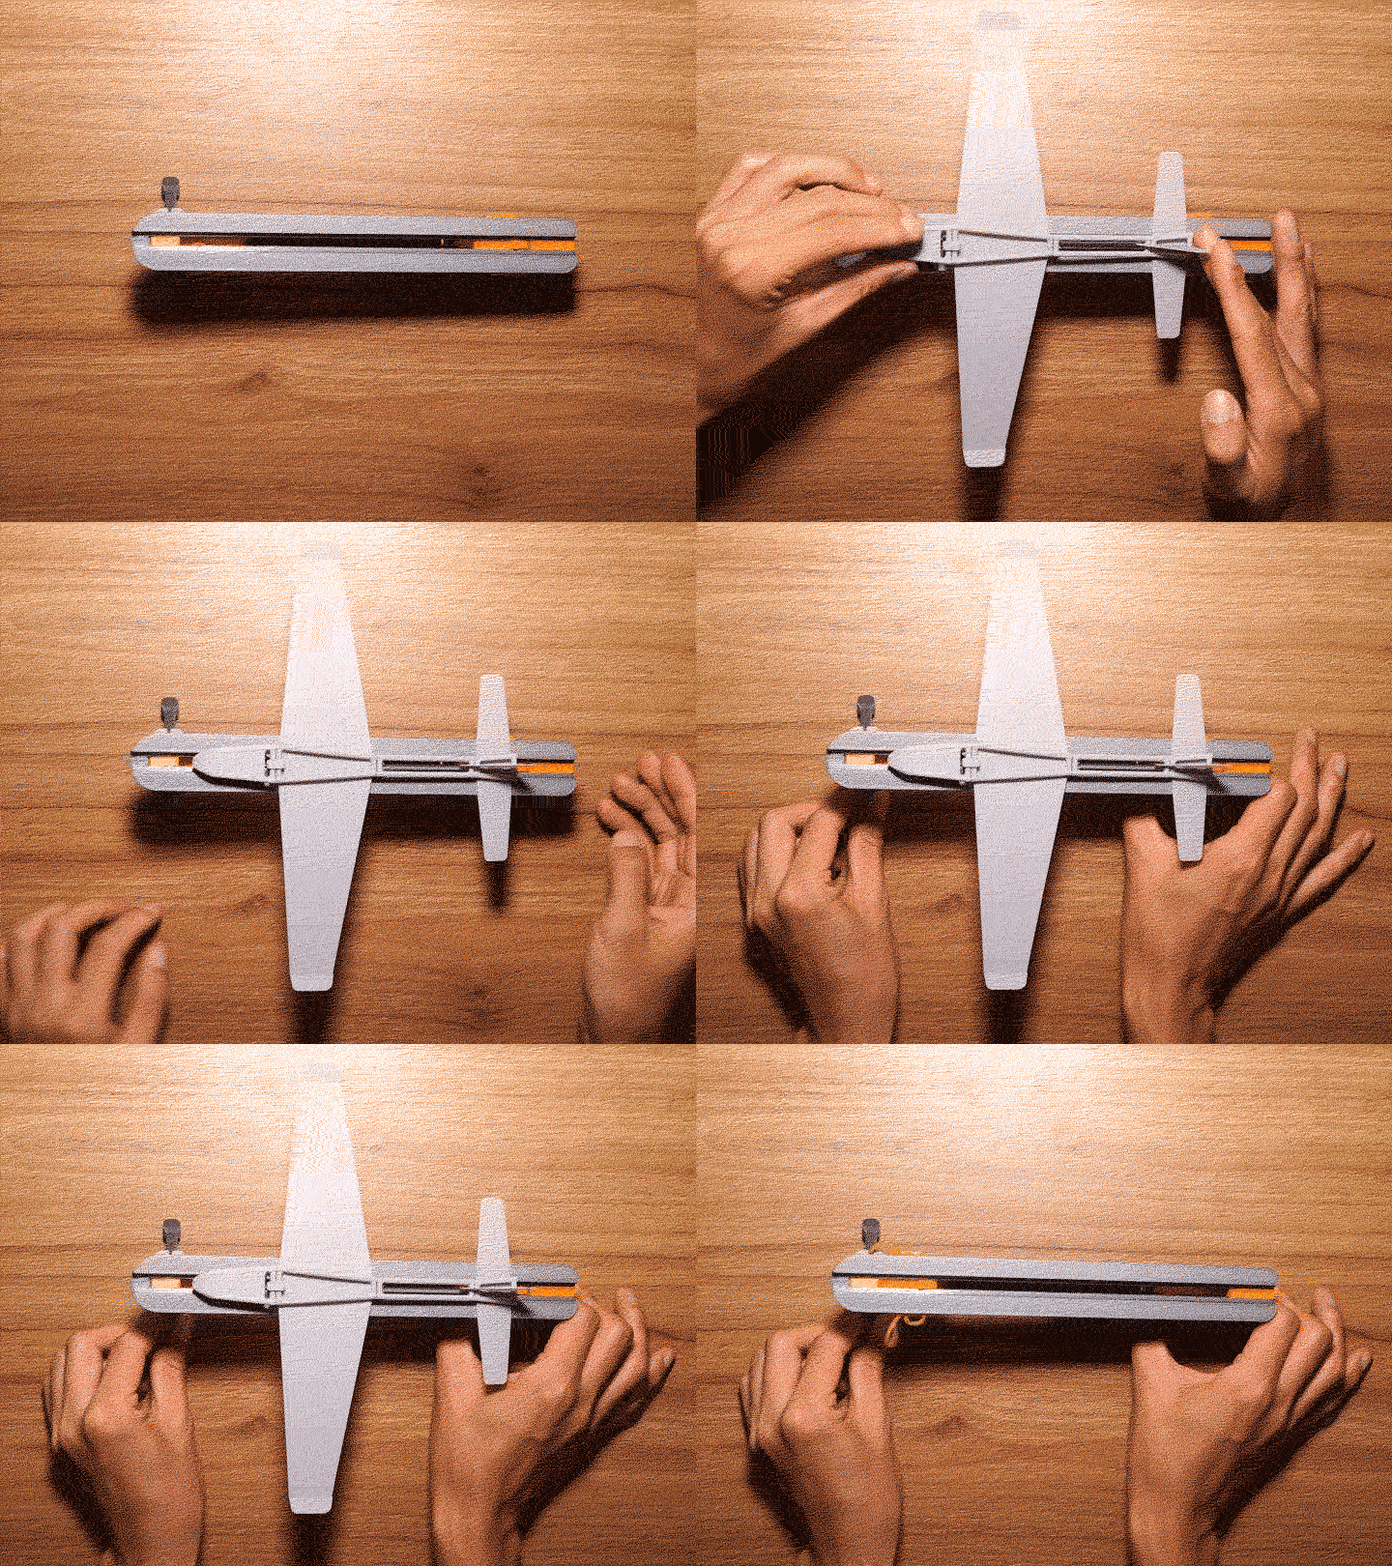
Launch!
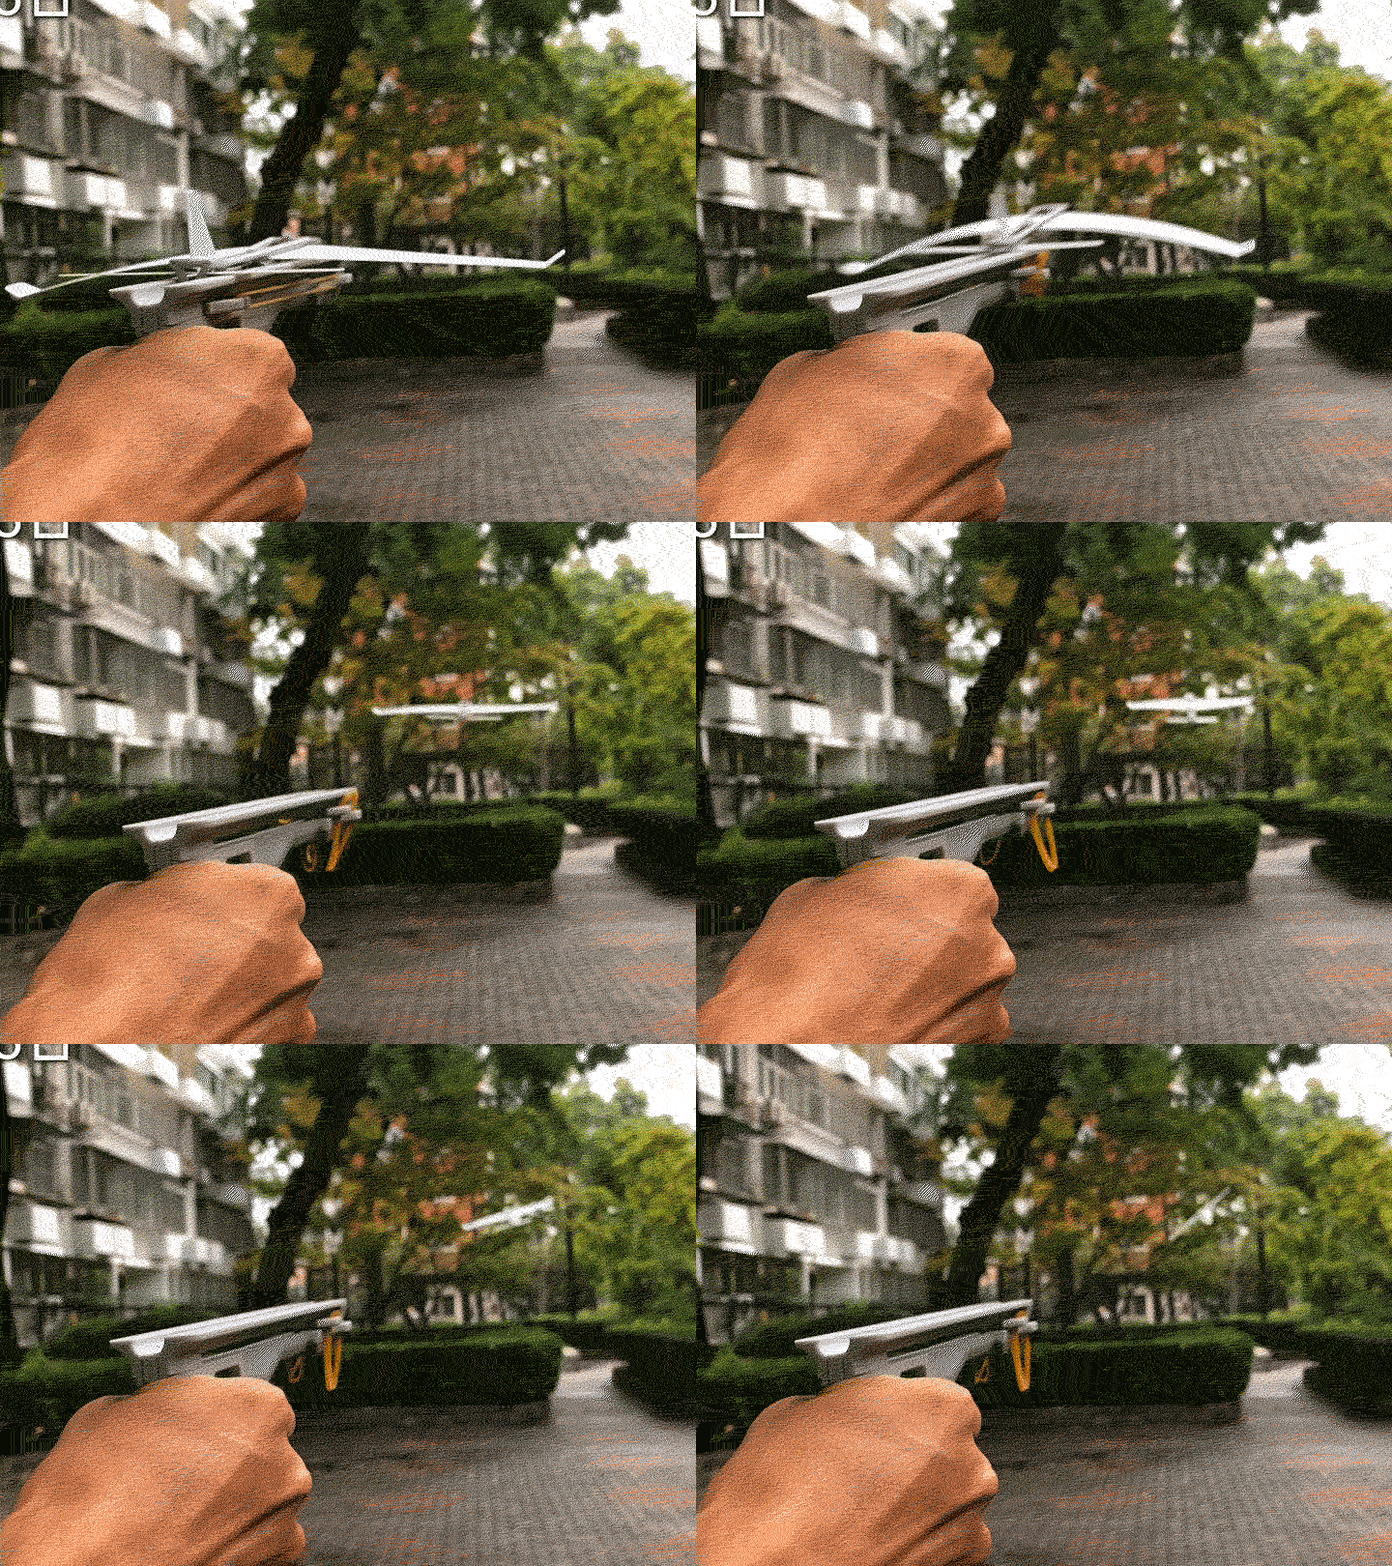
Launch!
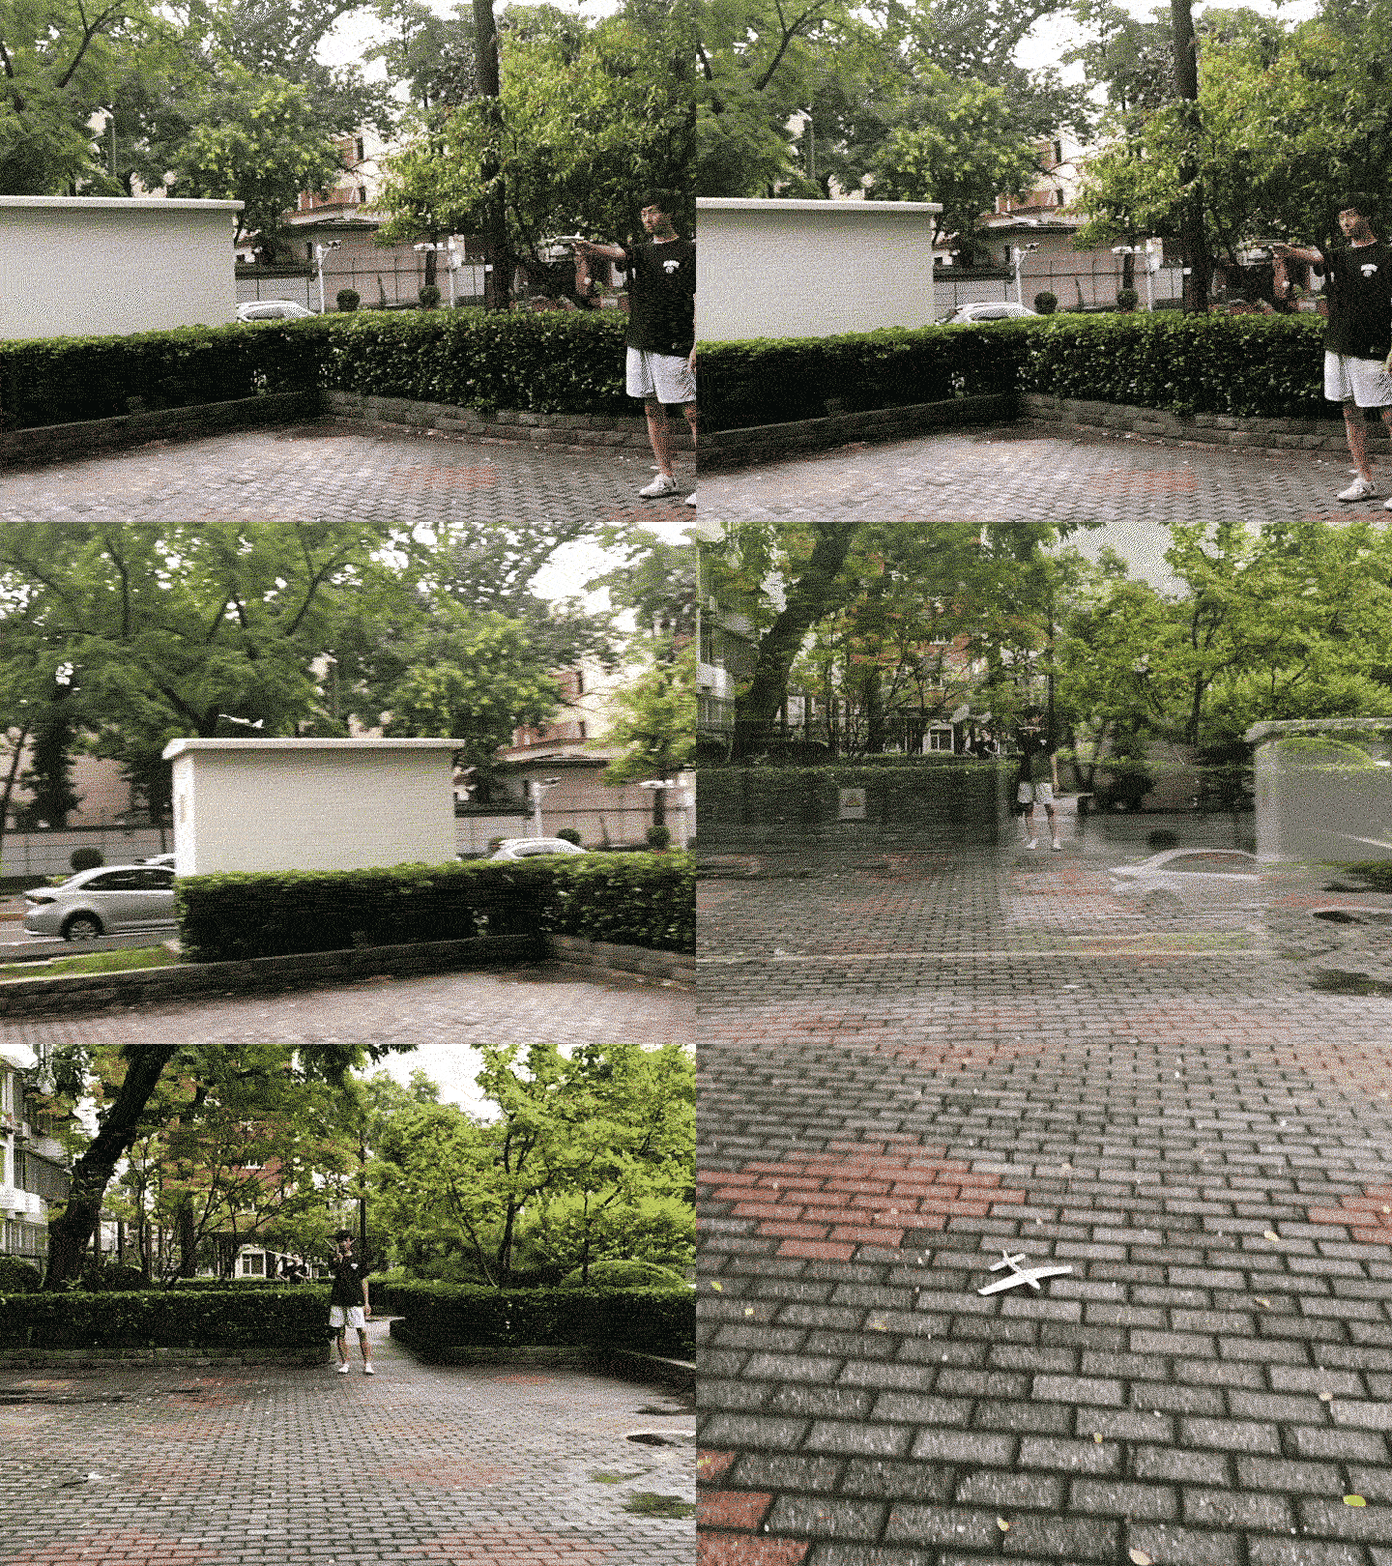
Launch!
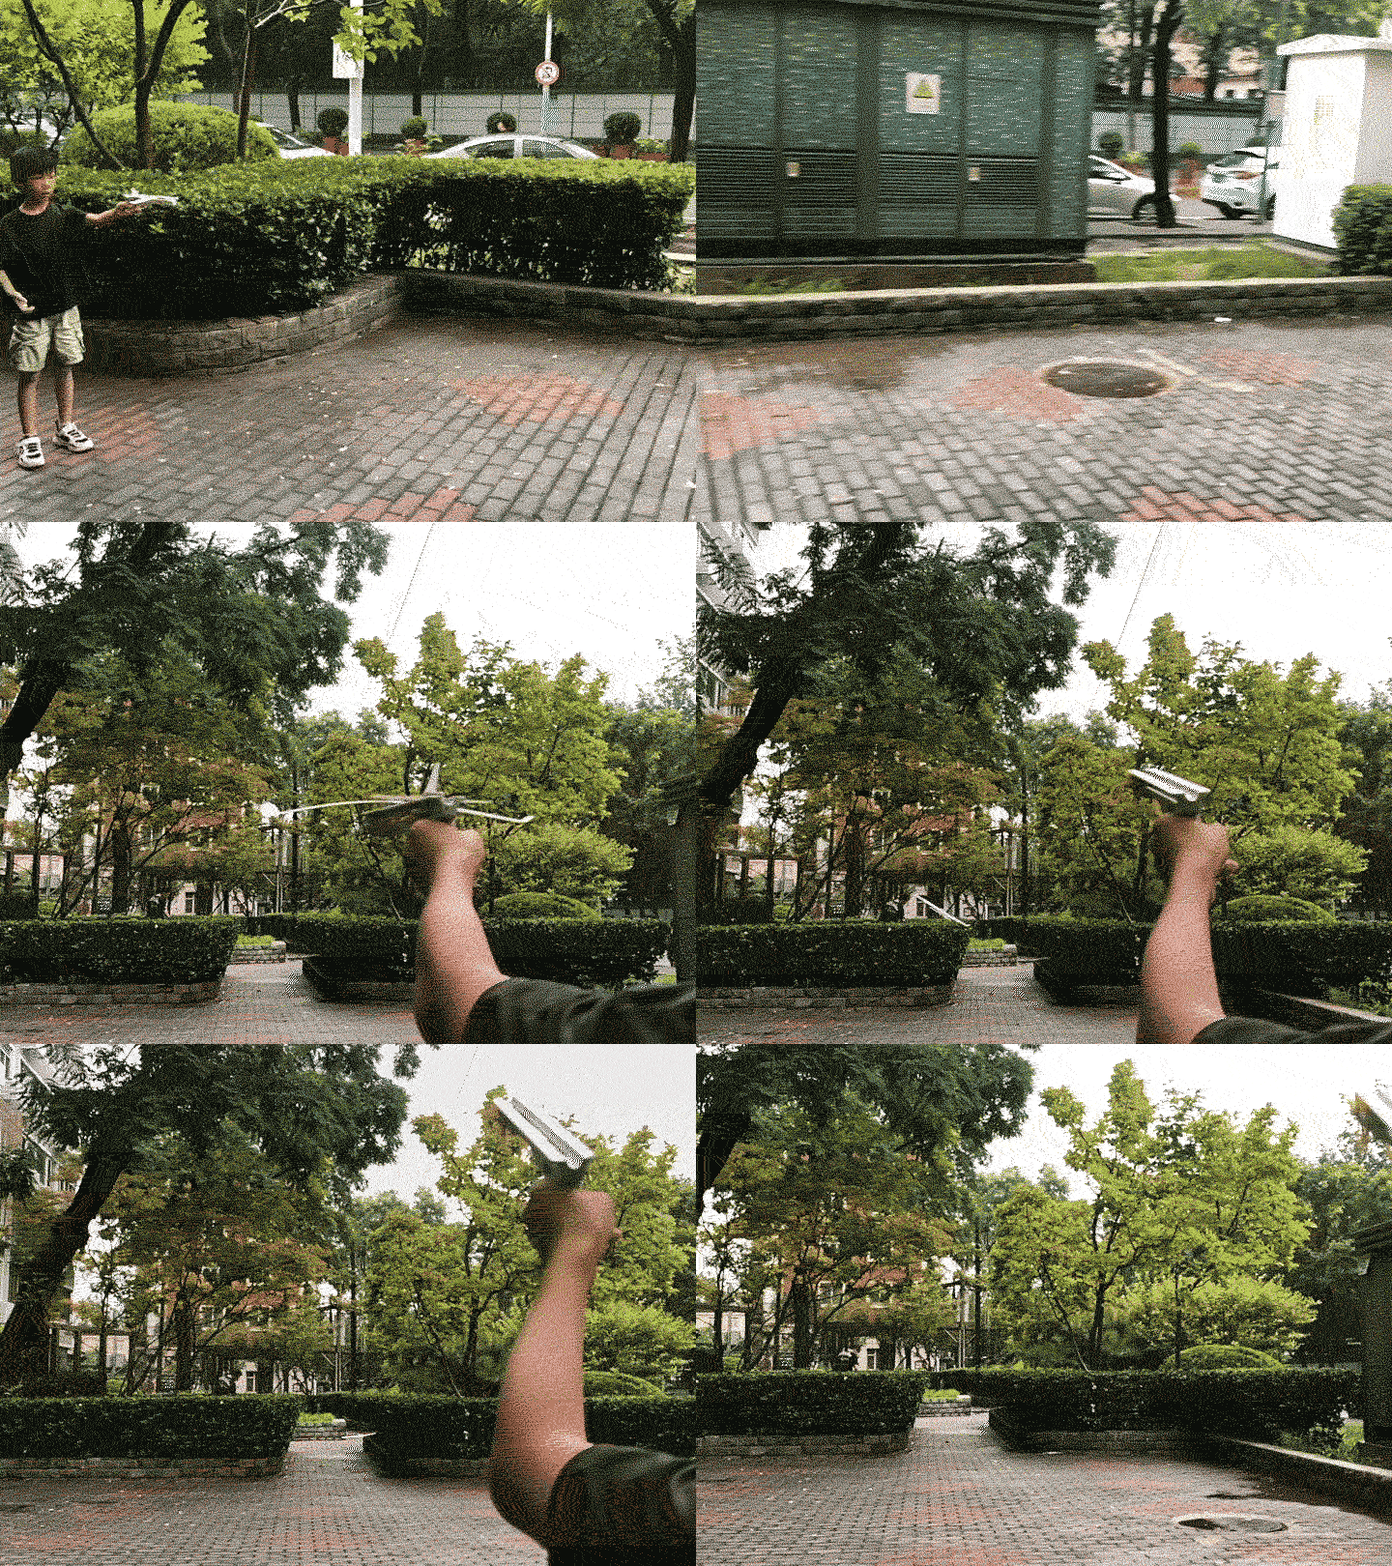
Launch!
Gostou deste modelo? Crie uma conta grátis para salvar seus favoritos e voltar a eles depois.
Criar conta